
Bath installation is responsible, because this subject plumbing, there is a very large load. Incorrectly installed and poorly attached bath, can give a flow, and in the worst case, turn over and injure the owners. Therefore, before making an installation, read our article, from which you will learn about the methods of fastening the bath and the correct procedure for the production of work.
Features of the material
- Cast iron baths are durable and long retain heat, however, they have a lot of weight, so they need to be installed on a steady base.
- Steel bath can be fixed on the podium. For this, walls are collected from the brick, and inside the bath will stand tight and not swing. The main disadvantage of this material is noise when filling with water.
- Baths made of acrylic well hold warm and do not slide, and also have a pleasant appearance. However, by strength, they are inferior to their competitors. Due to the flexible bottom, a large person can break her with its weight. Therefore, it is necessary to make a special metal shape to avoid bending.
- In addition, special frame legs can be used for fastening steel and acrylic baths, which are shown in the photo below.
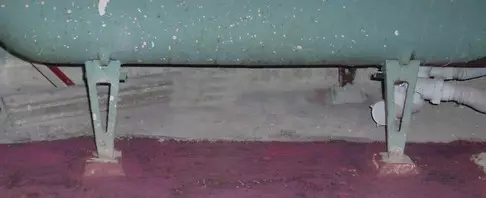
To reduce the noise when filling the bath, process it outside with a putty or mounting foam. It will reduce the wall of the water and help longer hold heat inside.
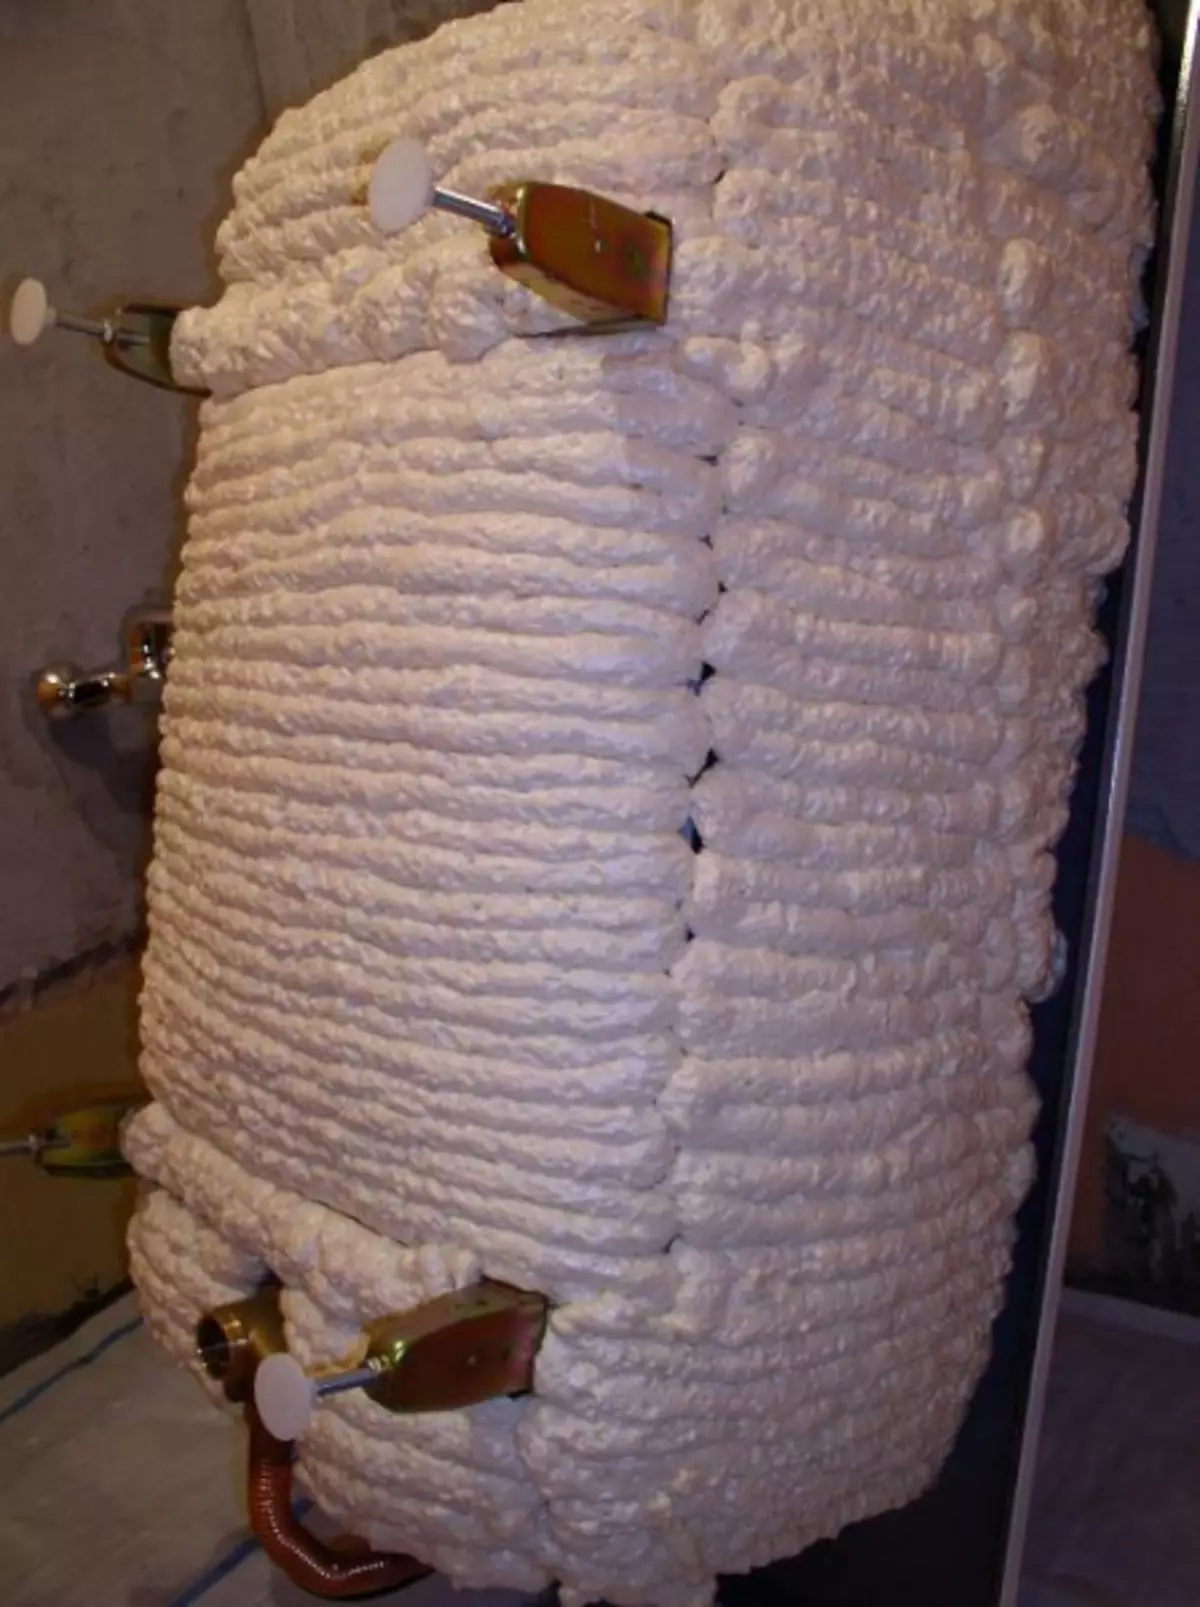
Noise insulation of steel bath with mounting foam.
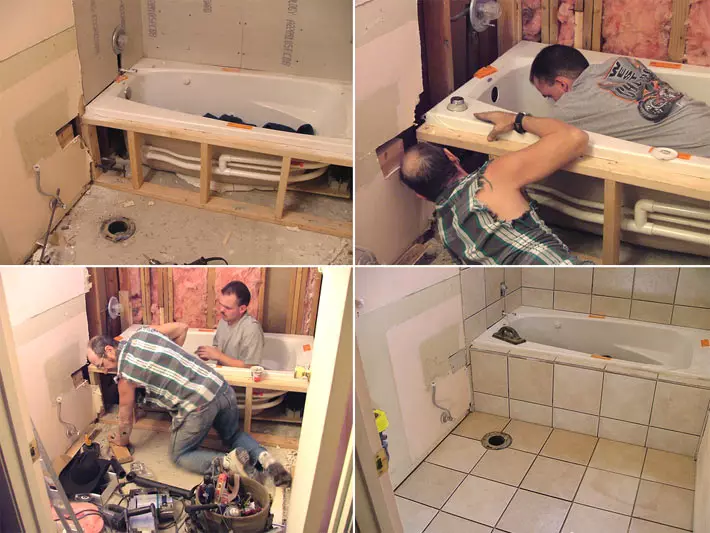
Wood frame for installation of the bath.
Recommendations for fasteners
Regardless of the view, there are basic installation principles of the bath:
- Put the bath on the side for the fastening pipes;
- Secure the drain, and only then put the bath on the legs or supports;
- Tightly motivate the bath to the wall and align the horizontal position by the level, screwing the legs;
- Carefully secure the bath to the bath not hacked, try to insert the spacers to the necessary spaces, which will increase stability;
- The gap between the bathroom and the wall close the solution, for example: grout for tiles, or plaster mixture, or sealant;
- For greater confidence over the seam, glue the plastic plinth with flexible hermetic edges.
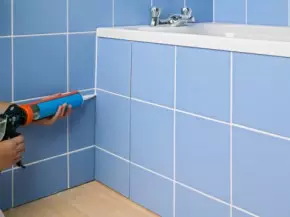
Reliable to smear all the problem areas with silicone sealant.
Installation of various baths
As we mentioned earlier, the type of fastening depends on the selected bath.
- Cast iron baths, as a rule, are installed on 4 supports (legs). They are securely attached to the body using wedges, which come in the kit, or tightened by bolts.
- Steel baths fix harder because they have a relatively low weight. Usually, so that the steel bath does not stick, it is moved to three walls that support corners. In this case, the installation is recommended before finishing the walls in the bathroom.
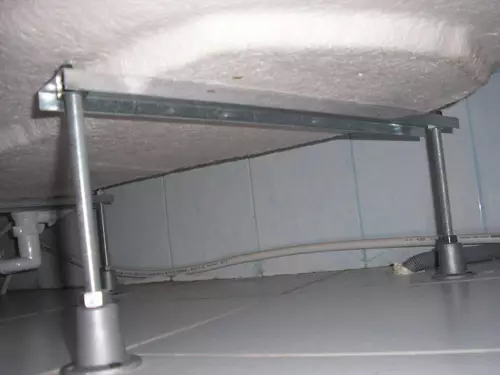
- The attachment of the acrylic bath to the wall is a practically prerequisite to eliminate small backlashes and tenting. To do this, the bath is usually installed like the previous way and create a frame around it, which will additionally strengthen the design.
Standard Cast Pig Bath Legs
If the fastening of the cast-iron bath passes on a loose surface with low hardness, be sure to undermine the metal plates under the legs, which will distribute weight over the surface. The lining diameter must be at least 5 centimeters, and the thickness is more than 5 mm.
Standard Stands for Acrylic Bath
We recommend familiarize yourself with the video installation of an acrylic bath. In this example, it is shown how to fix the bath on metal corners to the wall and the podium from foam blocks.
In general, you can highlight the following steps, how to install a bath to the wall:
- The bath is placed on the side, and the drain pipe is mounted;
- Outdoor siphon is connected to pipes, most often, these are flexible plastic pipes;
- The legs are attached to the bathroom, and it is installed so that you can connect the siphon tubes with sewage;
- Check the tightness of the connected sewage;
- If necessary, build a frame of plasterboard, the podium from foam blocks and set the struts.
How to close a big gap at the wall
Usually after installing the bath, there can be a long distance between the end and the wall. It will not allow secure the bath from three sides, and it will go to the walker. In this case, you can turn the lack of advantage, and create a framework. As a result, you will get a shelf between the bathroom and the wall, which you can put shampoos, powder and other accessories.There are several ways to close a large gap:
- Create a frame of profiles, then sheathe it with moisture-resistant plasterboard. Do not forget to make a hatch to access the plumbing.
- Fasten to the wall of the bar, and make a shelf. Her side will hold on Bruke, the second on the bath or frame.
- If you do not have a perforator, you can use another solution - cutting the strip from extruded polystyrene foam or foam and insert it tightly into the slot. It is necessary that the solution does not fall during the seal. Top to make a layer of plaster and smear all the slots. You can also use for this mounting foam. Thus, literally in 15 minutes you make a large gap, get rid of the root and tapping about the walls. If you have already laid a tile, creep it with a painted scotch, so as not to make the surface.
When creating a shelf from a bath, make it with a slope so that the water does not accumulate there, but flowed down. In addition, it is important to mount the bath itself with the inclination towards the drain so that the water is not stood.
Installation on the podium
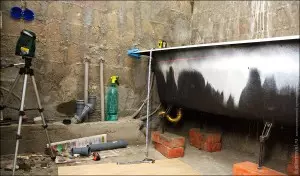
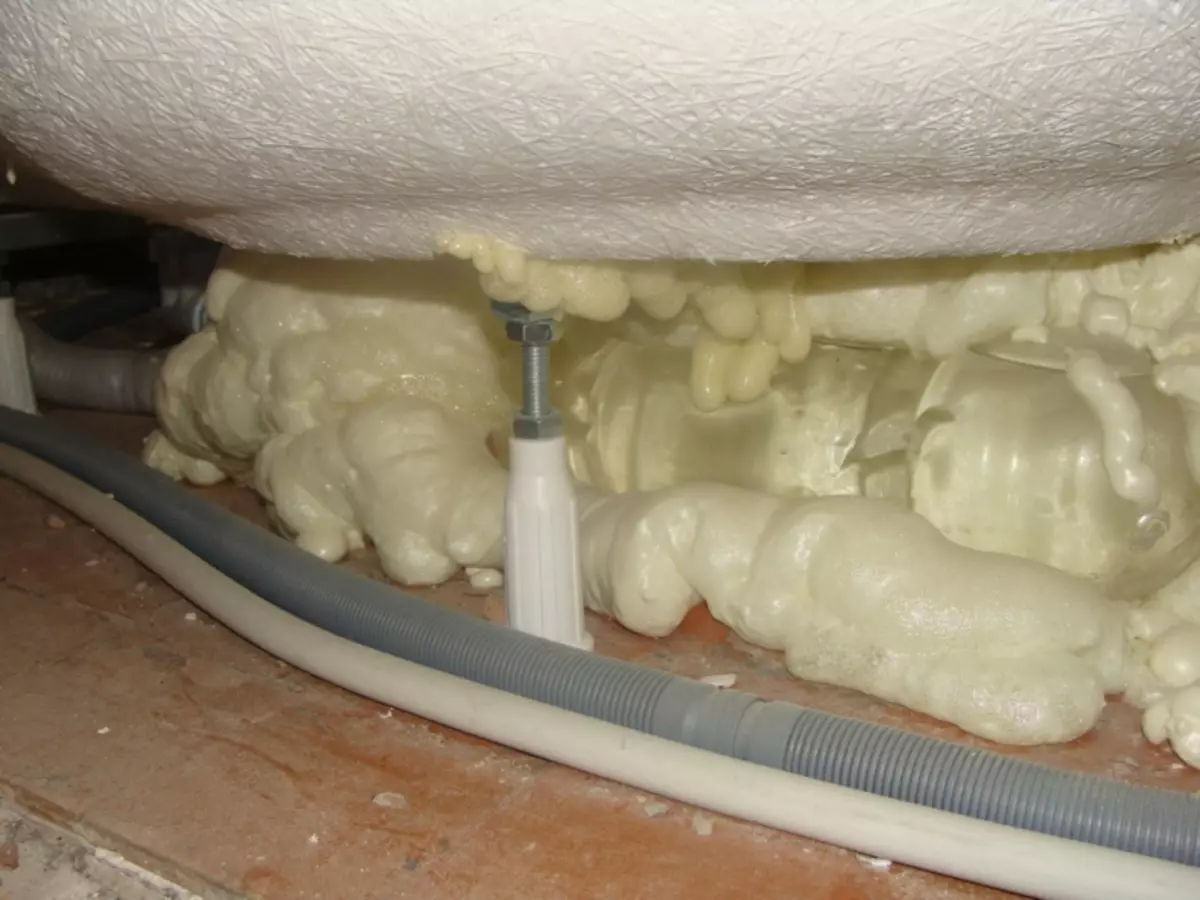
To install the bath on the podium from bricks or foam blocks, an elevated area is created. The bath is placed on the podium, while the legs remain on the floor. Before laying the podium, the walls and the bottom are abundantly wetted by mounting foam.
Instead of brick podium, you can fill plastic bottles with water, close them tightly, and put it on the floor. They will serve as a place of space when you want to create a "thick pillow". Abundantly treat them with mounting foam and put the "belly" baths on them. This method is much cheaper and faster than bricks podium.
Homemade podium from mounting foam and bottles.
Another option is to create a wall that will support board and hide internal communications. This method is especially suitable if you have adhesive legs, as they will not be able to reliably withstand the weight of the water and your body.
On the top of the wall stacked the tile, or select another finish.
If you have any questions, see the video instruction on the installation and mounting of the bath on the podium:
After installing and fastening the bath, make sure that the reliability of sealing is not accidentally flooding the neighbors.
Article on the topic: Electricity for curtains: species, characteristics and features