
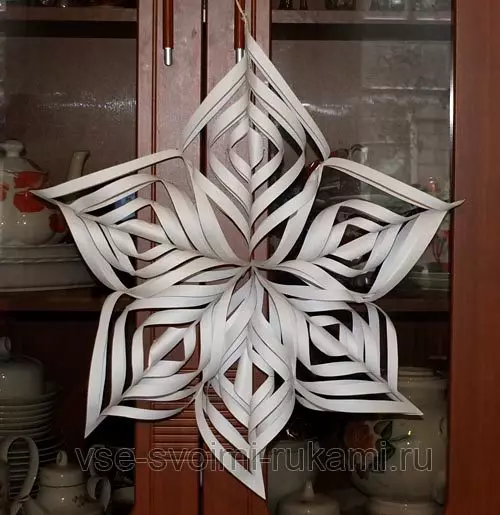
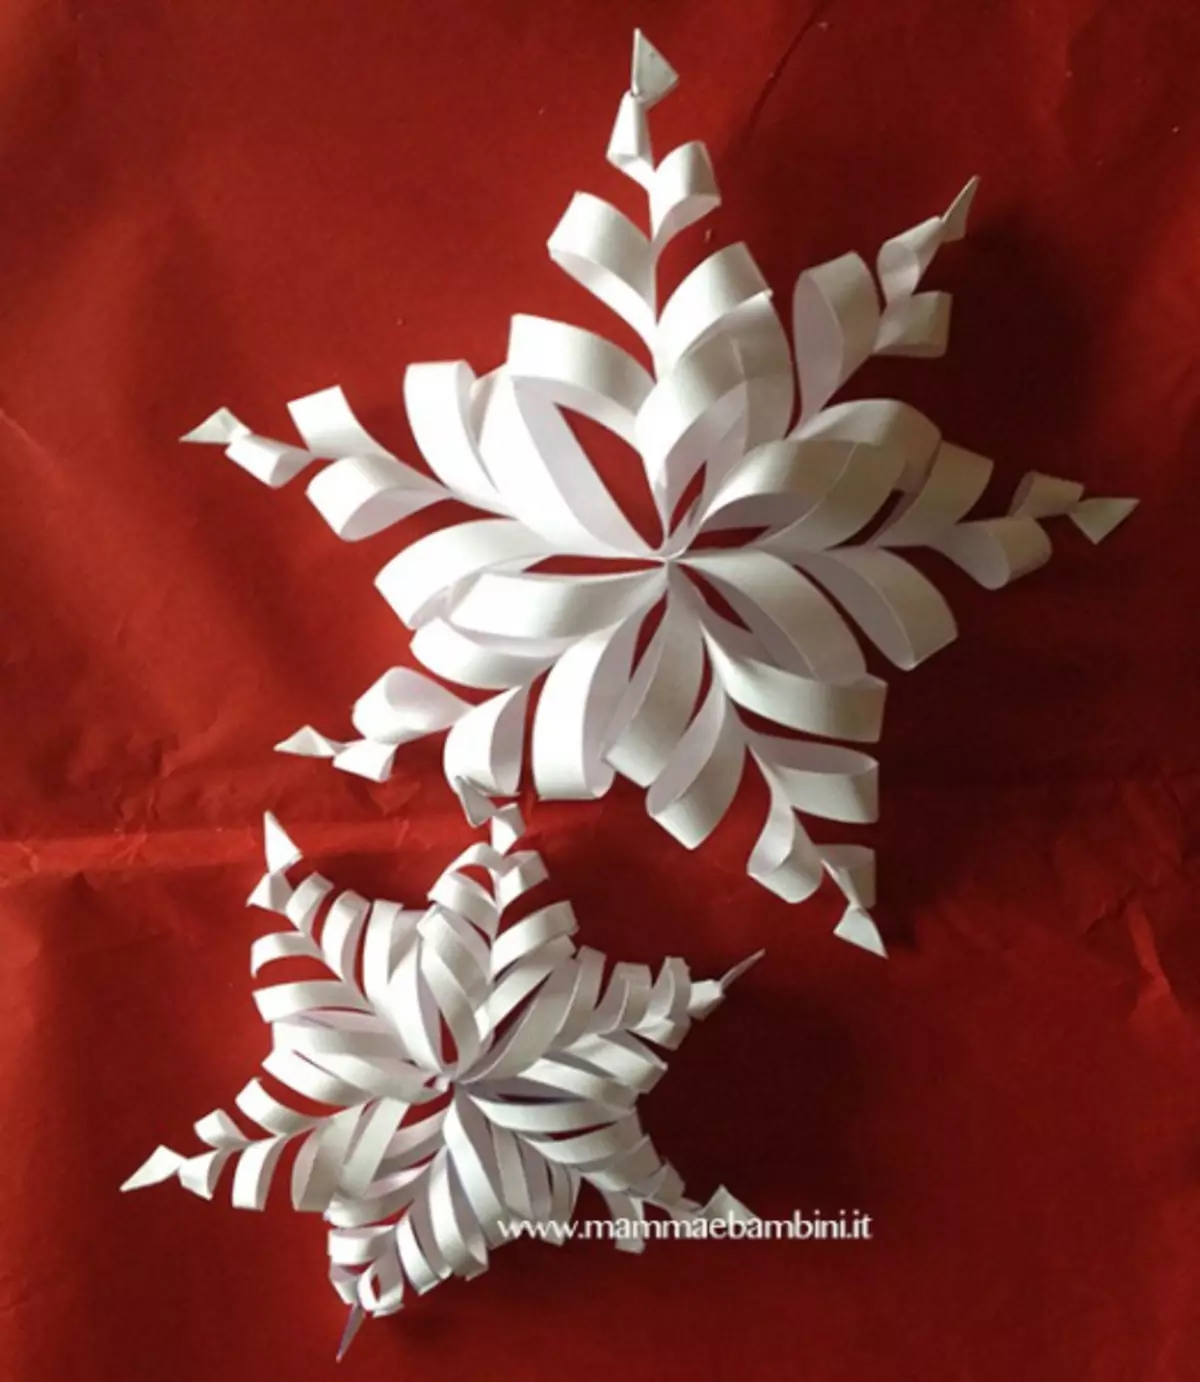
It is time for the manufacture of Christmas decorations for the house, perhaps even more interesting than the celebration of the New Year. We use this and enjoy the creative process! I offer you an affordable and interesting master class on creating a bulk paper snowflake. In our work, we will need paper A4, scissors and stapler.
Progress
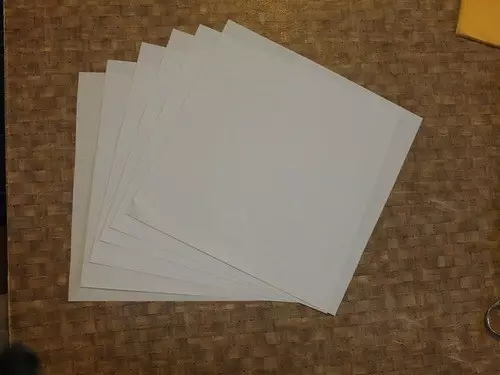
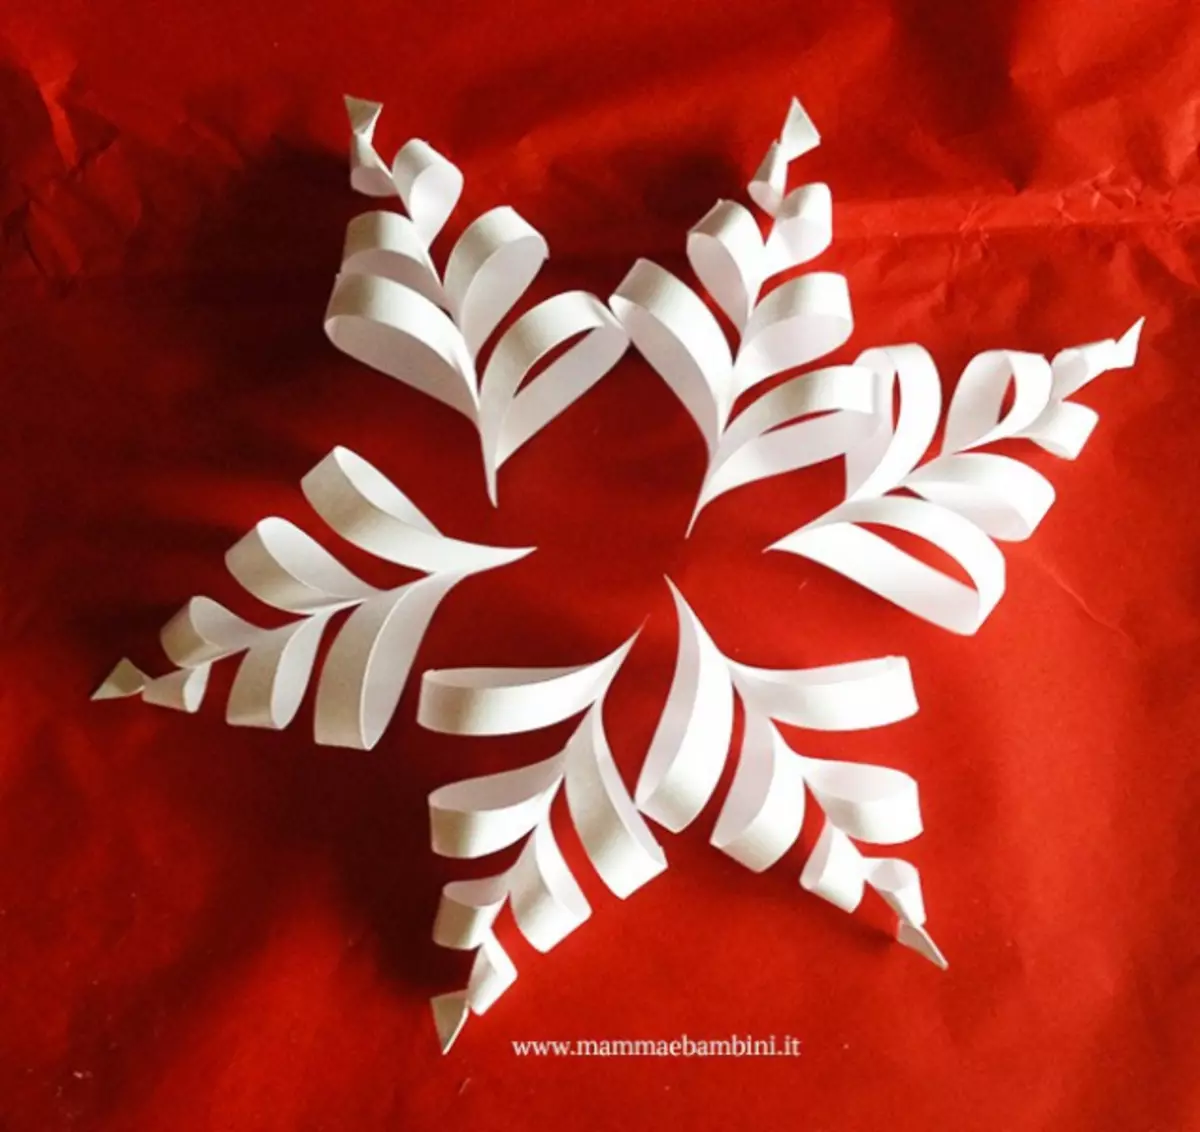
The snowflake we will have a large-diameter of about 40 cm. Prepare 6 sheets of paper A4 paper (you can decorate, beautiful, or just office, for printer). Cut the sheets to the square.
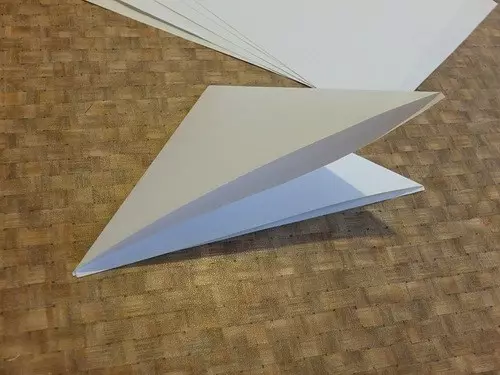
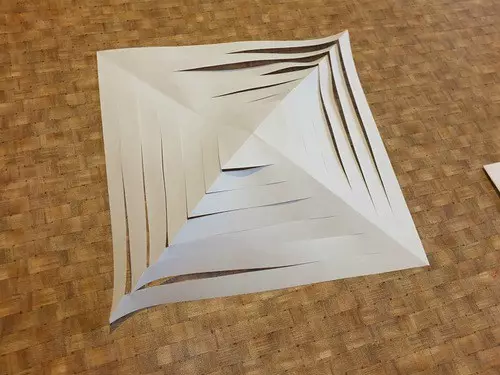
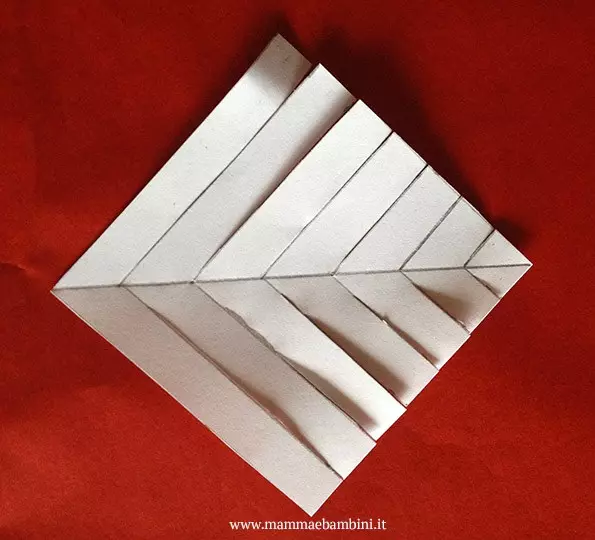
Bend the sheet twice diagonally
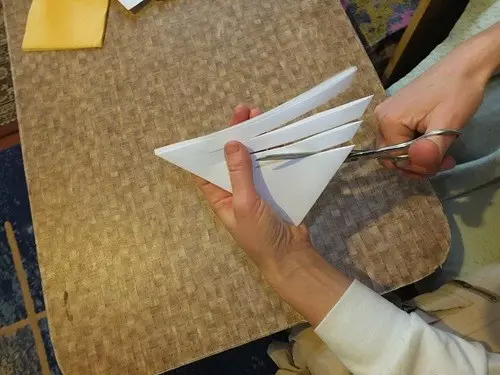
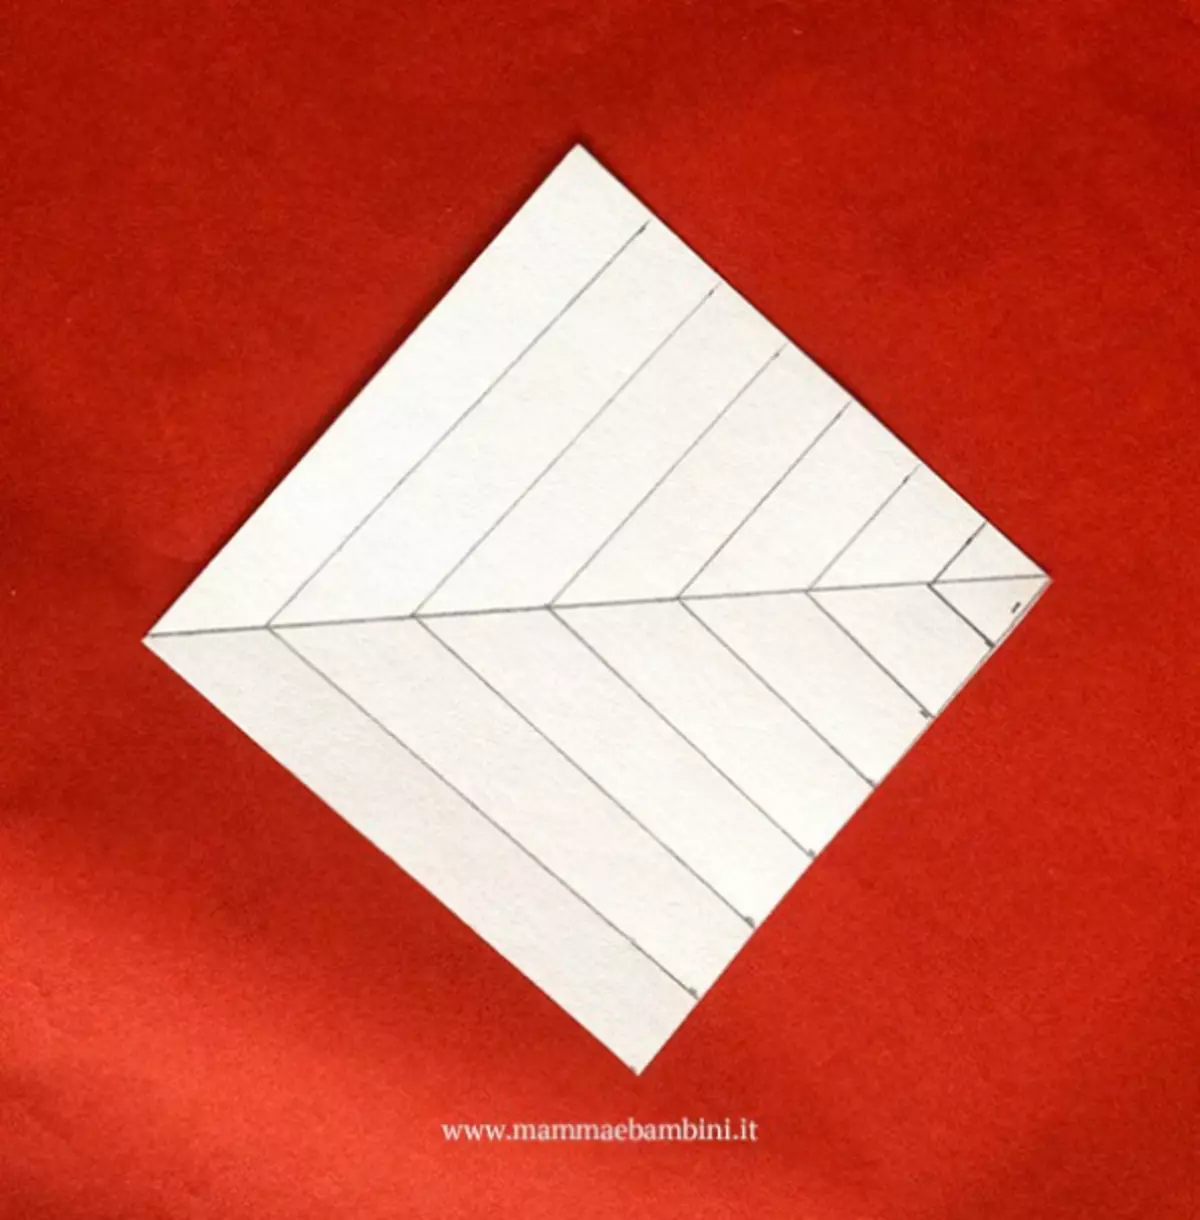
We make 6 cuts in increments of 1 cm, not coming to the edge of 1 cm.
Deploy the workpiece.
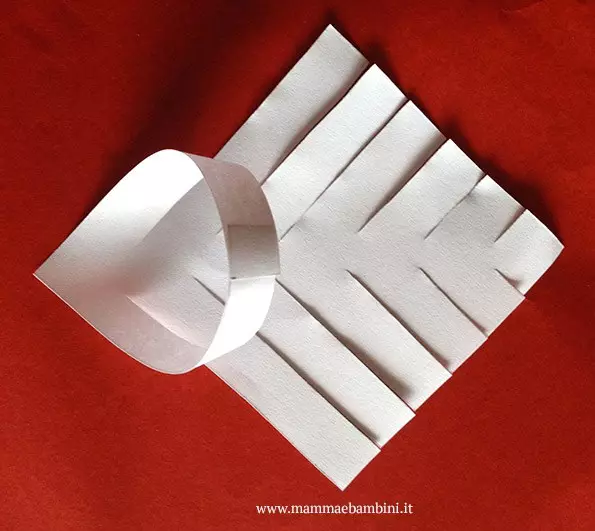
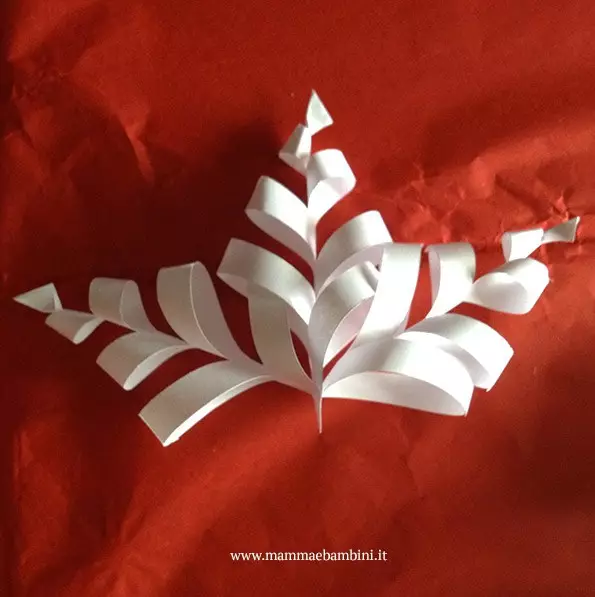
We fasten the stapler of the petals of the snowflakes after one and the other side.
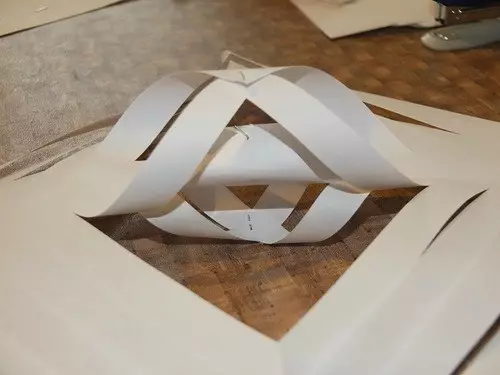
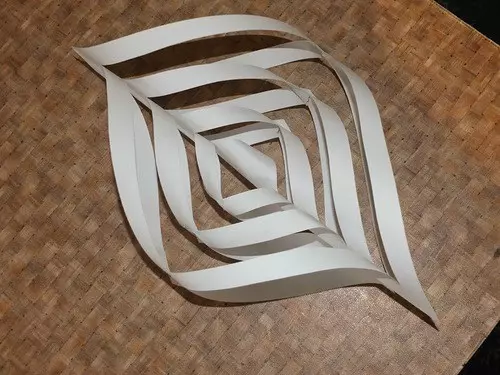
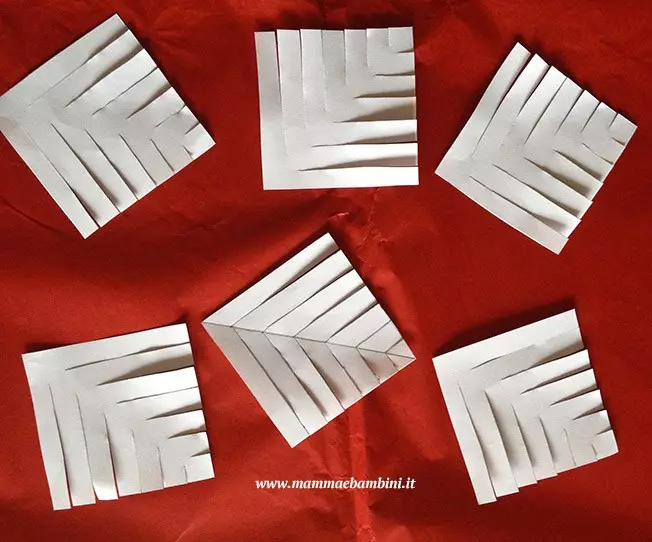
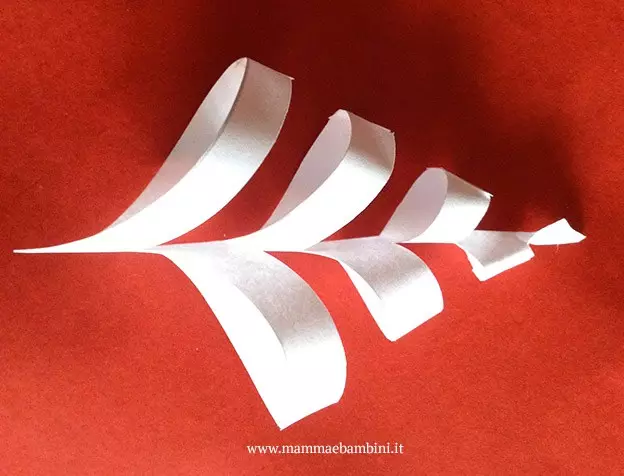
We get this petal of snowflakes. They need 6 pieces.
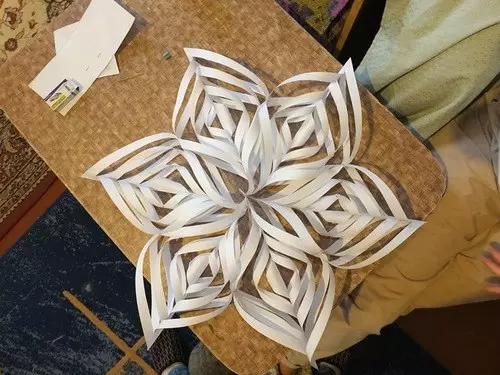
After all segments are collected, connect them between themselves in one snowflake. At the same time, take into account the fact that the petals must be combined with different sides each other - small to the big to be symmetry. More intelligibly, I show everything on the video.
Detailed Video Instructions for Snowflake
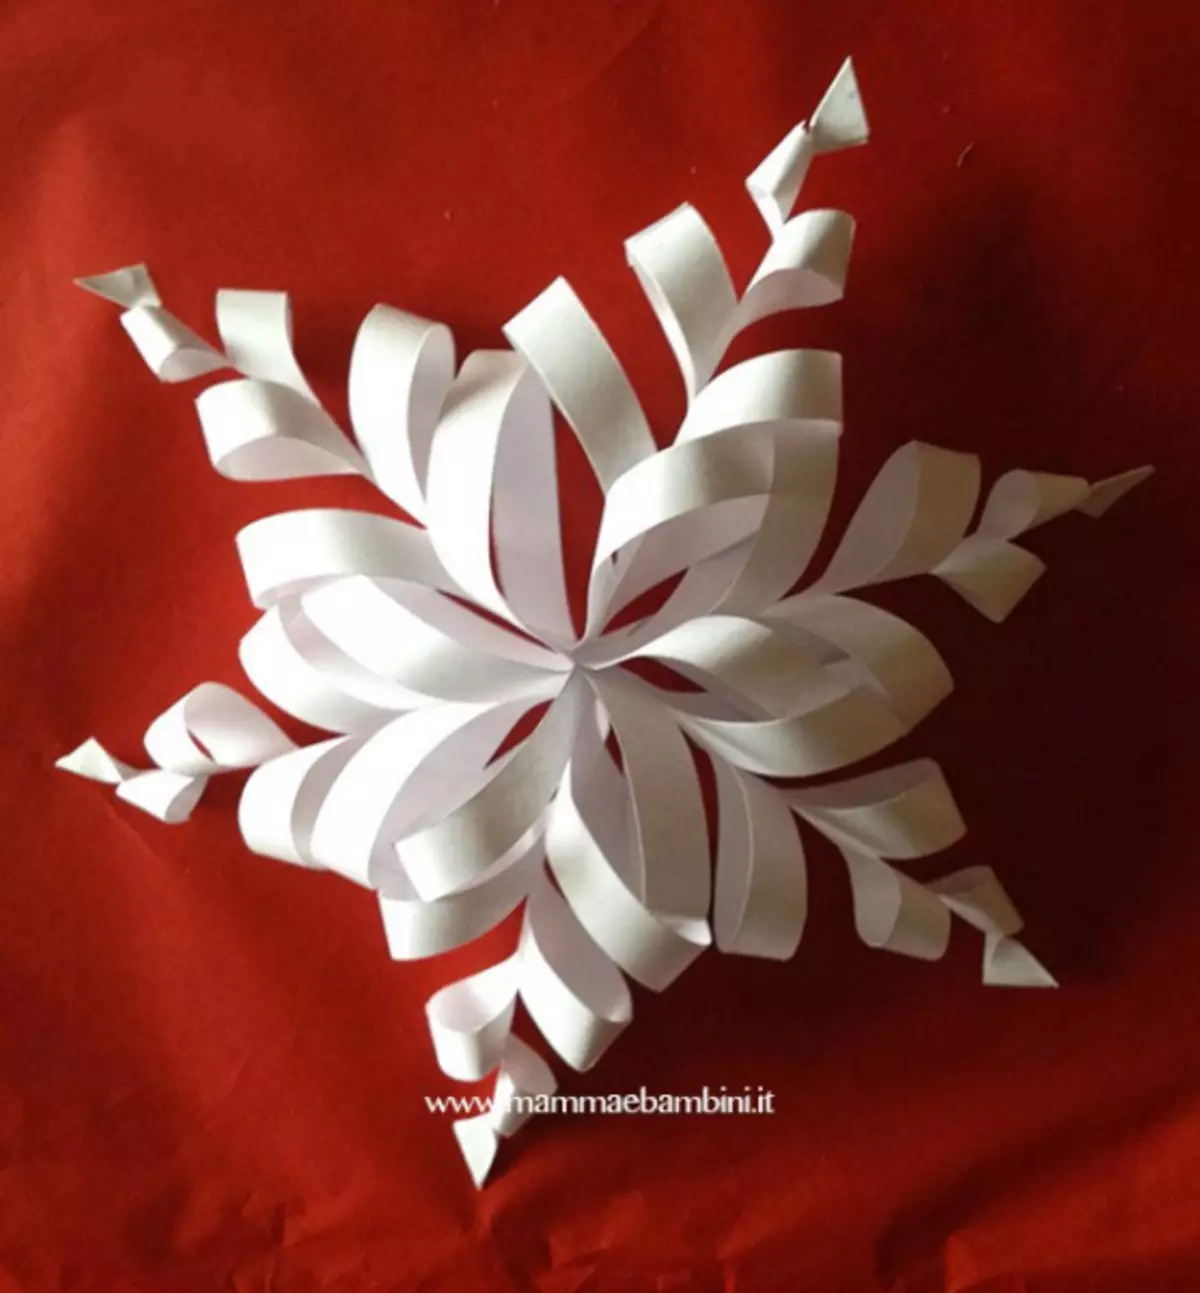
Another variation of volumetric 3D snowflakes
Unlike my snowflakes, half minutes have been used in this model.
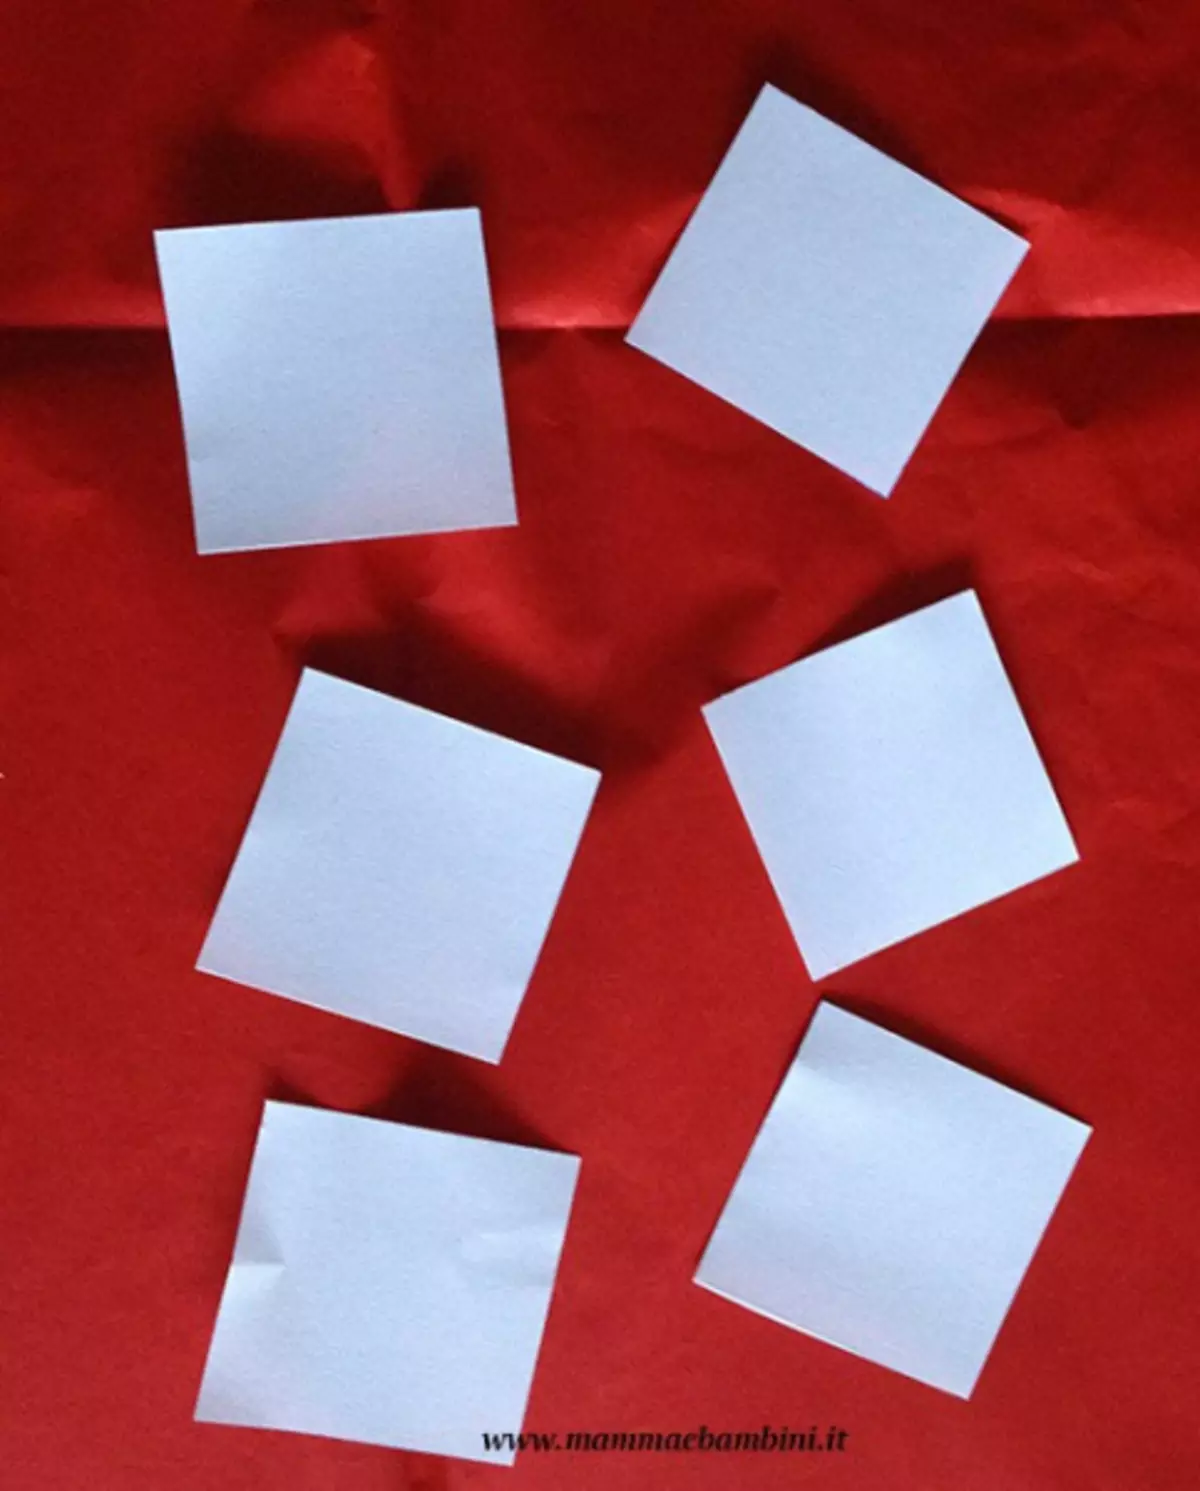
We prepare squares from paper.
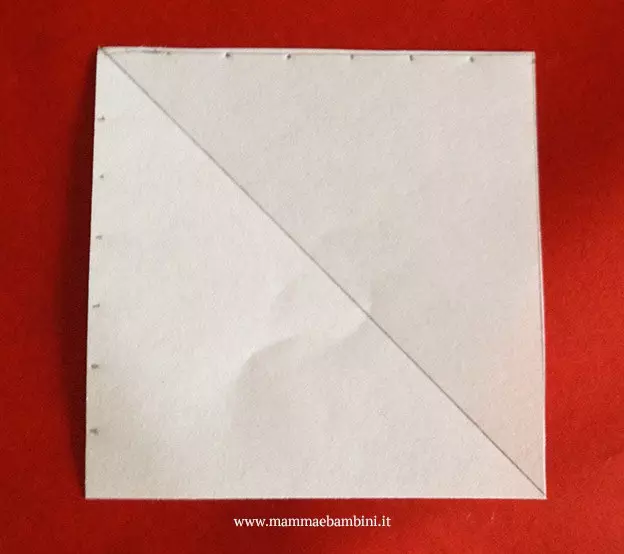
Bottling diagonally.
And at an angle of 45 degrees to this diagonal.
Slash on the planned so that it turned out the fringe, a little is not renewable to the central line.
How many rays will be at snowflakes, so much and make squares.
We begin to glue - one by one, after one to each side.

You can connect either with glue or stapler.
The finished ray of our future bulk snowflakes.
When all the blanks of the rays are collected, proceed to their connection.
Article on the topic: Paper shoe DIY: Master class with templates and video
It is recommended to first glue the rays of three.
And then connect two halves of snowflakes into one single design.