
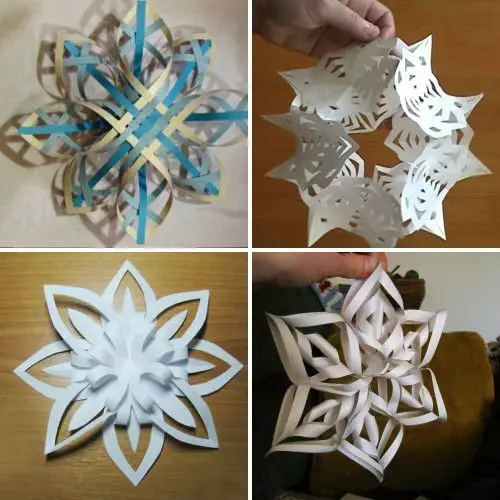
Simple paper snowflakes can make many of us. It is much more interesting and more beautifully look at openwork bulk snowflakes that are made from the same source material. Despite complex and bizarre patterns, make such crafts are not entirely difficult. Below we give, as an example, four master classes, which present different techniques for the manufacture of bulk snowflakes with their own hands.
Master class №1: bulk snowflake from colored stripes with their own hands
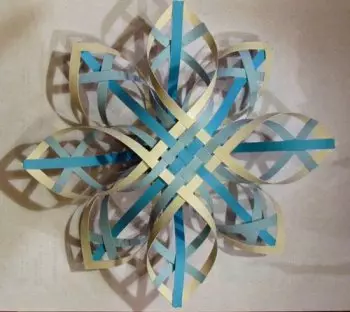
Openwork snowflake can be made by applying weaving technique. Combining paper stripes in color, you will get a very bright and interesting snowflake. The bands themselves you can prepare from double-sided colored paper or go easier and buy ordinary quilting strips.
Materials
To make a bulk snowflake from colored stripes with your own hands, take care of availability:
- paper for queening;
- PVA glue;
- Tassels;
- clothespins.
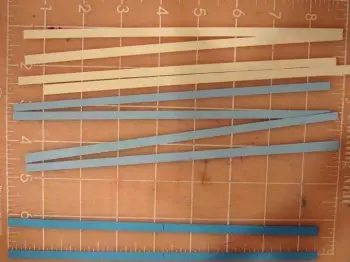
In total, 20 bands will be needed for the manufacture of one snowflake. The snowflake itself needs to be done, the masses of her halves.
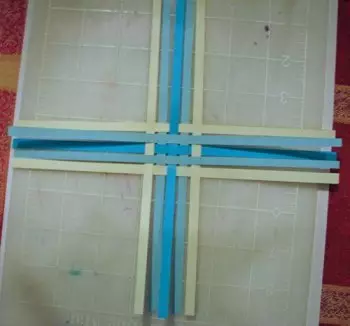
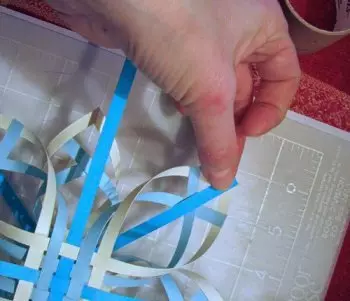
Step 1 . Cross-closet put on the desktop strips of blue.

Step 2. . At the edges from them pairly lay out the strips of light blue and cream flowers.
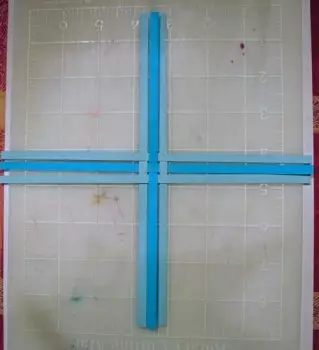
Laying out stripes, twist them with each other.
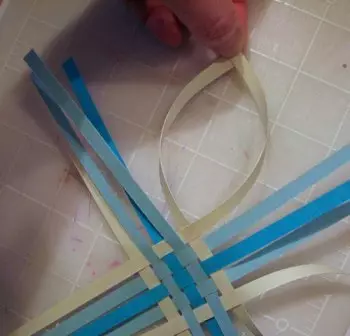
Step 3. . Lubricating the tips of the pnewing bands, glue them with each other. At first, as shown in the photo, glue the strips of light color.
Step 4. . Light rays glue blue strips. Blue do not touch yet. It will be half the snowflakes.
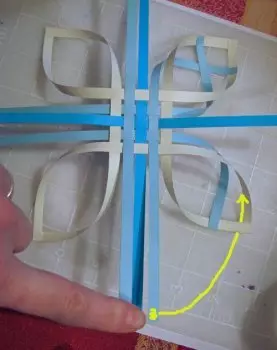

Step 5. . Similarly, make a second half of the snowflakes. Fold them together.
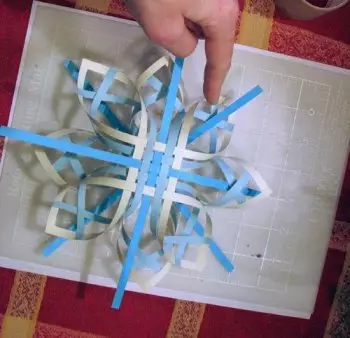
Step 6. . Stick the tips of the blue stripes, inserting them into the rays of snowflakes. The strips of one half must be traded and glued to the rays of the second half. Fix the gluing places with clothespins and wait for the glue to completely dry.
Article on the topic: Cross embroidery scheme: "Flowers of Lavender" free download
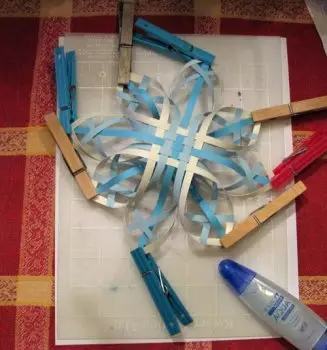
Step 7. . Remove the clothespins. Openwork bulk snowflake ready!

Master class # 2: 3D snowflake with her own hands
Despite the seeming complexity, make a 3D snowflake with their own hands very simple. Especially like this occupation for children. Ornaments for snowflakes you can do a variety of, showing your fantasy.
Materials
To create this craft you will need:
- sheets of paper;
- pencil;
- scissors;
- Stapler.
Paper will be needed in the form of small squares 10 x 10 cm. For the manufacture of one snowflakes, they will need 10 pieces.
Step 1 . First you need to cut a snowflake from a simple sheet of paper. Take one sheet and fold it twice in half.
Step 2. . The resulting square bend diagonally.

Step 3. . Pencil draw the ornament that you need to cut.
Step 4. . Cut the triangle on advanced lines.
Step 5. . Spread the snowflake.
Step 6. . Make similar blanks from the rest of the paper leaves.
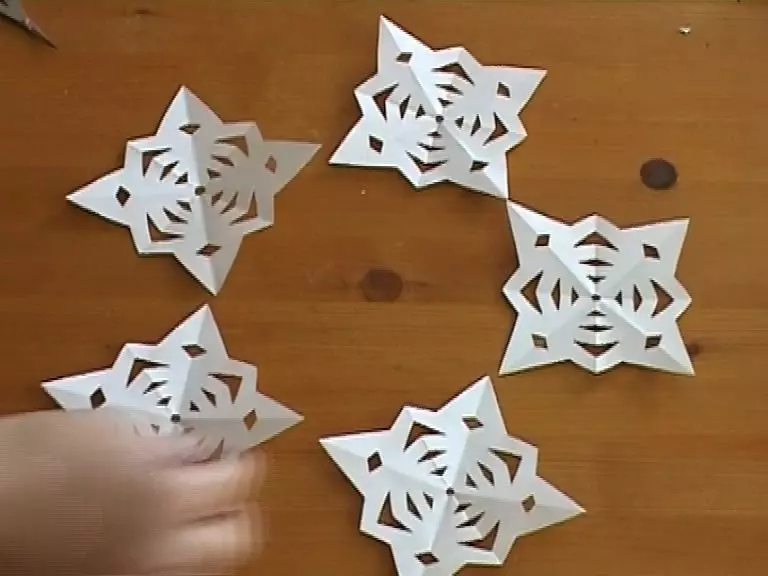
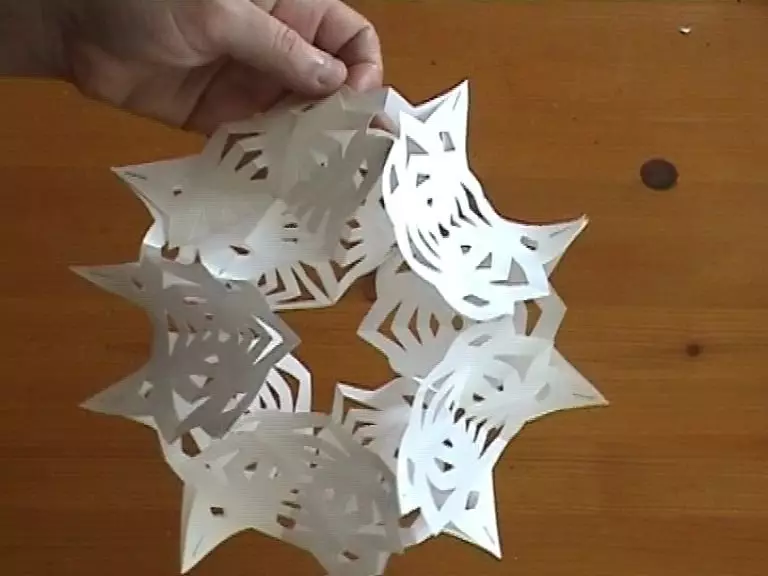
Step 7. . Fold five flat snowflakes in the form of a circle. Build them with each other with a stapler.
Step 8. . Make the same half of the bulk snowflakes from the remaining five blanks.
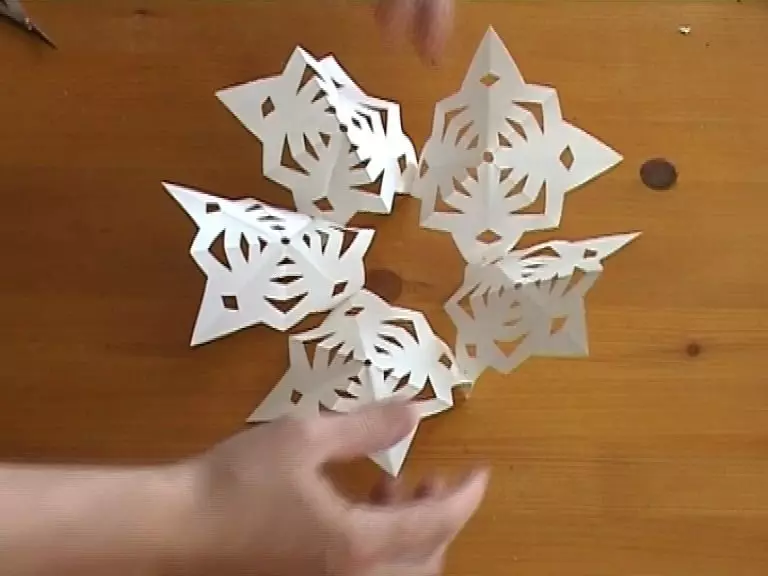
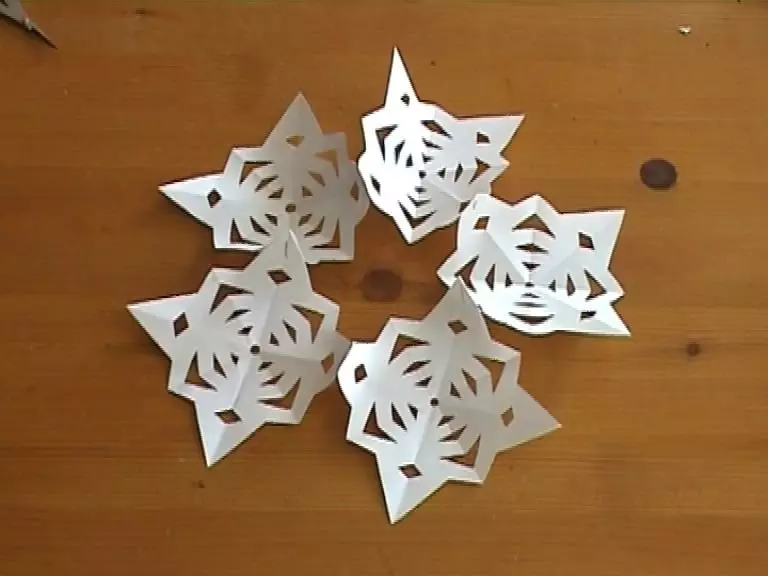
Step 9. . Both half the stapler join each other and gently straighten them with your fingers.
Your large bulk snowflake is ready. You can bind a tape or thread to it and decorate the snowflake room.

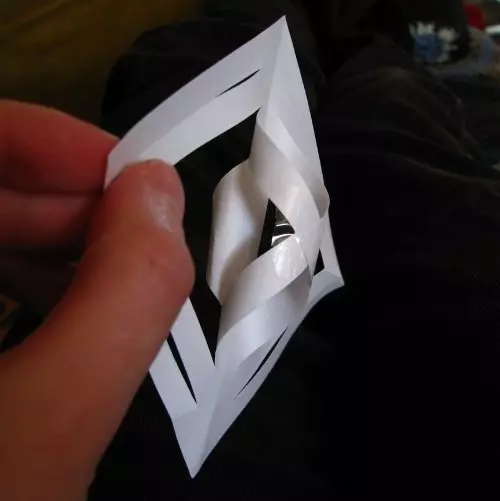
Master class number 3: bulk snowflake from one sheet of paper
Most bulk snowflakes are made of several sheets of paper, but you can cope with such a task, taking only one sheet as the starting material.
Materials
To make your own hands a bulk snowflake from one sheet of paper, you need to prepare:
- sheet of paper A4;
- scissors;
- glue;
- pencil;
- eraser.
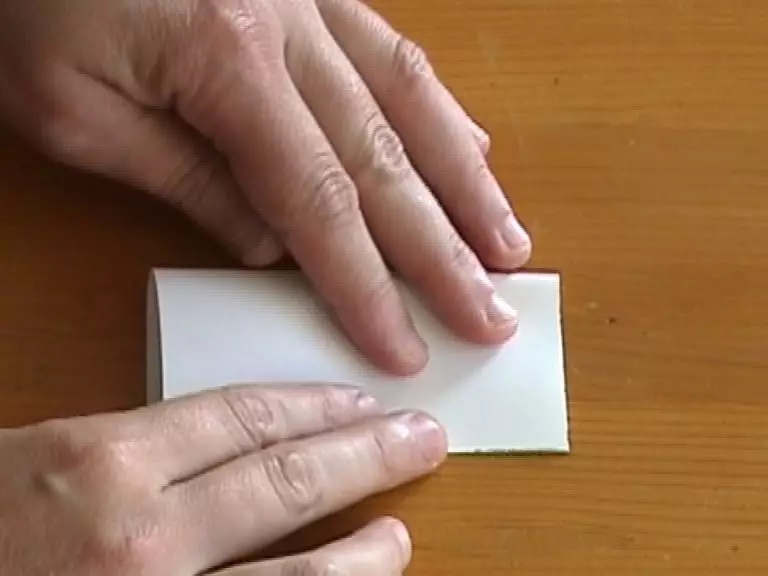
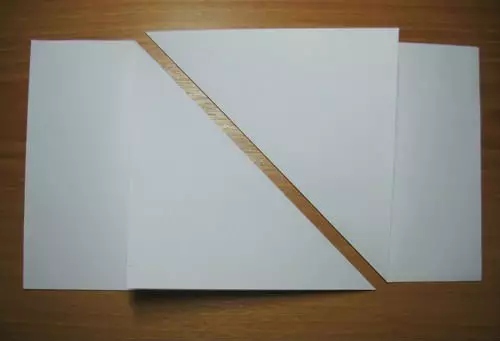
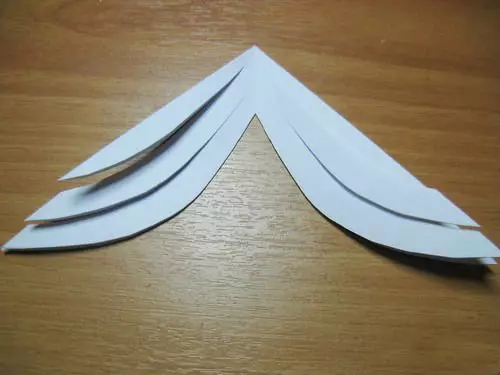
Step 1 . Paper sheet to fold diagonally, the bottom excess strip do trust so that when the paper turns you, you have a square.
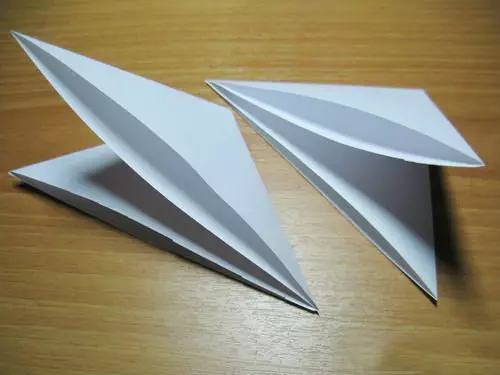
Step 2. . Folded on the diagonal square fold once again in half as shown in the photo. As a result, you have to get a triangle.
Article on the topic: Quilling for beginners from paper: Master class with photo
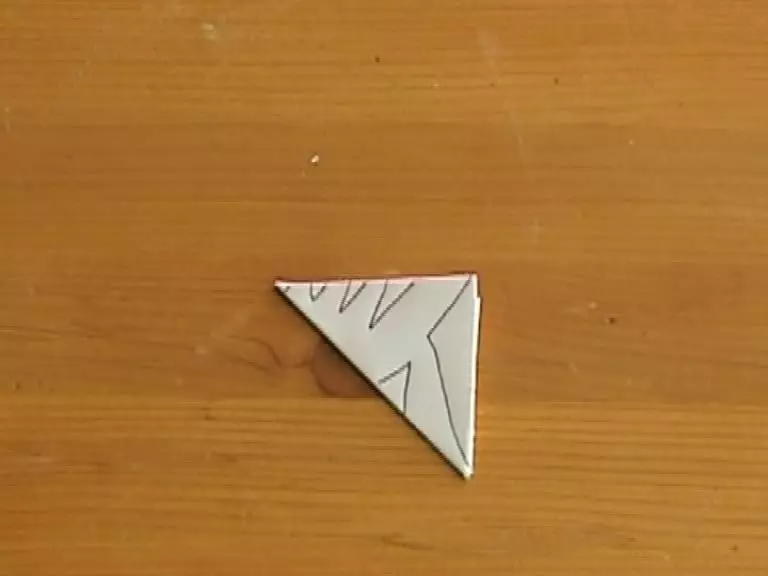
Step 3. . Cut the petals from the triangle. If you want the petals to come out even, you can pre-draw them with a pencil and after unnecessary lines erase.
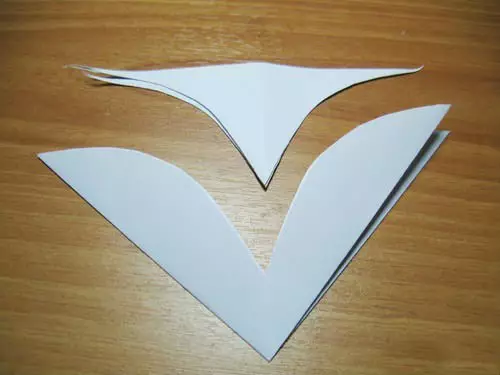
Step 4. . Repeat the contours of petals around the edges and make cuts along these lines. Do not cut the end of the petals.
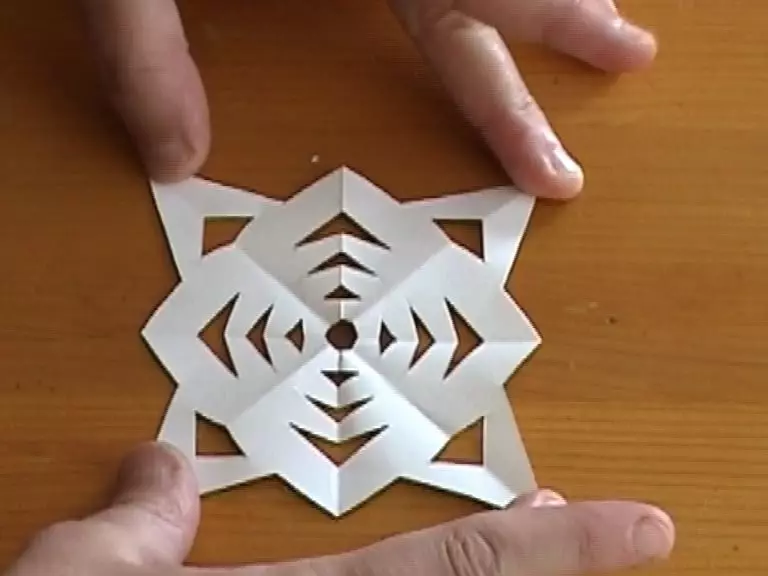
Step 5. . The resulting workpiece will expand.
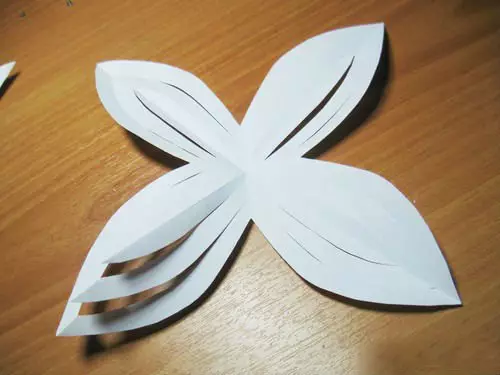
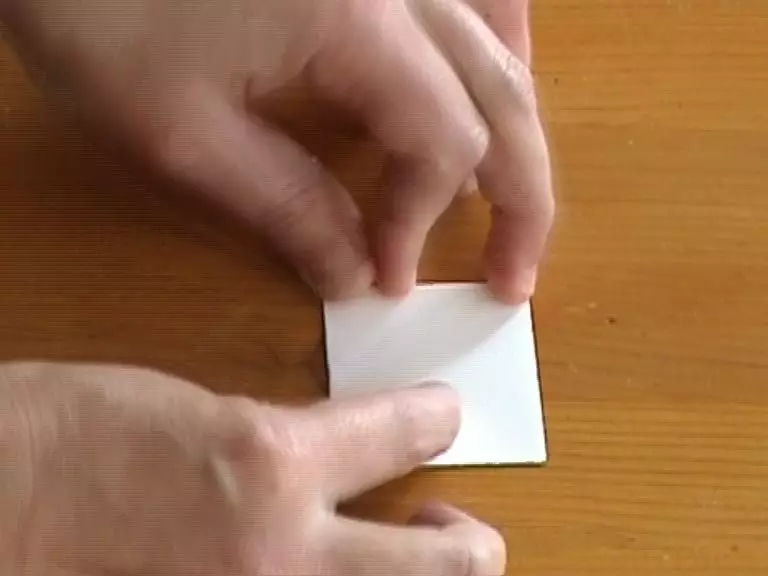
Step 6. . The tip of the middle part of the petal lubricate the glue and stick it to the middle of the workpiece, slightly giving the finger.
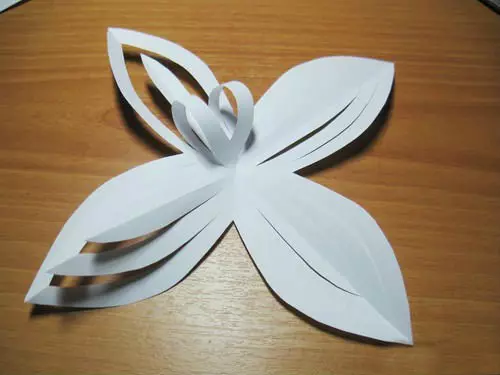
Step 7. . Similarly, glue the average parts of the rest of the petals.
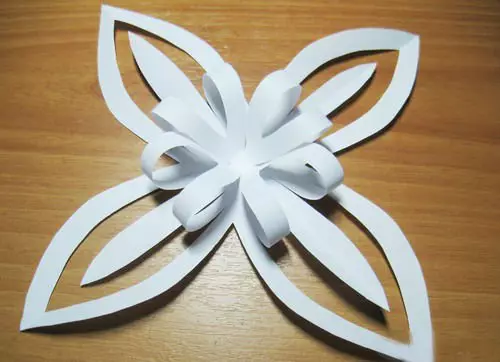
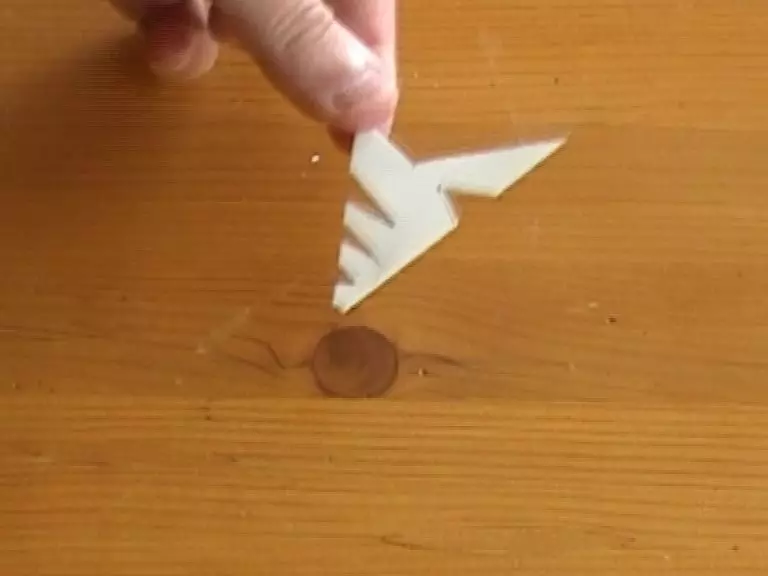
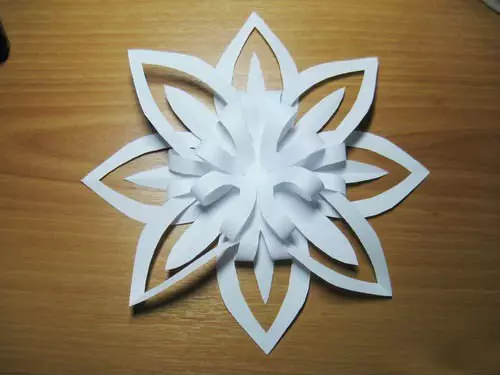
Step 8. . Browse snowflake ready. You can make it bilateral. To do this, make a similar snowflake from a sheet of paper and glue both parts with each other by attaching them one to the other tile sides.
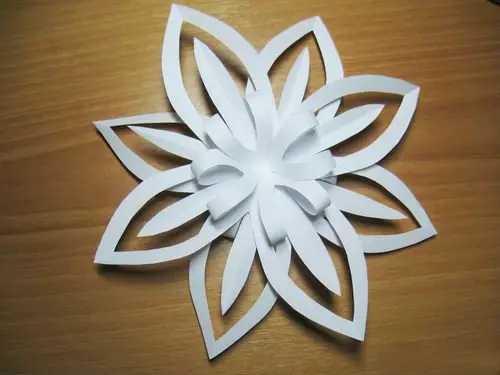
Snowflake ready!
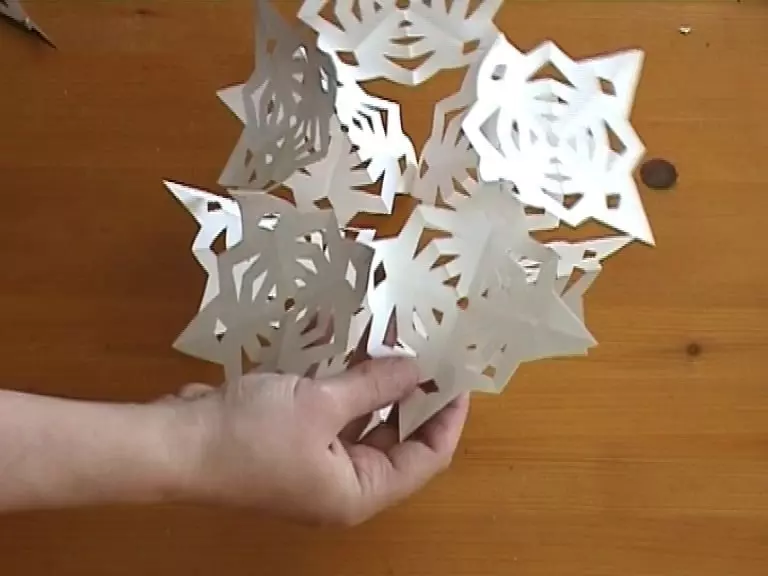
Master class №4: bulk snowflake made of several sheets of paper

From ordinary office paper sheets, you can make the original bulk snowflake. If you take a whole sheet of standard A4 format, the toy will get very large. To make it less, the sheets need to trim a little, but, remember, all of them must be the same in size, otherwise the snowflake will not be symmetric.
Materials
Before making a bulk snowflake from paper with your own hands, check if you have available:
- sheets of paper A4;
- scissors;
- Slim tape;
- stapler;
- satin ribbon.
Step 1 . You have a piece of paper do you cut, so that you have six equal squares.
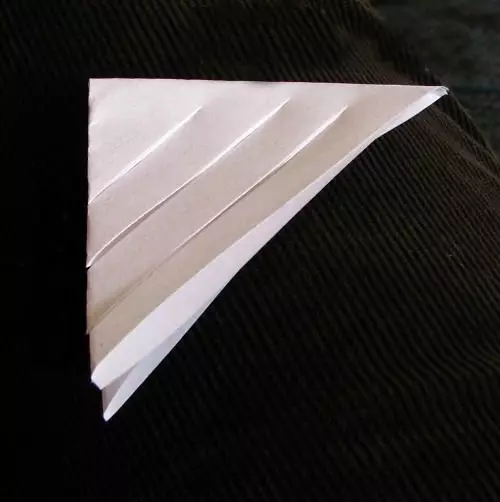
Step 2. . Fold the square diagonally, then maintain it again, folding in half. As a result, you must have a triangle with a single fold one by one edge, two on the second and several sheets below.
Step 3. . Put the triangle to the work surface and carefully do three cuts. Cut the strips from a dual fold to single. They must be parallel to the lower side of the triangle. Cuts do without reaching 1 cm to the end.
Article on the topic: Matryoshki amigurum hook. Schemes
Step 4. . Expand the workpiece, you must have a square with cuts.
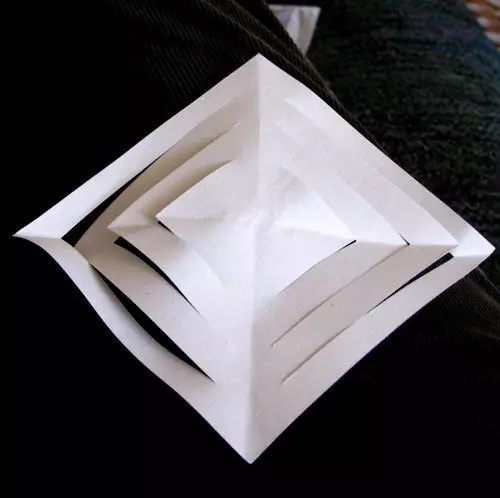
Step 5. . Paper stripes for cuts, those closer to the center, wrap towards each other, forming the semblance of a cylinder. Build them, sicking with the inside of a thin strip of Scotch.
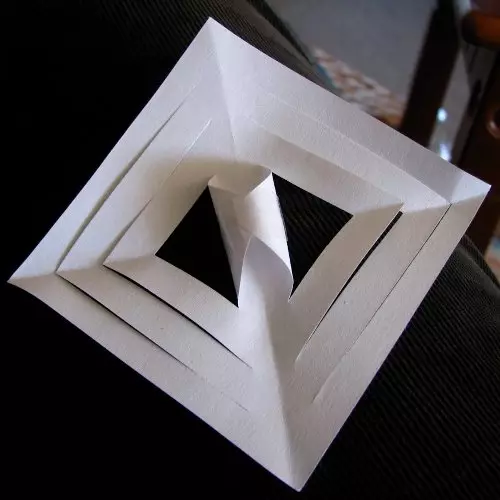
Step 6. . Square turn over. Bend the next pair of bands in the same way, but wrap them in the opposite direction. Continue to fix and alternate stripes and on. As a result, you should get this figure. This is one of the rays of bulk snowflakes.

Step 7. . From the squares of the paper, take another five of the same billets.
Step 8. . The rays of the snowflakes attach each other side of the sides and at first cover them from the bottom, and then at the top.


Pull the ribbon through the snowflake and make it in the loop. She's ready!