
It is believed that the parrot ─ is one of the best friends of man, he will never give and disappoint, because it is your pets. Having come home, he meets you with his loud singing and screaming, showing how glad to see you that he missed. And if you also try to try well, then you can teach some words and phrases to speak your pet. His talking is very raising the mood and attach strength. But, there are such cases when the owner or another family members are allergic, then there is no choice, how to give someone his pet or give in good hands. But if you love the parrots so much, we suggest you learn to make an origami parrot. Such a bird does not harm anyone, but will bring only pleasure and delight your eyes. We invite you to the master class on folding parrots from paper in the Origami technique.
Simple scheme
To fold the parrot, we need two sheets of paper of different colors: one for the body, and the second for the tail. The sheet from which we will make the tail must be less than 2/3 from the first sheet.
Let's go to the assembly scheme of our bird.
1) To begin with, we will fold a large sheet of paper, it must be square shape. We fold in the middle of the upper and left corners.
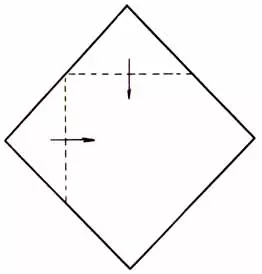
2) And now two sides we add to the center so that they together come together.
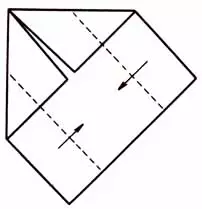
3) fold in half our workpiece.
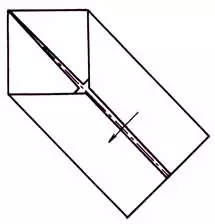
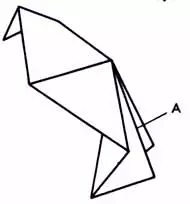
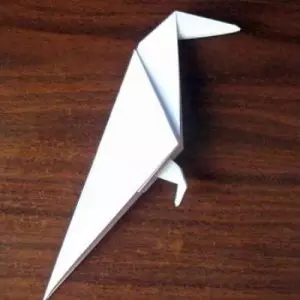
4) In order to form a head, we need to wrap inside the tip of the upper angle. And then bend inside and tail.
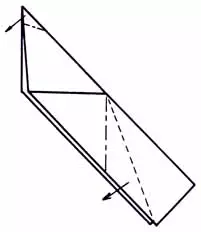
5) Here is the body of our parrot and ready, and the letter and the scheme shows the place of the tail of the tail.
Article on the topic: Knit openwork palatin crochet
6) Let's make a tail. To do this, take a second sheet of paper, it also must be square shape and fold along the lines, as indicated in the diagram.
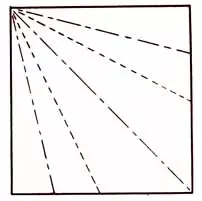
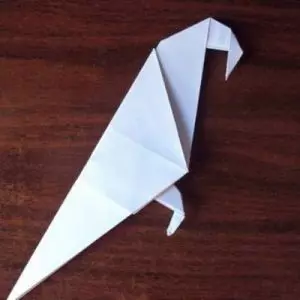
7) It remains only to glue our tail.
8) That's how our parrot will look like.
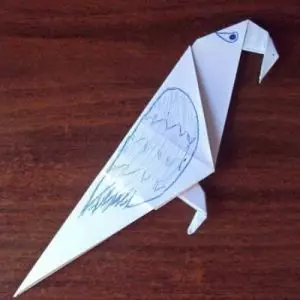
9) Now you can paint it, it already will play your fantasy. You can offer a child together to do it, just spend together a lot of fun time, win together, and the child will be engaged in a useful and developing business. Also, this craft can be glued to some postcard or on the drawing, which you too can paint with the child.
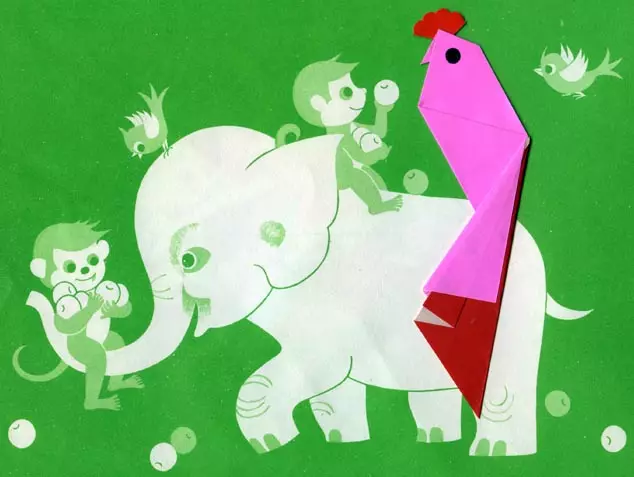
Pernation in Origami
And now let's try to fold another piece of parrot in the same technique. Perhaps for someone it will seem a bit more difficult, but if you carefully read the instructions and follow the scheme, then you will definitely work out, and you will learn how to make a pet paper.
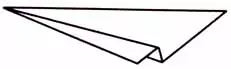
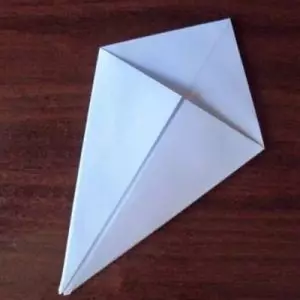
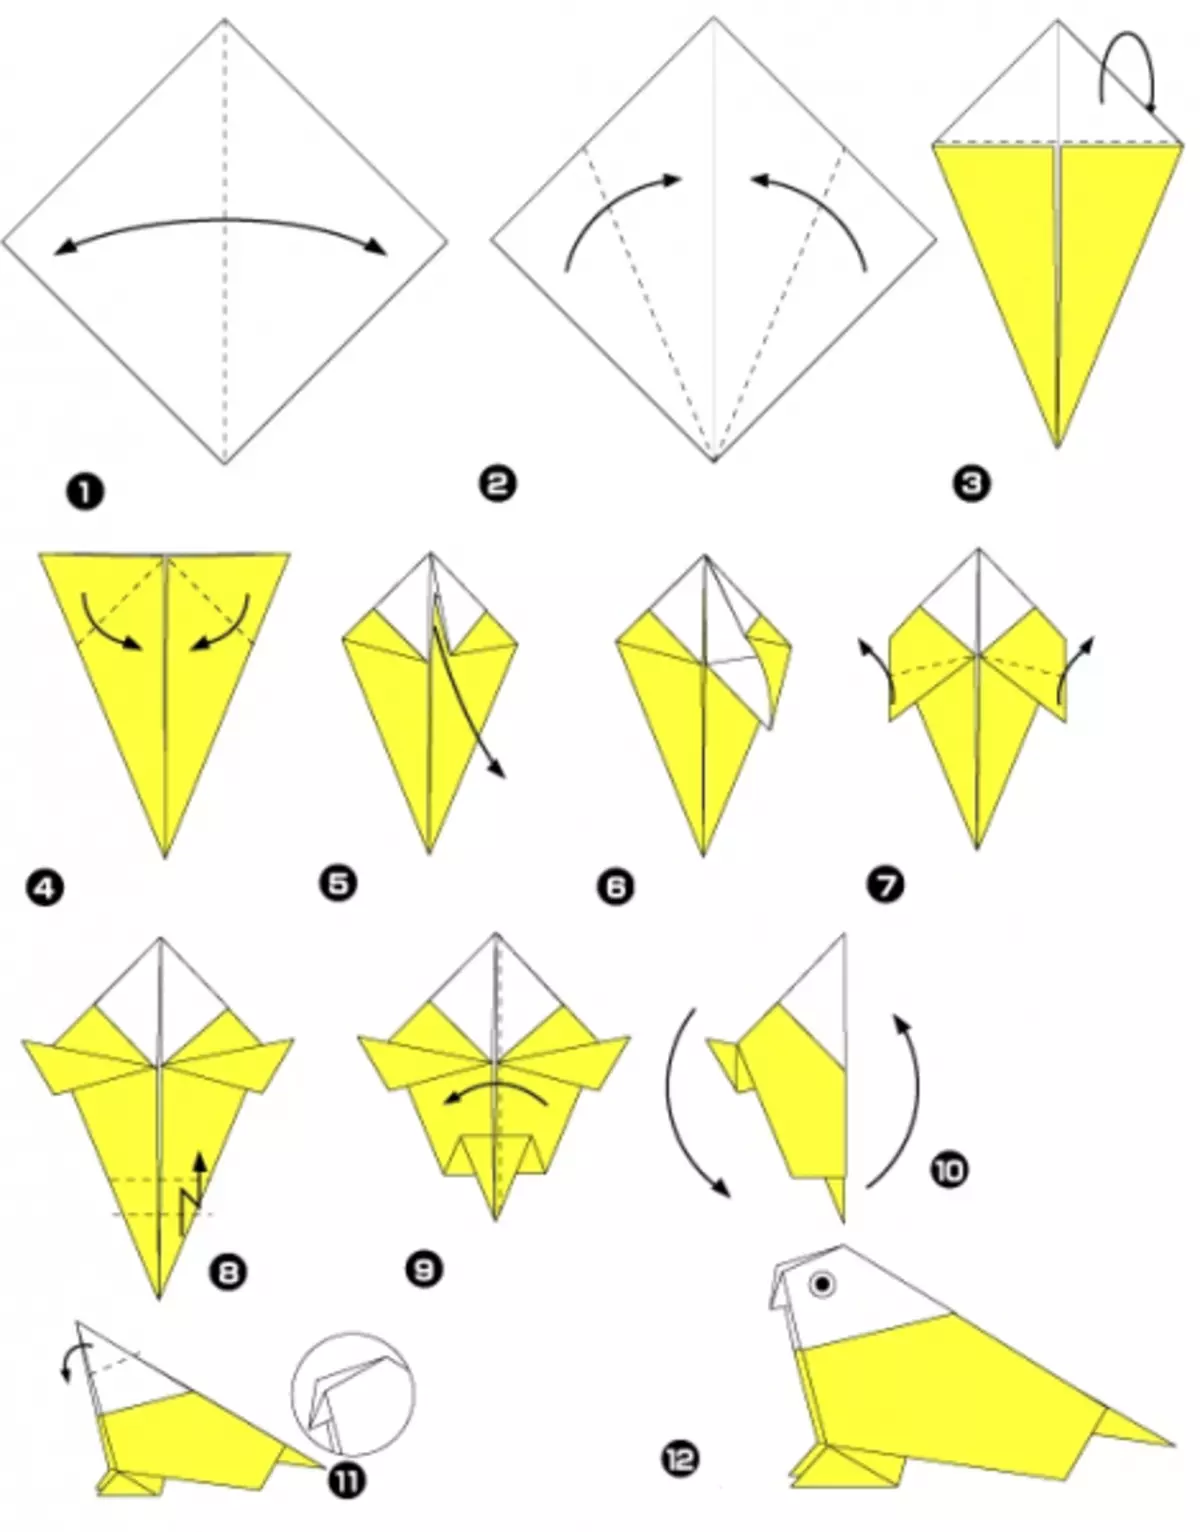
1) Take a square sheet of paper and add it diagonally.
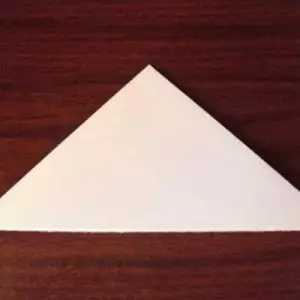
2) Now we fold it again in half, we will have a small triangle.
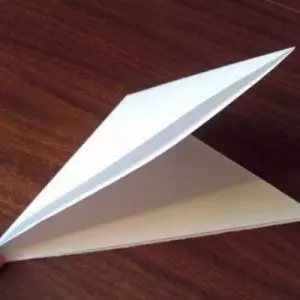
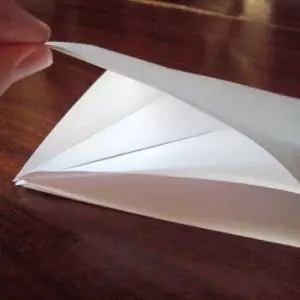
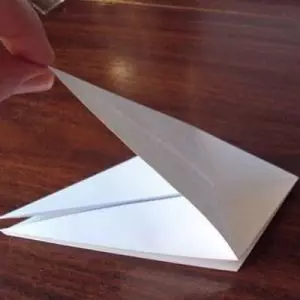
3) Further, we need to cut one of the folds and deploy it part to turn the triangle angle into the square.

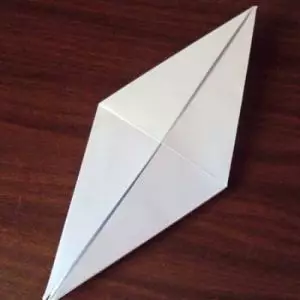
4) Then we turn the sheet and do it, too, on the other side. If you do everything correctly, you should get a square.
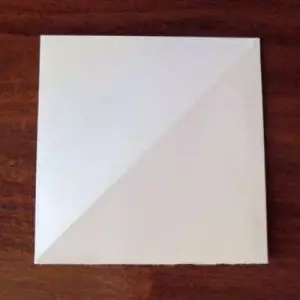
5) on the top of the square bend the two sides to the central line, as shown in the figure.
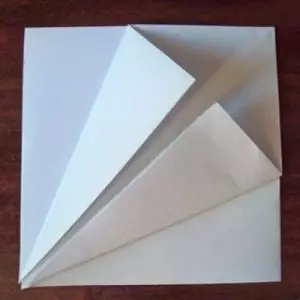
6) And now we turn over the paper again and do it too. We have such a billet.
7) And now we need to return to the second step, when this billet was a simple triangle folded twice.
8) Take the bottom sharp corner of the triangle and run all those parts that we have beyond before, only in the other side. And we repeat the same actions by turning the workpiece.
Article on the topic: Postcard from February 23 with your own hands with photos and video

9) We must have such a workpiece:
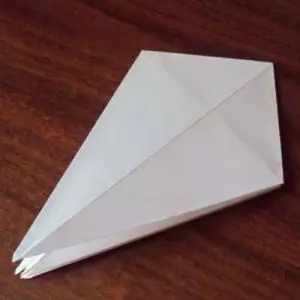
10) Deploying the angle of the figure, we will see that we have a blank of three layers.
11) Now we fold the top layer of paper up horizontal.
12) Further bending the second layer up approximately 2/3 paper size.

13) This layer has two tails that we begin down, and then on the sides.
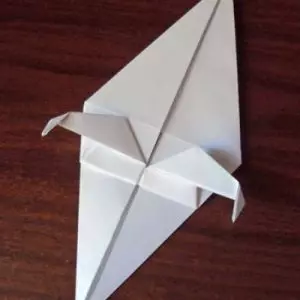
14) And the tips of these tails must be bandaged once again as shown in the photo. It will be the paws of our future birds.
15) We fold the workpiece in half.

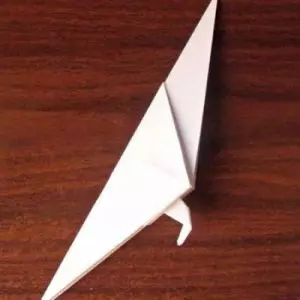
16) the upper part of the workpiece bend down and simultaneously inside, forming the head and the beak of the size we need.
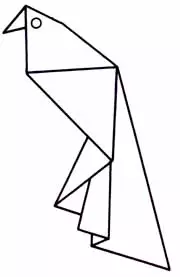
17) and once again bend our beak down so that it looks like a parrot.
18) Now it remains only to paint our pet, we can also provide a child to make a bird that he sees it, and the handicraft is ready.
But you still have one scheme, if you liked to fold the parrot in this technique, make one more pets in your collection.
And besides you can view the video if something does not work with the scheme.
We work with modules
If you want to make a parrot even more and more beautiful, then you need to master the technique modular origami, and then you can make such handsome men with their own hands.
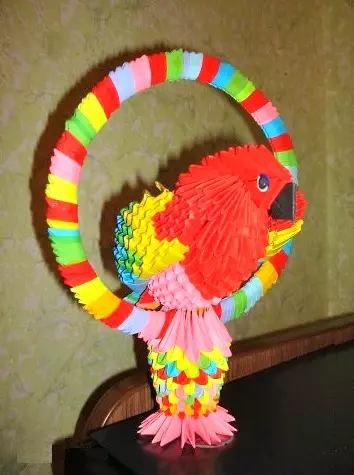
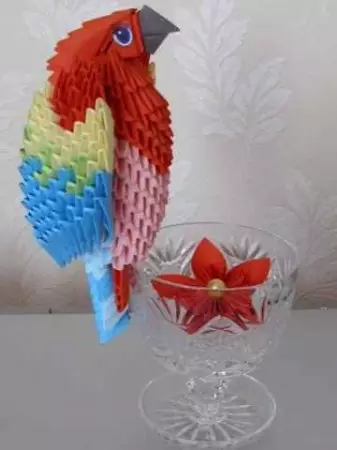

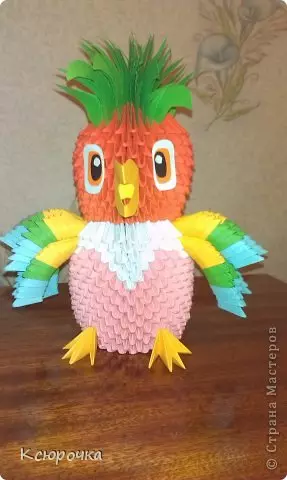
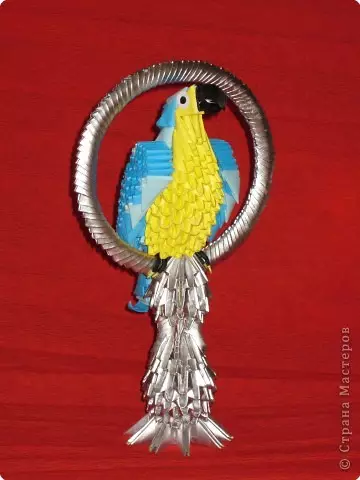
And if you want to do just such a pet, then you have to work a little bit and make so many modules.
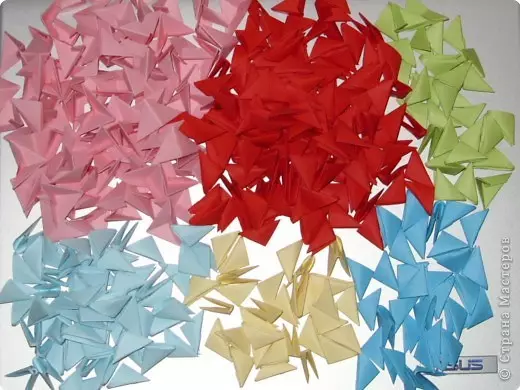
Here you see 160 modules of red, 125 pink, 96 blue modules, 78 blue modules, 54 yellow modules, 20 green.
All these modules must be 1/16. And we still need to make 18 modules of red size 1/32. And now we suggest watching video MK on the manufacture of this figure.
Article on the topic: Toy food with your hands Fetra for dolls with video
Video on the topic
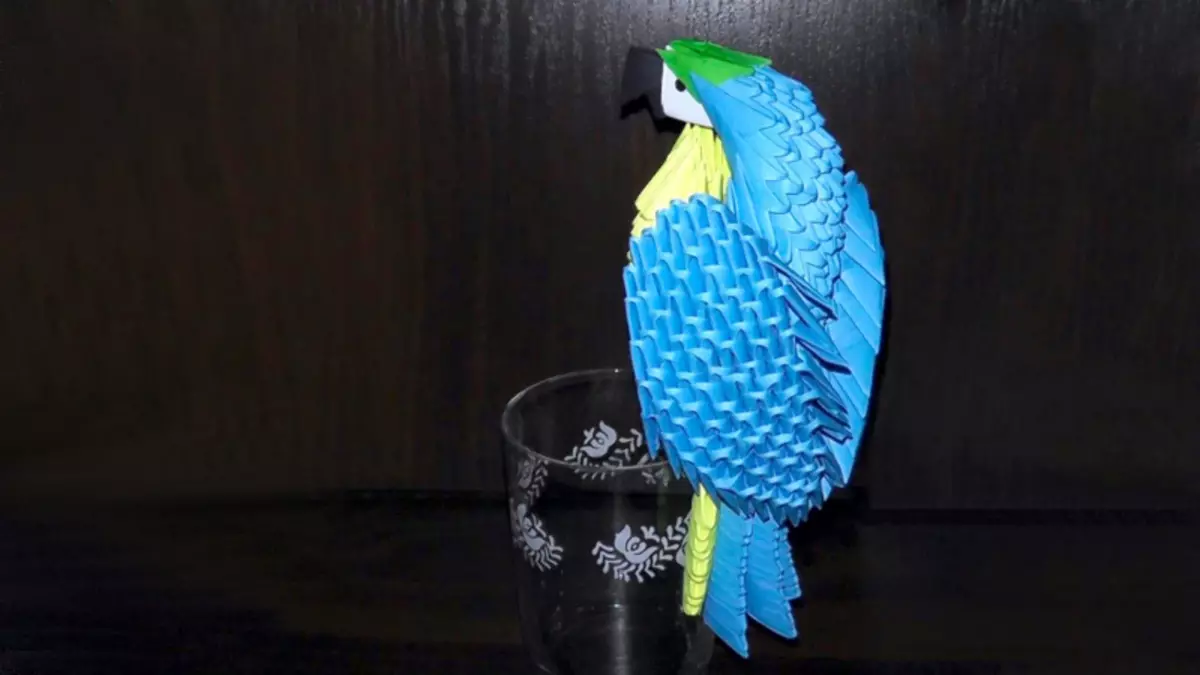
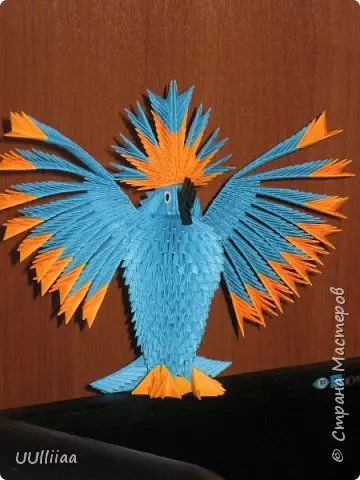
And also offer you a selection of video for the manufacture of other types of parrots.