Summer flew unnoticed and not far from the corner of the cold, there was a time when it is time to warm. And, as everyone knows, an integral part of the autumn-winter season is Mitenks. This type of accessory has long won the hearts of many, since it is very convenient and elegant. It is not difficult for creating such beauty with your own hands, since Mitenks are easy to perform. In this article, we will look at several options for knitting mitten with knitting needles for beginners and not only, and detailed schemes with descriptions, photos and videos will turn your knitting into solid pleasure.
Basics of knitting products:
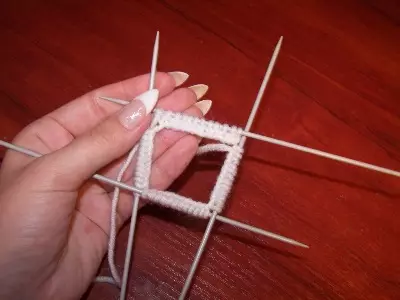
- Mitenks stick on five knitting needles. It is much more convenient, since there is no connecting seam that can spoil all aesthetic beauty.
- Before proceeding with knitting, you need to measure only three parameters: brush girth, palm pickups to thumb and gripping the largest finger.
- Yarn for knitting can choose any of what you like.
- If you are a starting master, then you can connect mitts with a simple pattern, if you have little experience in knitting, then tie openwork, with a more complex pattern.
- You can knit mitts as with a thumb, so without it, leaving just a hole.
Consider several detailed master classes.
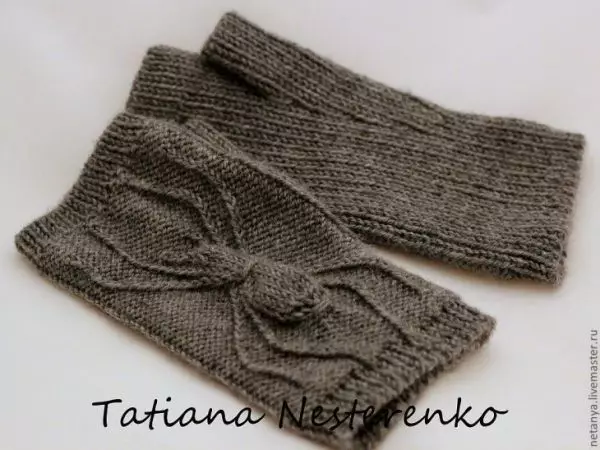
Product with Kosovo
One of the most common and simple patterns, as it seems at first glance, is the "braid" pattern.
For knitting we need:
- five spokes (preferably small);
- White yarn;
- scissors;
- Big pin.
Remove the measurements and calculate the required amount of loops. In our case, we recruit 48 loops, since it should be 12 loops on each individual.
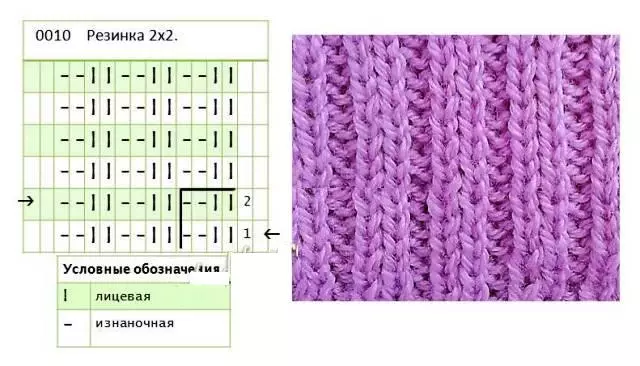
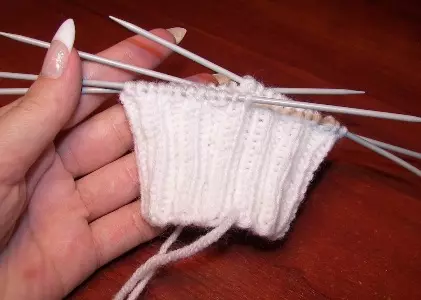
I will check 15-17 a number of elastic band 2 at 2. The length of the elastic is depends on how long you want to tie the mitts.
Article on the topic: Multicolored pullover from crochet motifs
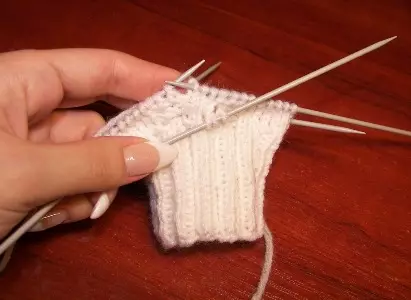
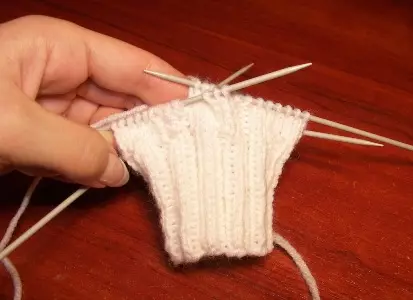
Touching the gum of the desired length, go to the main knitting. To do this, we have six facial loops, three hinges of the outbreak, six loops facial and three irons. The remaining hinges in the row are tied by facial loops. And for this drawing, there are still five rows.
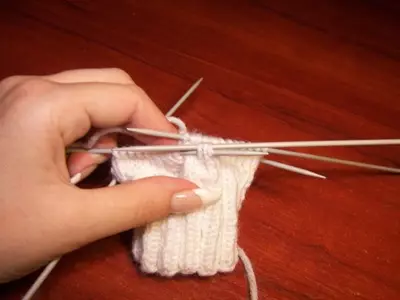
On the sixth row, we proceed to knitting the "Spit" pattern. To do this, in the following way: six facial loops, three wrong, three loops are lowered and insert the following three facial, those hinges that lowered, transfer to the nearest needles and insert the facial. Thus, we turn out that we have changed the loops in places, and, accordingly, the first braid squeaks were supplied.
Here is a scheme of braids:
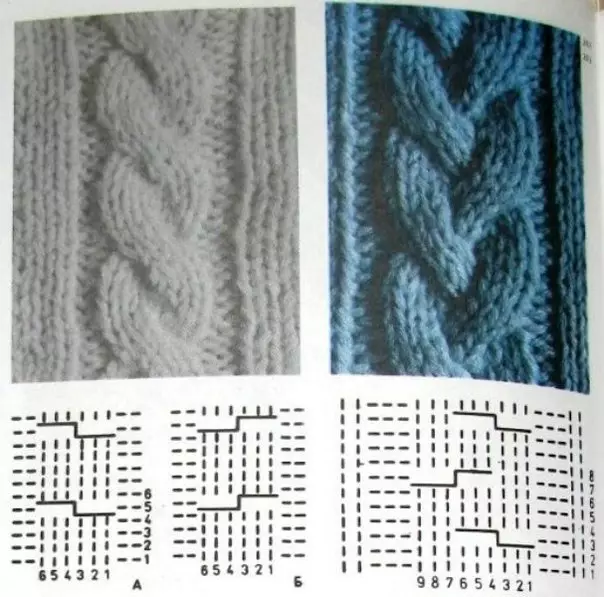
The remaining hinges in the row are tied by facial loops. Thus, we have a drawing on the back of the Mitenki.
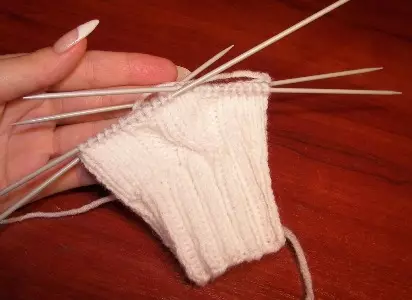
Next, we have 6 rows in the main drawing, and on the 7th row we repeat our braids.
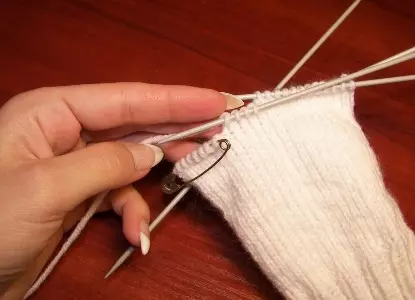
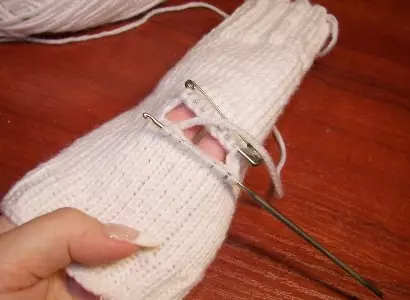
Do not forget to try on your future Mitten on your hand, as soon as you get to the thumb, you need to proceed to the inspection of the place for it.
At the place of the thumb, remove the desired number of loops on a large pin, in our case it is eight loops, and instead they recruit eight air loops.
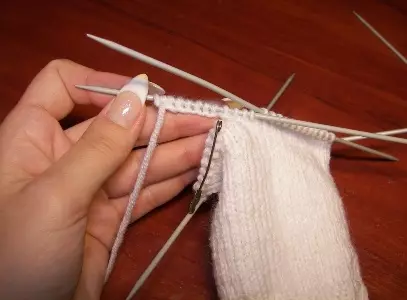
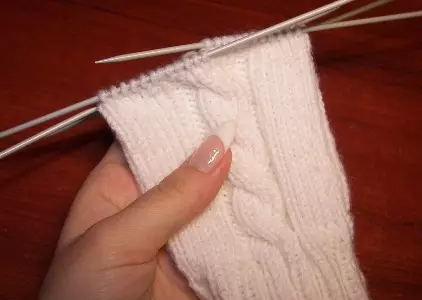
We leave the thumb alone and continue to resize the palm from the above figure to the desired length.
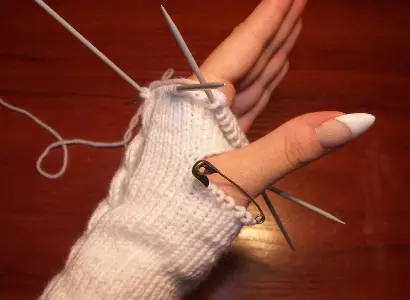
We finish our midst of the same elastic band in 8-9 rows. Close our loops.
Now proceed into knitting thumb. To do this, you need to pull 10 loops with the help of a hook (8 air loops and 1 side loop).
We had 18 loops, we divide them for three spokes of 6 loops and knit facial loops to the desired length. Close loops.

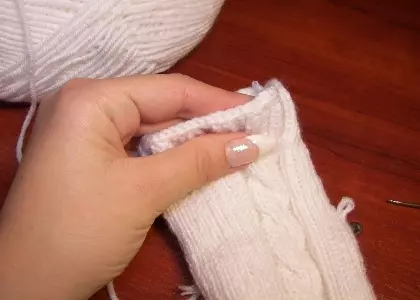
Similarly, knit the second Mitten. Here are such charming mitts with oblique we turned out. If you wish, they can be divided by beads or beads, decorate satin ribbons.
Article on the topic: Wood products do it yourself for children with photos and videos
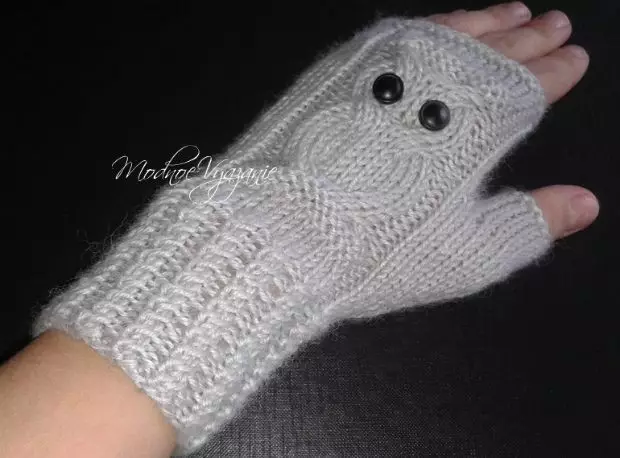
Another interesting version of the Mittenok is a product with a purse "Owl".
Cute sovushki
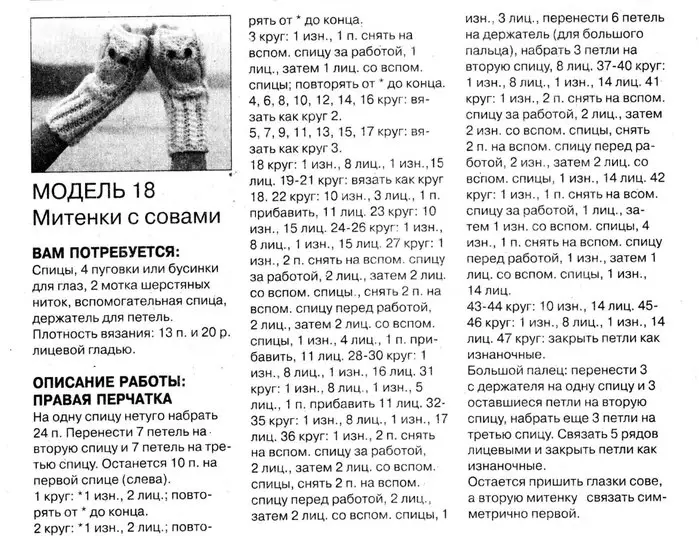
These Mitankas are very popular at the expense of not only the pattern, but also an interesting gum.
A detailed description is indicated in the photo class:
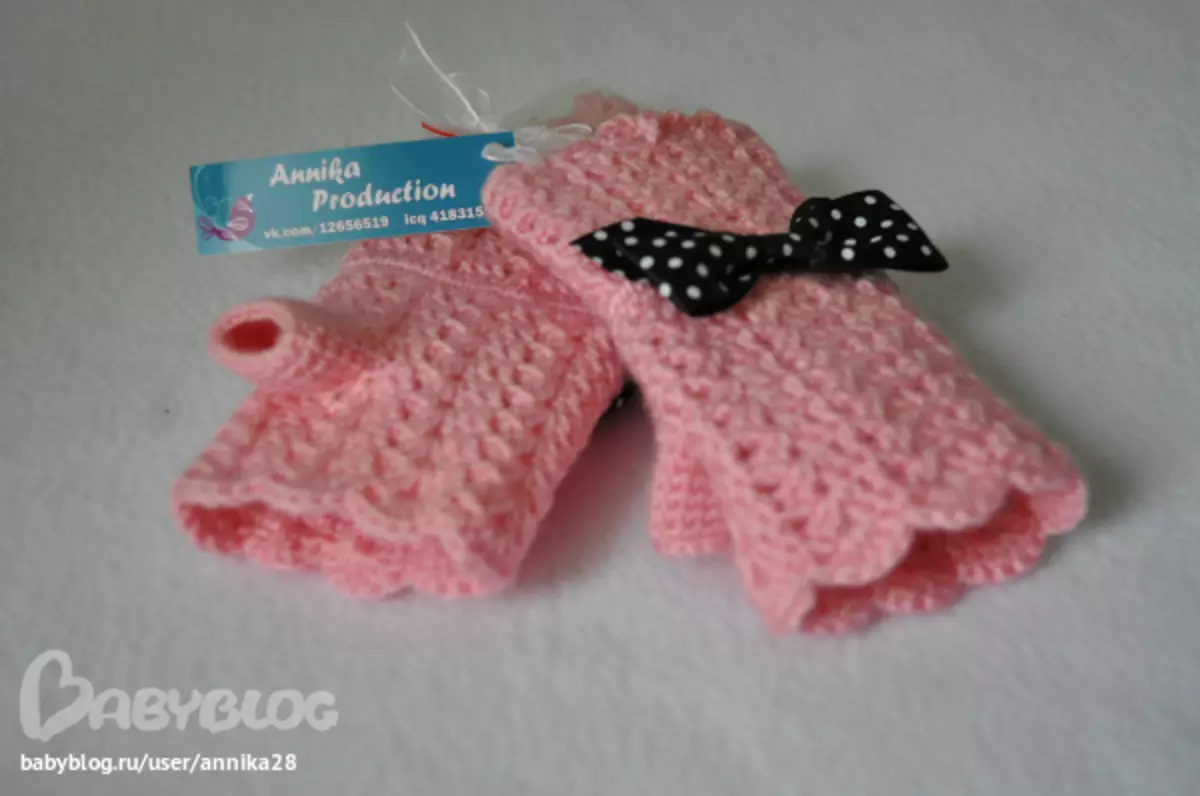
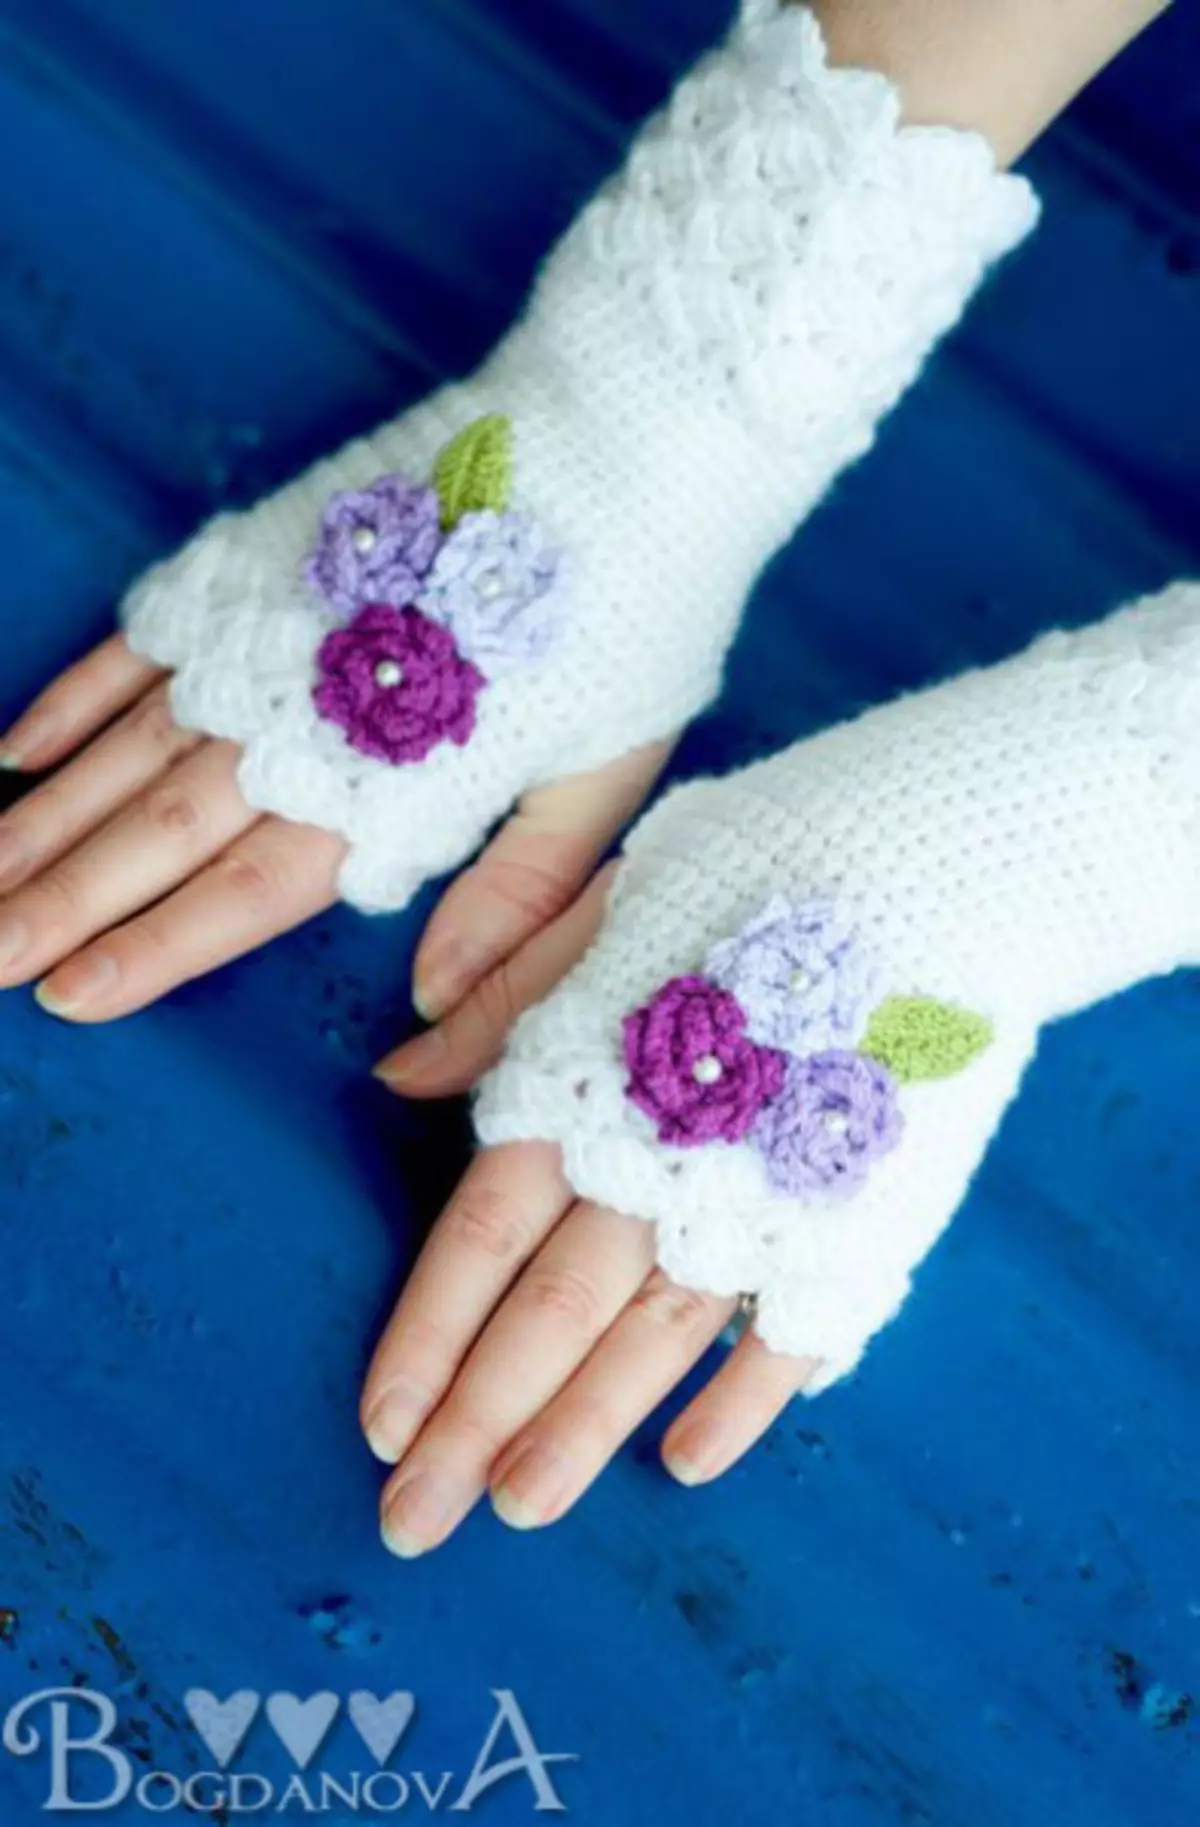
Also take care of your children. You can connect charming mitts as for the girl and for the boy using simple patterns. And for the decoration you can use ribbons, beads or just tie openwork flowers or favorite heroes with a hook. Several ideas are represented by photo: