
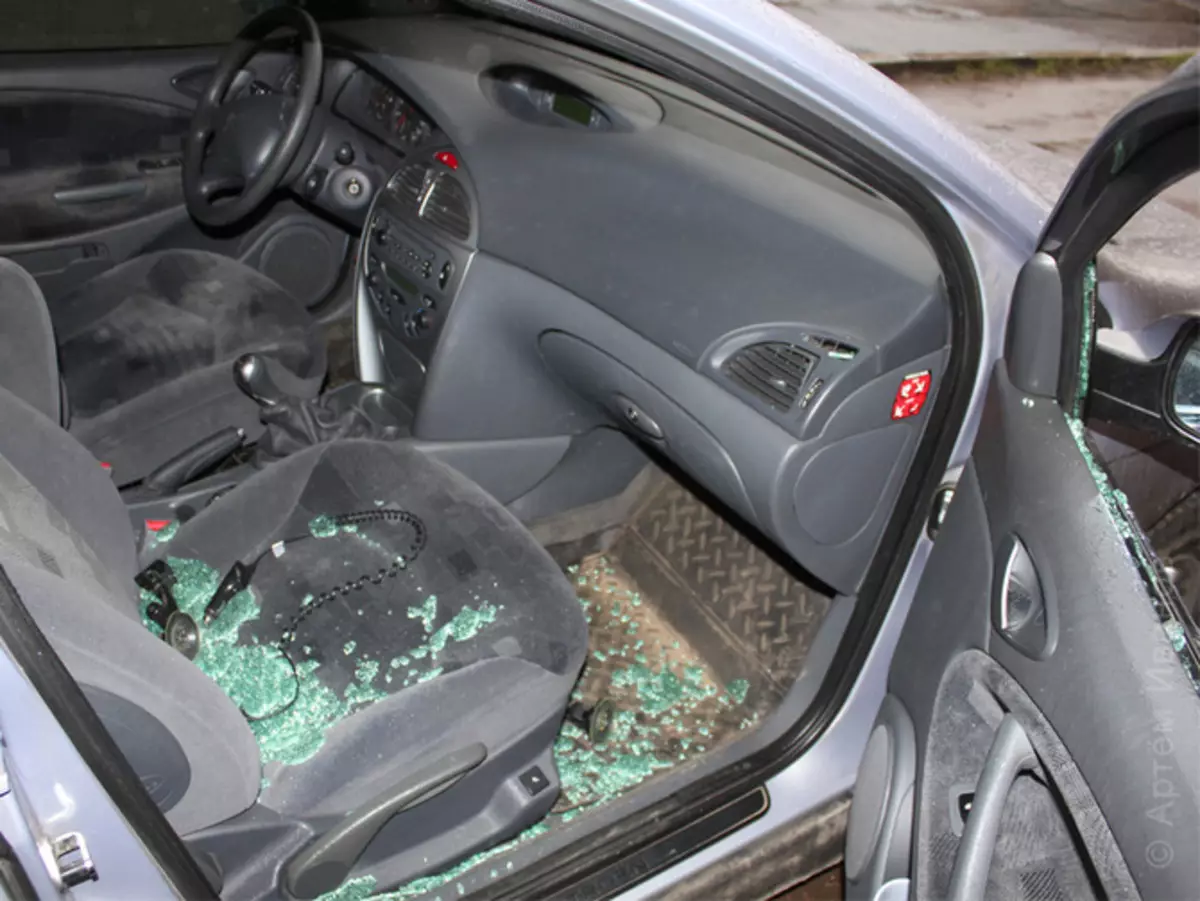
One day, I was going to go behind the lens on my fotik. I'm sorry to the car, and there is a picture:
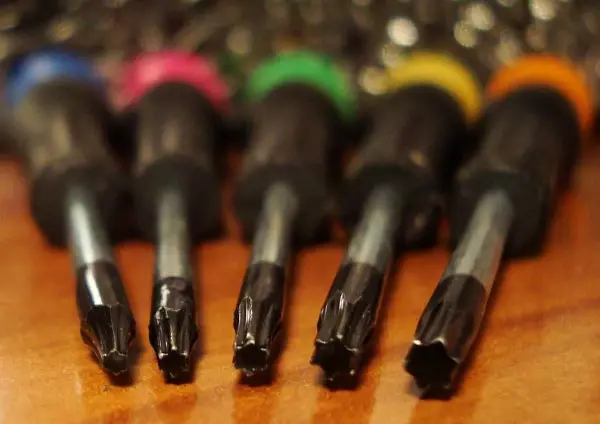
Before starting work, you need to stockpenter with a set of cunning screws:
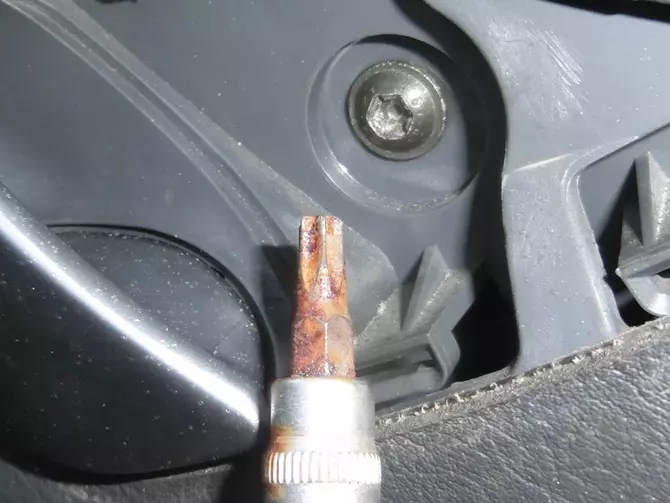
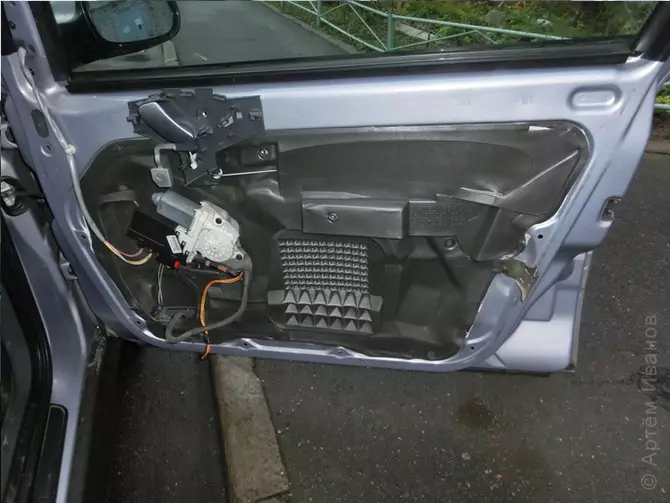
There is a tool, then remove the trim
The instruction says that first you need to unscrew the door handles, and then remove the door armrest.
Do not believe them. The armrest is tightly soldered into the sheel itself and is not taken separately.
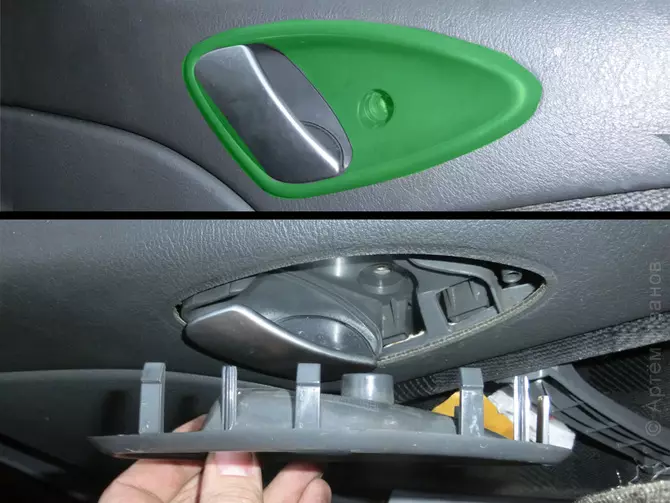
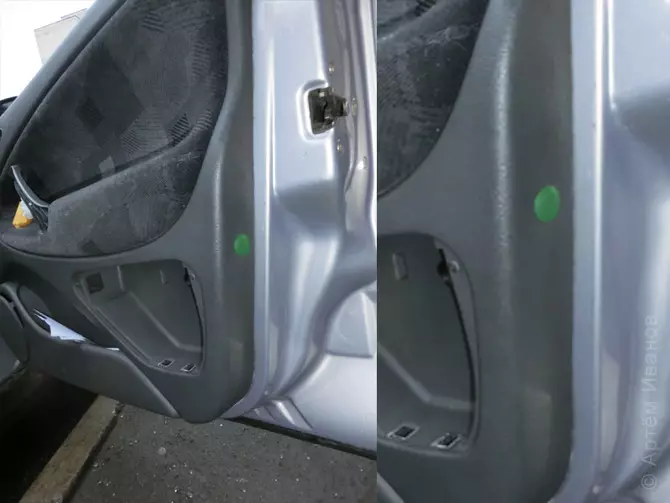
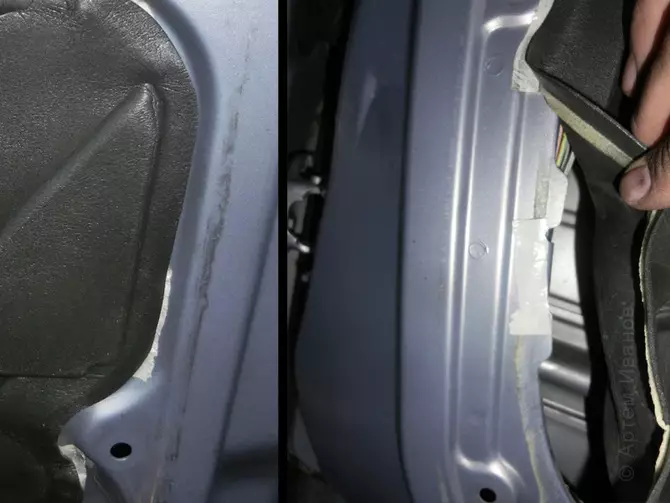
The picture "1" green covered the plugs that need to be removed by hiding with a flat scum.
The pictures under the number "2" show the screws that need to be unscrewed.
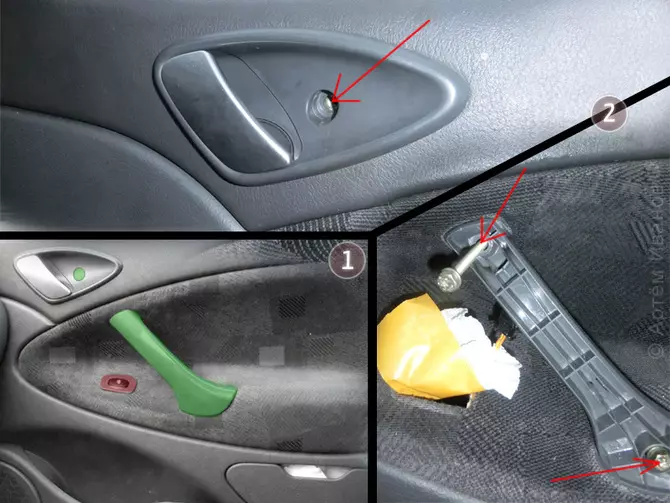
Red highlighted the beet button. It can not be removed immediately. After removing the trim, you can neatly turn off the connector. Although you can carefully pull the up button up and disconnect the connector. Just be careful, the button is easily broken. I've broken…
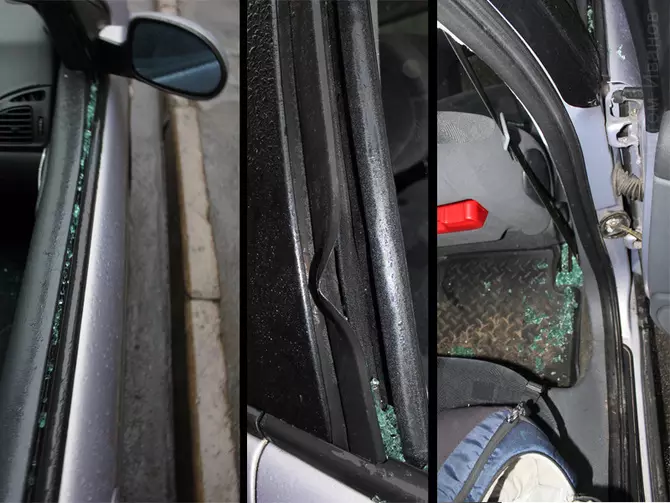
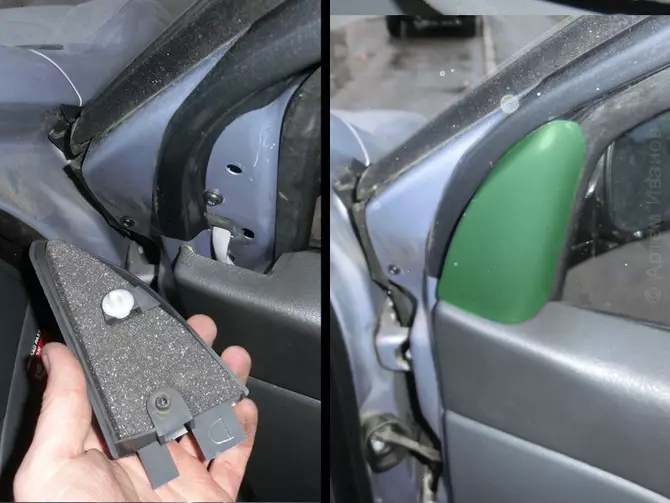
After that, we approach neatly scolding the lining of the door opening handle and pull it on.
Flat reckoning with a plastic lining, followed by the door mirror fastening screws. The lining was tinned by green:
All the same diverter we subscribe to the hook and pull the plastic mesh the dynamics of the door. (Press. Green)
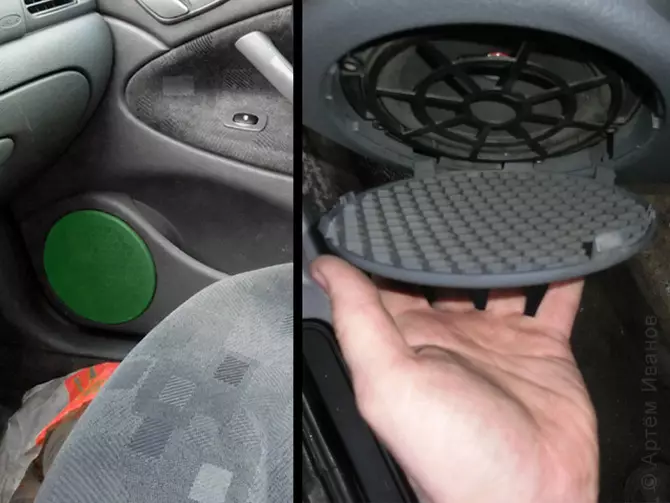
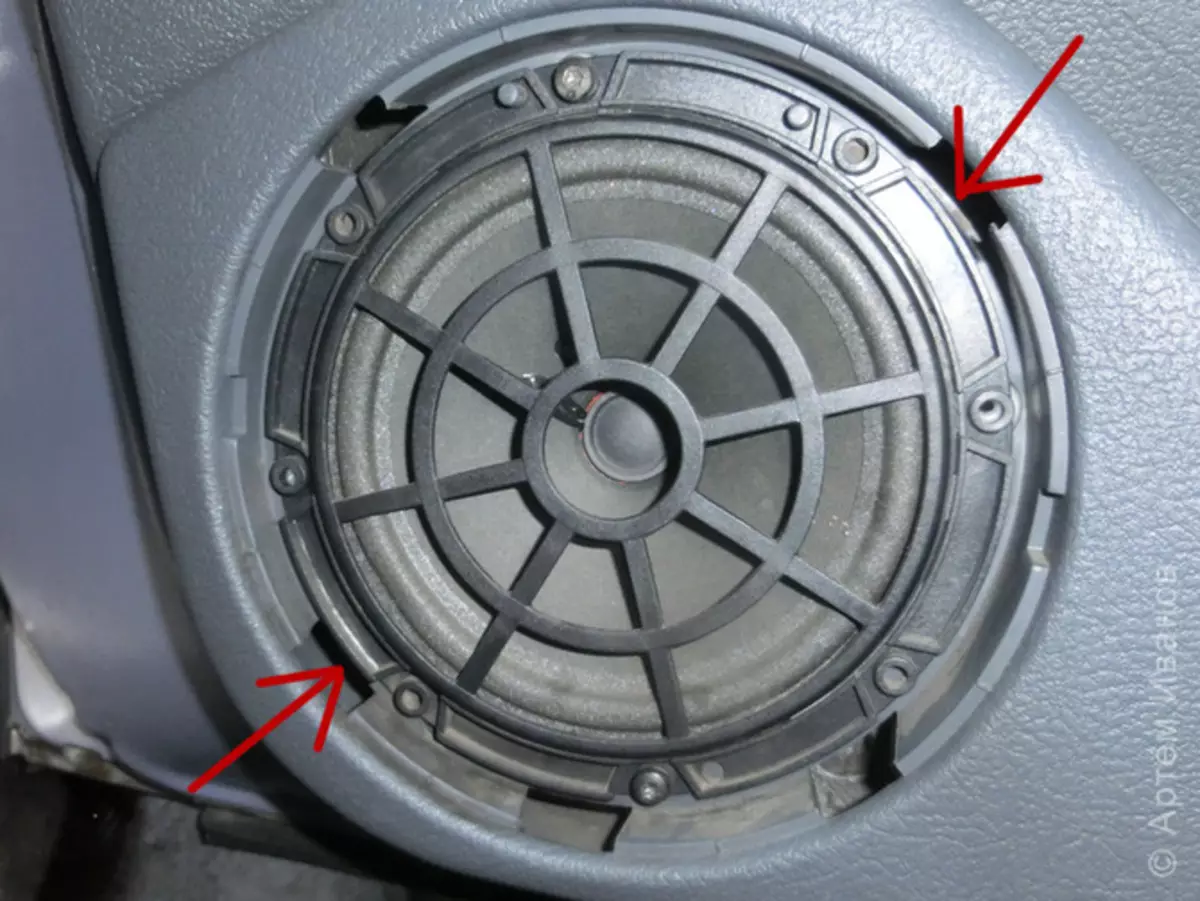
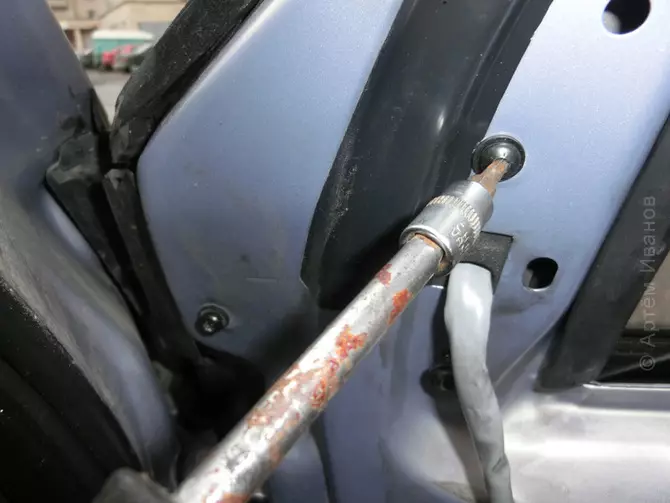
We unscrew all prominent screws of the dynamics of the dynamics, and behind them (not sfotkal) there are two more screws, fastening the trim. The location of their location is marked by the arrows.
Remove the last plug (sn. Green) under it screw. Remove and remove the trim.
Under the skin there is some kind of garbage, probably dustproof:
Removing it easy to break. Therefore, they are patient, armed with a sharp knife and cut off the glue from this dust and remove it.
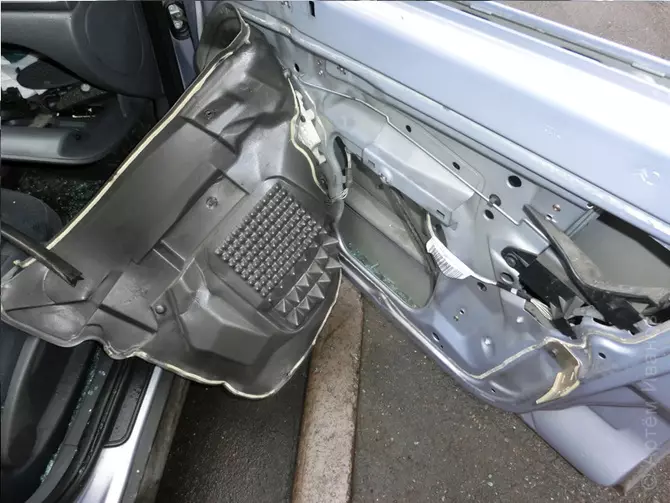
It is glued back to two-way tape.
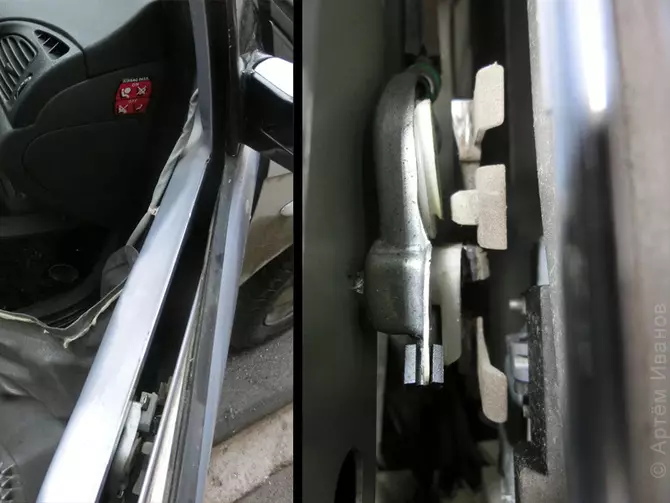
We unscrew the 3 screw fasteners of the mirror, but do not remove it. Just weakening to relieve glass inserts.
Insert glass
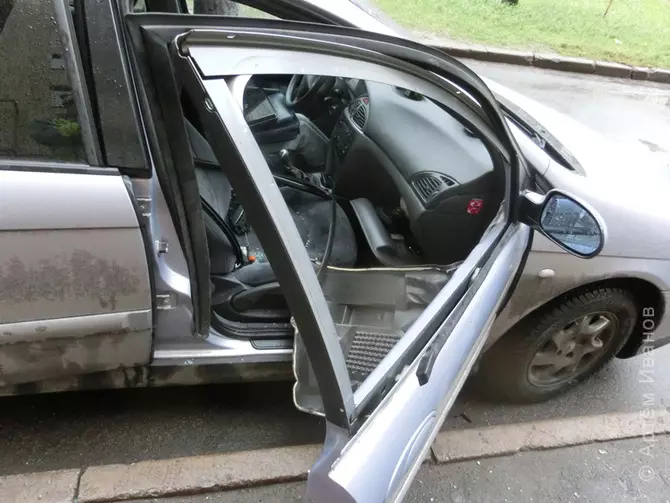
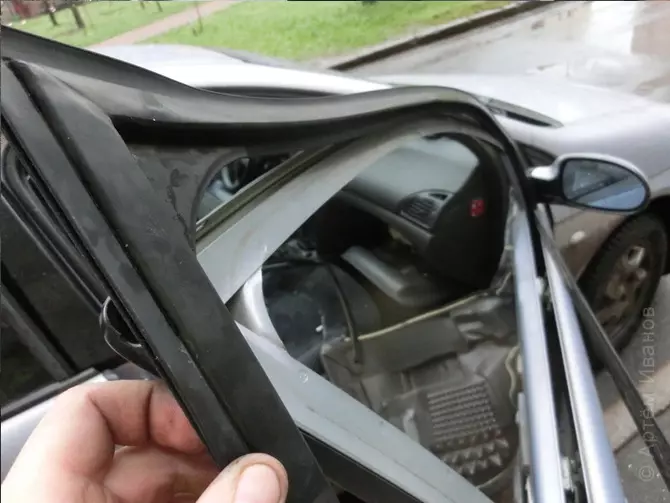
Remove the glass seal so: if you get up from the outside of the door, then the seal must be pulled out.
Article on the topic: Knitting with crochet: Master classes with photos and video
No more pictures, only a description, for inserting glass and photo, is extremely uncomfortable.
Glass has 2 holes at the very bottom. Photos found in the Internet and since the holes are not normally visible, I put big red dots there:
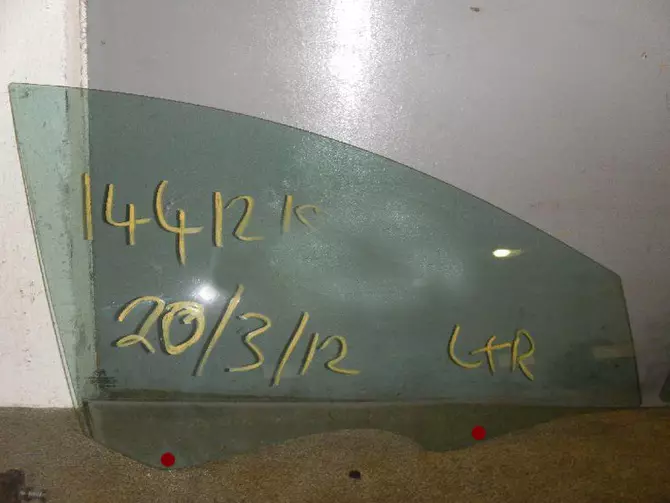
No need for glass clamp bolts. There are special plastic locks, which fix the glass for the very holes.
Enough glass correctly put into guides and gently press down.
It will declare. Checking the performance, omit the glass to the lowest position, insert the seals and we collect everything back.
It turned out everything is very simple and not scary. )