
Conduct at home Installing the champs with your own hands, without using a special hand tool to install chalks, that is, if there is a different manual tool. To do this, you will need a disadvantaged to install the data of the elements that allows you to make a round-shaped holes.

Installing champions at home is performed with special tools.
Instead of a bandwich, and a round metal tube, which can be one knee of the old, failed antenna, a hammer with a comfortable handle. It will also be necessary for both metal ball, taken, for example, from a bearing or children's magnetic designer.
How to apply a manual tool when installing chalks
First, it is required to make a hole and turn into it the lover, leaving his hat from the front side. Inverting the product, install the reference ring on the wrong part. Taking a metal ball, the diameter of which is slightly larger than the diameter of the part of the recorder, which has a cylindrical protruding form, should be put on this part and hit it with a hammer. There will be a split rivet ball and fixing the block.

Refix for sealing champs: A-Satza B - Punson B - Piston G - Top Piston Piston 1 - Creek Matrix 2 - Operating part of the PuNson 3- shock part of the punch of the 4-rope clip.
For the greatest strength, you should knock a little on the rivet installed with a hammer, but too much efforts should not be, otherwise it will spoil the type of fittings. To take advantage of this method, you should have experience with all the tools listed above, which will correctly calculate the blow to the ball.
When using sweater when installing, the work process itself will proceed very slowly. At the same time, many additional tools will be needed to be in the farm. Installing accessories best with special passatages, allowing to break out a rivet-like cylindrical part of the chalome.
Article on the topic: Electric plug and its independent replacement
After flattening the poles, the lover's hat should remain on the front side of the product, and the involve half, which is flattened, bend on the opposite direction. It should be used as a reference to the ring of the champs, which is his second half. It is necessary, since often the rolling process can lead to a cylinder break, that is, its walls. After that, the formation of cracks and sharp edges, capable of harming the material, breaking it.
To prevent the fabric damage, it is necessary to use a special substrate ring in contact with the material from which the product is made. It will not give the possibility of cracking, scratches or gaps.
The use of passage in the process of installing chalks is available to each and does not require additional skill in working with this type of hand tool.
Manual tool characteristics and use methods
You can select the most common types of tools that allow you to install recordings. By installing, you can use:
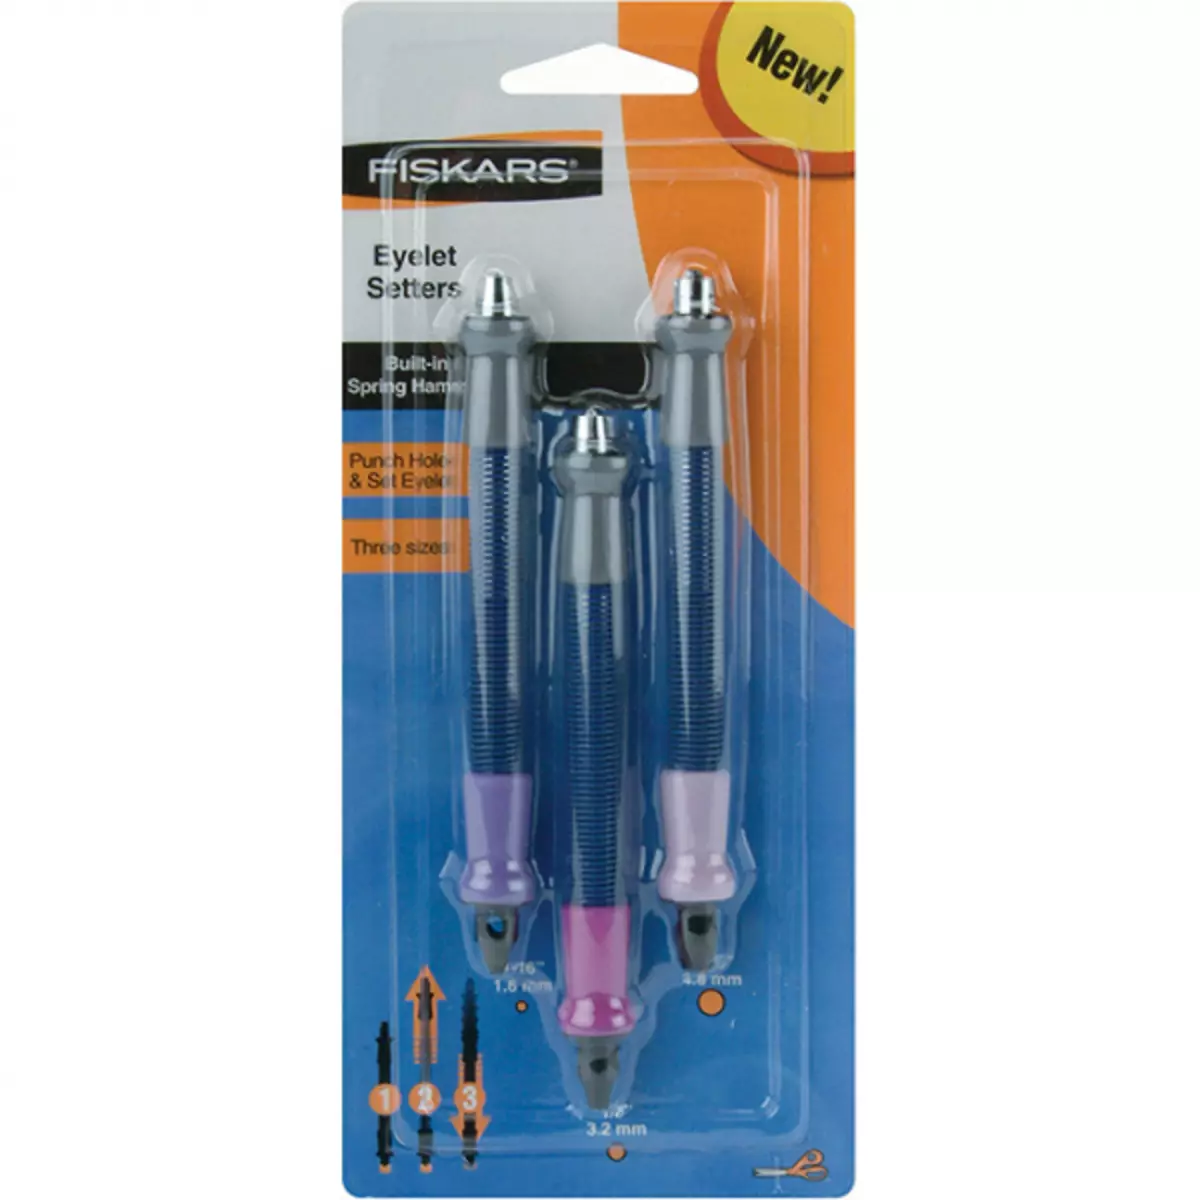
Fiskars's chamfer installer includes 3 devices for installing brutverts of different diameters.
- FISKARS installer.
- The tool for the champs "4-in-1" or folding hammer.
- Panch for installing chalks.
- Tongs for installing the "MICRON" Block NT-2 (manufacturer of Gamma).
- Installer "Kangaro".
- Kropodail.
The Fiskars Installer's kit includes tools that allow you to install the champs of various diameters, in the number of three pieces. They are used, working with different materials whose density is up to 400 g, for example, among them the following can be distinguished:
- Paper.
- Plastic.
- Thin skin.
- Thin foil.
- Felt.
- Cardboard, etc.
The installer is placed on the surface of the material of its tip having a lilac color where it is necessary. Be sure to put a special rug that protects the product from damage. When fixing the tip of the lilac color, pull out the free handpiece with a gray color, which will stretch the spring, release it.
Spring stretching no more than 5 cm up. After that, the product is stacked down face together with the lover, which must be aligned similarly to the working hole when the product is directed face down. Then make the installation of the gray tip of the installer, and the lilac tip pull up. If necessary, work should be done again.
Article on the topic: Electrical Convector ELECTROLUX
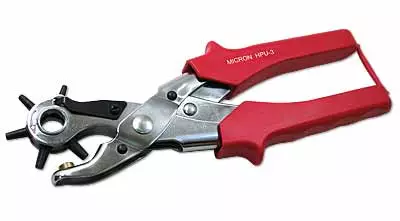
Tongs for installing the block are convenient and easy to handle.
Using a punch for installation, you can put the champs with a diameter of 4-5 mm. Together with Panch, the set is attached to the nozzles that allow you to penetrate the holes. To install the champs, you should twist the punch nozzle, screw the displacement nozzle and make the required holes. Upon returning the nozzle, the blocks are sprinkled with forceps.
In the general set of MICRON tongs, NT-2 Gamma firms include blocks in the amount of 100 pieces, the diameter of which is 4 mm. For the manufacture of forceps is used durable material. They are equipped with an anatomical handle, a ruler that allows you to determine the diameter of the block, the hole-hole-hole, which first pierces the holes. By installing recordings, simply squeeze the handles of the forceps. According to a similar principle, Kangaro tongs are set.
How to install a hammer
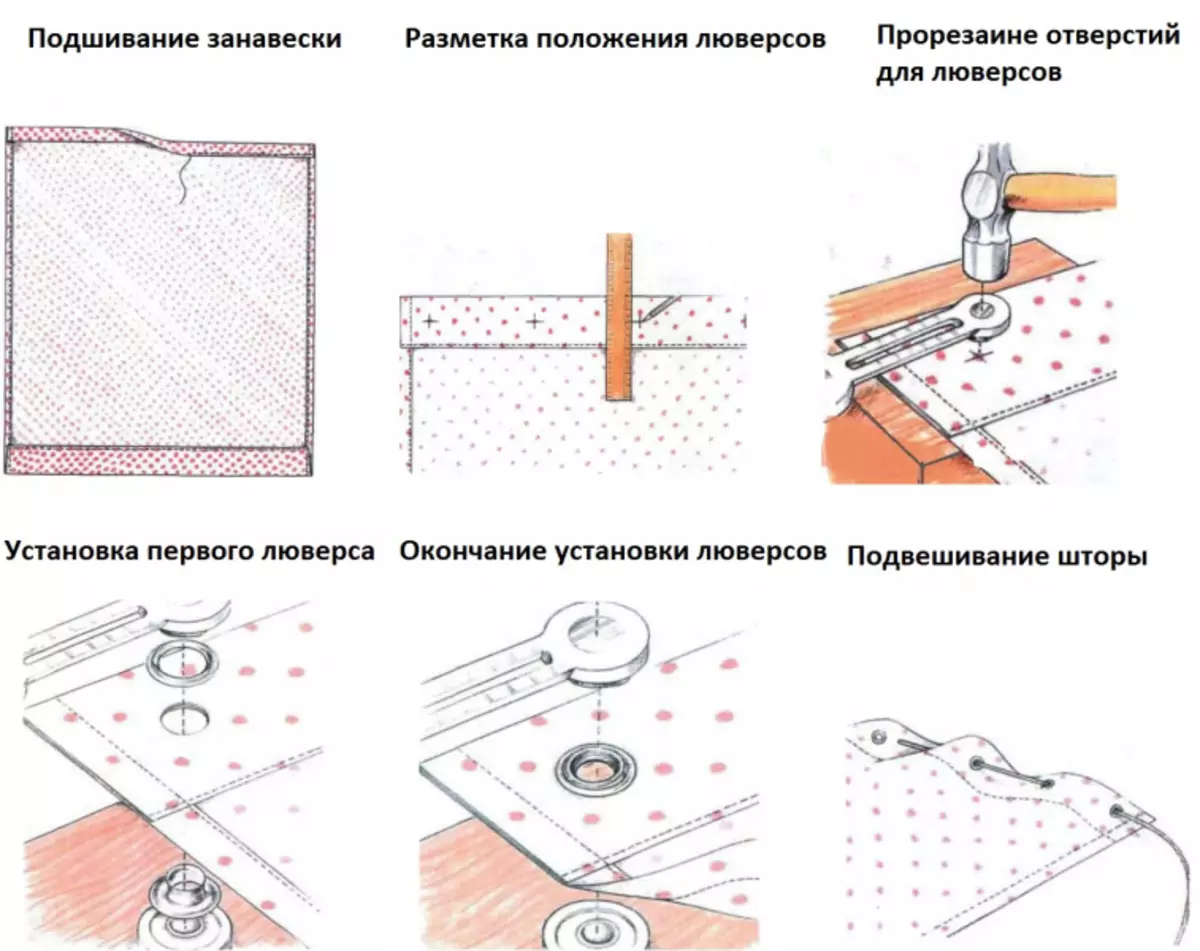
The process of installing chalks.
The collapsible hammer is a tool for an installation that has several nozzles. They are screwed into each other, and then in the tool itself, which is quite heavy, and therefore convenient for storage.
With the help of a hammer of the collapsible carry out the installation of champs of 6 mm in size or large, if necessary. In the process of installing the hammer makes a lot of noise, which is a negative point when used, especially if it is used late in the evening. The positive effect from work can be achieved by installing the lover at any distance from the very edge of the product.
The most important point in the process of work is the presence of a solid surface of the workplace, since the luber is differently installed differently. Use the collapsible hammer should be strictly according to the instructions:
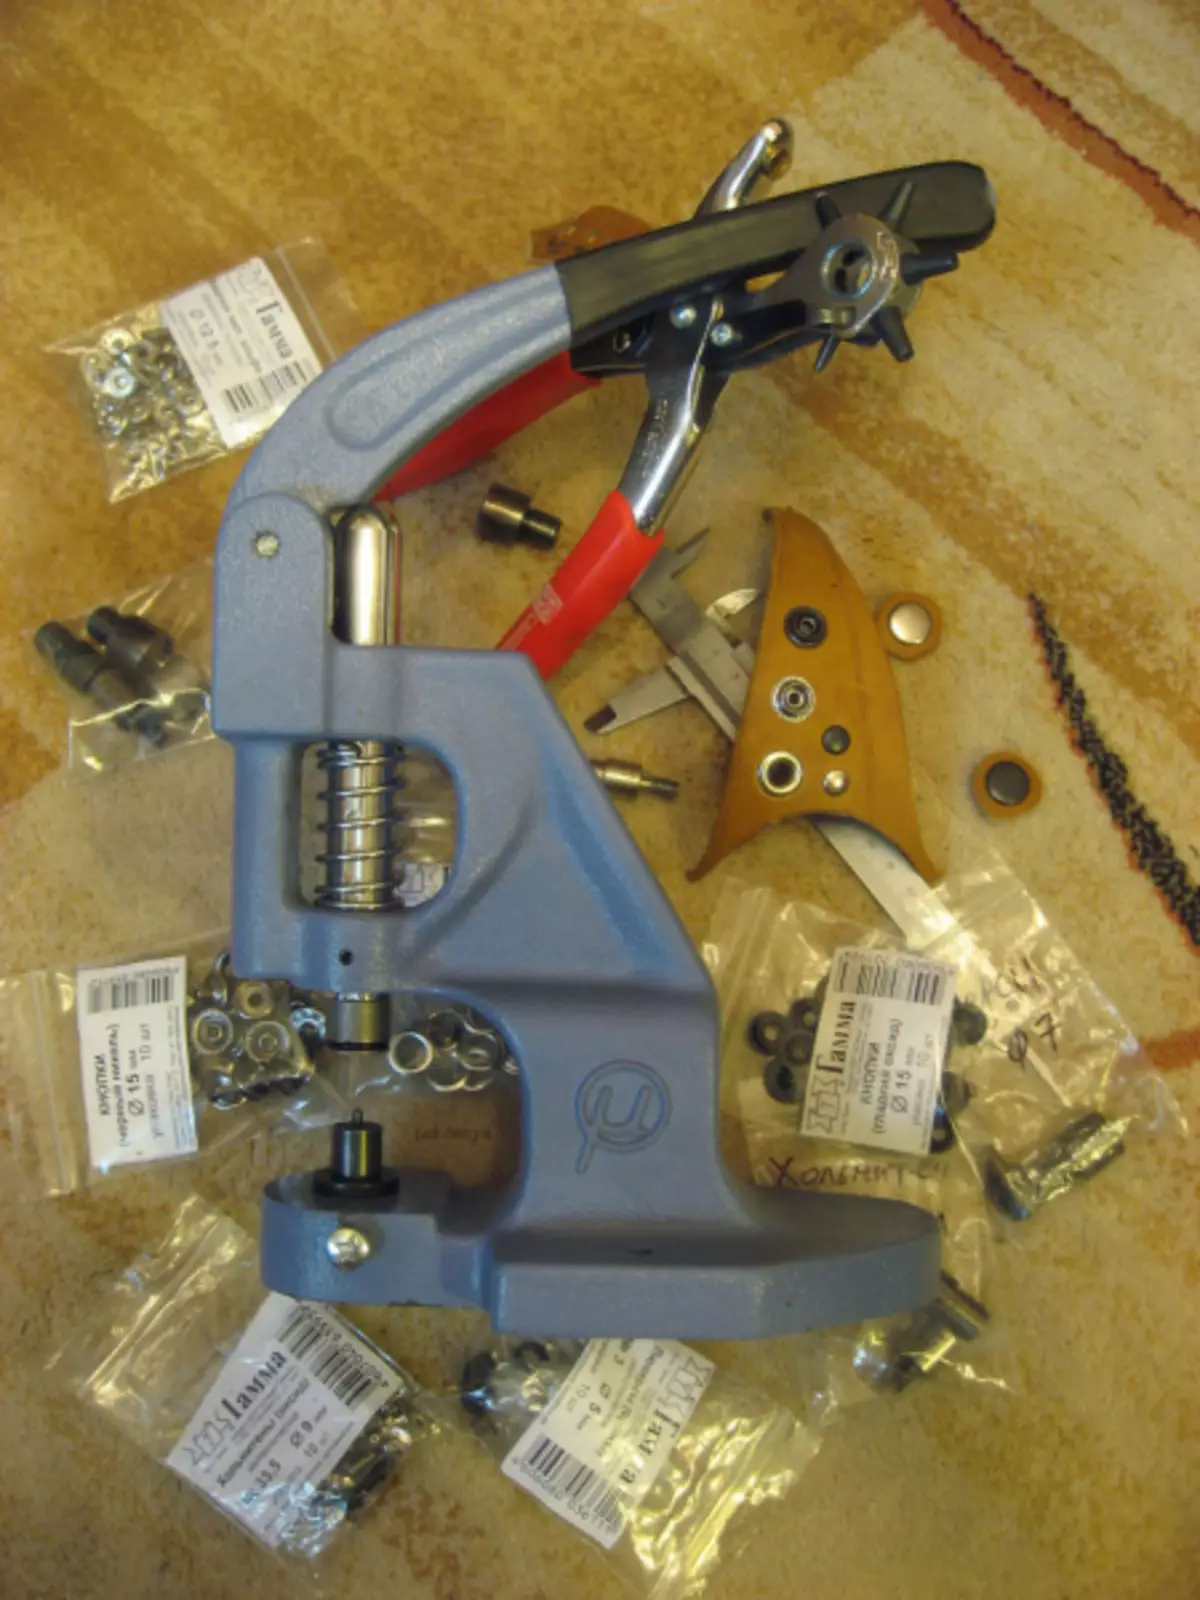
Manual press for installing chalks is used when installing records in the skin or felt.
- First, there are those places where the blocks will be installed.
- Prepare a solid smooth surface, it is necessary to place paper or other material with a marker applied to it.
- After that, the Pobbler is put into the perpendicular position, and a row of shocks with a hammer is applied.
- Having postponing the displacement, check the presence of a hole.
- If it is not, then with the help of the tip of the spherical shape, the installer squeezes or penetrate again.
- Turning the product, insert the lover from his face, and then put it down it.
Article on the topic: Wallpapers without seams: how best to glue, why they diverge and become visible
At the last stage, the mandrel of the installer must be inserted into the feet of the champper, which is flattened by tapping with a hammer.
Hand tool "Pulse" for the manufacture of products with records

To install the champs of different diameters use different nozzles.
With the help of the "Impulse" tool, you can install the champs at both home and industrial production. The tool breaks products for champs with a diameter of 10 mm required for dense tissues, including tarpaulin. The "impulse" tool can be performed on widescreen tissues if they are located on the table or on the floor.
Install the records with this tool extremely simple, it can be kept using a comfortable handle by taking it into your left hand. To bring a tool into a working condition, the handlebar knob is screwed into a special rod. The quality of the tool depends on the optimal position of the juro.
In the process of installing the trigger, you can adjust using the adjusting screw. Thanks to the embedded internal hexagon, you can easily make all the required adjustments. The adjusting screw itself is in the threaded hole of the juro, being screwed into it.
The tool is equipped with a magnetic colangua required to install a lumen block whose ring should be inserted into the matrix. Next, the tool must be started under the material. With the help of sharp lifts, the product can be treated with one movement with free hand.
When using the "pulse", the handle-trapes descend with your finger after the proper positioning of the tool. You should apply one or two shocks on the record, tightly pressed to the material, as a result, the block will be fragmented. If there is experience, the positive result will be obtained and after the first strike.