
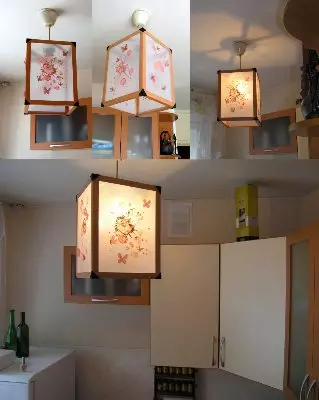
Homemade outdoor and hanging lamps do it yourself in one style
To work, we will need plastic corners.
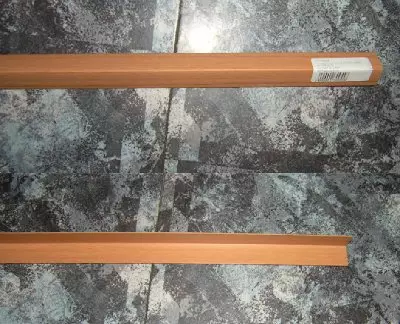
Corners glue brazil on superclauses. From above the angle is masked by a piece of leather / velvet paper, etc. It turns out quickly and quite pretty. You can also change the drawing if you get tired.

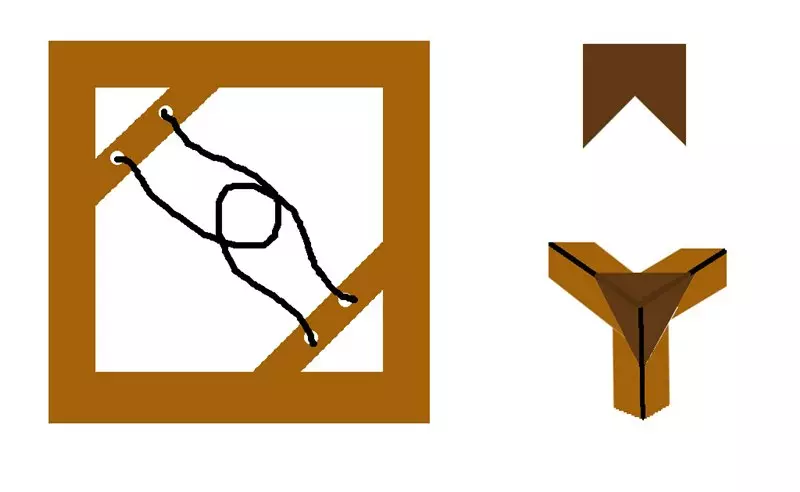
For mounting on the ceiling, two pieces of the same corner are glued diagonally, 2 holes are drilled in them and laces are tied. The loops dressed on the cartridge from the bottom from different sides. Mounting and disguise diagram:
But for the outdoor lamp, this is not sufficiently firmly. Need a frame!
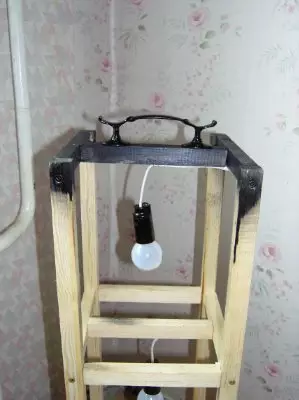
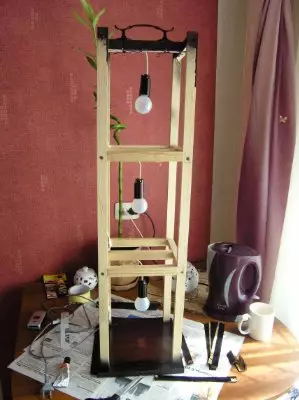
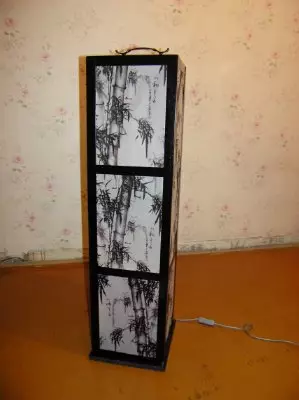
So, the first stage. According to a predetermined sketch, we make the basis of wooden bars, fasten screws, carry out wires for light bulbs. We screw the handle (for carrying the lamp: after all, the weight is considerable and almost a meter of height!).
Many thanks to my husband :)
Stage second. Purchase by tracing parties with a pre-inflicted pattern (or sampling, or we are upheld by a cloth - depending on the laziness and the level of possession of the brush).
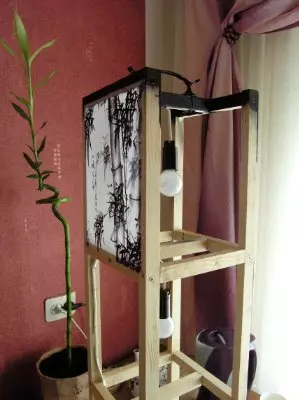
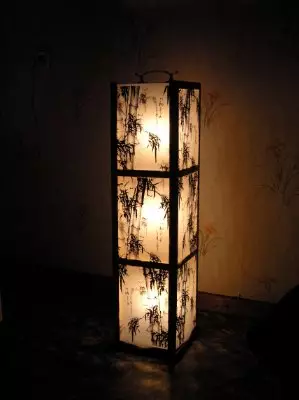
After that, on top of the frame, the same plastic corners of the color you need are glued or screwed (I painted my nitrochkaya). Ready!
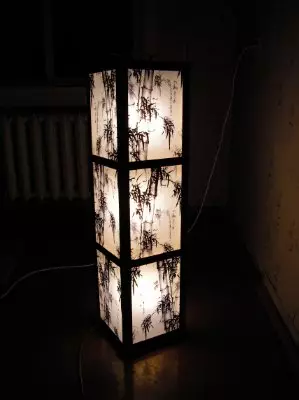
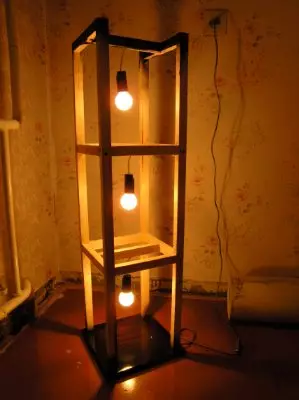
Please note: I have lamps hang on the cords.
It's necessary:
a) so that the light is more evenly distributed and
b) so that the light is convenient to replace.
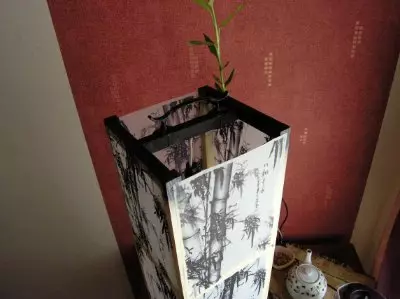
It is also different, but then thinking in advance the technological holes through which you will get light bulbs.
Article on the topic: Warm floor from the heated towel rail: how to connect, scheme