
In one article, we have already considered you how to connect the motion sensor, we will talk about how to connect the photoyelele. These are two different devices, they should not be confused by each other. Photorele turns on in the dark automatically, and allows you to significantly save on lighting. It is possible to install it at the cottage, in the entrance, etc. In the article we will talk about how to install the photooreleel and connect all each other, show the schemes and consider the whole step-by-step instructions with the video.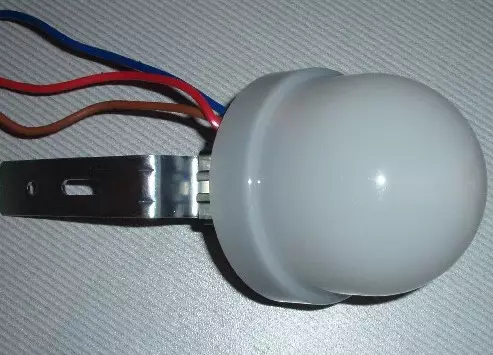
Principle of operation
Initially, let's talk about how this device is working at all. The design includes simple items: a photocell, a phototransistor, a comparator and a relay.The main task is to create to monitor the intensity of light and in which case the chain is closed. As soon as the lighting intensity decreases, the photocell reacts to it, it gives it to know the comparator who has a trigger threshold. If the voltage is more installed, the relay is connected, it includes the lamp. Learn about how to connect the lamps on the street.
How camera works: video
Connection schemes
Before you start the answer to the question, how to connect the photoyele to the lamp, you need to figure out which there are connection schemes at all. Now you can highlight two main, they are similar to each other, but have significant differences in the installation plan.
First scheme
The first diagram of connecting a photoeleler for street lighting is that you need to attach the photoorele through the junction box, this option is suitable only when you are ready to completely change the wire in the house.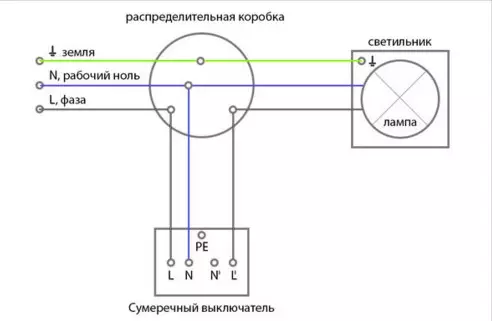
Second scheme
Article on the topic: Applying a needle roller for fixing the bulk
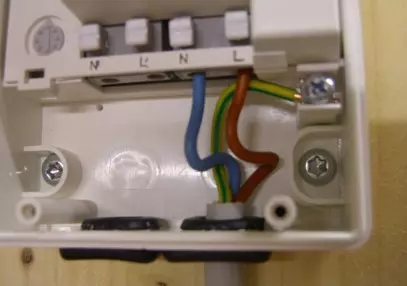
Such a connection scheme is suitable if you do not cook the wall, you can connect everything directly with your own hands. All three wires are harvested inside the housing and are pressed by terminals.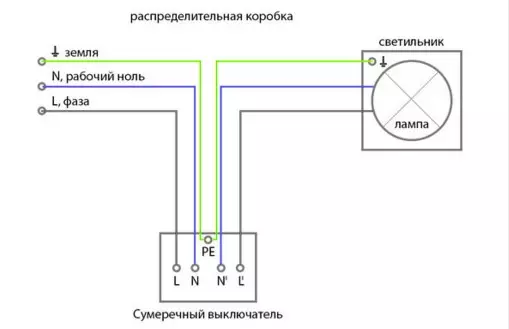
Each of these options is considered correct, the first is practically no different from connecting the switches.
How to connect photoelele: Step-by-step instructions
Immediately I would like to give advice, optimally connect the FR-75A photoherelele and the motion sensor. The devices are closely related to each other if you are going to install the sensor, then you specifically simplify the installation.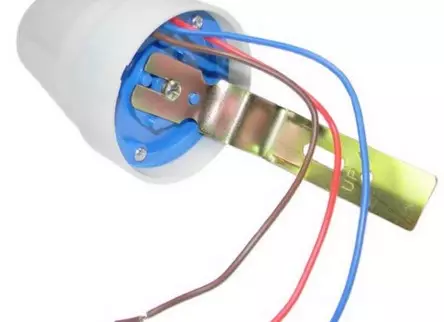
Step-by-step instructions with photos:
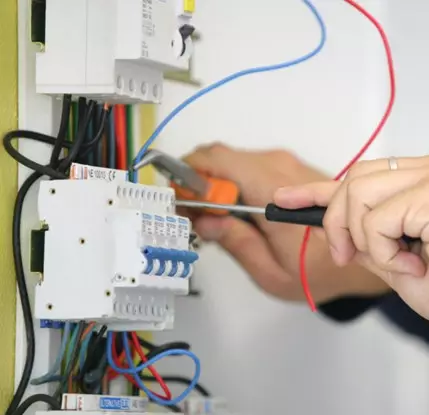
- Turn off the RCD.
- We stretch the wire to the place of installation of the photoLel, broadcast it next to the device. We recommend using the PVA wire, it has recommended itself in the best way.
- Remove the insulation, you can use a special device for removing isolation.
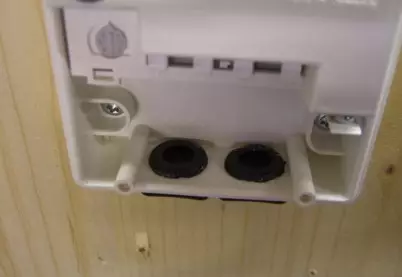
- We make holes in the chassis of the photoele, just below, it will save from moisture.
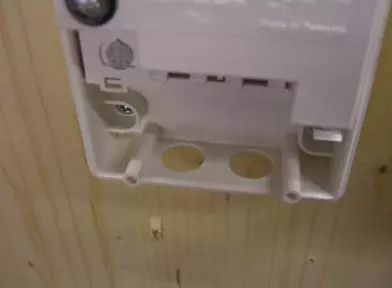
- We increase the tightness of the case, you can use conventional rubber seals or sealed glue. Better stop in the first version.
- Connect the photowork, for street lighting using the scheme. Do not forget to observe the color marking.
- We connect the photowork to the searchlight or lamp, this is how it looks in the photo.

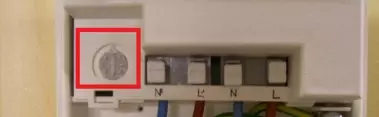
- Go to the setting, everything is quite simple here, there is such a regulator. It must be configured on the desired inclusion intensity. If you put a maximum, the light will turn on only in complete darkness. To adjust everything, you can use the usual black package or sheet of paper, so you will understand what light it will work.
- Check how everything works.
Connecting photoLel FR-601: video
Also learn: how to connect the motion sensor for lighting.