
With the arrival of cold weather, we begin to buy warm things. The main winter attribute is a hat. Since it is always in sight, we pay special attention to it, measuring different models and looking for a suitable form. The headdress should be also very warm. In this article, we want to tell you about the original hat associated with the help of Kos. Her raisin is that the pattern goes with the shadow. This knitting scheme is very popular and it is from her professionals advised to make the first steps of knitting novice. Despite this, the braid with the shadow is quite composed of the pattern. But but, stinging the hand and understood the scheme, you, besides the cap, you can associate many other beautiful things. But we will not be distracted from the main theme and begin to knit the cap-braid with the shadow, video master classes at the end of the article will help you to study the topic deeper.
First option
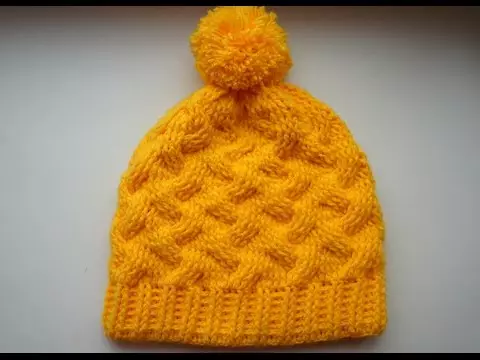
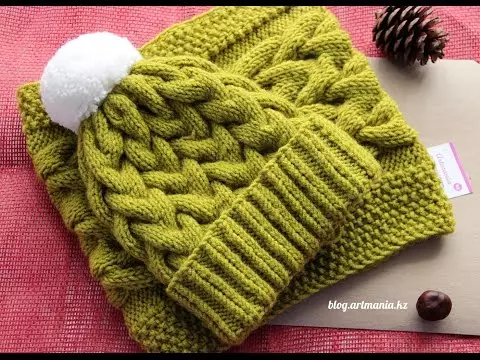
Thanks to the vibrant pattern, a sense of shadow is created, which comes from braid. It creates a volume and beautiful texture.
In order to qualitatively connect this hat, we need the needles and yarn (color to your taste).
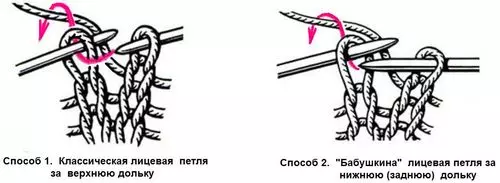
Type 50-70 loops (do not forget to add 2 edge loops). 1 row - check the entire row with facial loops. 2 row - now check out the leaven. 3 row - remove 3 hinges on an extra needle (in front of the product), tie 3 facial loops, then tie 3 loops with extra needles and 6 more facial. Thus, take to the end. 5 row - check the facial. 7 Row - Tie 6 facial, remove 3 loops on an extra needle (now for the product), check 3 facial and 3 loops with an additional needle. Do until the end of the row. 9 row - repeat the pattern, starting from the first row.
Article on the topic: coat with spokes: Schemes and description of the regulated for full women
Second way
1 row - check all loops facial. 2 row - check all the purries. 3 row - check again facial. 4 row - check out the involves. 5 row - Remove 3 loops on an extra needle (for the product), check 3 facial, then 3 loops from an additional needle and now 6 facial, repeat everything to the end of the row. 6 row - check everything in the purl. 7 row - Now knit facial. 8 row - check all the purries. 9 row - again facial. 10 row - 3 loops Remove on an extra needle (in front of the product), tie 3 wrong, then adjust 3 loops from an additional needle and 6 wrong, repeat the pattern to the end. 11 row - repeat the pattern from 1 row.
We stepped out 2 options for knitting the pattern and we can safely begin knitting the caps.
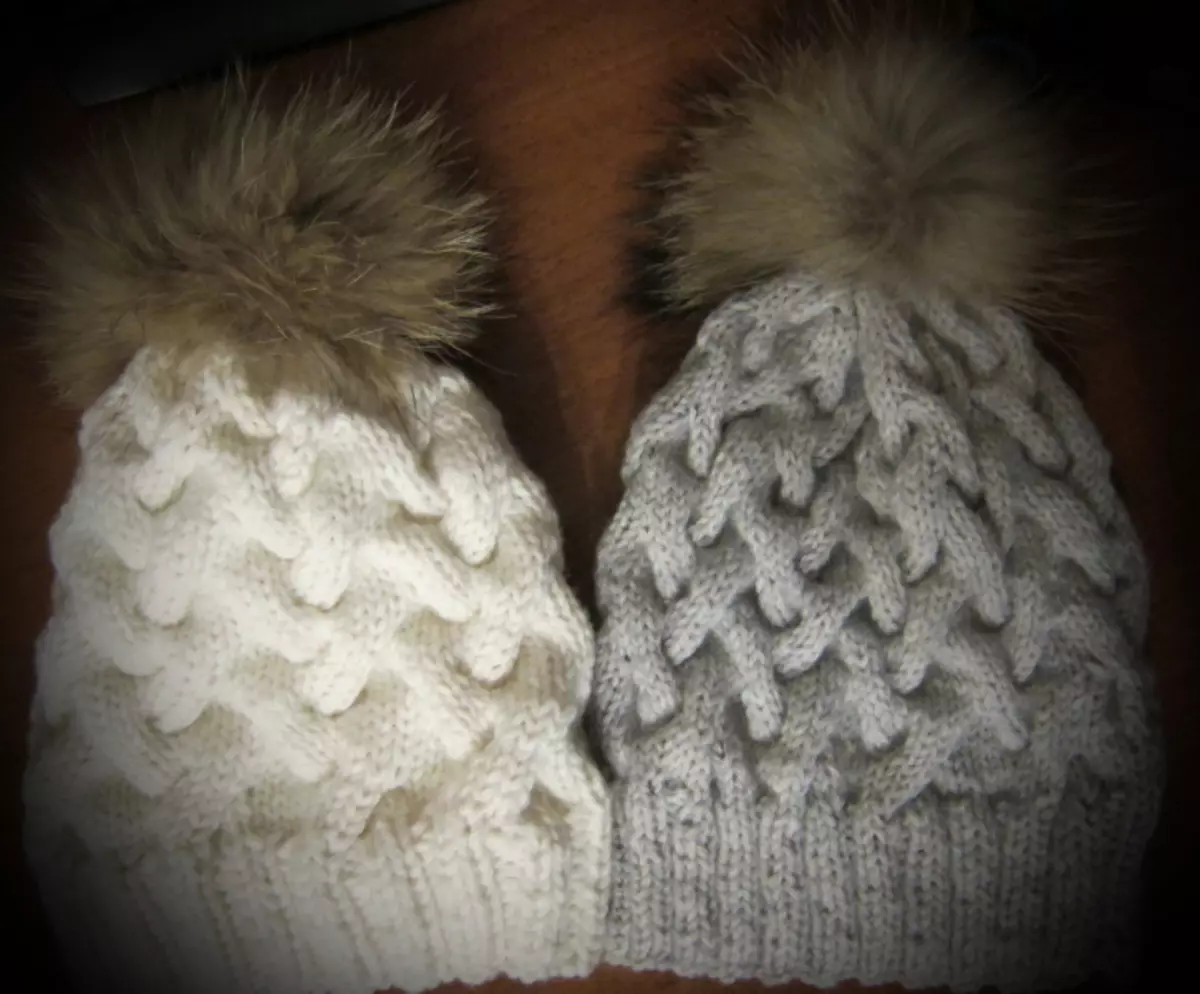
Women's hat
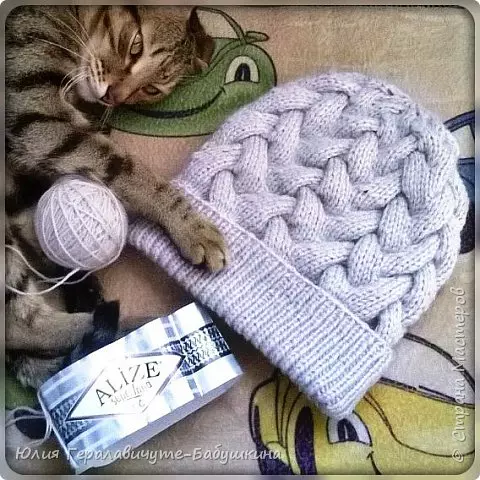
The most important thing is to take into account the density of mating. Spit are characteristic of the fact that the drawing is compressed. Therefore, tie several trial fragments of the selected yarn.
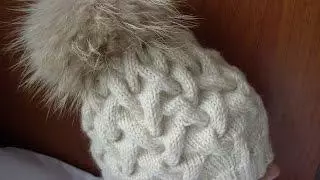
Type 100 facial loops and check the 15 rows of rubber band. Now make an increase to the first row 44 more. As a result, you got 144 peels. It means that the patterns will be only 12. Tie 4 facial rows and start making up 2 loops. It is important to initially subsoine 2 loops on the overweights, and we do closer to the top of the renovation without overweight. Our fabric is ready. Take the hook and on the side seam Sew the hat. At the end of work, the head of the head remove decorate the fur pompon.
For this model, we will need a hook, yarn and schemes.
A rubber band in a cap fit with the columns without a Nakid, this option helps to keep the product with elasticity and keep the cap on the head. The number of columns performed for the COP must necessarily be multiple eight. 1 row - check 12 air loops. 2-84 rows - 12 columns without Nakid.
Connect 84 and 1 rows using a connecting semi-solitary. When knitting gum is over, you can safely go to the pattern. He knives with relief columns.
The most important nuance is that the column does not fit through the loop, but clinging behind the foot of the pincion of the previous row. Thus, it is possible to obtain facial and invalid columns (depending on which side the hook envelopes the leg).
1 row - tie 3 air loops and 87 columns with Nakud. 2 row - 3 air loops, 87 relief columns: 2 insoluble C1H - 6 facial C1H. 3 row - 3 air loops, 87 relief columns: 2 insolne C1H - 6 facial C1H. 4 row - 3 air loops + according to the scheme: 2 Pouring C1N - 6 facial C2N Perekrest. 5-7 rows - 3 air loops + according to the scheme: 2 Pouring C1N - 6 facial C1H. 8 row - 3 air loops + according to the scheme: 2 Pouring C1N - 6 facial C2N Perekrest. 9-11 rows - 3 air loops + according to the scheme: 2 Pouring C1H - 6 facial C1H. 12 row - 3 air loops + according to the scheme: 2 Pouring C1N - 6 facial C2N Perekrest. 13-15 rows - 3 air loops + according to the scheme: 2 Pouring C1H - 6 facial C1H. 16 row - 3 air hinges + according to the scheme: 2 Pouring C1N - 6 facial C2N Perekrest. 17-19 series - 3 air loops + according to the scheme: 2 Pouring C1H - 6 facial C1H.
Article on the topic: The second life of plastic bottles do it yourself: master class with video
Now it is necessary to make a shift. Denote by internally, the columns with the overall top. 20 row - 3 air hinges + according to the scheme: 1 Зна С1Н (you drive two outbreaks) - 6 facial C2N Perekrest. 21 row - 3 air loops + according to the scheme: 1 Painted C1H - 4 facial C1H (drip out of 6-front 2 + 3 and 4 + 5). 22 row - 3 air hinges + according to the scheme: 4 facial C1N (drunk 1 inextant +1 facial). 23 row - 3 air loops + according to the scheme: 2 facial C1N (drive in pairs of facial columns).
On this knitting caps are ready, pull the thread and spend the side seam!
Video on the topic
Thematic selection of video lessons with a detailed description: