
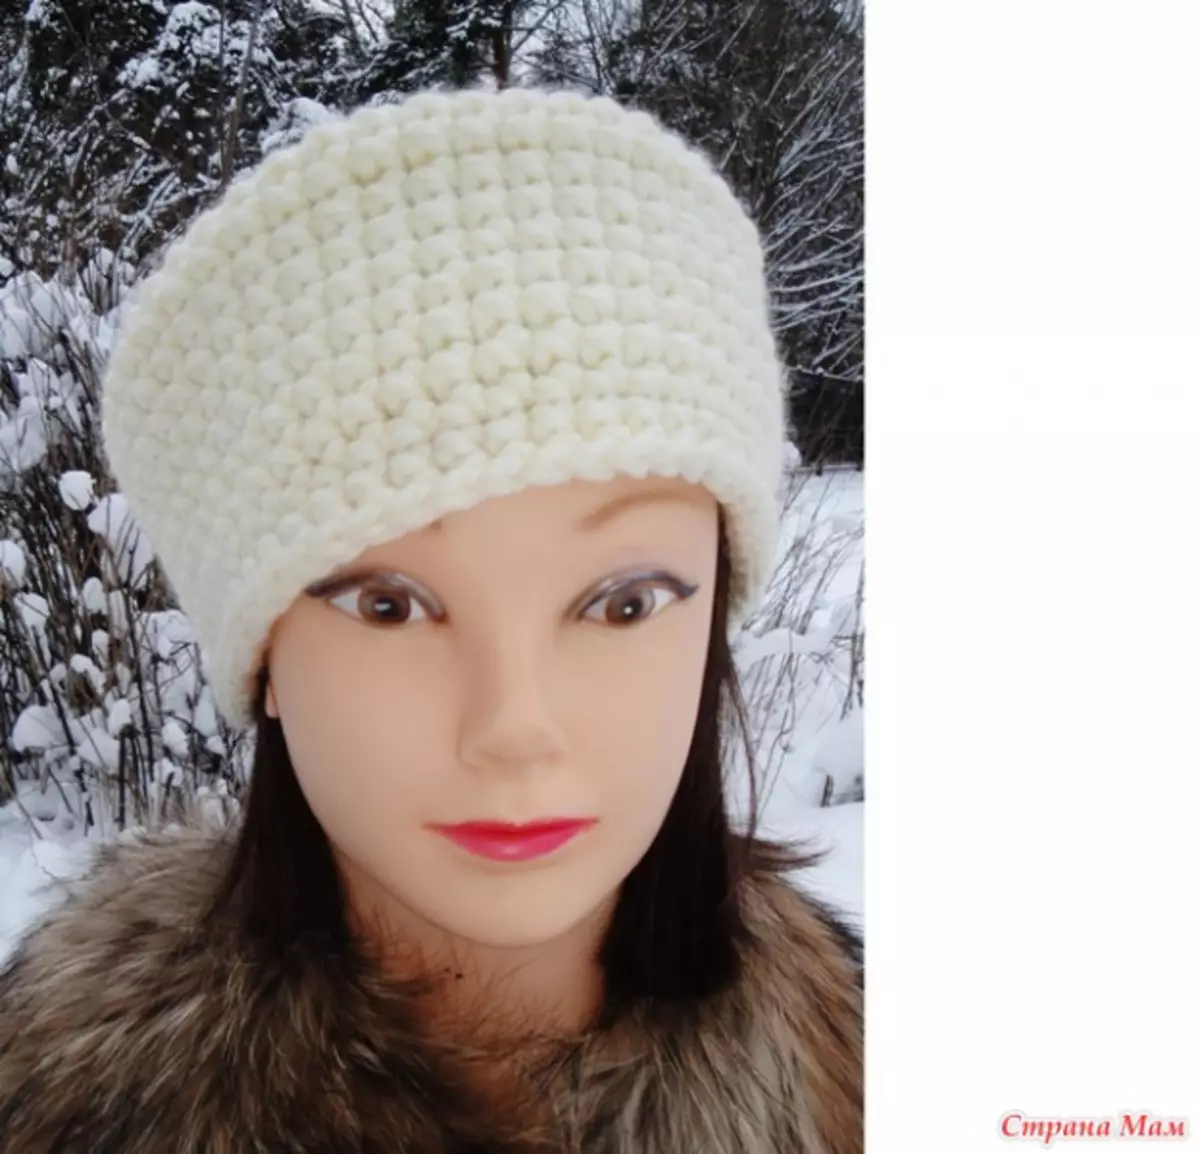
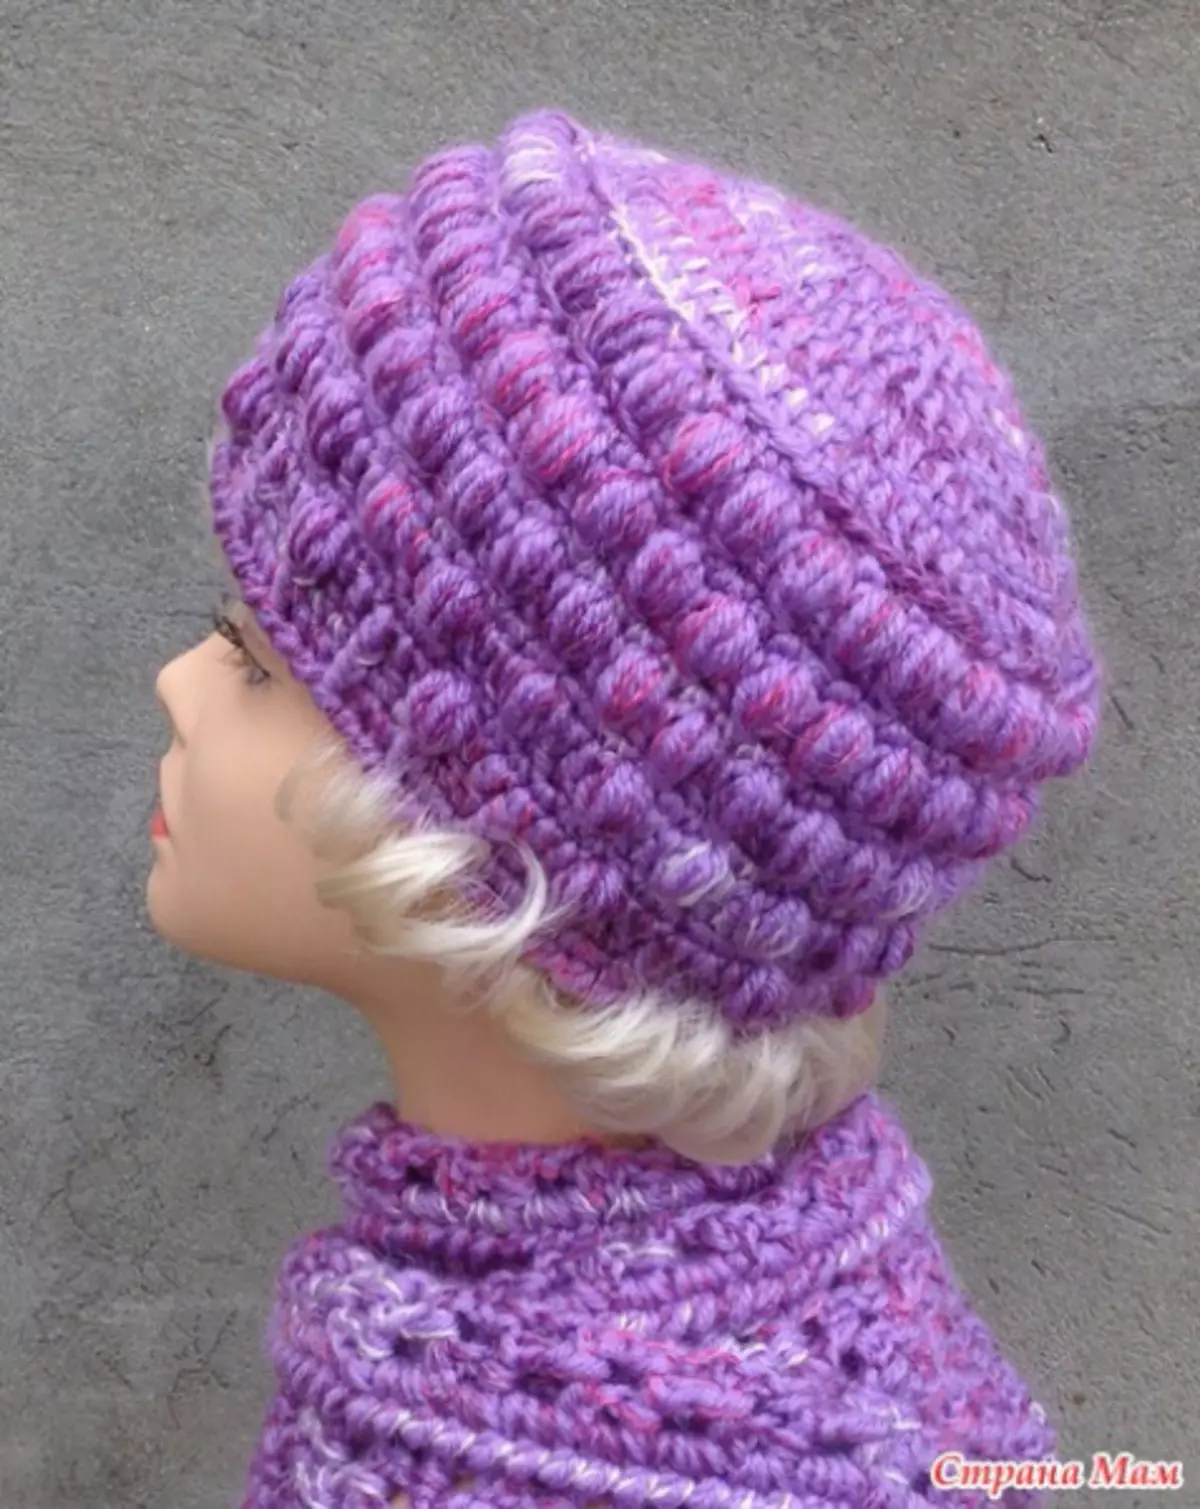
This hatch model will serve as a great attribute to the winter image. It is very feminine and extraordinary. In this lesson, we will tell you how to tie a hat-Kubanka crochet (the description will be below), spending the minimum of materials.
Quickly and simple
For high-quality manufacture of the product, you will need only a hook and woolen yarn.
Our headpiece will start with the knitting bottom with the help of columns with Nakud. In this lesson, all calculations are indicated taking into account the size of 56.
1 to 6 rows - check the columns with Nakud. 7 row - check the columns without Nakid. 8 row - Make one magnificent column and 1 column with nakid, repeat it until the end of the row. 9 row - check the entire row by columns without Nakid. 10 Row - Make one magnificent column and 1 column with Nakid, repeat it until the end of the row. 11 row - check the columns without Nakid. 12 row - Make 1 lush column and 1 column with nakid, repeat to the end.
13 row - lie a number of columns without Nakid. 14 Row - Make 2 Stakes with Nakud, 1 lush column and repeat until the end of the row. 15 row - check the columns without Nakid. 16 row - Make 5 columns with Nakid, 1 lush column and repeat until the end of the row. 17 and 18 rows - Make 2 columns without Nakid and 1 relief facial. 19 Row - repeat the pattern.
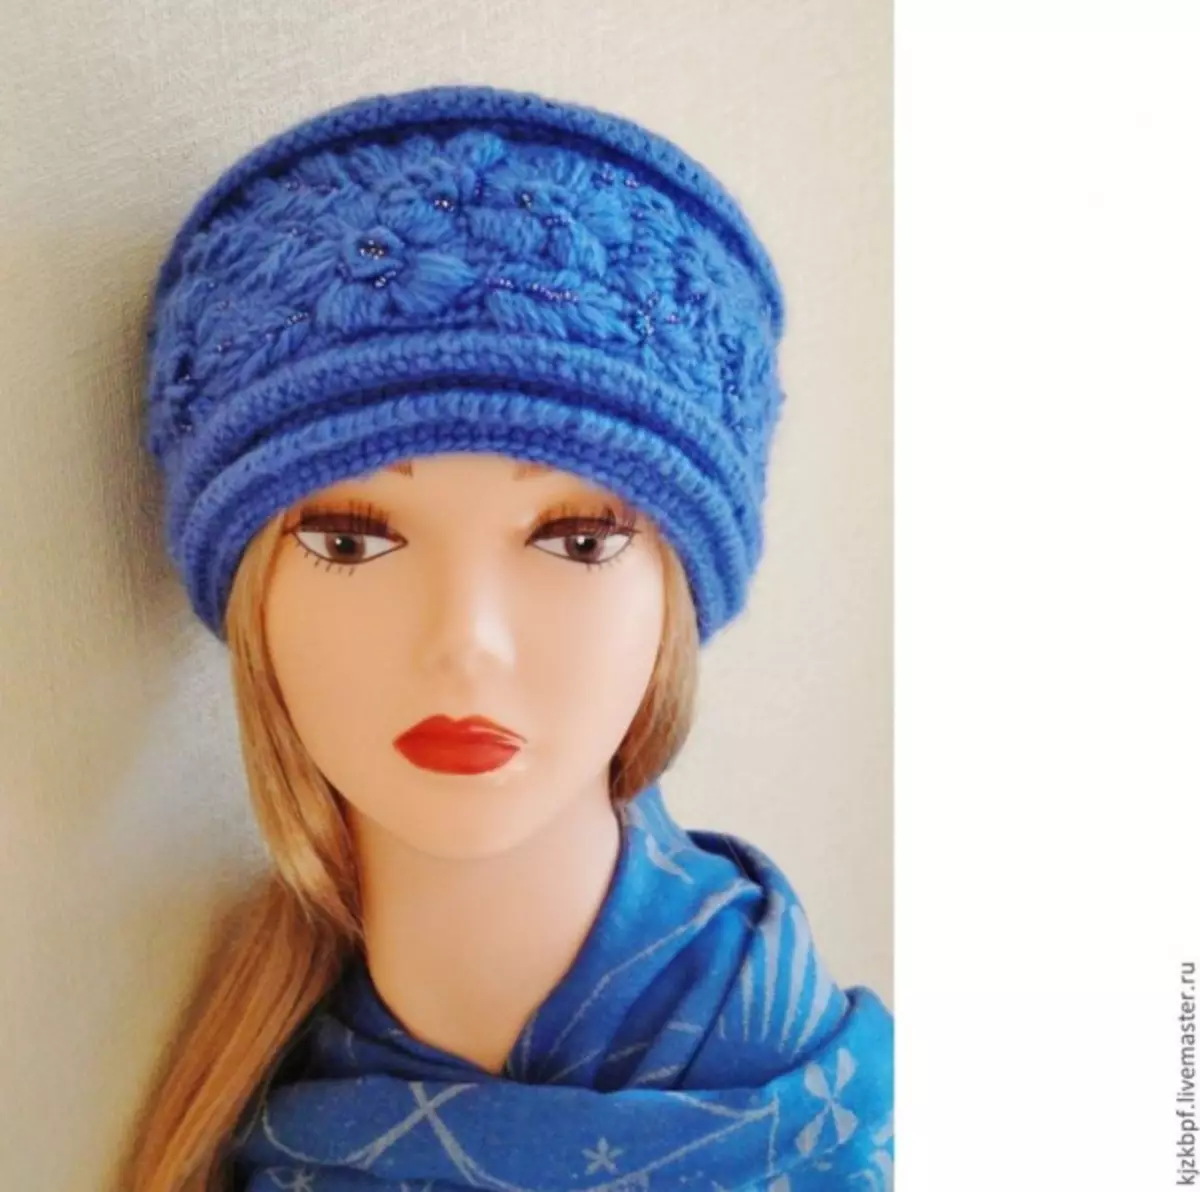
For lovers of classics
For this master class, we will need: woolen yarn of soft blue color, diagram and hook. In order for the product is dense and warmer, fold the thread twice.
So, proceed.
1 row - tie 10 columns without Caid and connect them into the ring. 2 row - check in the bottom row column using a lush column consisting of three loop nakids (do not forget to make 1 air loop between them, you all should have 10 columns). 3 row - Check one column without an insert at the top of the lush column, then 2 columns without an insert in the arch of 1 air loop 2 rows. 4 row - check with an increase after every two loops, columns with an attachment. 5 row - in the bass columns check the lush column consisting of three nink and 1 loop in the middle.
Article on the topic: vests with knitting needles - a selection of stylish models for knitting
6 row - insert into the arch from one air loop, 1 column without Nakid. 7 Row - Check the columns with Nakud and make an increase through each 4 loop. 8 row - check the facial. 9-10 row - Check the finished columns without a Nakid and make an increase through each fifth loop. The bottom of the product is ready. 11 row - check two columns without an insert in the arch of 2 air loops. 12 row - check 1 column with nakid and 1 facial embossed column with nakid. 13 in 19 rows - repeat the scheme in a checker order. 20 row - check the columns without Nakid. 21 row - Check two columns without an insert in the arch of 2 air loops. 22 row - check the columns without Nakid and 2 columns without Nakida in the arch of two air loops. 23 Row - Check the columns without Nakid. 24 row - At this stage, the hat is ready, it remains to make a strapping pattern "Radiy Step".
The peculiarity of this pattern is that they knit it from left to right. Enter the hook from yourself under both loops of the previous row. Grab the working thread and pull it out, so you have two hinges on the hook. Make on the hook of the nakid and check all the loops in one app. Repeat so five times.
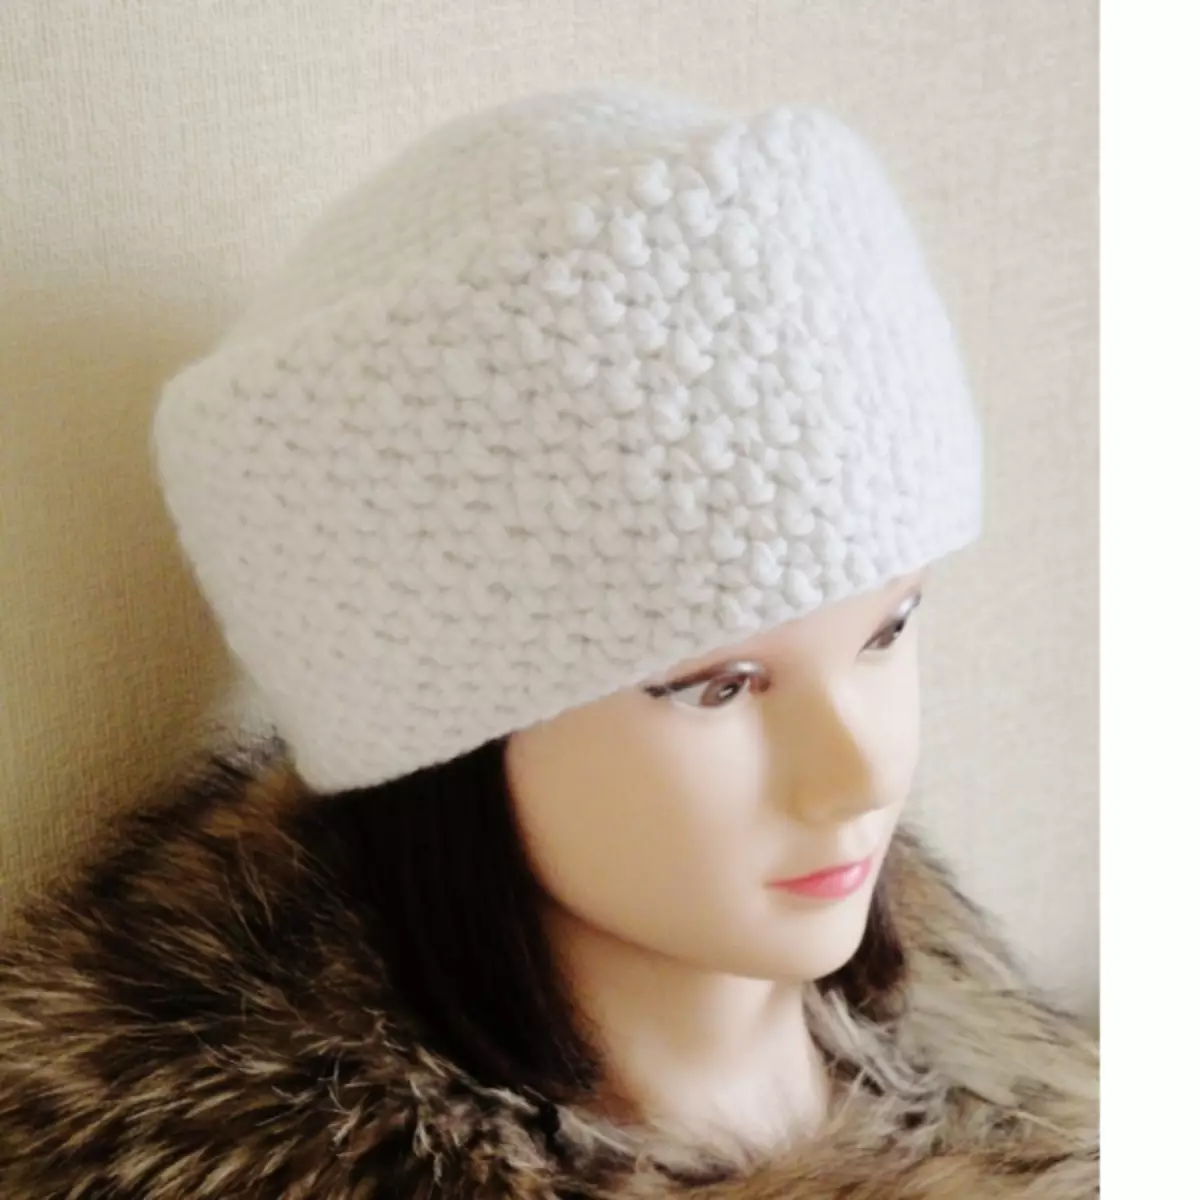
Summer option
This model of the head remove is better knitted with a cotton thread. Dial five air loops and connect them into the ring. Check in a circle of 10 columns without a nakid and evenly distribute. To achieve the effect of the spiral, it is necessary to make a smooth transition, it is achieved using a uniform loop increase. Check the following rows with the help of a loop gain, check 2 loops in the first column of the previous row. Now tie 5 columns and make another increase.
Most importantly - do not forget that the farther you are deleted from the center of the product, the more there must be gaps between them, follow the edges of the product.
If you do not work with a smooth line at the edges, it means that the loop increases you do too sharply. When the diameter reaches 10 centimeters, we begin to reduce the number of loops. Each subsequent row decrease by 4 loops, for this, check two columns together (in one loop). Be sure to take into account the fact that the ranks with the refusals you must have no more than five. In order to tie the Tool, make a canvas without additions and grazing in a circle. Our hat is ready!
Article on the topic: Beautiful headband with your own hands
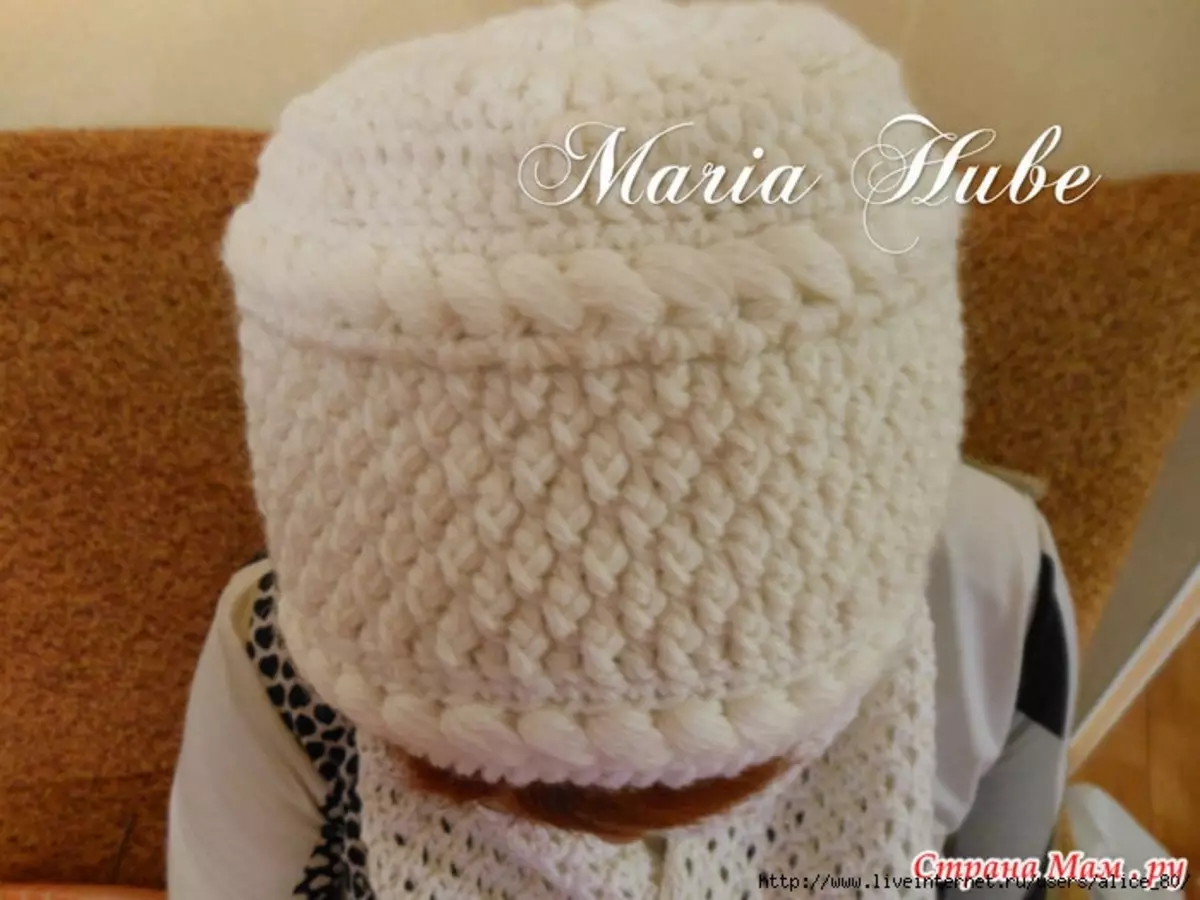
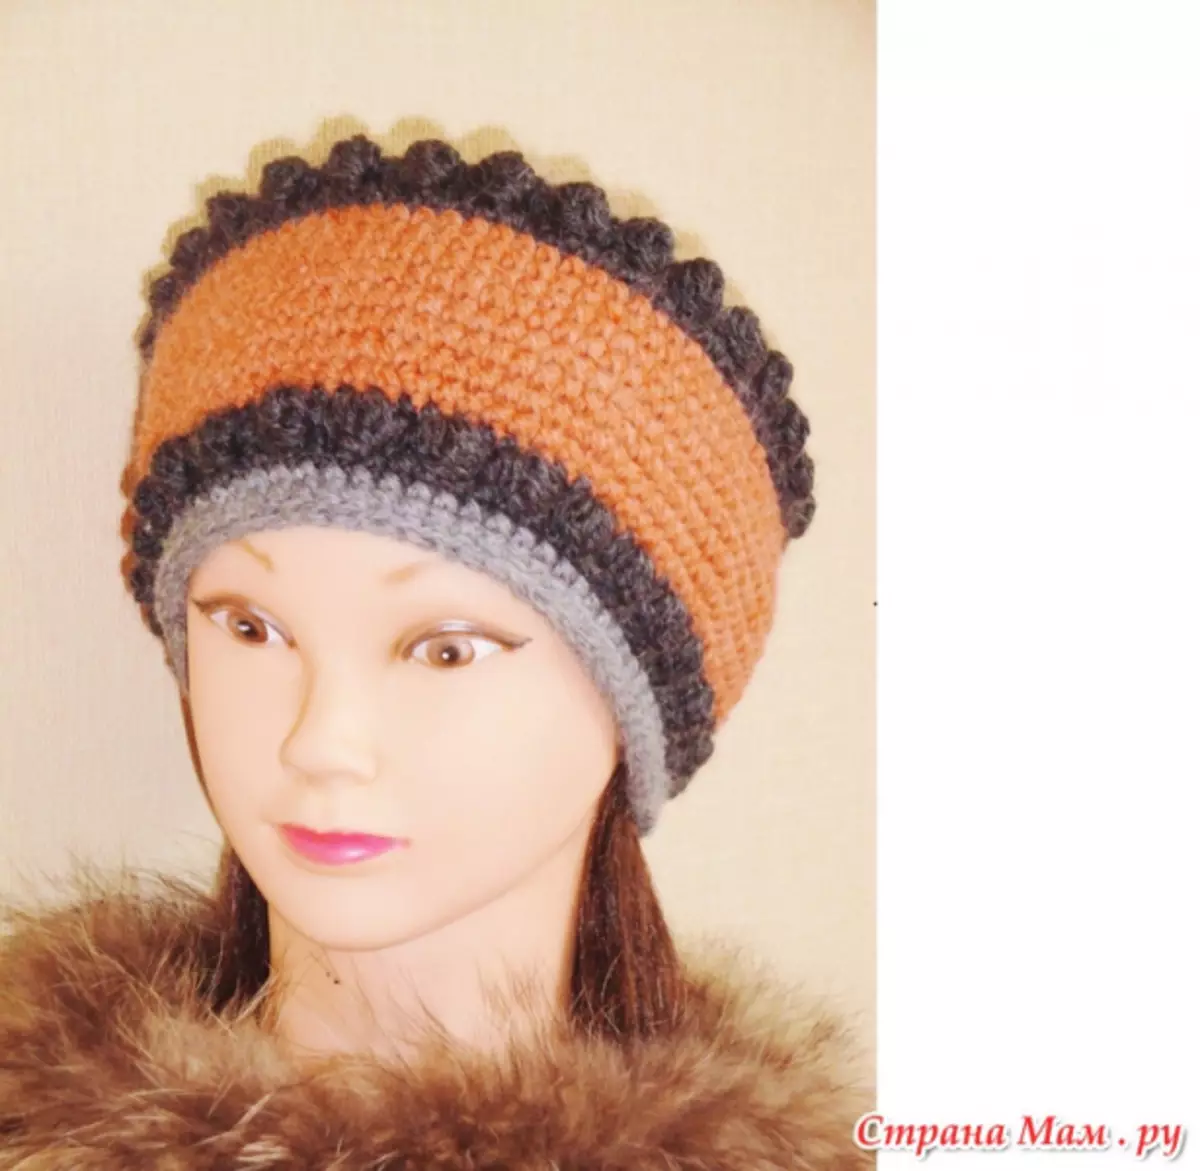
Variations of these hats are a lot. Try to experiment with color. For example, you can learn one row in one color, the next one, then the third. As a result, you will have a motley hat that will acquire invoice and expressiveness. You can also use the colors to framing patterns on a cap or flipped with stripes.
Video on the topic
Thematic selection of video lessons with a detailed description: