
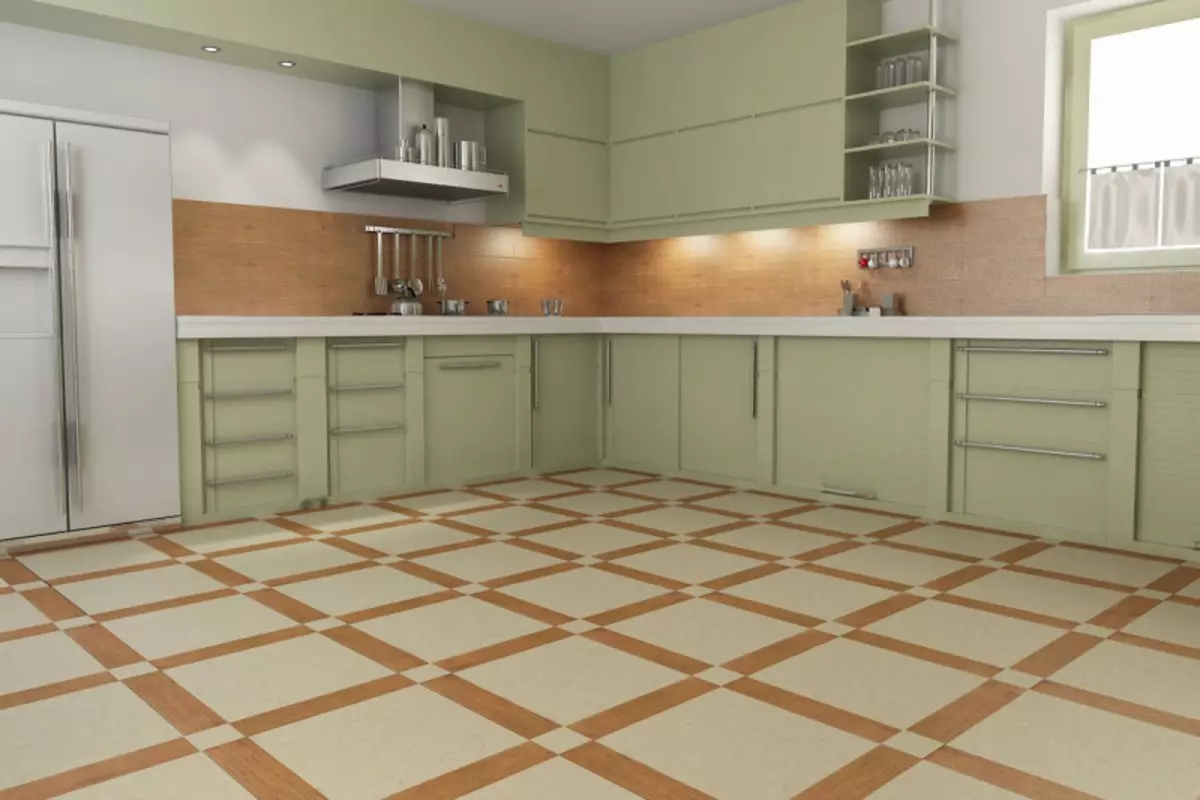
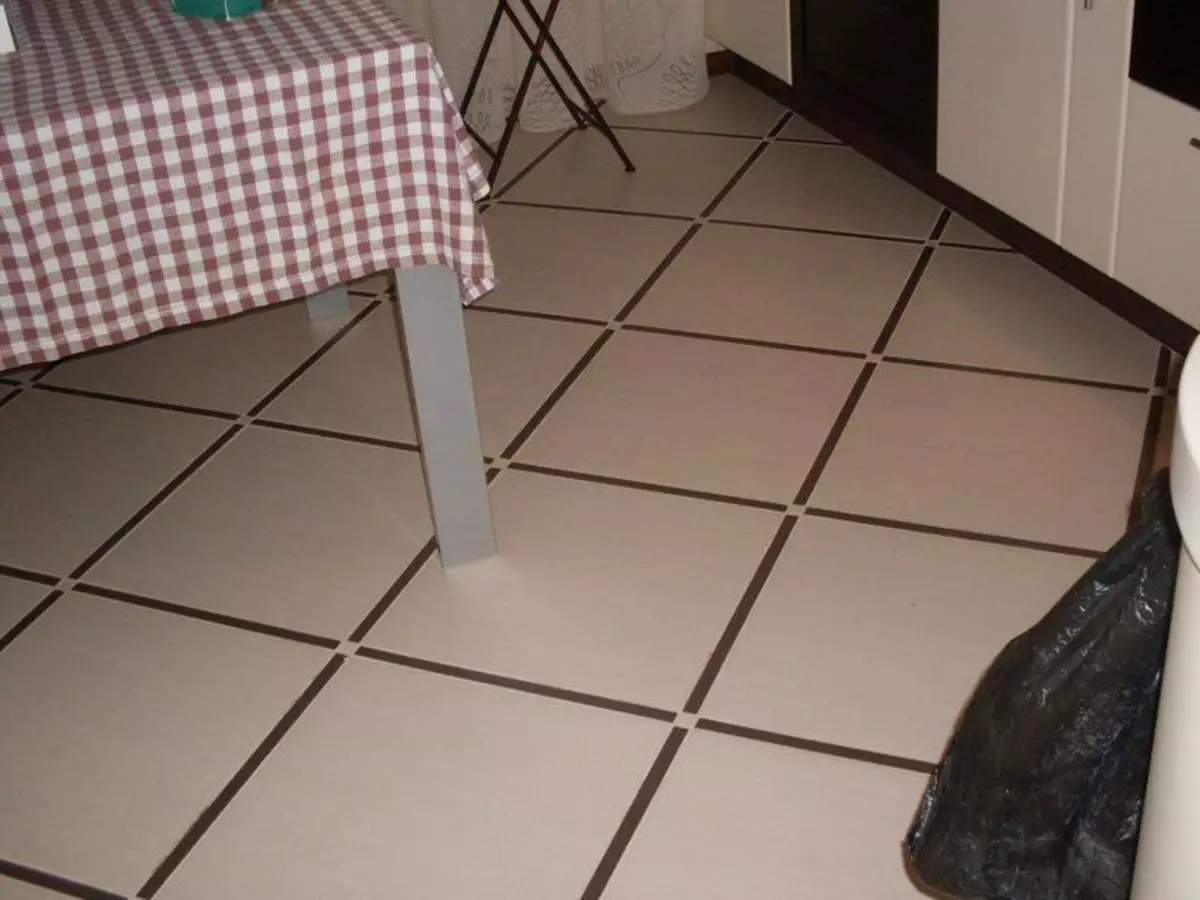
Tile and porcelain tiles are excellent material for floor covering - durable and practical. The only minus of tile floors is the heat transfer coefficient.
Ceramics is not able to accumulate heat in itself and immediately gives its environment, so the tiled floors to the touch are always cold.
If in a summer heat, this feature can still be viewed as a plus, then in the cold season, the feeling of cold gender creates certain discomfort. Repair the situation and make a tile surface not only practical, but also comfortable, the film warm floor under the tile will help.
Features of the operation of film warm floors
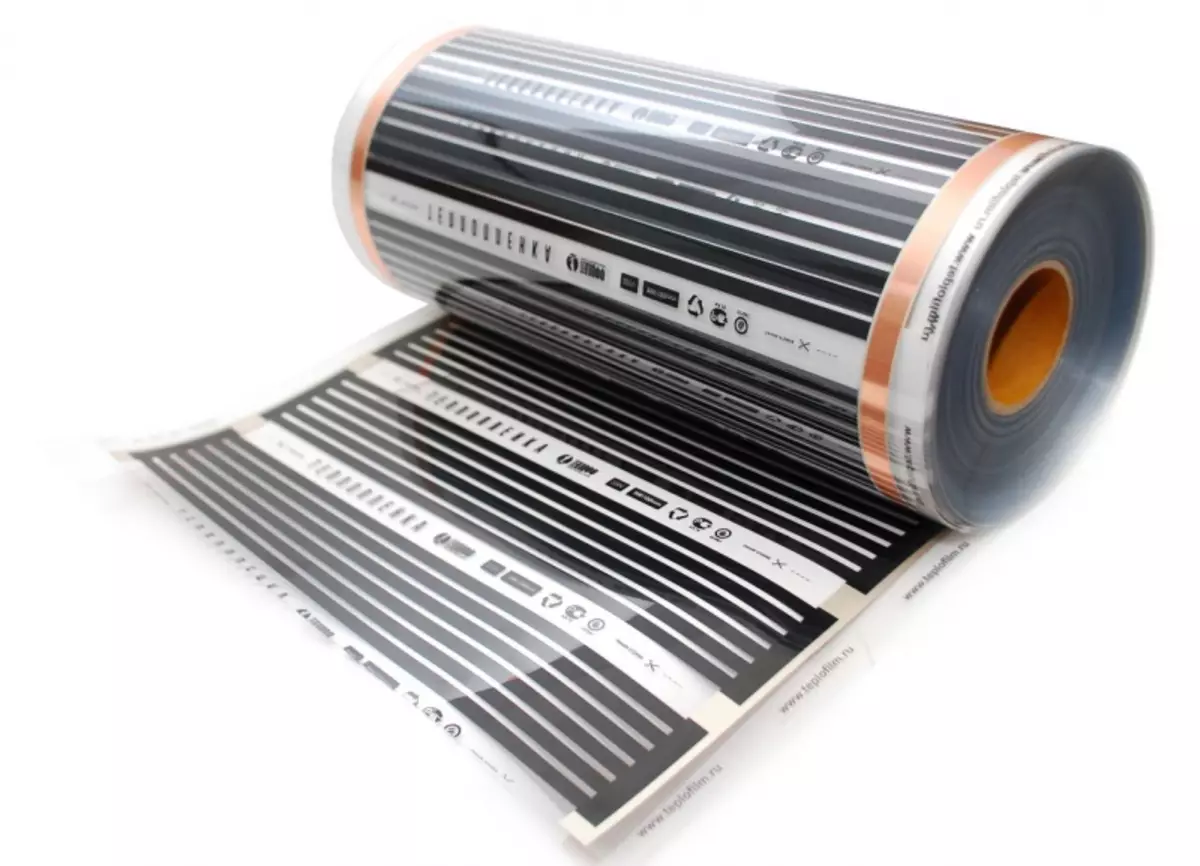
Film floors require minimal energy spending
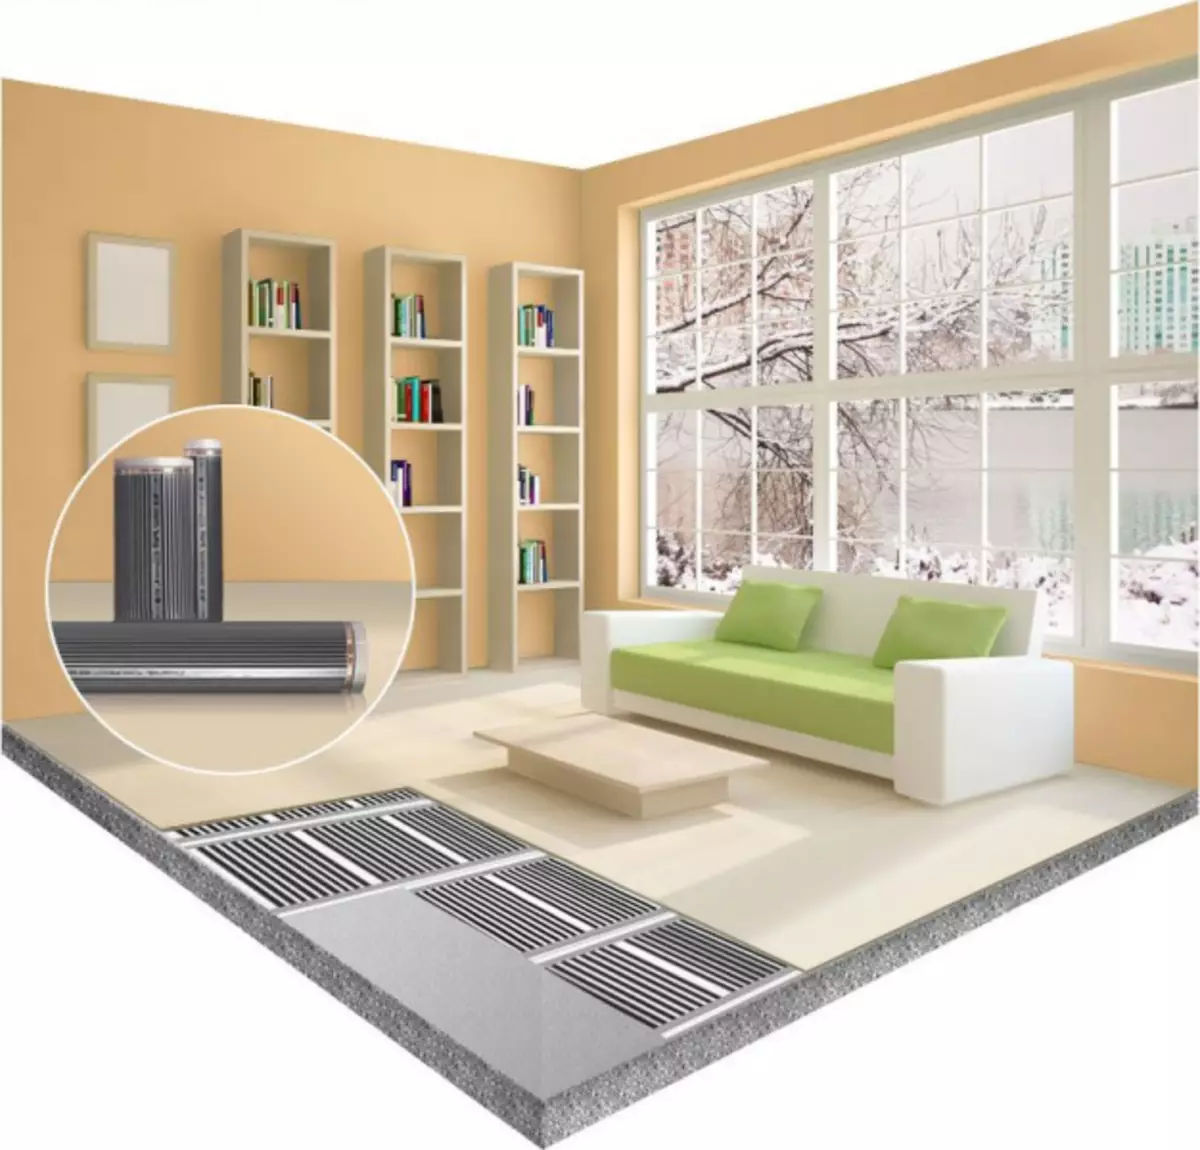
Warm floors are a relatively new type of room heating, we successfully use both in residential and public buildings. The main difference from the classical method of heating is the placement of the heating elements not on the walls of the room, but directly under the floor coating. This makes it possible to create the most comfortable temperature at the bottom of the room at a minimum of energy costs.
Among all the varieties of floor heating systems, infrared floors are most technologically in operation.
- Compared to IR cable systems, Paul has a large efficiency (efficiency).
- Unlike water floors in IR systems, a liquid heat carrier does not apply, therefore the possibility of leaks is excluded.
- IR Systems during operation almost do not emit electromagnetic waves and do not drown air.
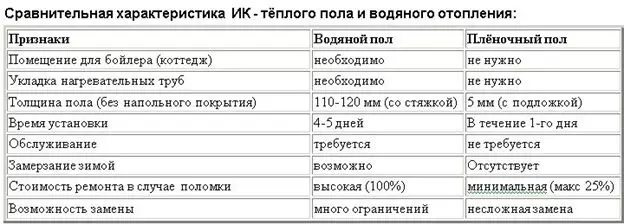
The table shows the comparative characteristics of IR floors and water outdoor heating systems.
Impact of the IR wave is similar to the action of sunlight
The transfer of heat here is by infrared radiation, resulting in the heating of the floor covering, as well as the objects located in the room.
The IR wavelength is about 10 - 20 microns, which brings its action to the sunshine: freely passing through the air, it is when hitting the walls, ceilings, furniture, etc., transfers their thermal energy.
In turn, the heated items begin to transmit heat air in the room, heating it. This property in thermodynamics is called the effect of secondary convection.
However, like every heating system, IR floors have their own minuses.
Tile and floor heating systems
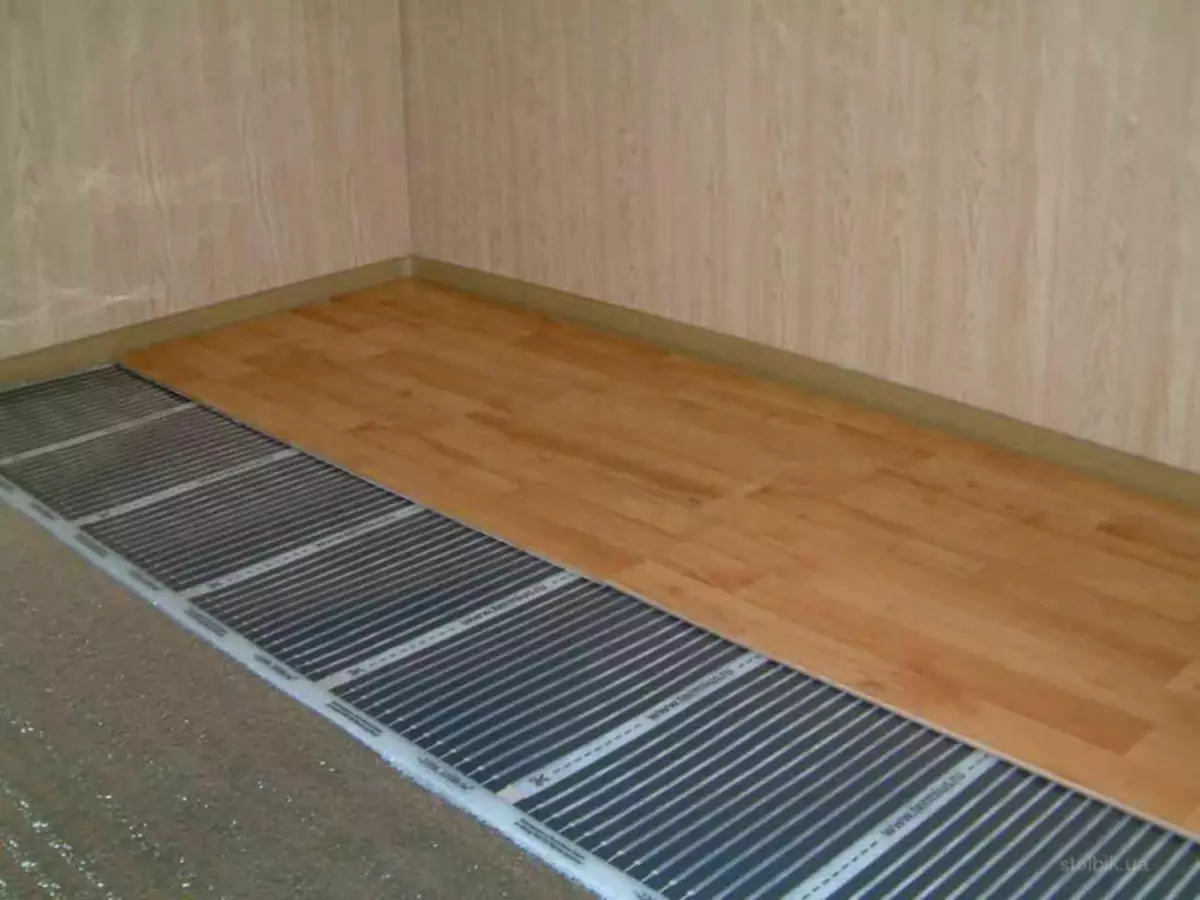
Warm floors from above are always closed with finishing coating. Recently, the finishing materials market has a huge number of various materials intended for these purposes.
Laminate, Linoleum, Carpet, Parquet Board - All these materials look great in any interior due to their excellent aesthetic properties, but when choosing a flooring for a warm floor, several other criteria should be guided.
Criteria for selecting finishing
When laying a laminate on IR-floor, it is recommended to WELL TO WELD
First of all, you should pay attention to the thermal conductivity coefficient of the material. In the classic method of heating housing, when heating is made by wall radiators, the floors are the coldest part of the room, therefore most of the flooring has a reduced thermal conductivity.
Article on the topic: How to apply Wallpaper with Sakura in the interior of various rooms
To protect our legs from the cold, under the laminate, the heat-insulating substrate is steed, and the inner part of the linoleum is covered with a pile, etc. But what is good with wall heating, with outdoor is a big minus. The coatings with the heat insulating effect overlap the free heat transfer from the heating elements to the surrounding air.
Tiled coating does not have thermal protection
The only type of floor coating that does not have thermal protection properties is the tiled floor.
The floor covered with a cafealty practically does not delay heat, which significantly increases the efficiency of floor heating systems.
Tile is usually placed on a concrete black base using a special tile glue.
This makes ceramics with an excellent option for a decorative device flooring over warm floors. However, this does not apply to IR floors.
Installation of infrared warm floor under the tile may be accompanied by a number of problems, both directly when conducting work and in the process of its operation.
Tile and IR floors - possible pitfalls
In case of laying tiles on water or cable floors, there are no problems
Is it possible to lay infrared warm floors under the tile? There is no definite answer to this question. If some categorically do not recommend the installation of infrared sex under the tile, then others do not see anything terrible.
Let's try to understand possible problems from the point of view of the features of the installation of the tile and IR heating systems.
Laying tile is usually made on top of a concrete screed layer. The surface of the draft floors is aligned with a cement solution.
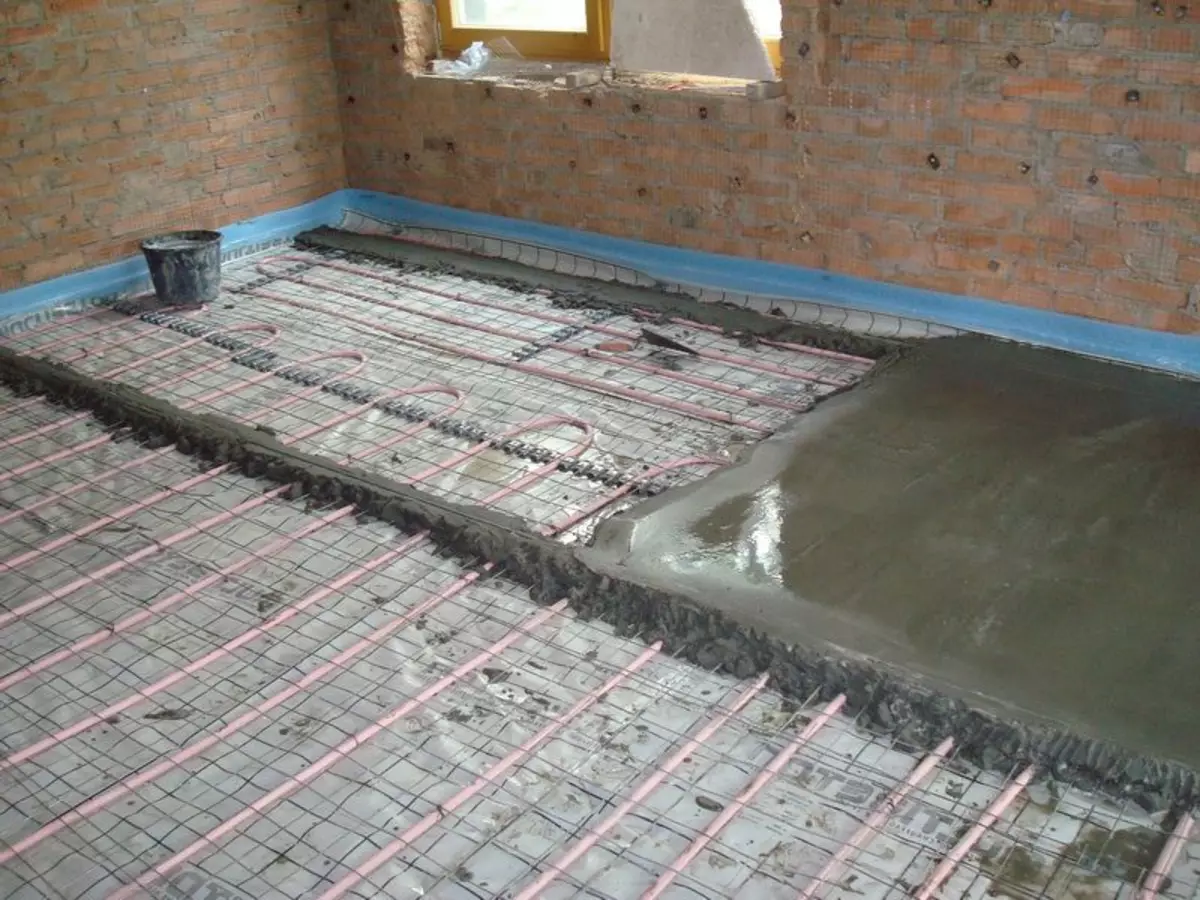
In case of water floors, optimally pour them with a concrete tie
In cases with installation of water or cable warm floors, the fill of the concrete screed occurs without problems - such heating structures are just recommended to be installed under concrete fill. In this case, the fill performs three functions at once:
- Leveling. Makes the surface of the floors smooth in the horizontal plane.
- Protective. Winning heating elements - plastic pipes and insulating cable felling - from external physical impact.
- Heat transfer. Concrete fill is an excellent heat conductor, quickly and fully gives it to the surrounding air.
However, with IR emitters, it is not so simple: it is impossible to produce on top of the film under the tile. First, the compositions of tiled adhesives and screed mixes have an alkaline medium, so with the direct application of the solution to the film heating elements, it can be unreasonable over time, and the electrical wires are closed inside it.
Secondly, a concrete screed applied directly to the film will not be able to form a solid hitch with it due to the low adhesion of a smooth surface. As a result, the screed, which does not have a strong connection with the base of the floors, can simply crack and crumble under the weight of furniture or moving around the room of people.
For pouring screeds are designed warm water and cable floors. Infrared systems should be mounted under the screed only in exceptional cases when there is simply no other alternative.
Methods for mounting IR coatings under the tile
Despite all the prohibitions, there is nothing impossible for real masters.
Article on the topic: Metal Shed (Profile): Manufacturing process with photos
At present, at least two main methods of laying tiles on top of the film heating coating have been developed.
One of the installation methods was called "dry" due to the fact that IR heating elements in this case are not in contact with the concrete screed. The second method is "wet". In this case, the concrete solution is poured over heating design.
"Dry" method
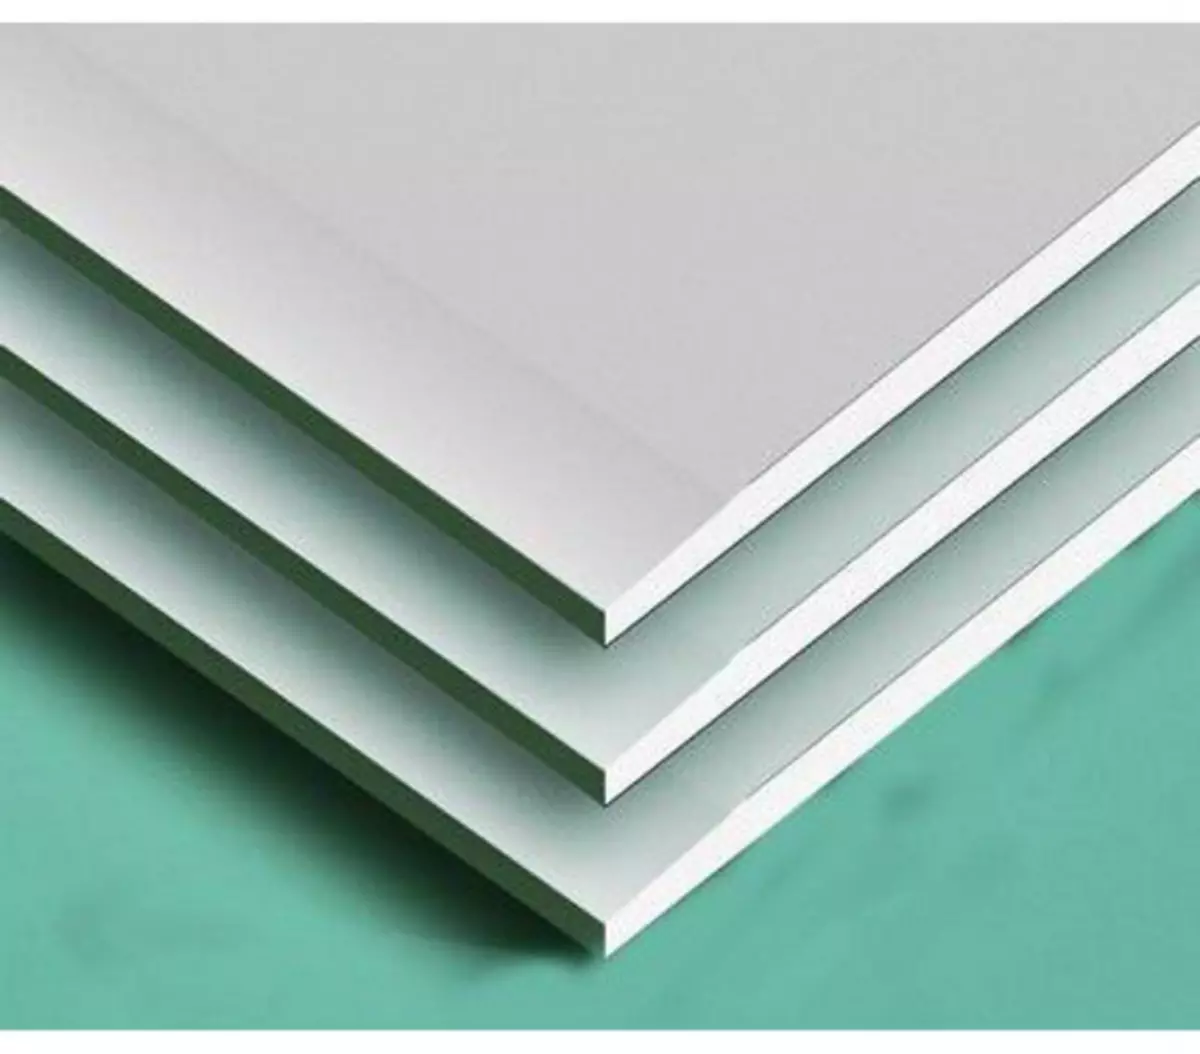
On top of the IR film, it is recommended to lay a protective film and plasterboard sheets or MDF
The dry way to install infrared warm floor under the tile provides for the following stages of work.
- Preparatory work. Thoroughly align the surface of the draft floors so that there are no bugs, holes, cracks and slopes on it. To do this, you can arrange an underlying concrete screed or use self-leveling mixtures. On top of the draft floor, we laid waterproofing - for this you can apply runneroid or coating masts. In extreme cases, the usual polyethylene film, laid marked, will be used. The joints should be stuck wide.
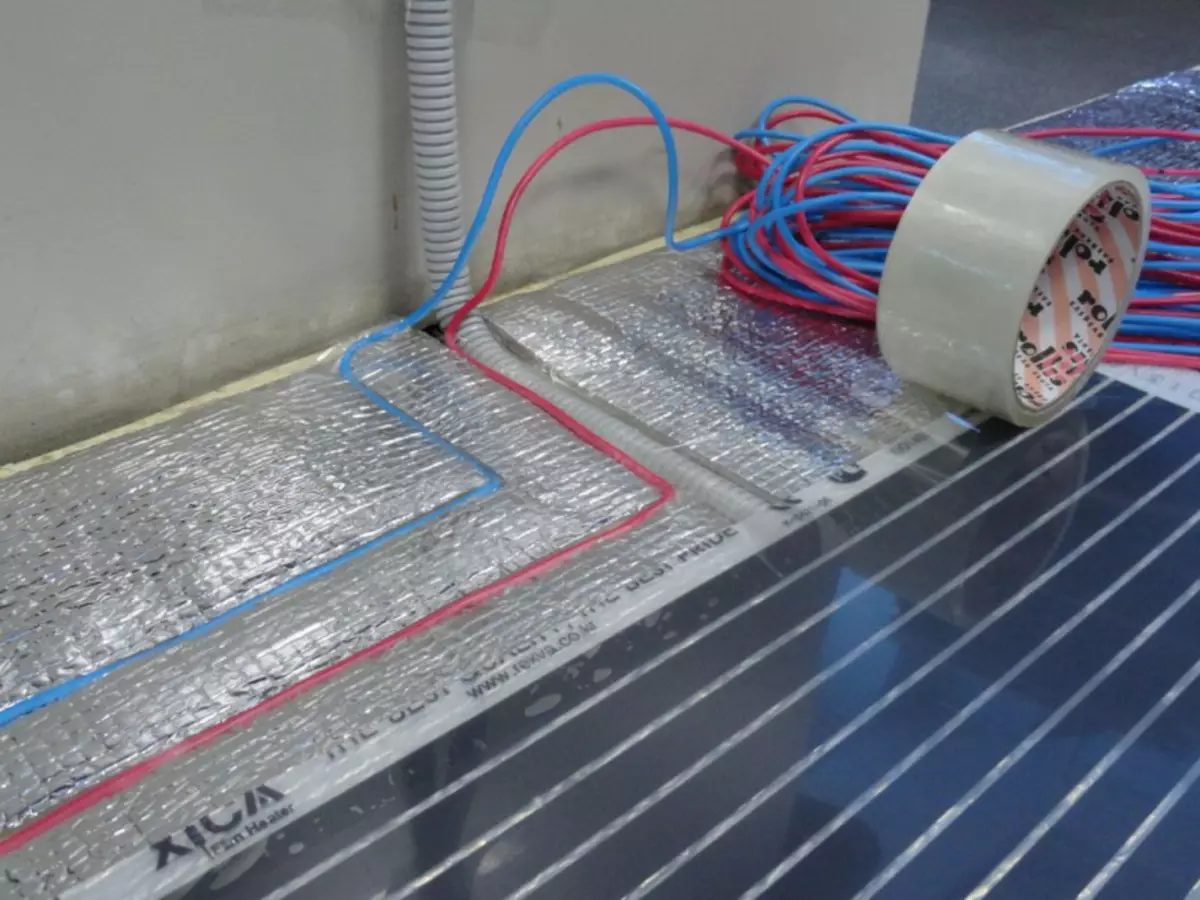
- Installation of insulation. Thermal insulation materials are intended to prevent the "care" of thermal energy into the thickness of draft floors or slabs of the overlap. In this case, it is best to use foil materials with heat-reflective properties - fenofole, isolon, etc. They can reflect up to 90% of thermal energy falling on them, which makes a very effective thermal protection when used in a complex with IR-Poles.
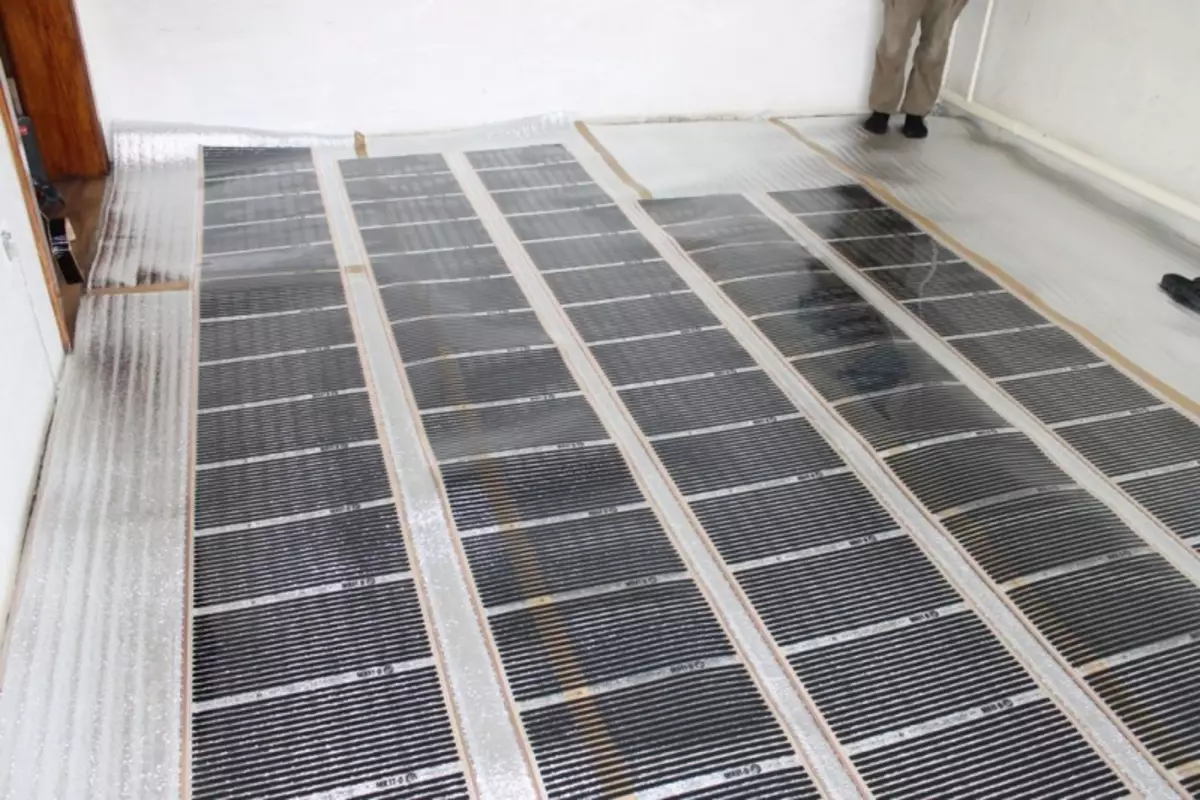
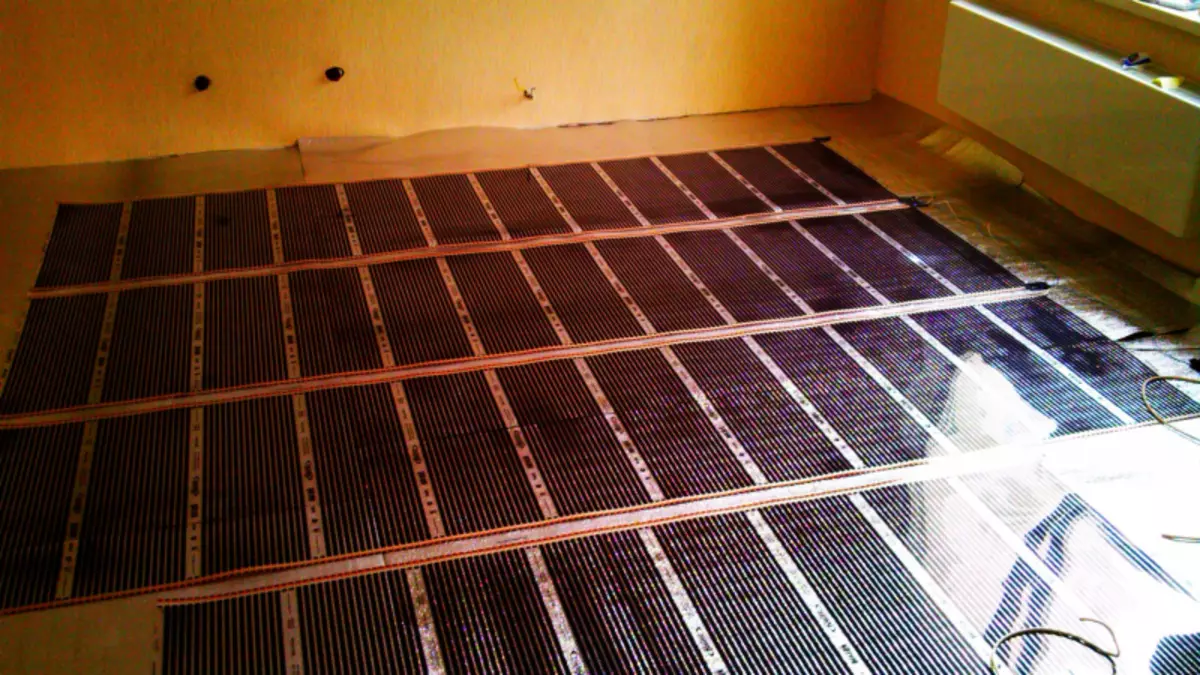
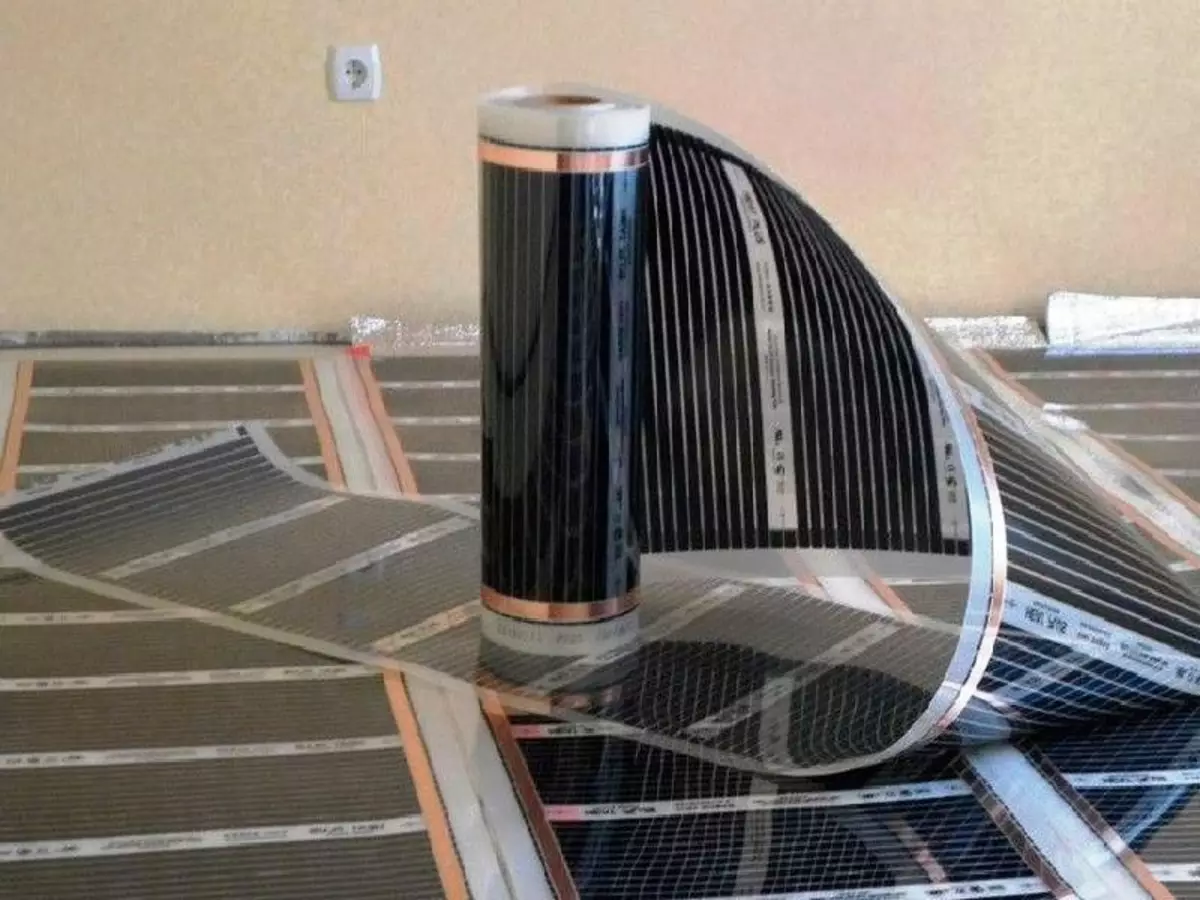
- Installation of IR films. Stopping film floors should be given with such a calculation so that they are from the walls by 10 - 20 cm. Also, the individual plates of IR floors can be laid on each other, between them there must be a gap of about 5 cm. To connect with each other and with feed wires heating elements It should be strictly in accordance with the installation instructions.
- Laying the protective layer. To protect the heating elements from physical effects, they are covered with protective materials. They should not be too thick, so as not to interfere with IR radiation. A dense polyethylene film is perfect for these purposes.
- Laying of durable sheets. The next step should be mounted on top of the IR heating systems a peculiar base under the screed. It should be strong enough and play the role of roughing. For this purpose, plasterboard or glass-like sheets, or chipboard, MDF, should also be taken into account that materials made on the basis of wood have worse thermal conductivity indicators, therefore, in this case, thermal energy losses will be inevitable. Bashed plates should be very careful not to damage the heating elements.
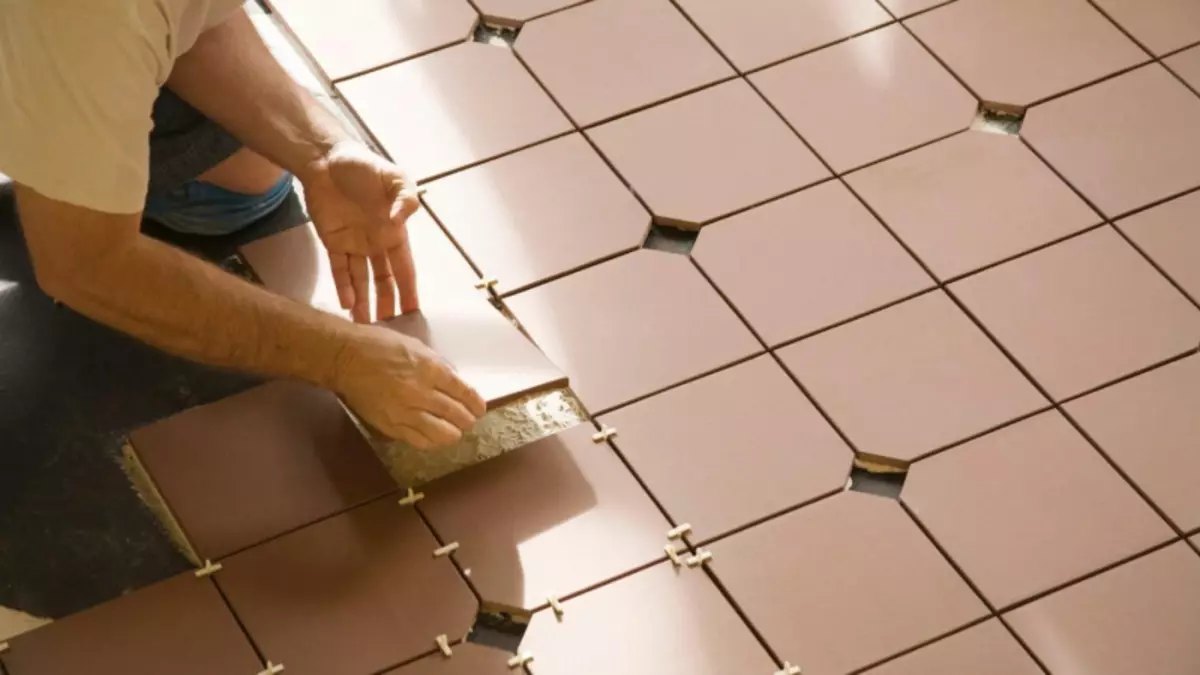
- Installation tile. We carry out the lap tile. It produces on top of the layer from the plates with the help of conventional tile glue. The laying technology in this case does not differ from the installation of the tile on top of concrete bases. The adhesive composition is applied to the surface of the plates and smoothes with a toothed spatula. After that, the tiles are stacked and leveled with the help of a construction level and a rubber-sized hammer. For details on laying tiles for warm floors, see this video:
Also, they should not have heating elements under low furniture - cabinets, chests, sofas. The absence of air circulation over IR floors will sharply reduce their effectiveness, and the furniture due to the permanent exposure to IR rays can refuse and crack.
"Wet" method
This method saves money and money
Article on the topic: What linoleum is better for the apartment: how to choose in quality, for the hall Choosing and reviews, Juteks and PVC thickness
The following method called "wet", simpler and fast. Thus, the financial and temporal costs of its device on average by 20 - 30% lower than with the "dry" technology, but at the same time, the installation of infrared warm floor under the tile is less safe due to the possible contact of heating elements with cement mortar.
"Wet" installation consists of the following steps:
- Preparation of the foundation. As in the case of the "dry" technology, the base surface should be thoroughly aligned. If there are bugs on it, then in these places the heating element can be transmitted and damaged during operation. To the same unpleasant consequences can also be the edges of the pit and elevator, so the pit and cracks should be carefully sharpened, and also knock down all the bumps, and even better - to pour a new screed.
- Heat insulation. The following two stages are absolutely similar to the previous technology - this is the laying of the foil heat-reflecting layer and the installation of heating elements of the IR floor.
- Laying the protective film. Despite its insignificance, this is the most responsible stage of all the "wet" technology. From how qualitatively the locking of the protective film will be made, the duration of operation of the heating system will depend. As practice shows, in the event of a concrete solution to enter directly on IR film, the timing of warm floors is reduced by 20-30%. Therefore, for flooring the insulating layer, it is necessary to take a sufficiently dense film, and it is necessary to be stuck as much as possible to avoid damage. Separate polyethylene bands are settled with a cleaner, with a gap of at least 15 - 20 cm, and the joints are carefully skidded with scotch. For greater reliability, the film can be littered in 2 or even 3 layers.
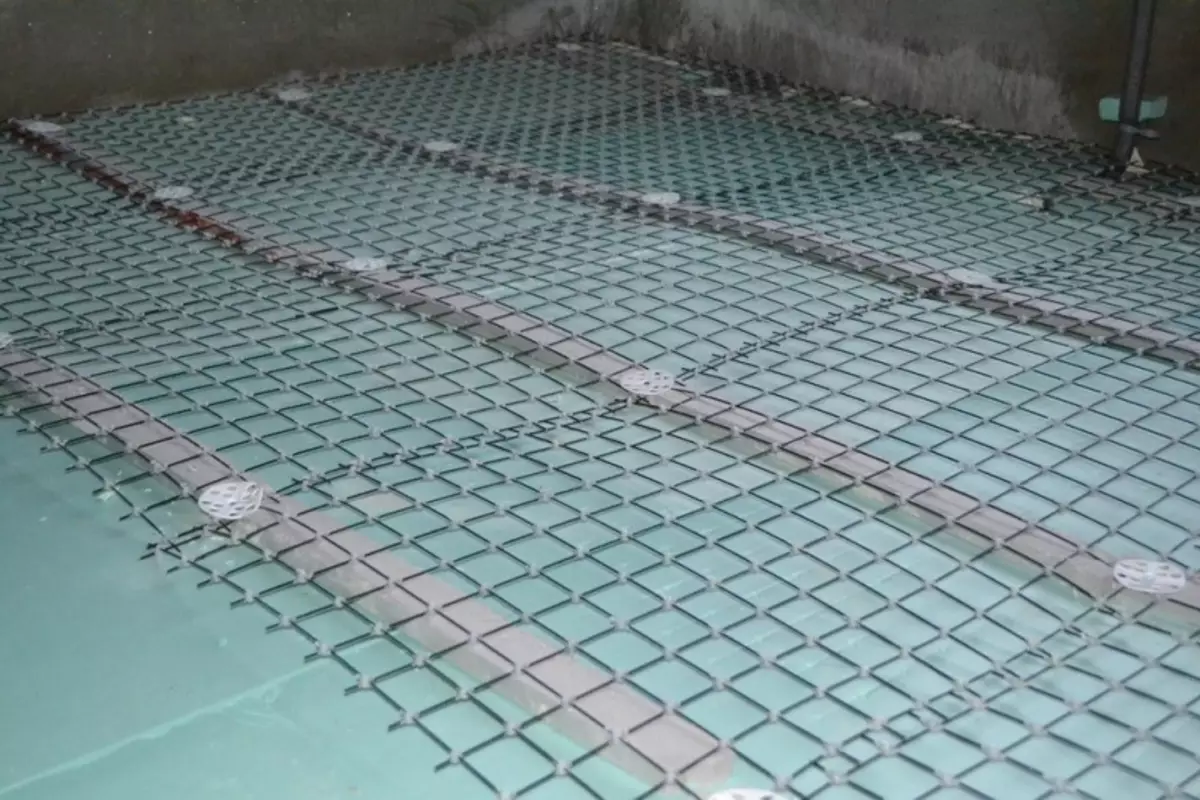
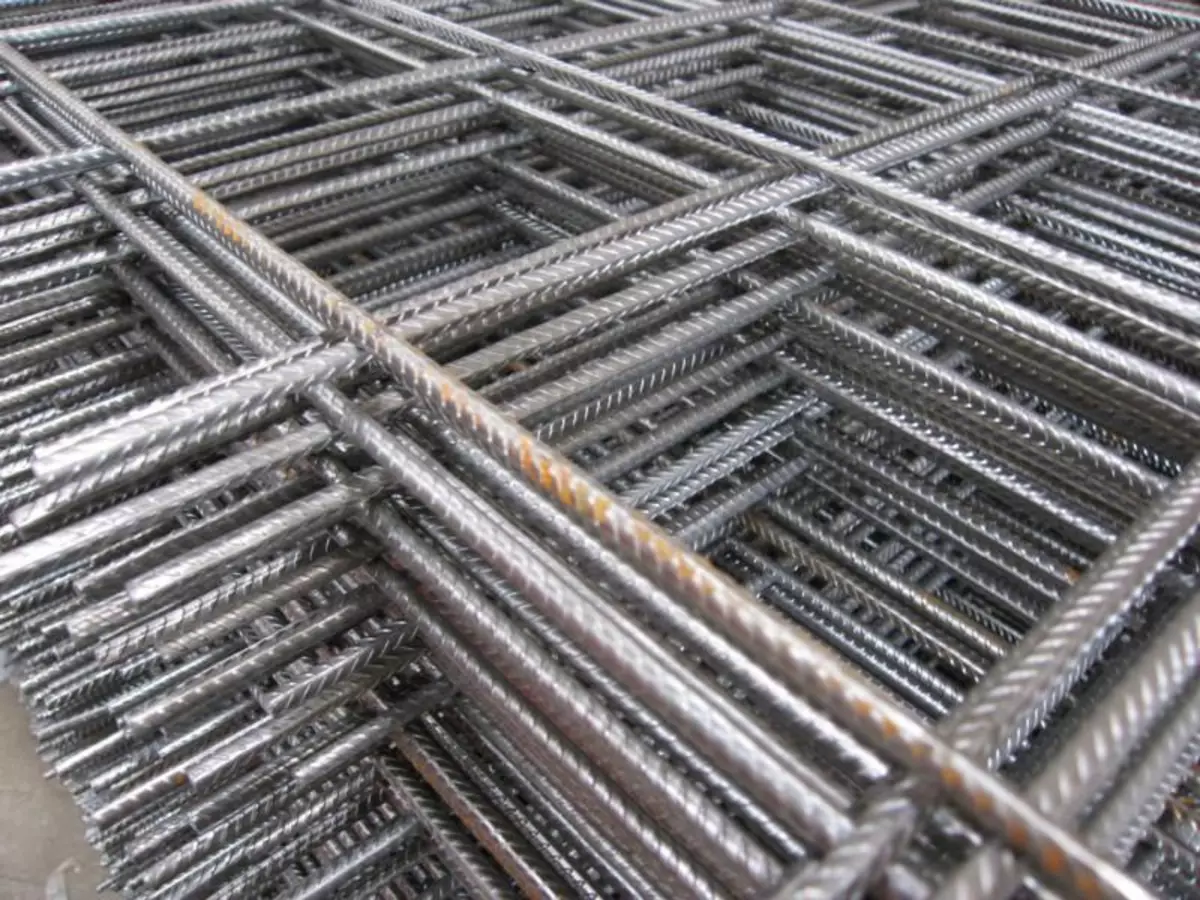
- Reinforcement. This uses a painting fiberglass mesh or a masonry metal mesh. The installation of the armofrarkas should be made with caution so as not to damage the protective film or the film of the heating elements.
- Fill tie. The thickness of the concrete layer on top of the film floors should not exceed 5 - 10 mm. Otherwise, a sharp drop in the efficiency of the heating system is possible. To obtain a more smooth surface, you can use self-removable ready-made mixtures.
- Laying tile. After the concrete layer sufficiently freeze, you can start styling a tile or porcelain stoneware. All work is made similar to the installation of the tile on the usual concrete basis. Detailed instructions for laying in this video:
As we see, subject to the correct work, it is quite possible to install warm IR floors under the tile.