
The properties of warm air are such that it rises up, so in the bath can be hot, but the floor will remain cold.
Such drops are uncomfortable for many people, so you can make a warm floor system that is widespread today.
The warm floor in the bath from the stove is easier and appropriate than using electric floors. Having studied the material of the article, it will be possible to recognize the features of the system and installation methods.
General information about the system
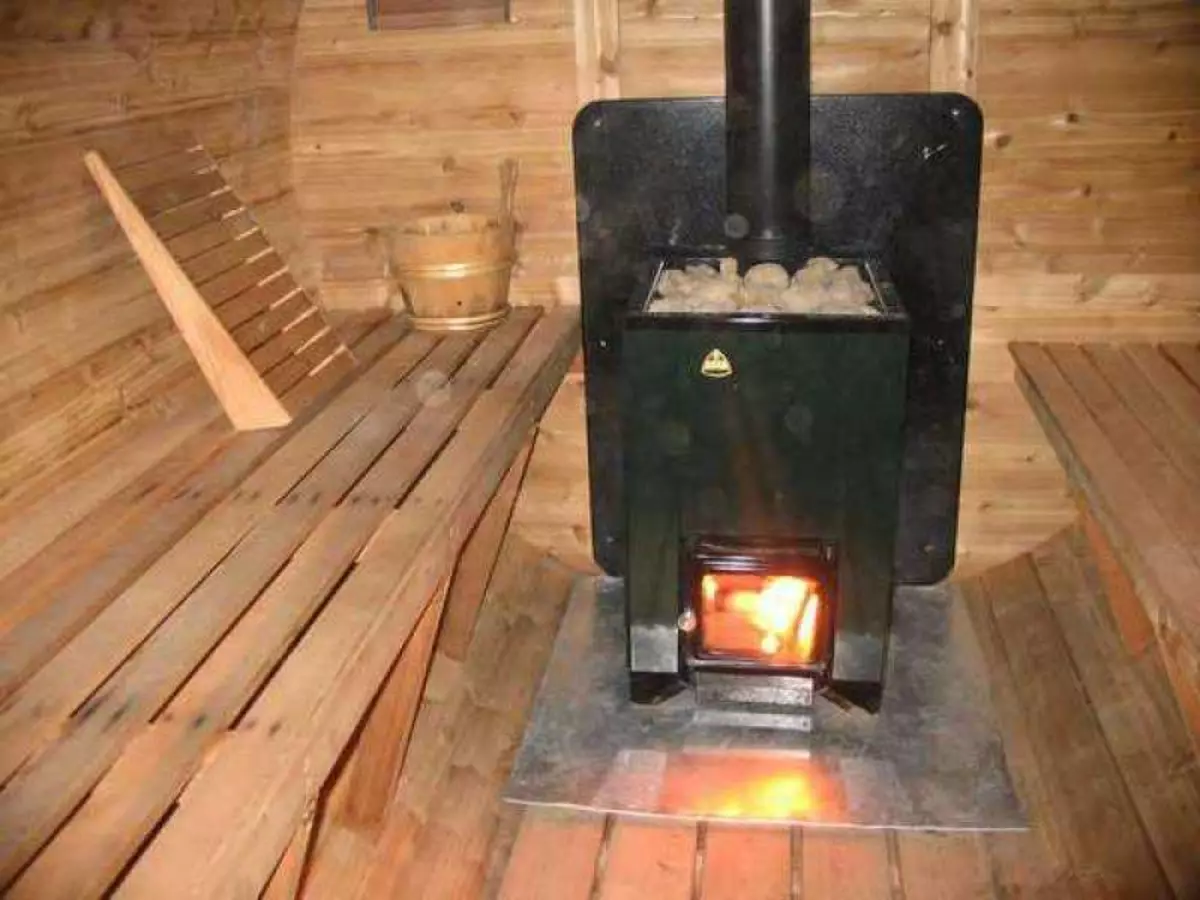
Water in the pipes of the water circuit will be heated from the stove
For a warm floor in the bath, it will not be necessary to install the boiler, because heating will go from the furnace. For this, the heat exchanger from the metal tank should be made above the furnace.
From it, it will be possible to put water heating on the floor in those rooms where it is necessary. Additionally, it will be necessary to put the pump for circulating water in the pipes.
Since it will not be possible to install a bulk heat exchanger in the furnace, it is necessary to additionally put the battery tank near it and combine it with steel pipes with a heat exchanger. To reduce heat loss on the floor, insulation is stacked, which will be able to properly reflect it and the rooms will be the necessary temperature.
The main problem of aqueous warm floor from the furnace lies in the inability to adjust the temperature. For heating, it is recommended to produce the floor to 40 degrees, but in the bath the water is heated more and it will be necessary to additionally install the mixing unit.
To protect the floor itself, a standard cement-sand screed is used, and a tile is used as an outdoor coating.
Before installing the system, you need to familiarize yourself with the advantages and minuses, which are shown in the table:
| № | Dignity | disadvantages |
|---|---|---|
| one | No electromagnetic radiation in contrast to the electrical system. | In winter, it is necessary to drain water so that the pipes do not break from the frozen water or the furnace must constantly heat. The optimal option is to change water to antifreeze. |
| 2. | Environmental purity and harmless to health. | For heating of the battery tank, it will take a lot of heat, due to which the furnace will be less effective in its main purpose. |
| 3. | Comfortable conditions are preserved in the bath, the floor remains warm. | For heating floors in several rooms, a large heat carrier should be put, because of which the warm-up time will be increased. |
| four | Efficiency. |
Article on the topic: Bathroom interior combined with toilet
Warm floor can be made using several types of materials and devices that are presented in the table:
| Name | Dignity | disadvantages |
|---|---|---|
| Concrete screed - for the bath perfect option. Pouring is simple and does not require special skills. | Saves funds on building materials, and at the expense of cement, the floor will be resistant to moisture. | Use the floor, it will be possible to use a month after the fill, and if the pipe is damaged, you will have to remove the entire screed for the possibility of determining the place of leakage. |
| Polystyrene plates are easy to use. | Each plate already has a layer with foil, which allows you to reflect heat, as well as they are equipped with places for fixing pipes. | It is necessary to additionally pour the screed. |
| Heating pipes in wooden floor. | High maintainability. | We need accurate calculations to determine the pipeline laying. |
For thermal insulation of the system, you can use any thermal material: mineral wool, ceramzite, foam and other species.
Floor and preparation
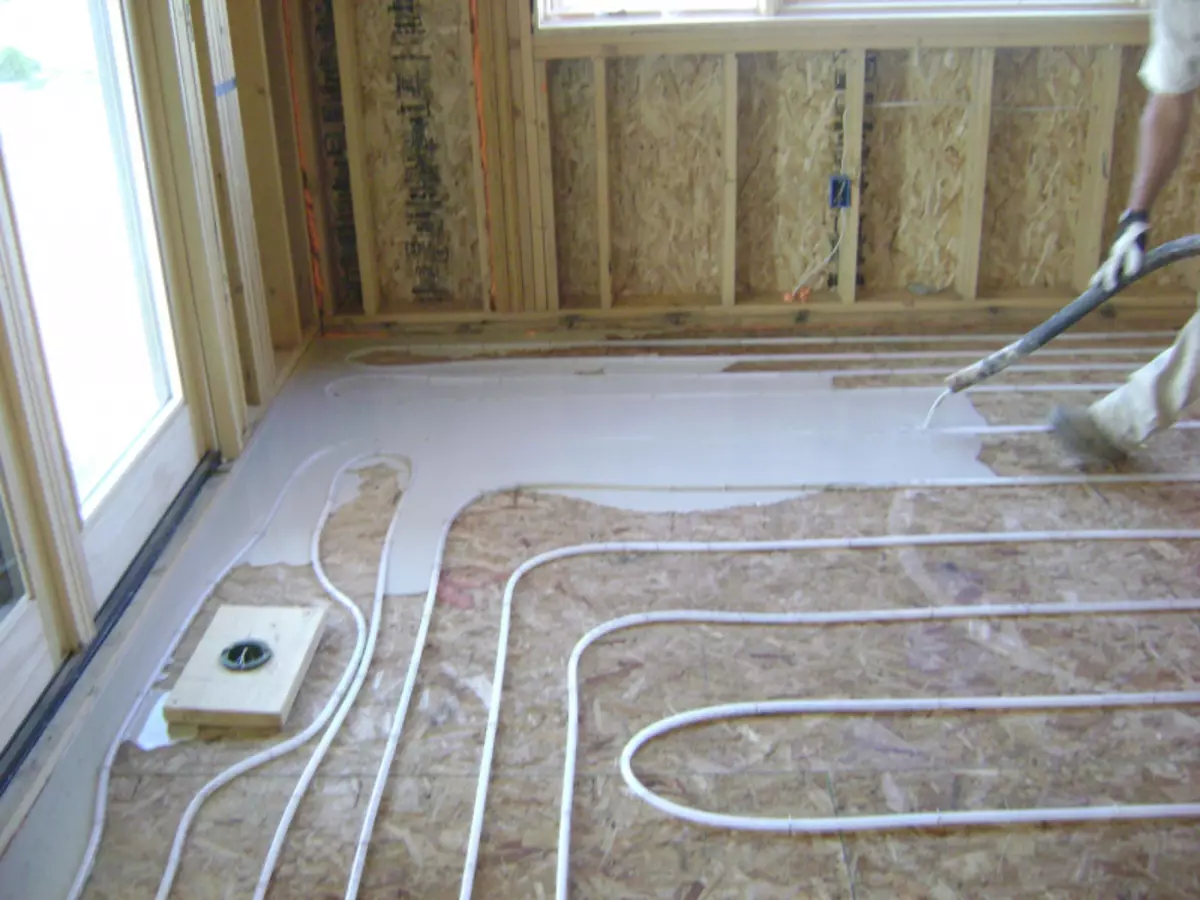
A concrete screed poured on top of the laid materials and pipes
The warm floor in the bath from the stove according to the scheme is made of the following layers:
- A layer of waterproofing that will protect the floor coating from condensate collection.
- The heat-insulating layer will allow maintaining heat that can pass through overlaps.
- A reinforcing grid is stacked to protect the insulation.
- Layer of reflecting materials with foil, which will reflect the heat into the room.
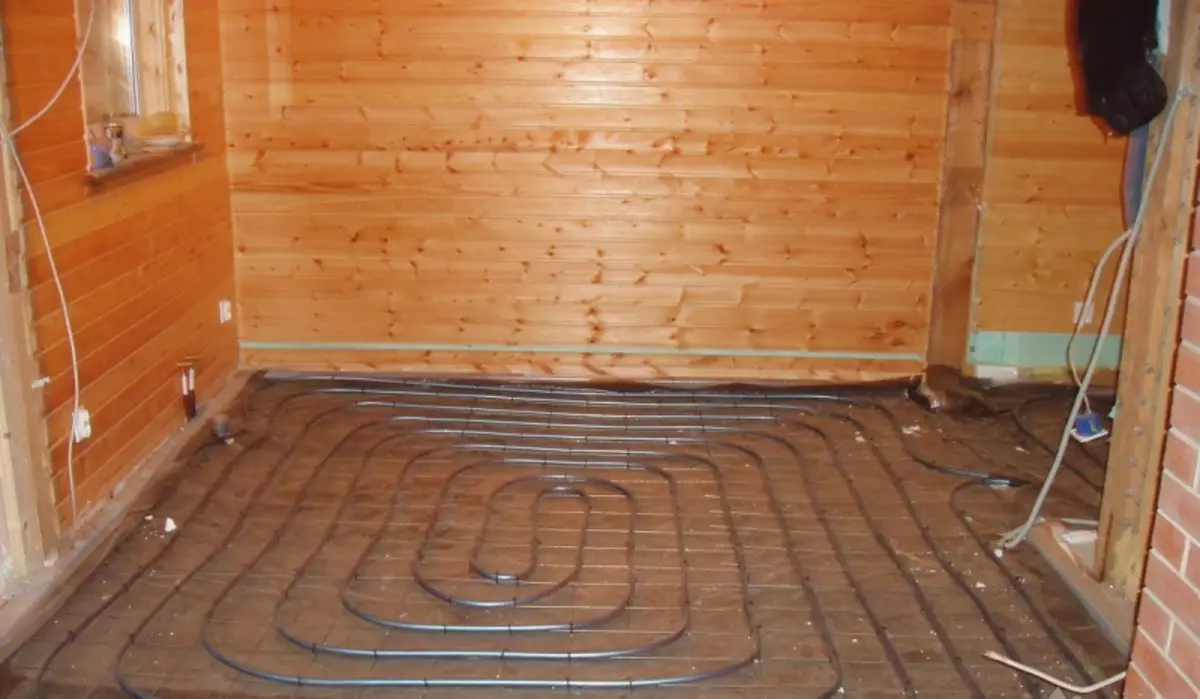
- Pipeline, styling of which is carried out in the form of a spiral, for uniform heating area.
- Screed for alignment of the surface with low slopes to the wastewater.
- Laying the finishing floor covering.
If the floor is stacked on the open ground, then in front of the waterproofing layer should be poured a pillow of gravel and sand, as well as lay a layer of clay. Ceramzite will additionally perform the heat insulating function.
Before any work requires preparation. For the floor that will be heated from the furnace, you should prepare the base and make drain. The work is performed as follows:
- It is necessary to remove the ground between the foundation, under the washer and the tumper surface. In the wall, it will be necessary to pre-pave the pipe to drain the water into the sewer.
- Failure is made from sand and rubble height 15-20 cm, after which the pillow is trambed.
- The base is insulated with clay. The material layer is 15-20 cm depending on the climate.
Preparing the surface, you need to remember the slope for the drain.
Step-by-step installation instructions
Heating floor in the bath due to heat furnace - a favorable step
Article on the topic: how easy it is easy to finish the walls of the chipboard
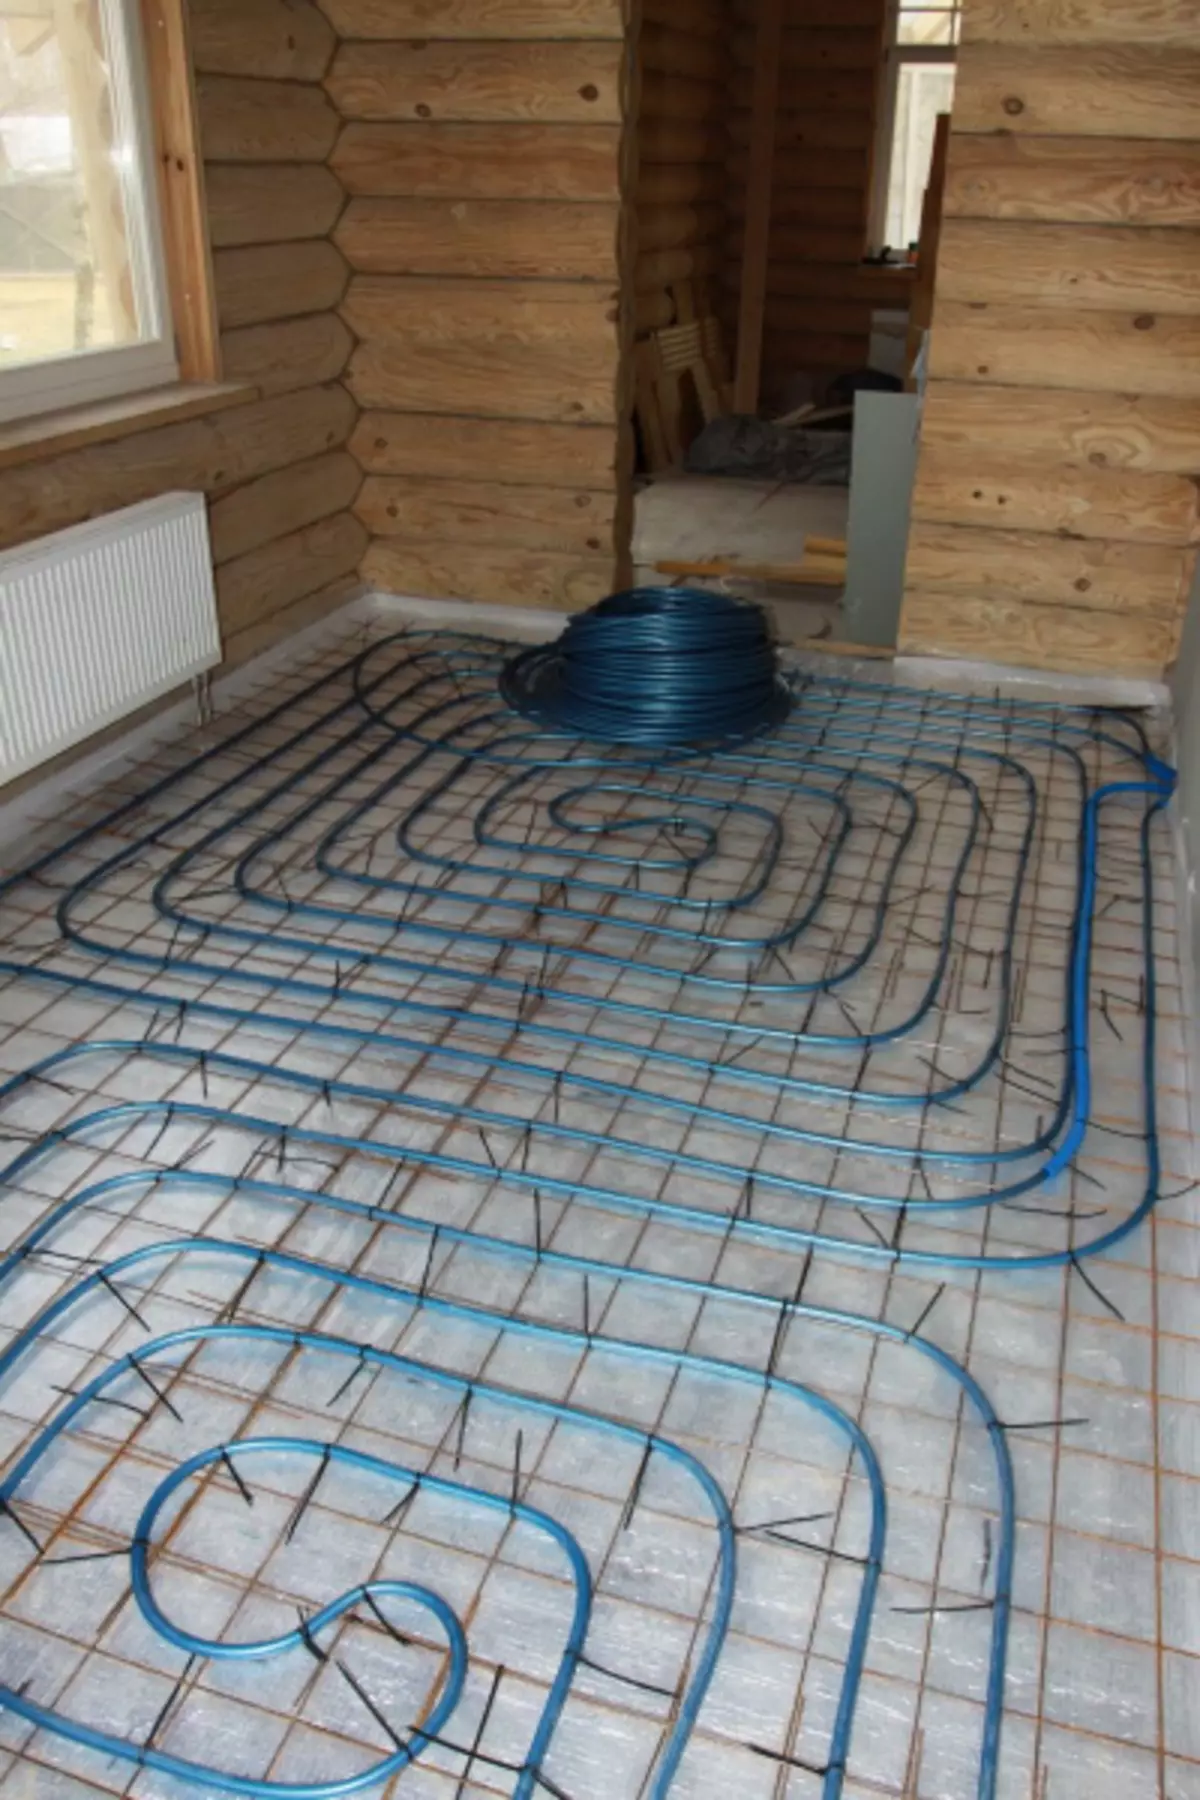
The base in the bath is ready, but it is time to start the pipe wiring. To do this, you can use both copper pipes and metal-plastic. The laying process is as follows:
- Initially, the waterproofing material is established. This uses runner, which is stacked in two layers. His joints glued with mastic, and all strips of material should be perpendicular to each other.
- Thermal insulation is then carried out.
- The next step is stacked by the reinforcing grid, which will protect insulating materials.
- Top Mesh is put on the heating pipes and connect to check their performance and the availability of possible leaks.
- When all materials are laid, you can start pouring a screed throughout the area of the room. Pre-at the perimeter of the rooms is glued to the damper tape, which will not allow the floor to be deformed from temperatures. For a screed, you can use any kind of mixtures.
- Filling the floor aligns lighthouses and an angle is observed to the plum.
- Water warm floor is virtually ready, after complete drying of the screed, you should lay a tile or other outdoor materials that will be applied. Read more about Montage Water Paul in Banke. See this video:
As you can see, make a warm floor in the bath with wood heating is easy. Ultimately, the system will save money that could be spent on the purchase of boiler and payment of electricity. Having paved under the floors with heating, you can achieve a comfortable stay in the bath, shower and rest room.