
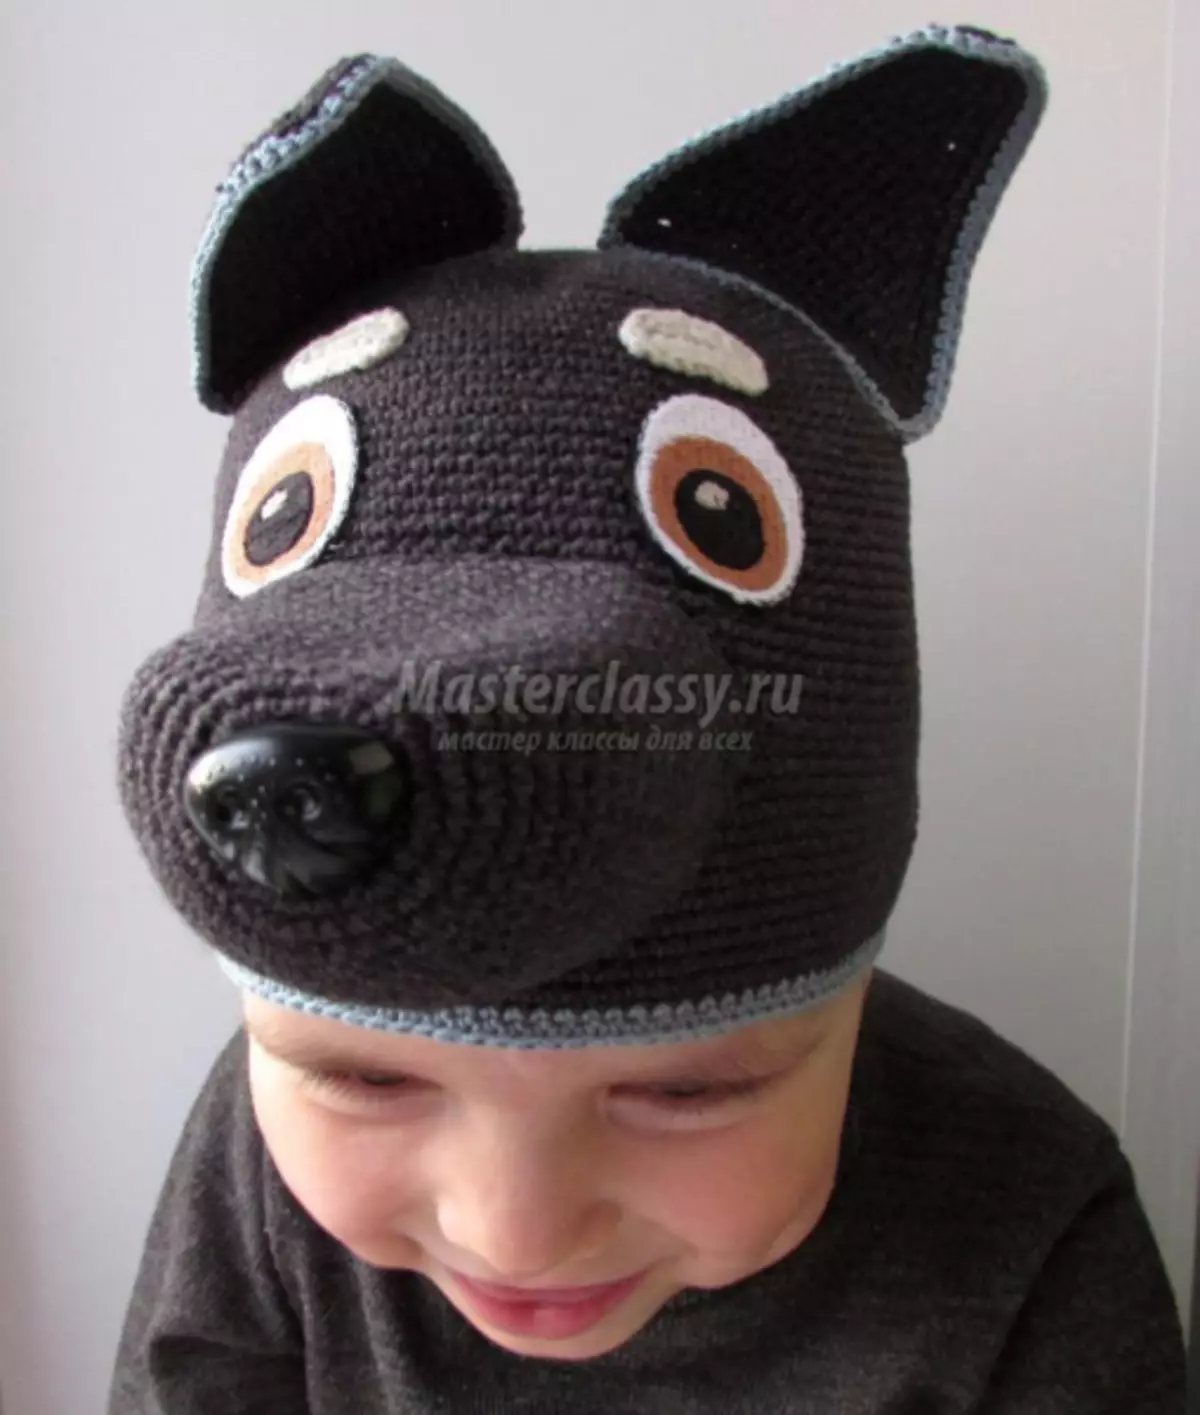
The baby always wants to dress somehow original if it comes to the holiday. For children's matinees or just for the New Year's fun, we present how to make the hat of the wolf do it yourself.
Getting ready for the Matinnik
To create a wolf hat, you need:
- Hook number two;
- Cotton yarn dark and light gray color, as well as beige color;
- the tip of the nose of plastic;
- fabric-based eyes;
- Filler and old plastic card.
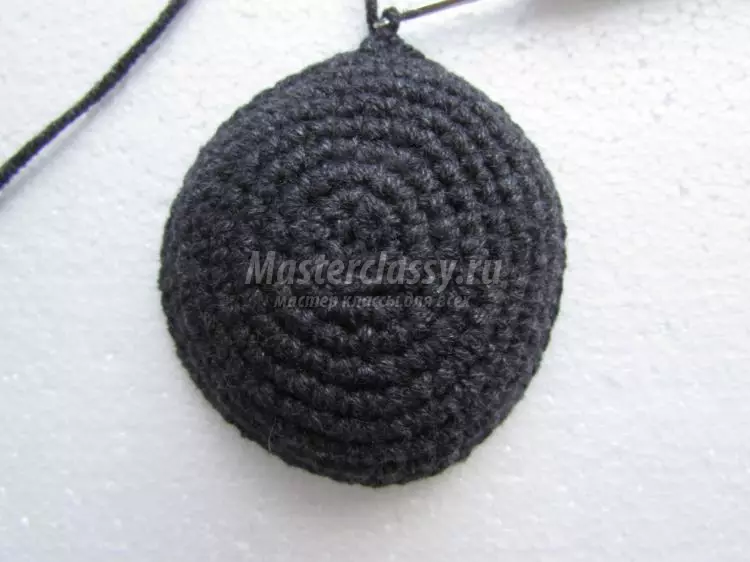
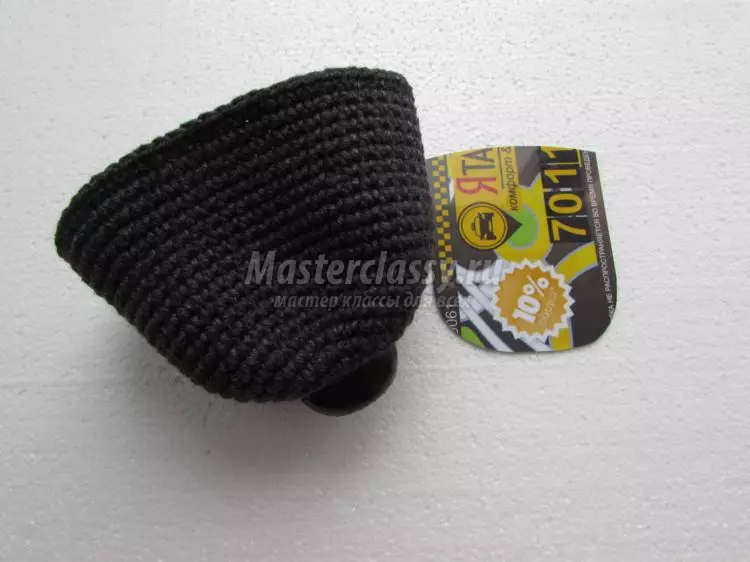
Dial 5 hook air loops and close them into the ring.
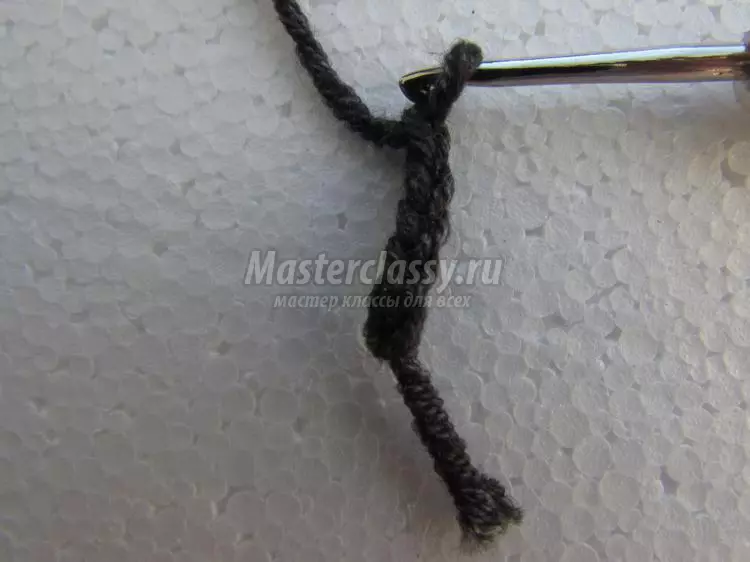
Make a air loop for lifting to the next row and knit rows of columns without a nakid, in the first row, making one-time drop in each loop, i.e., to stick out of the loop two columns without a nakid, so that the hat is not sharp from above.
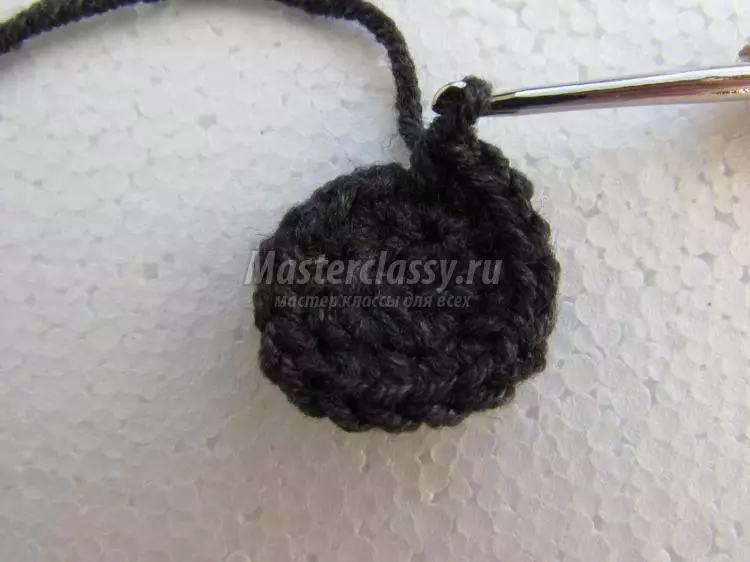
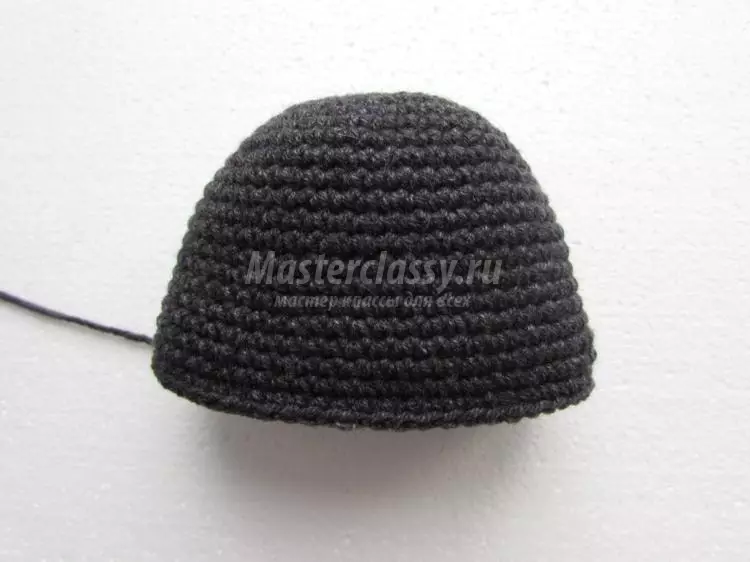
We continue to knit, making add, but not from each loop, but less often, already focusing on the size and shape of the head. It is necessary fittings.
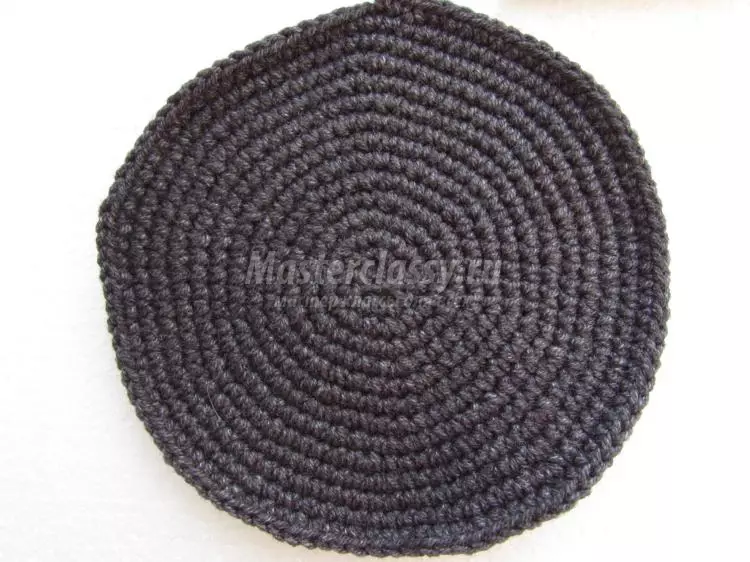
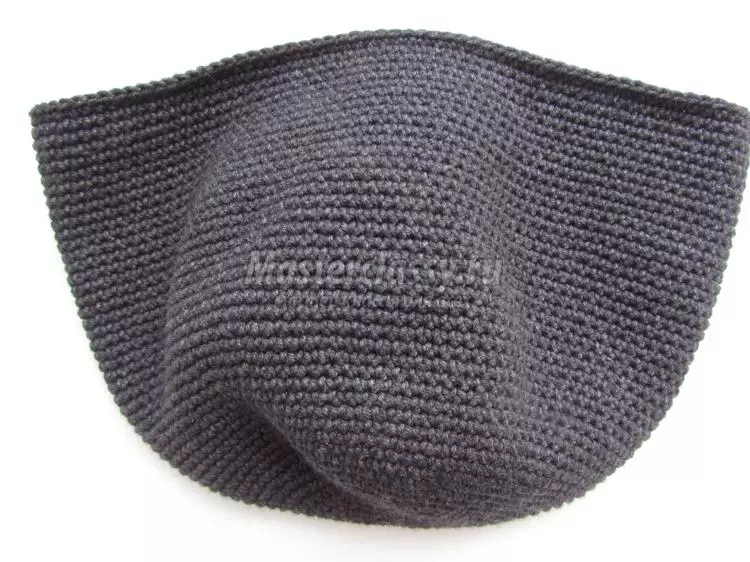
After tied up the top, start dating loops, skipping without checking. For a smooth transition, two grades in a row. And thus to lie two or three rows.
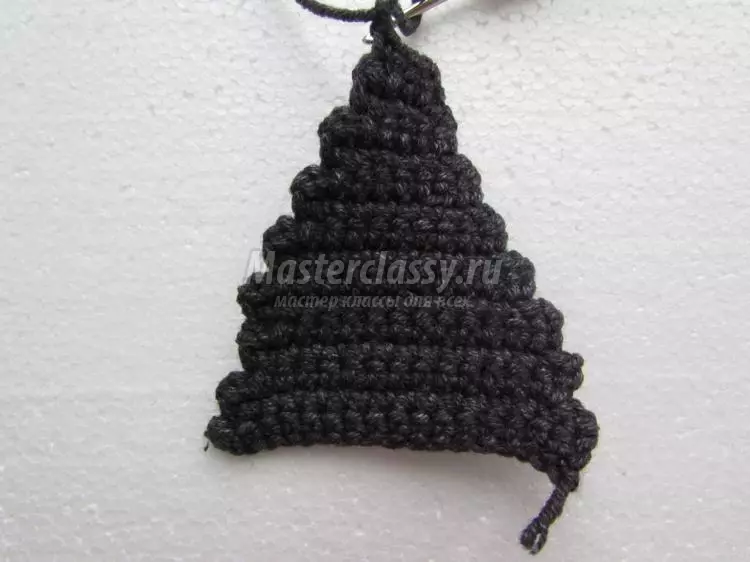
"Wolf Nose". Dial five air loops, closer to the ring and pinch four rows by columns without a nakid, making adds. In the fifth row, we donate twice and knit two more rows.
To expand the "nose", we make two additions and knit to the desired size.
Attach and fix the plastic tip of the nose, if there is no such hand at hand, you can tie a "pimple" with a crochet of black yarn and sew.
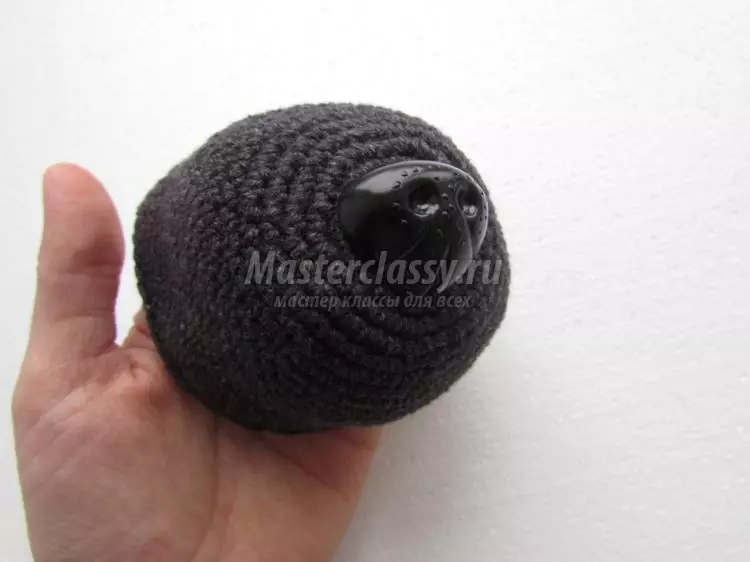
In order for the "muzzle" wolf not deformed, it is necessary to maintain its shape with an unnecessary plastic card. Cutting the necessary supporting item from the card, glue it in the middle of the "nose" from the inside.
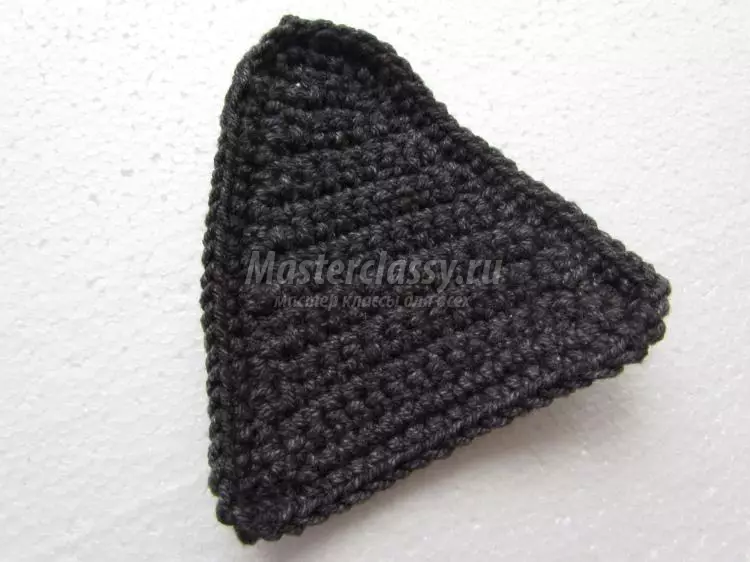
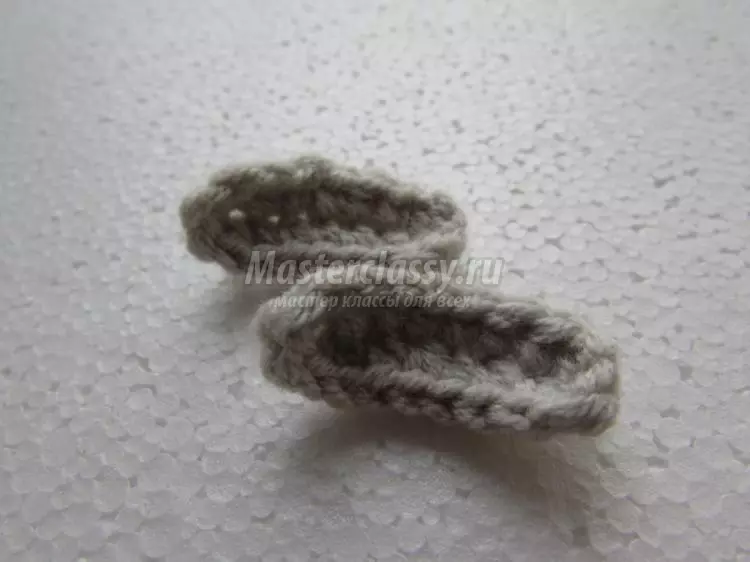
"Ears": 15 air loops plus one air lift air loop to penetrate a number of columns without a nakid. Again air lift loop. Turning work, to plunge 1 semi-solitary. To narrow the ears up, you do not need to prick the last loop. Then each row is in a similar way, as a result of which 2 loops should remain.
Article on the topic: How to sew a leather backpack or bag with your own hands - description and patterns
Schedules without Nakid to tie the edge of the "ear".
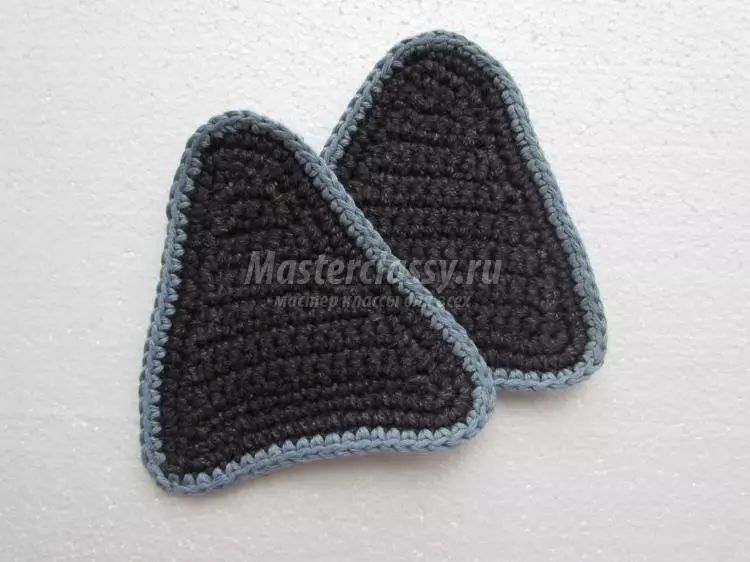
Take the "Ear" for a second time, but already bright threads.
"Eyebrows". A chain of seven air loops around to tie the columns without a nakid, making at the end of 4 loops.
Assembly. All billets are assembled, sew to the cap, the "face" fill the filler and attach to the front of the cap. In complete, it is good to sip the iron.

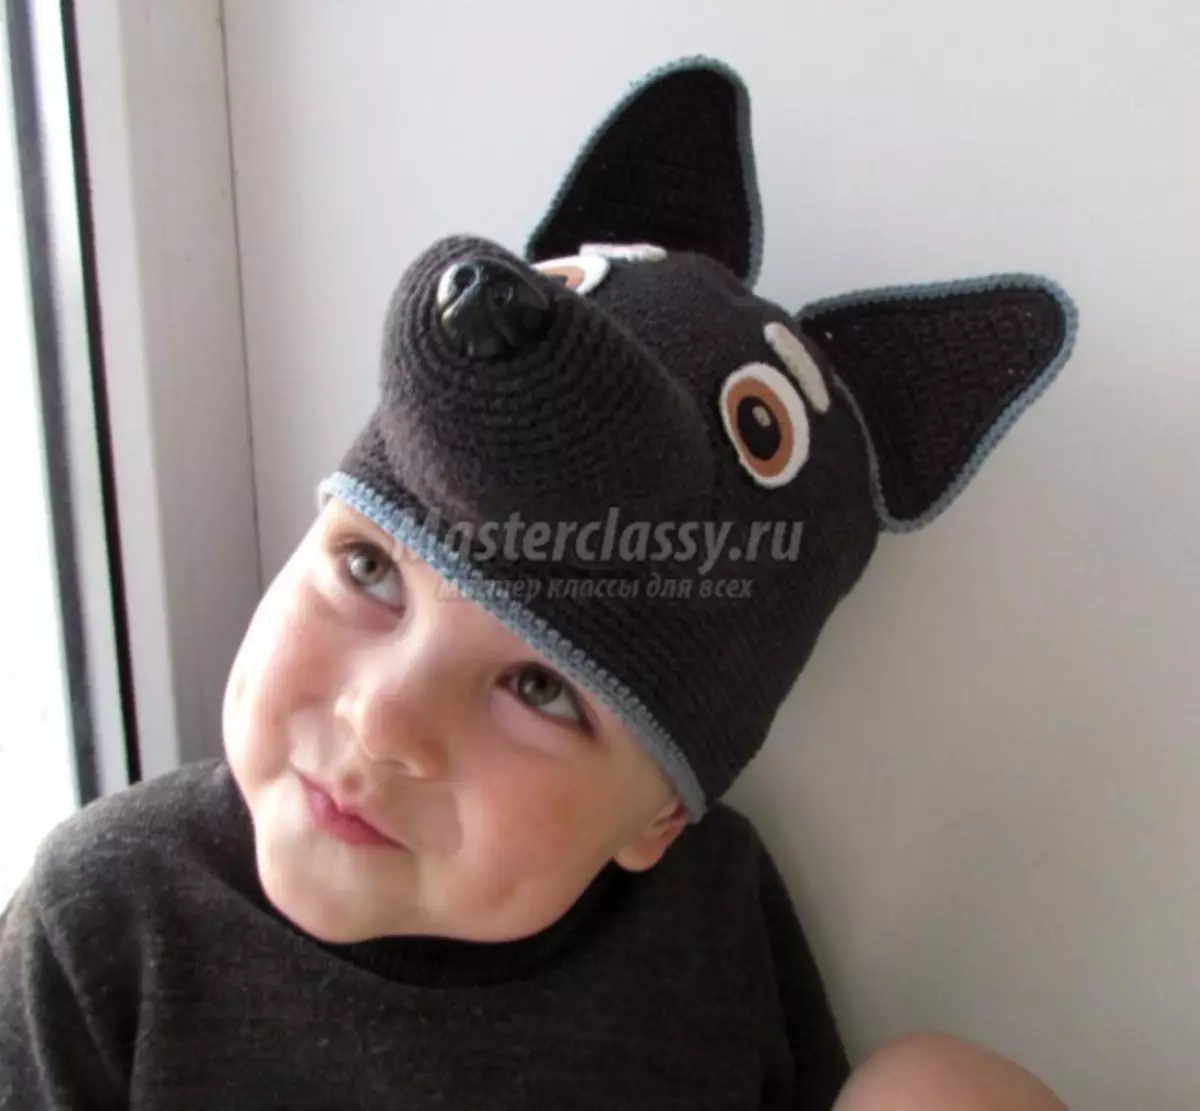
We wear and go to scare hares.
Video on the topic
We present you the video of the master class: