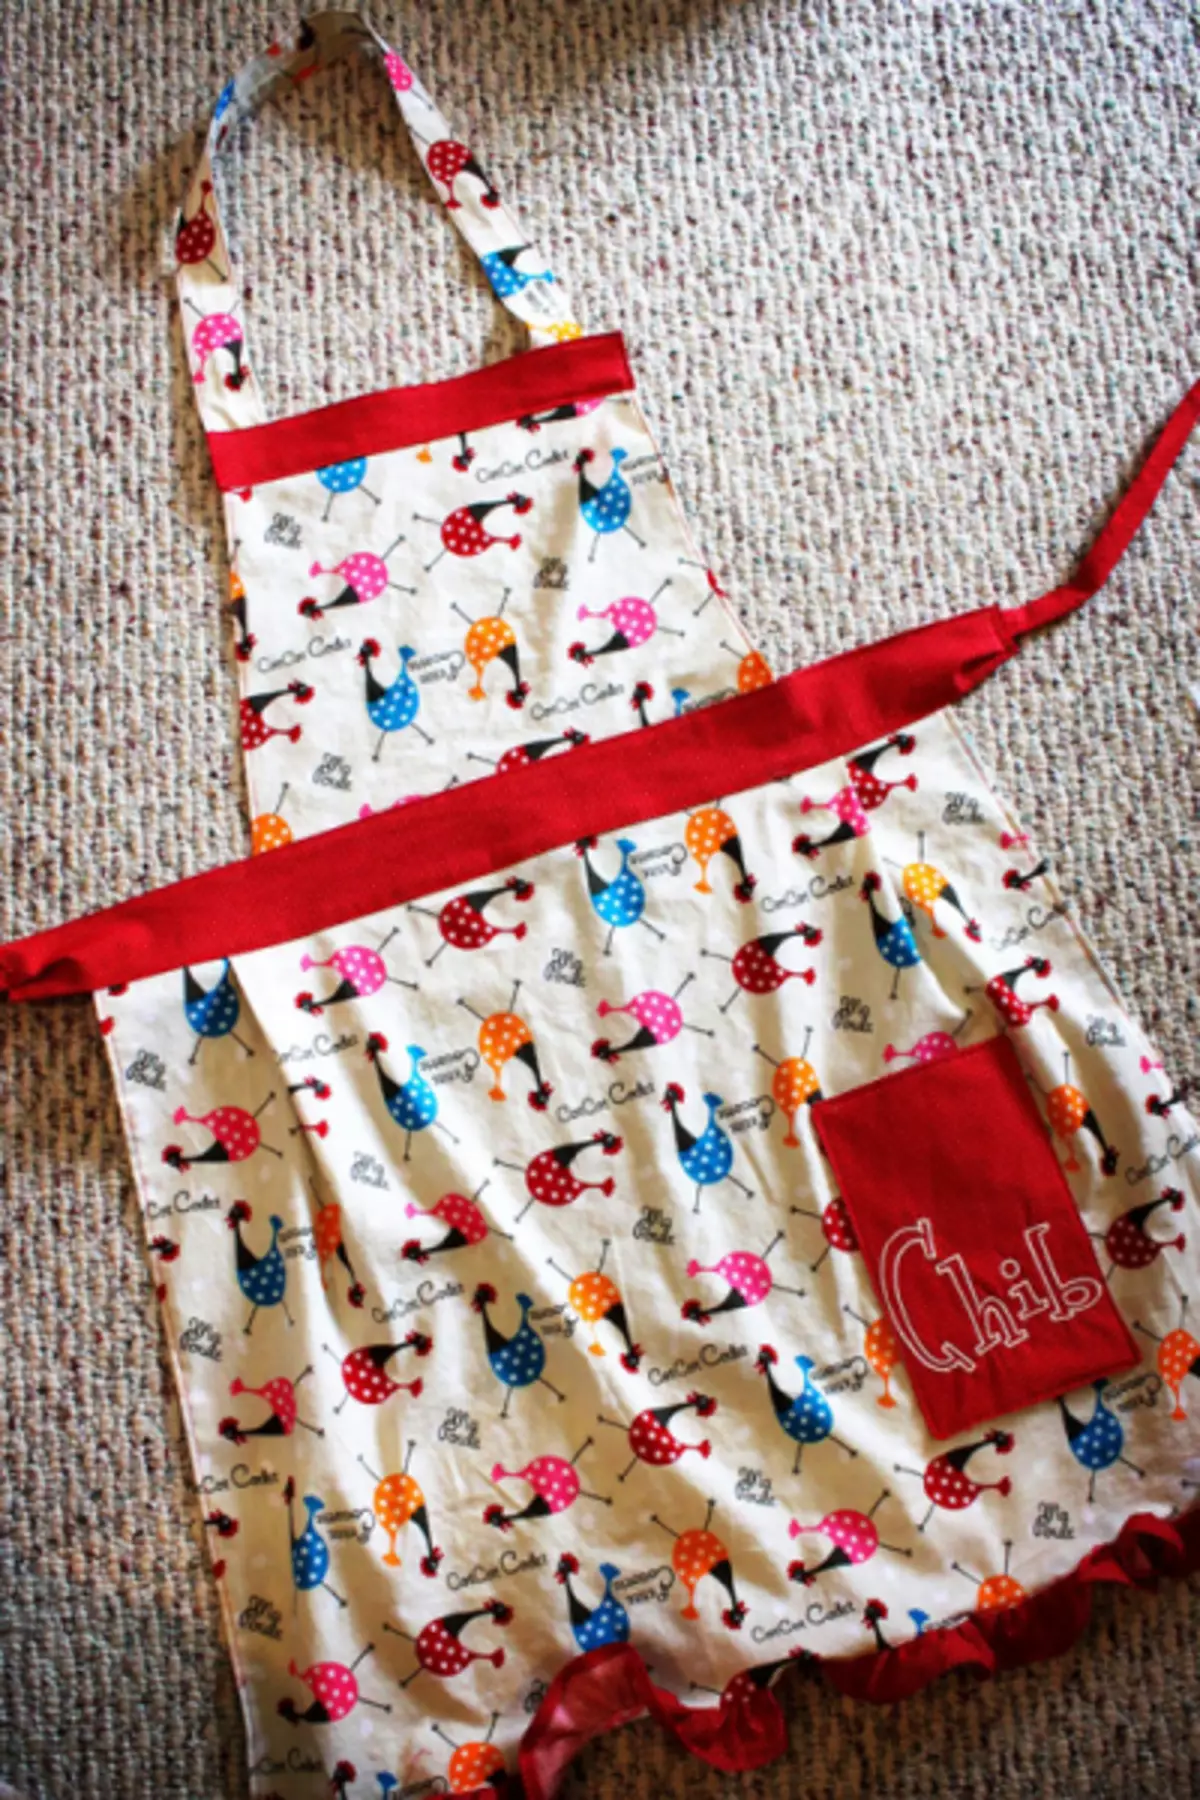
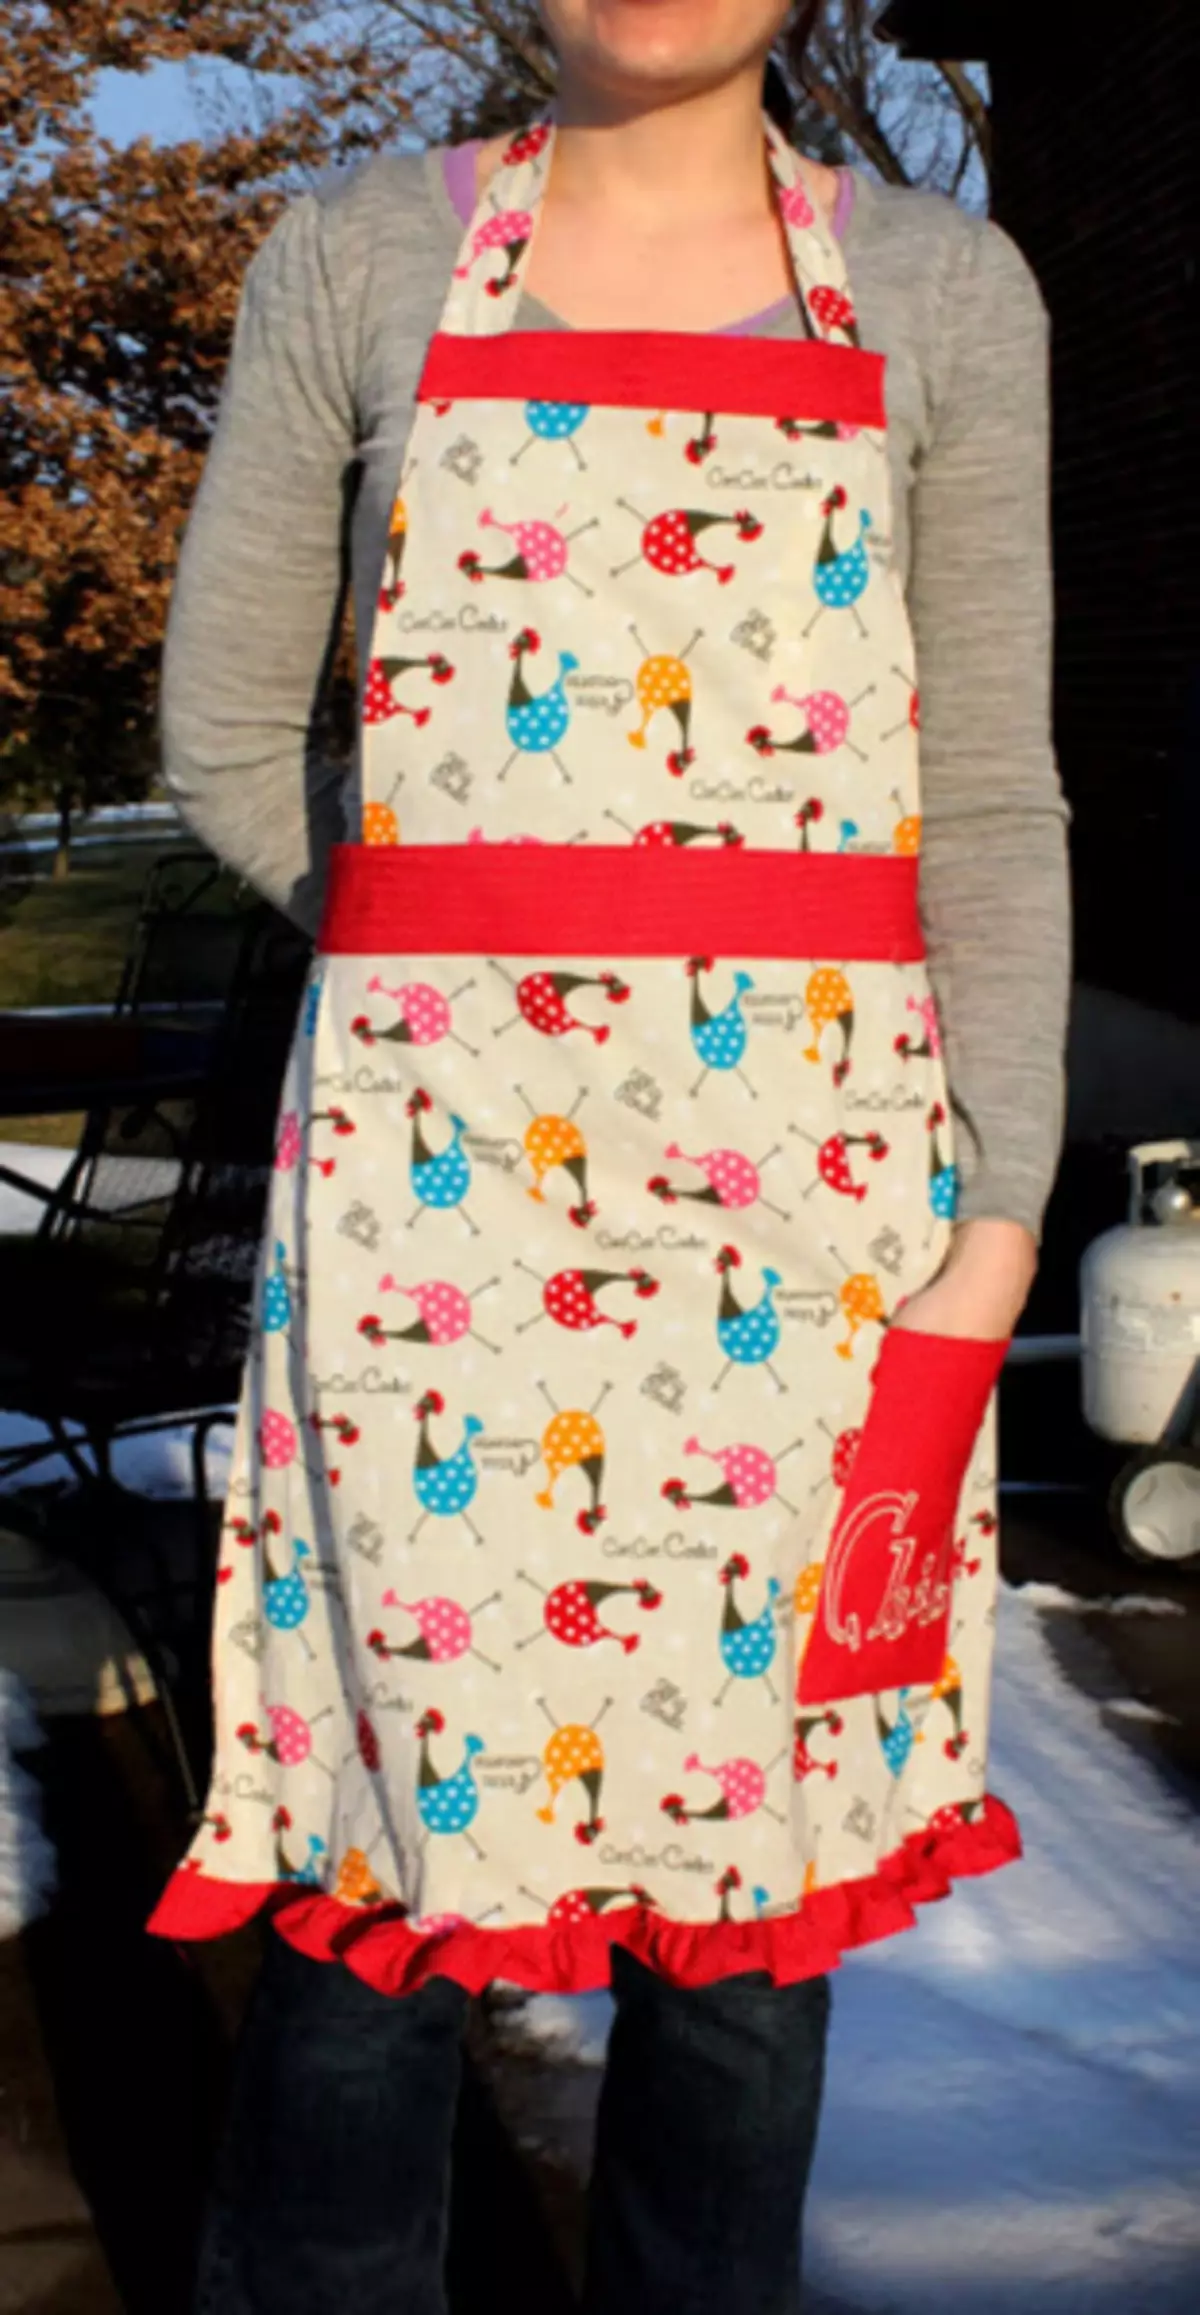
Apron is a very important detail of the image of the hostess. It allows you to brighten gray days and raise the mood, whatever work you do. In addition, it is the apron who will save your clothes from droplets, spots and splashes. It is not necessary to go to the store to the store, you can use home stocks of fabrics and create it yourself. Today we will tell you how to sew apron with their own hands. In this master class you will find detailed photos, a description of all steps and our advice. So, let's begin.
Required materials and tools:
- 1 meter of the main fabric;
- 1-0.5 m Fabric for finishing;
- Velcro;
- sewing supplies;
- sewing machine.
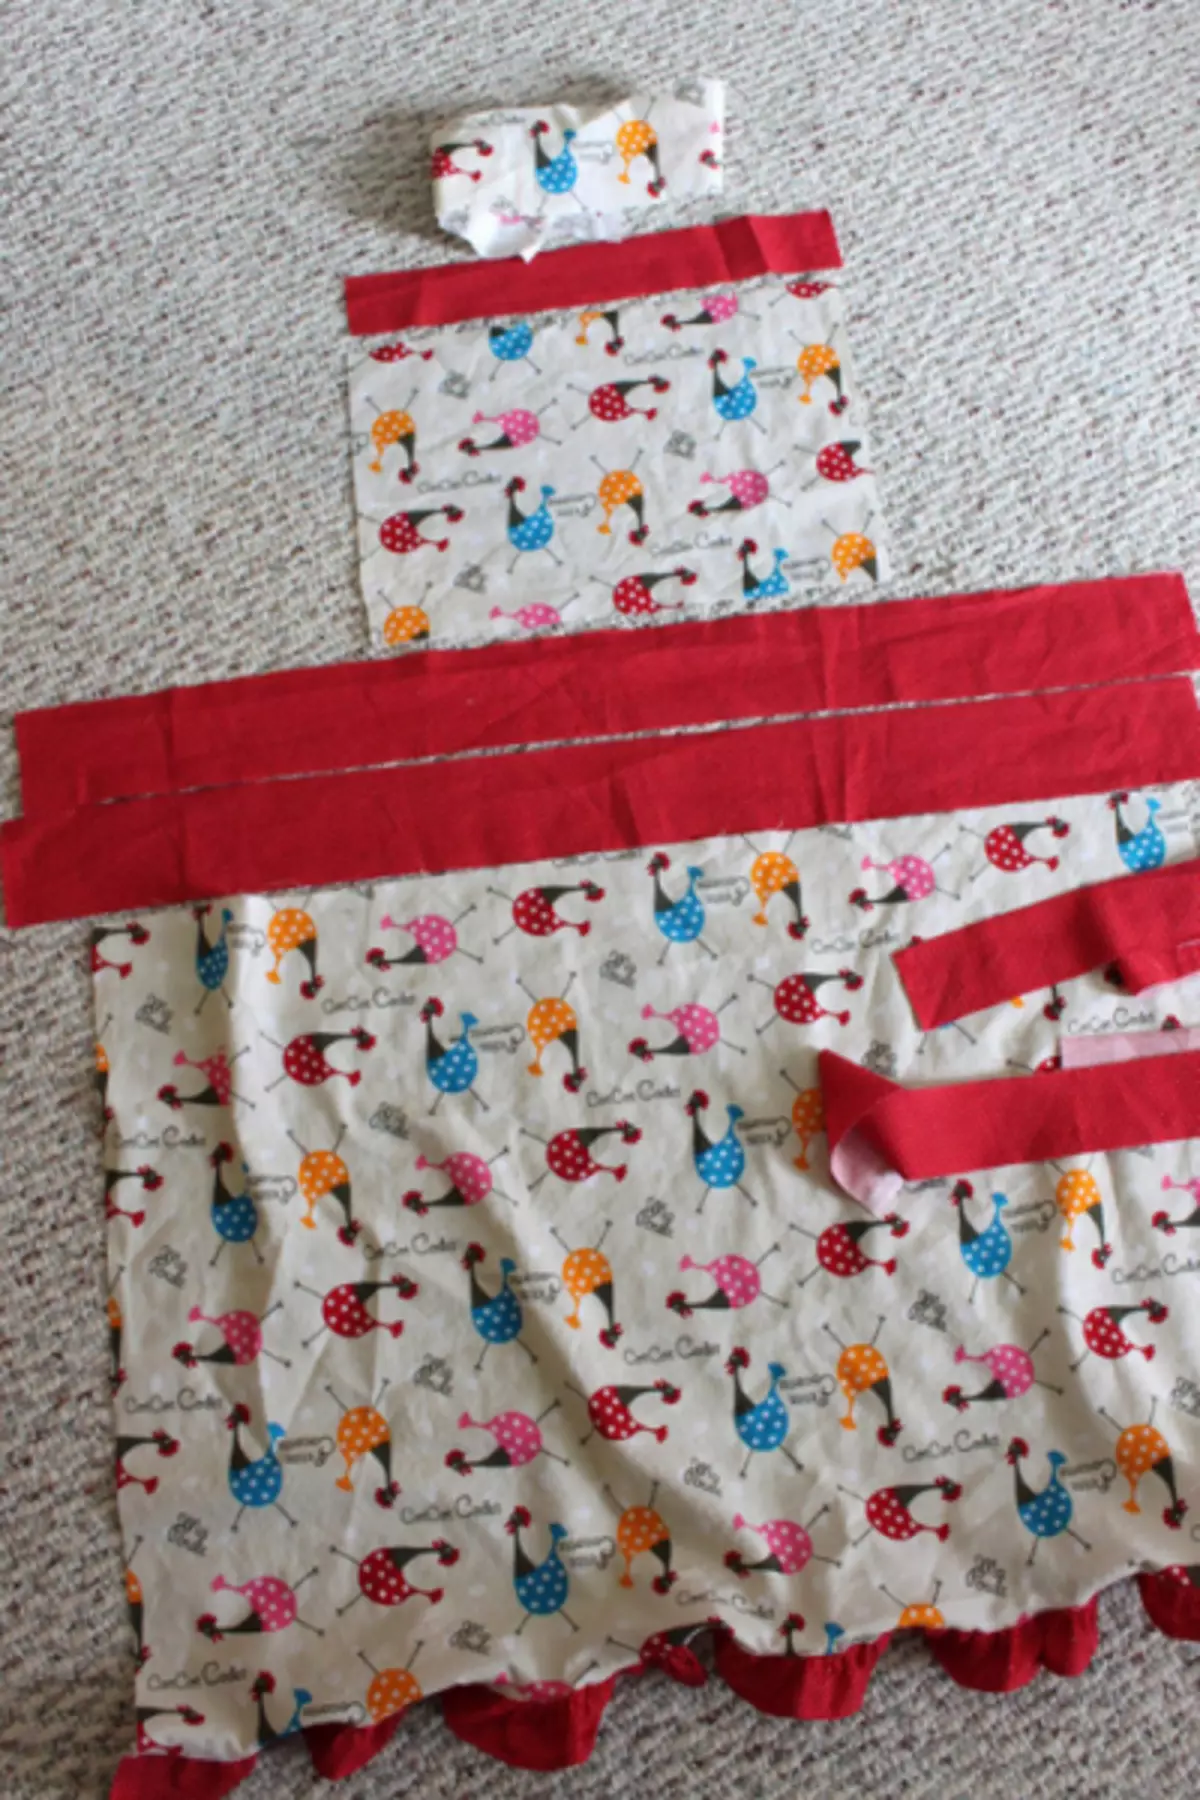
Cut the details
First of all to sew an apron with your own hands, you need to cut the items. The lower part of the fiber is width - 72 cm, length - 51 cm, top - 36x25 cm. For the waist Cut two wide strips, two strips for thin tie, upper pad - 2 pcs., Width - 36 cm, pocket of any size, also need a strap For the neck, for this, decide on its length and measure the length of the neck.Seer pocket
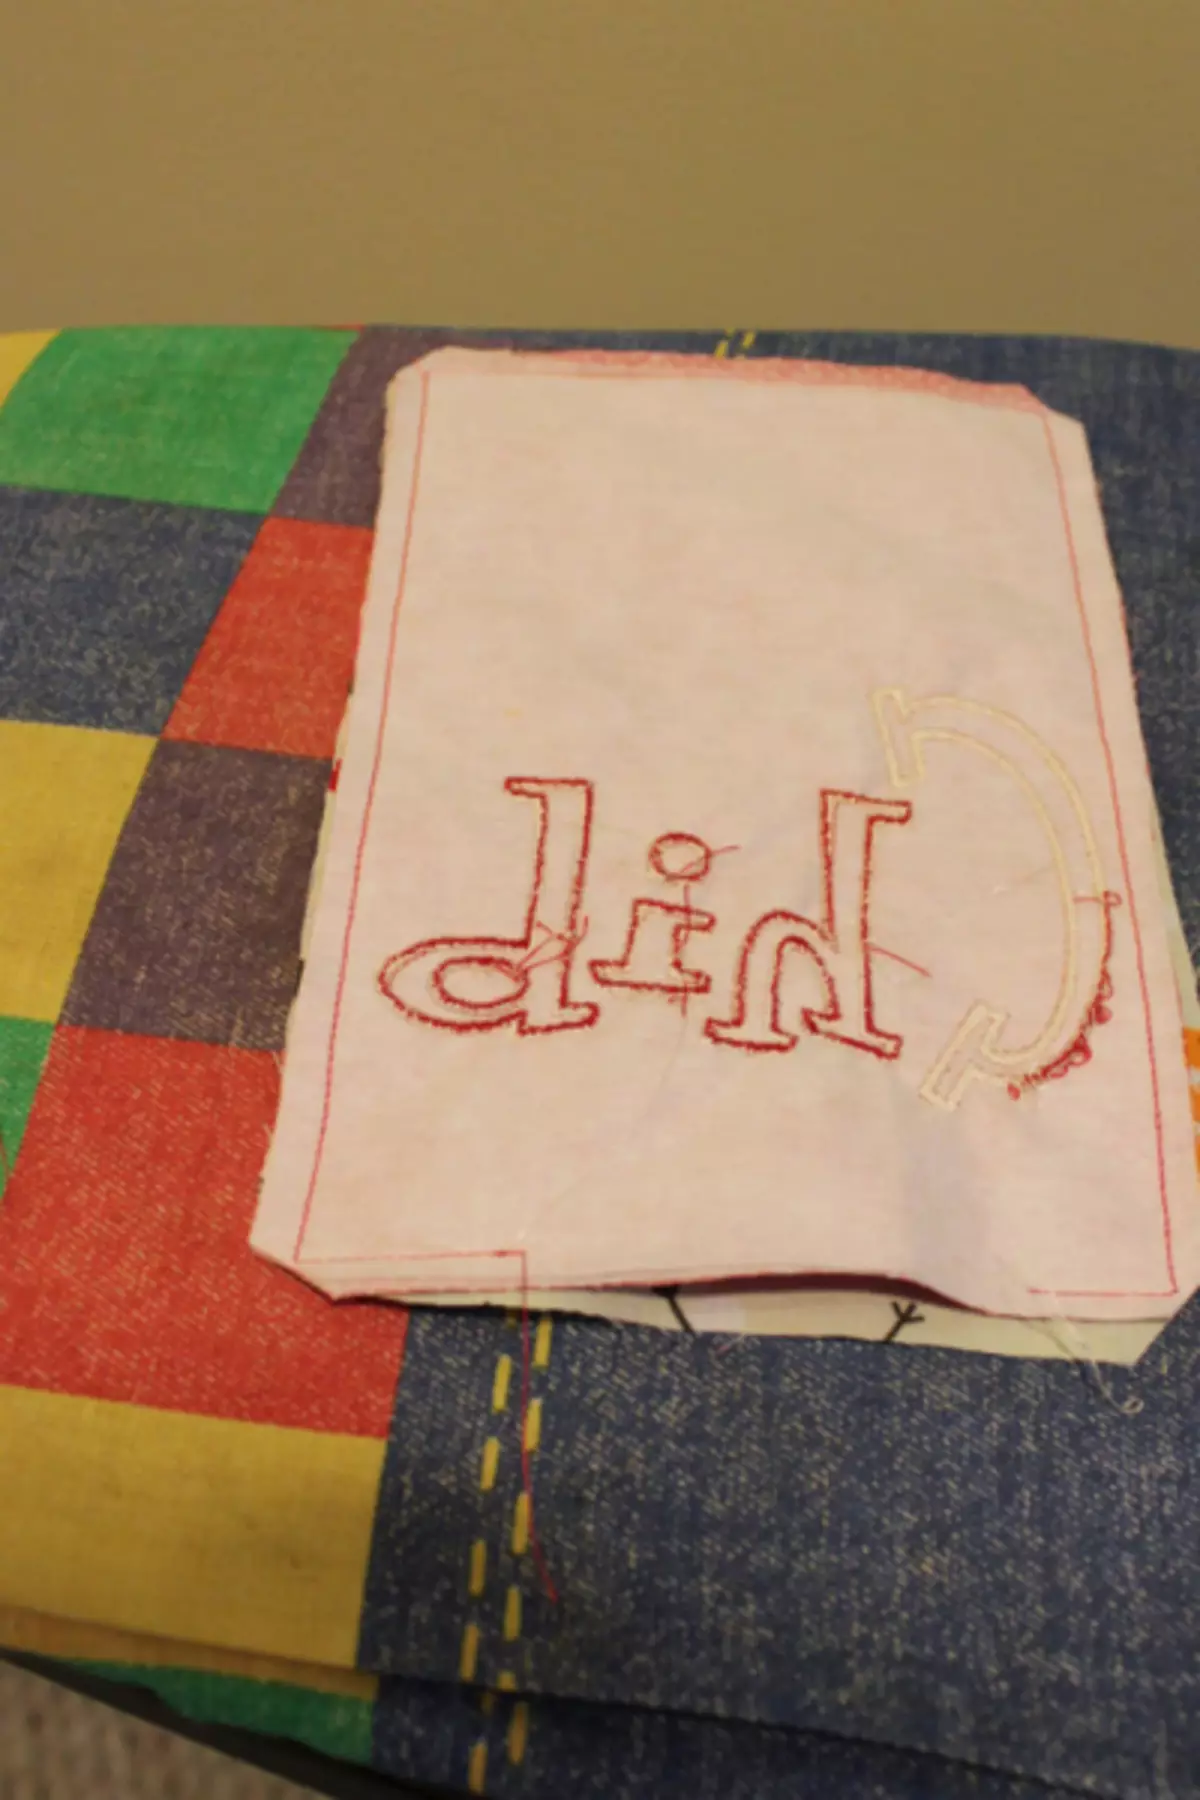
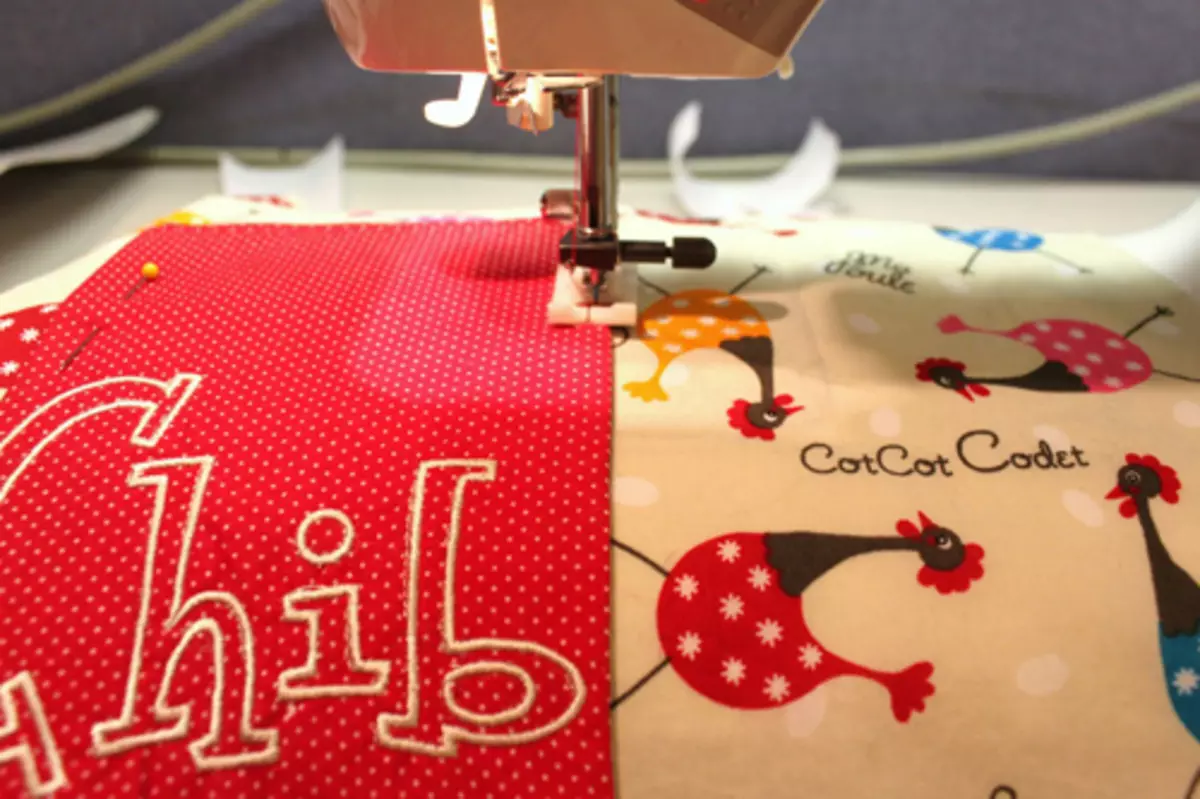
First of all, you need to sew pocket. Tell him as you want, you can embroider the name of the owner, make an embroidery or leave it smooth. Now sew from the wrong side of the edge, remove and shoot the top of the pocket. Attach it to the apron of pins and push the typewriter along three sides, leaving the top edge open.

Making obscenities
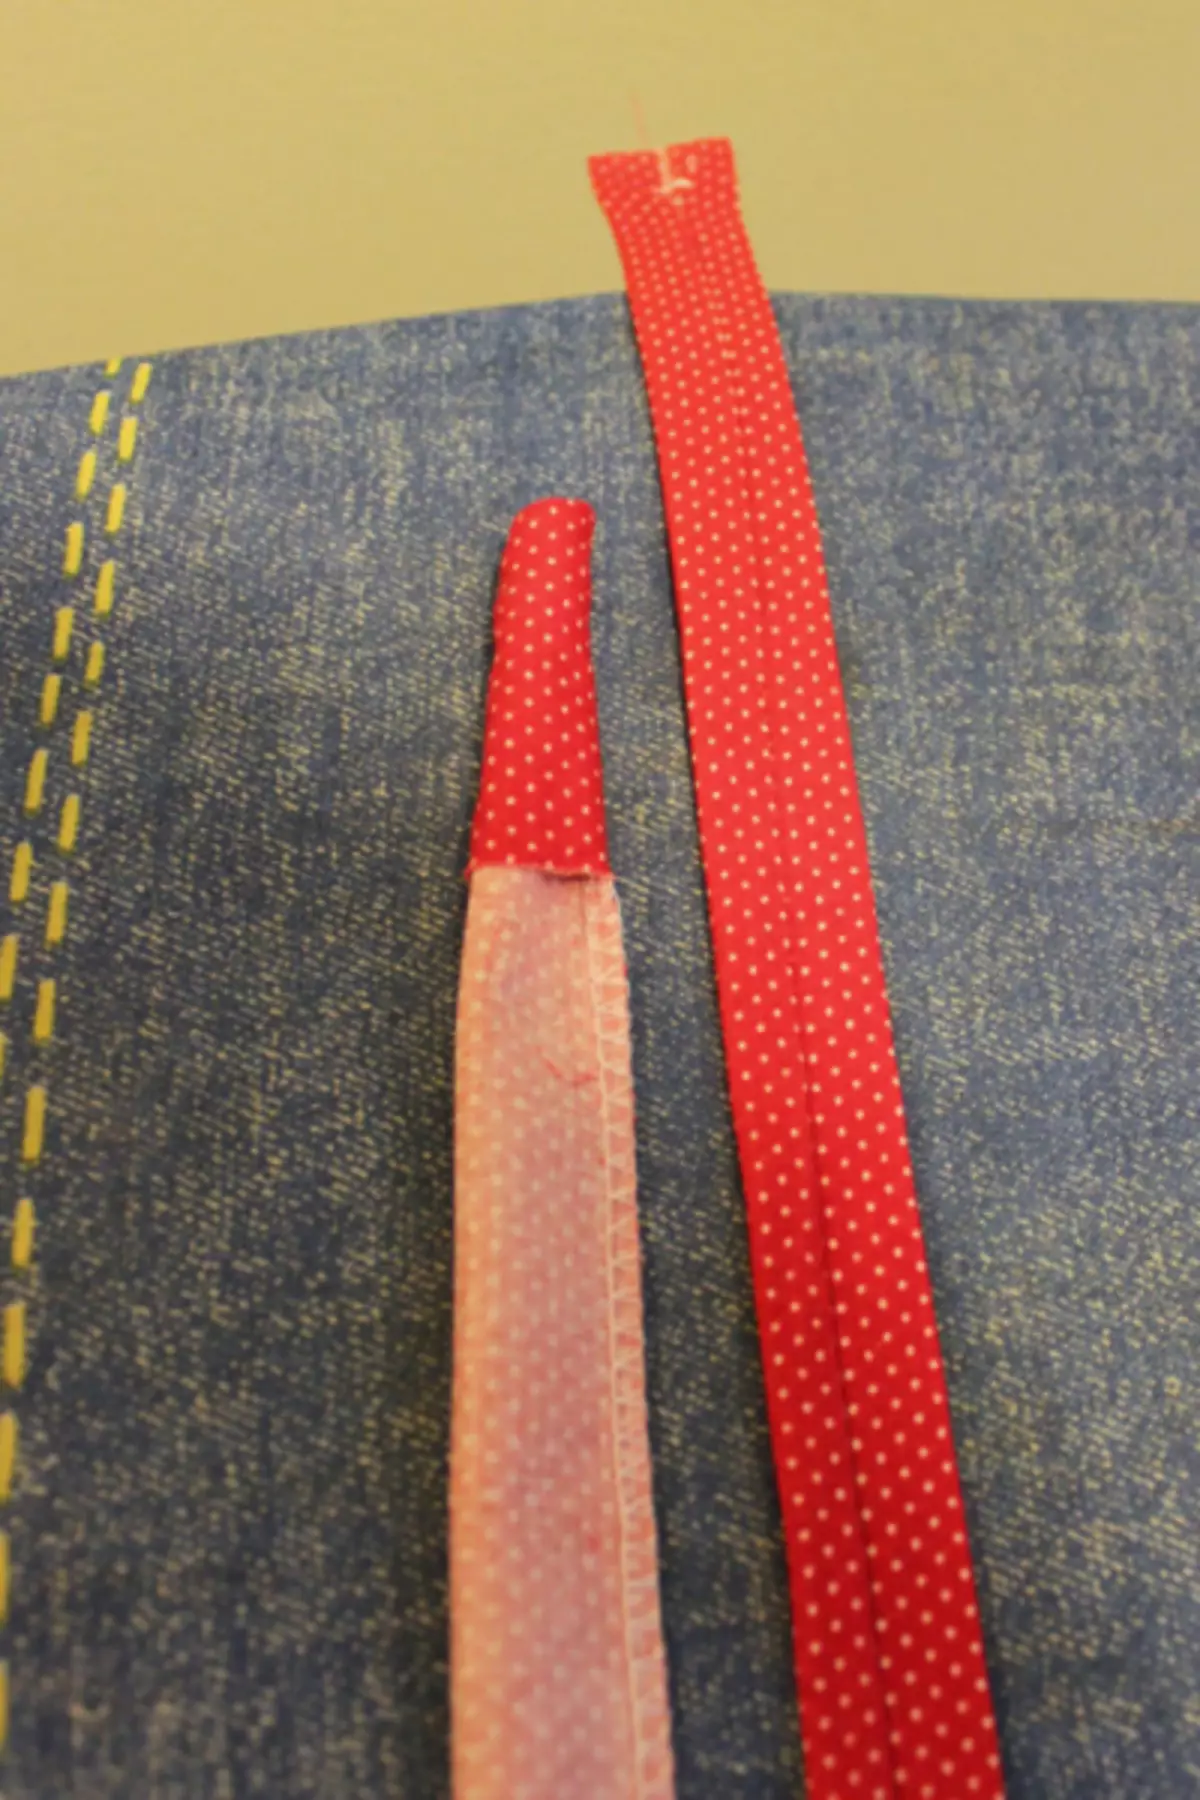
Now you need to make ties: fold them with the front sides inside, place the edges and remove them on the front side. Then swallow them so that the seam turned out to be behind, put aside. Make the same thing for strapping on the neck.
Article on the topic: Snow Maiden costume do it yourself - crochet
Making pleats
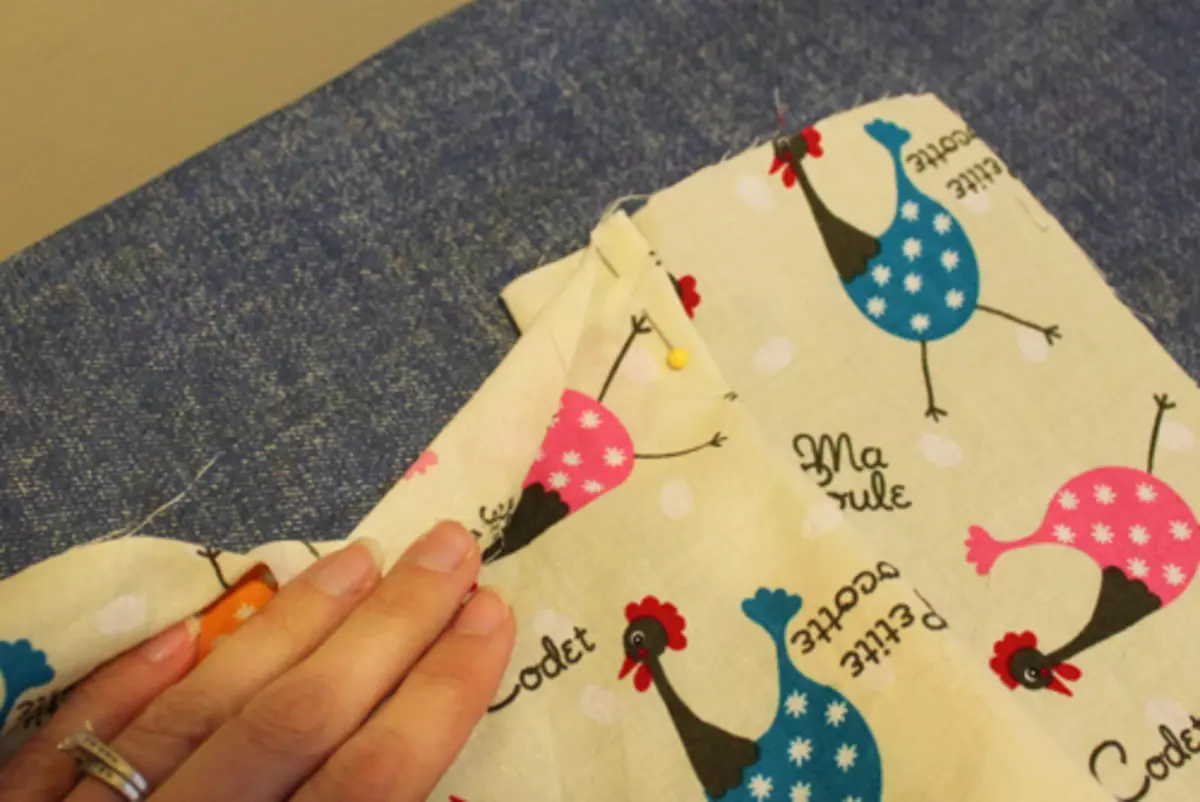
Prepare the bottom of the apron. Make a pair of folds at the top so that it is on the figure. Then finish the bottom edge. Wrap and finish the edge or add a tape for finishing. Find the head of the hem.
We flash the edges
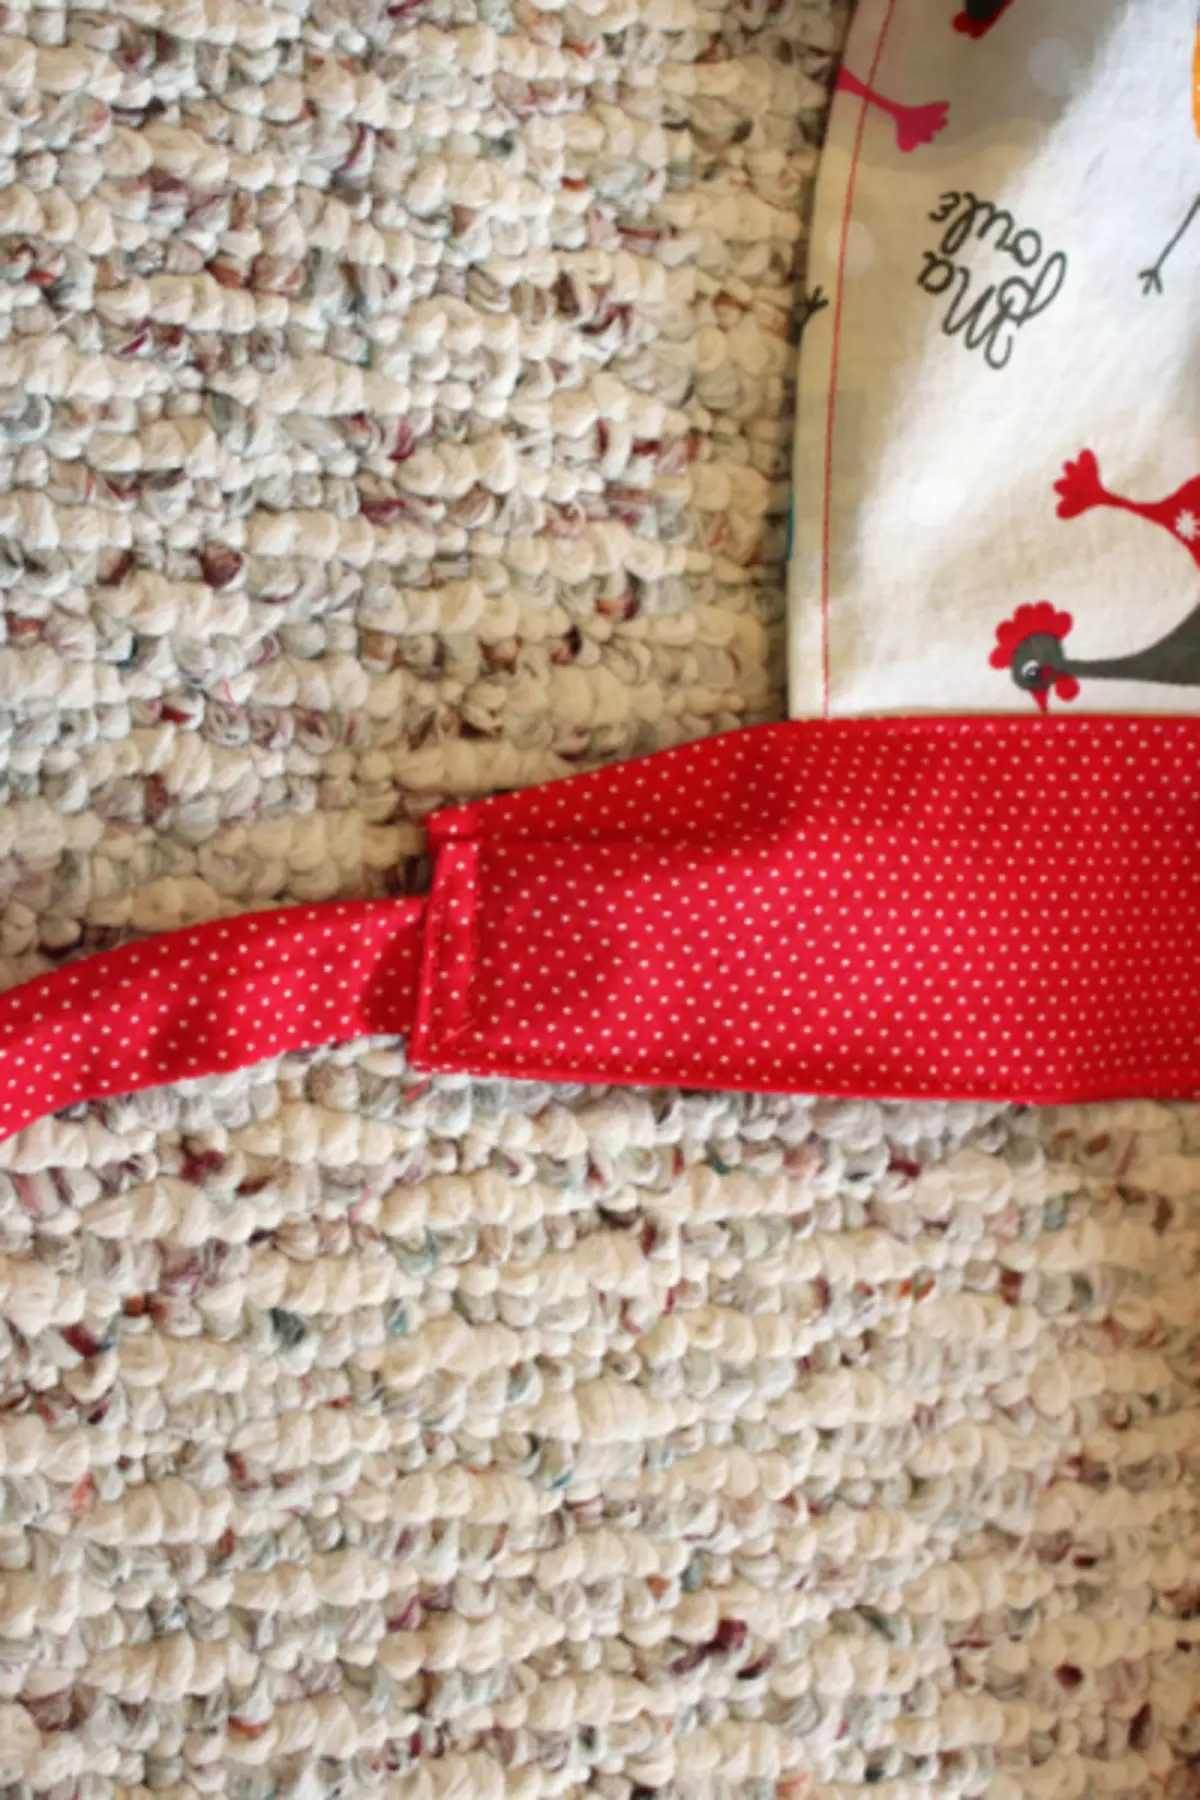
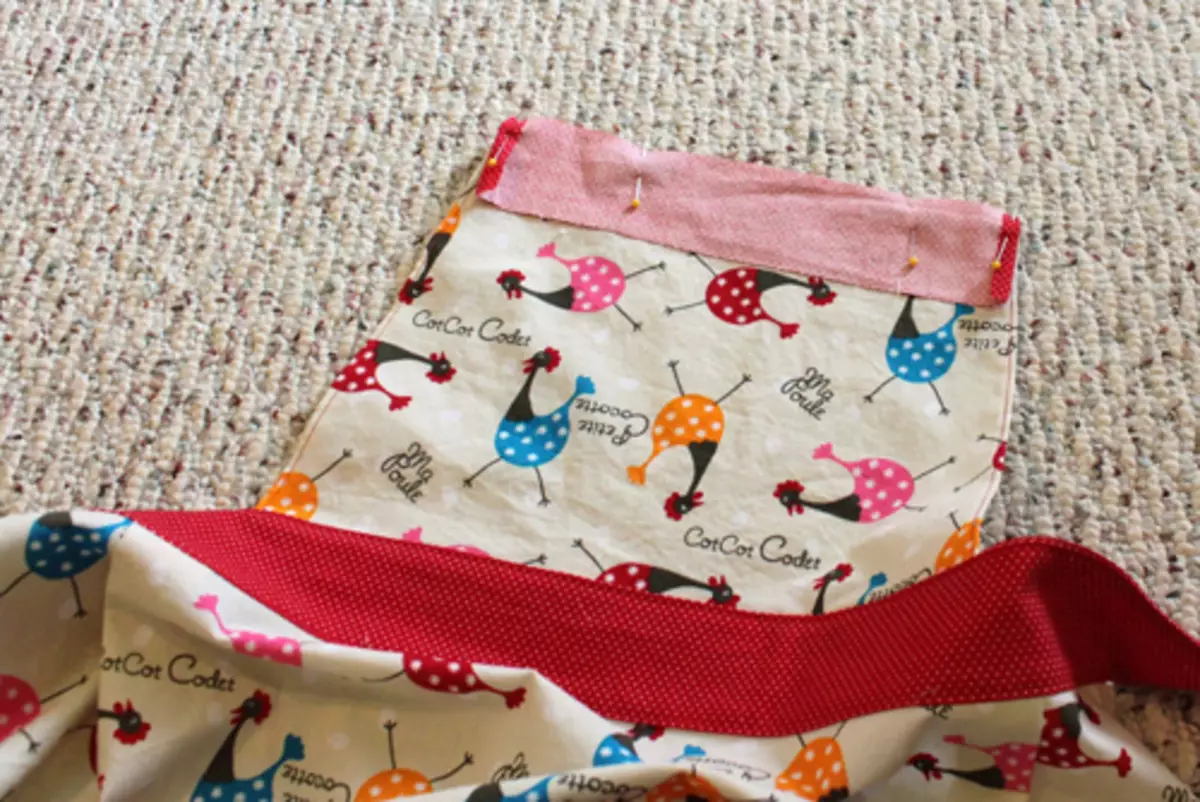
Put the lower part on the level place, and from above, a little higher, the top with straps, between them, place the belt consisting of two parts that are sewn. Purge the top edge.
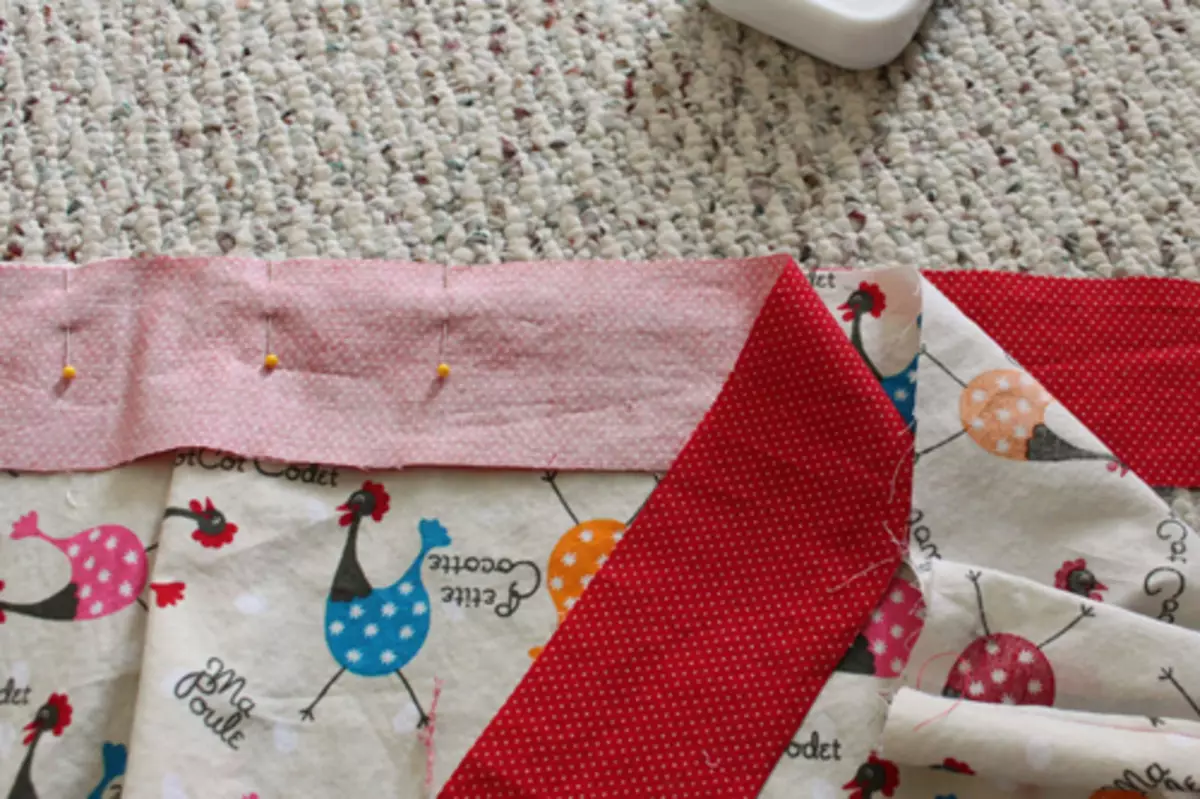
Send details
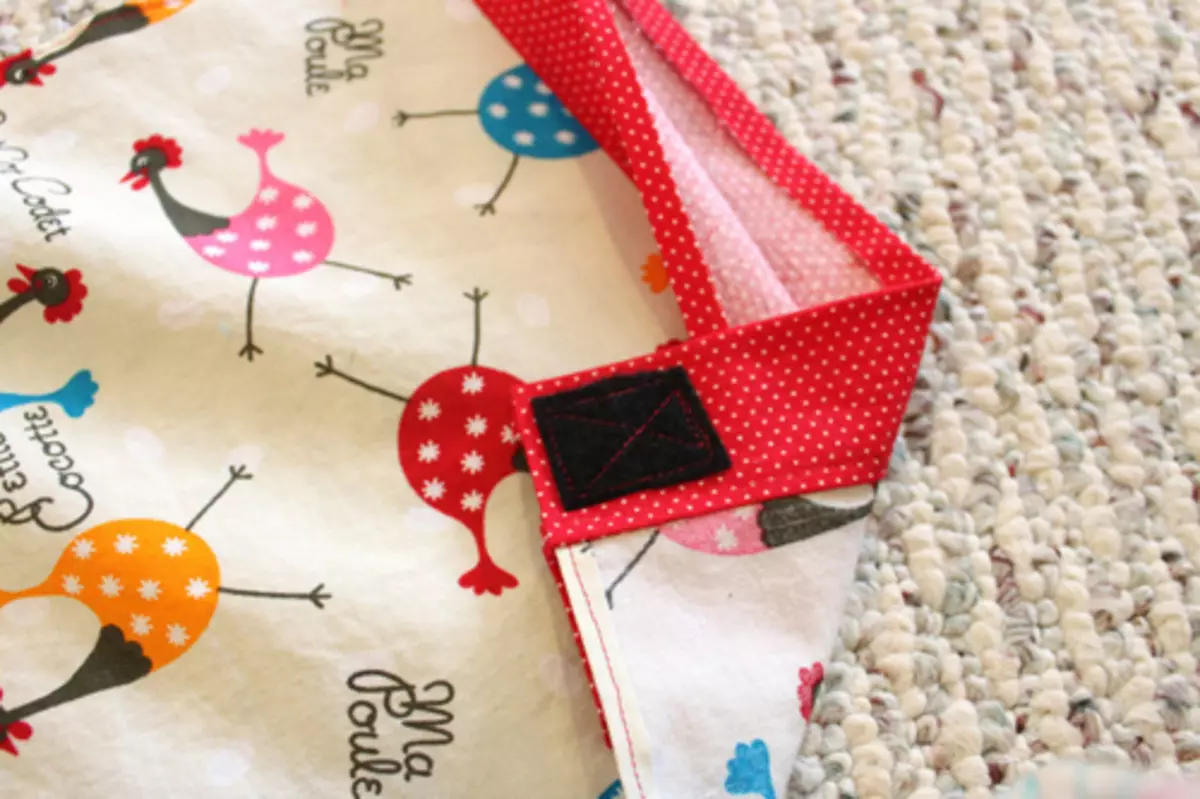
Place the top inside the belt, put the two parts of the belt on each other and take the top edge of the belt. Now enter the upper fabric for finishing to the top of the top. But before you sew, attach the velcro finishing tape to the ends and place their crosswise. Finish the top. Now you can attach the strap made earlier to these velcro.

Add relief
Finally, add thin strings to the belt: just enter them to raw edges, hiding them into each other.