
Plumbing is an important attribute of human life, so you can meet it in every home. At the same time, the most often operated toilet. For this reason, it arises much more often.
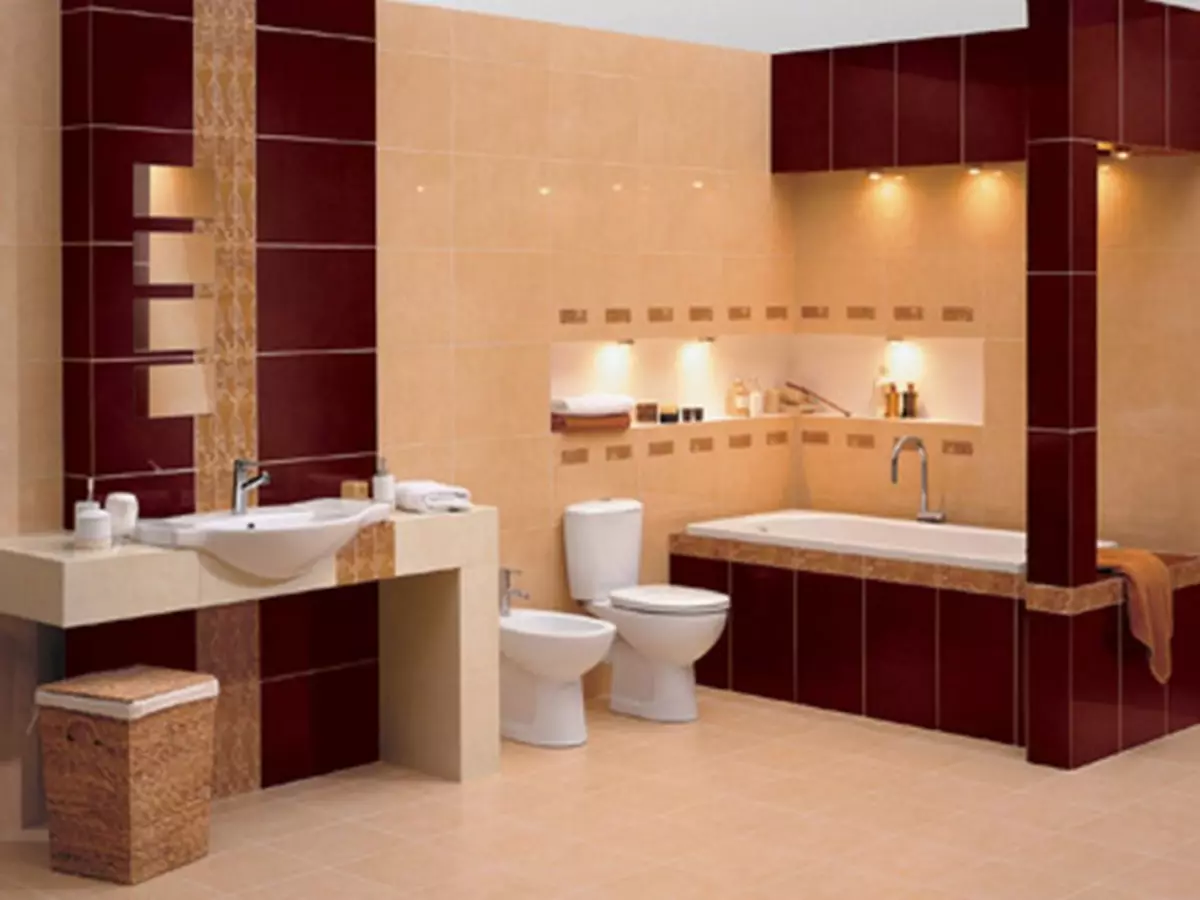
Any breakdown in the bathroom, even the most insignificant, can spoil the life of residents of the house, so it is necessary to eliminate breakdowns immediately.
Often, you can observe water leaks, displacement of the mechanisms, wear of various parts and much more. The weakest place of such a plumbing product is a drain tank. Due to the fact that water is constantly present in it, the details relatively quickly fail. As a result, it becomes necessary in the periodic repair of the drain tank toilet bowl. However, in some cases, breakdowns are so serious that it is required to fully replace this element of plumbing. You can spend such work with your own hands. But it is first necessary to familiarize yourself with the layout of the elements of the drain tank toilet bowl and step-by-step instructions for dismantling and installing. All this is presented in all details below.
Tank diagram toilet bowl
Tank diagram toilet bowl.It is very important before carrying out installation work to familiarize yourself with which items include the toilet tank and how they are located. Then, during dismantling and installing, there will be no problems and it will be possible to avoid errors. In addition, such a process will take you much faster.
The scheme of the location of the elements of the drain tank, which is most commonly appeared, is shown in Figure 1. It becomes clear from it that pipes from 2 sides are mounted to this element of the toilet. One of them is a plumbing, and the other is water-filled. Inside the tank there is a number of important details: float, siphon, diaphragm lever, ball valve and plastic diaphragm. It also contains connecting elements, gaskets, plates, rings and knitting needles.
What do you need for work?
To make dismantling and installation work without hassle, prepare the following tools and materials in advance:
- New drain tank;
- drain fittings;
- Gaskets and fasteners (if they are absent included);
- silicone sealant;
- spanners;
- hacksaw;
- Screwdrivers.
Step 1: Conducting Disassembly Works
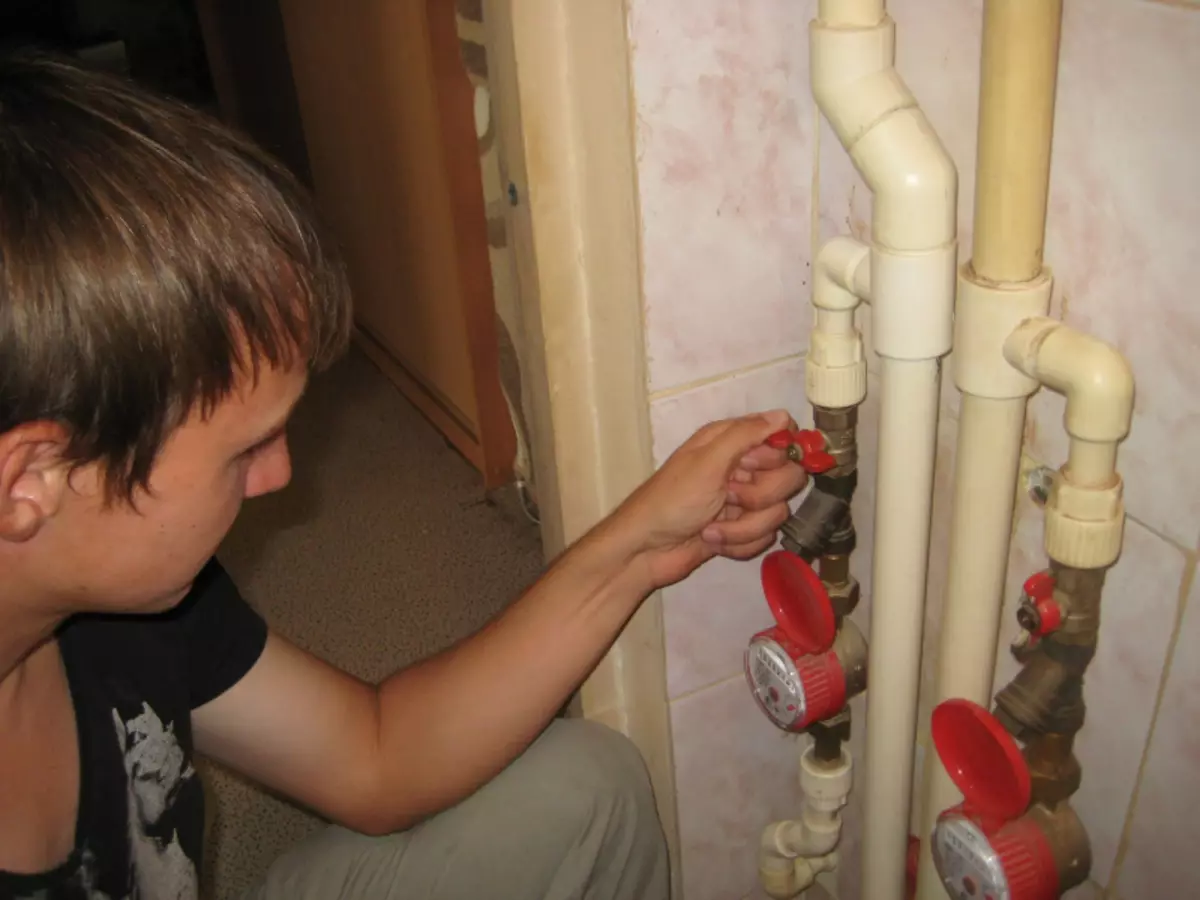
First, it is necessary to overlap water into a sanitary node.
Replacing the drain tank toilet should begin with dismantling. First of all, it will be necessary to turn off the water supply to the sanitary node. After that, the design is disconnected from the water supply by removal using the flexible hose wrench, which fixes the shut-off valve and the plumbing product. To do this work is quite simple, because, as a rule, the attachment of this element is not tight and easily dismantle. After completing it, you will need to close the valve and pull the water from the tank. Next, 2 hose is disconnected from the opposite side. This is also done with a wrench.
Article on the topic: How to lay folds on the curtains: step by step instructions
Now you need to remove the tank itself. Here the course of work will be directly dependent on what model you have plumbing. So, if you have a unitaz compact, then the drain tank is installed on its wide shelf. In this case, you will need to disconnect the fasteners that fix it on it. A spanner of the appropriate size is taken, and the bolts are dismantled with it. If this will be done problematic due to the fact that they are tightened too tightly or completely rusted, then you need to arm your metal with the metal and sprinkle them. After that, it will be very easy to dismantle the tank. When you completely remove it, be sure to clean the toilet shelf from dirt and rust before taking a new design there.
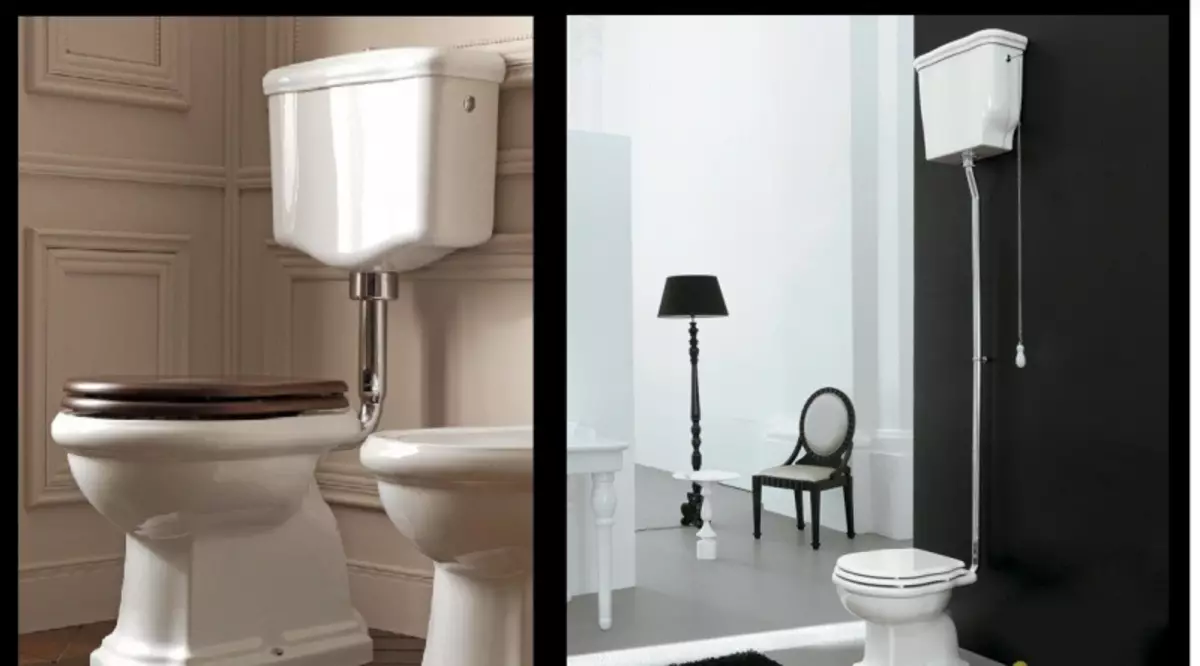
The autonomous drain tank is installed above the toilet.
In case you have an autonomous model (the tank is suspended against the wall), then after disconnecting the drain, you will need to pay attention to how the water collection tank is attached. Often it is simply installed on a special frame. It only takes it to pull out the drain tank by dismantling the protective elements. If it turns out that it is fixed with bolts to the wall, then you will need to unscrew them or cut.
The most rare to the toilet model is built-in, because it is expensive. Its mourning is that the plumbing itself is fixed on the wall, and the tank is inside it. For him there is provided for a special niche. Here the dismantling is simple enough, because after disconnecting the drain and removing the decorative panel, which closes the tank, it is simply removed from the frame and pull out.
Step 2: Conducting installation works
After buying a tank, carefully inspect it for scratches, chips and other flaws.
At the next stage, the decent replacement of the drain tank of the toilet is made. You need to take a new product and completely remove the protective film from it. After that, it carefully examines the presence of scratches, chips and other defects. If those are discovered, it is better to immediately go to the store and require the replacement of the product. If everything is in order with the tank, then it is necessary to carry out its proper assembly. It will take it to install water-fired fittings. It is mounted according to the instructions attached to the product, since it is often its design, depending on the model and the manufacturer may differ.
Article on the topic: A small corridor in Khrushchev - not a sentence
Next, the replacement of the drain tank provides its installation on the toilet. Here you need to use gaskets. They are thoroughly treated with sealant. The installation scheme of the drain tank here also differs from the model in your bathroom. So, on the toilet compact this product is mounted on the shelf. It is important that the drain hole coincides in the course of this. Only then will be able to avoid the occurrence of leaks during the operation of plumbing. The design is fixed using 2 bolts. Under their heads, rubber gaskets are necessarily stacked.
The fastening elements are tightened alternately, while it is not necessary too much to fix them: literally on 2-3 turns in each direction, because you can damage the plumbing.
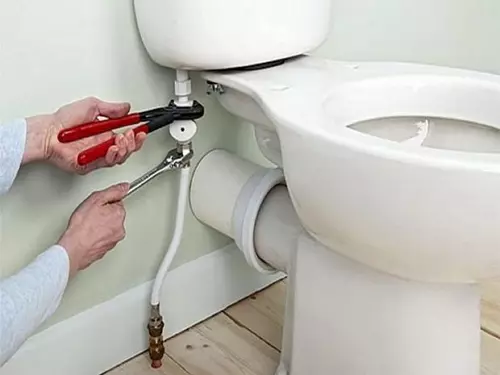
Connect the drain tank to the water supply and be sure to check the connection correctly.
Then the plug and water supply hoses are connected. They are tightened with nuts. Then the descent reinforcement and water level is adjusted. After it is produced, be sure to check the quality of the work done to be confident that you managed to replace the tank correctly. Turn on the water supply and wait until the container is fully filled with water . Check if all connections are sealed. If it is noticed to flow, you will need to pull the fasteners slightly. On this replacement of the tank on the toilet model, the CD will be completed. Accordingly, it will be possible to operate the plumbing in the usual mode.
If you decide to replace the tank on the autonomous attachment model, then the installation will pass a little on another scheme. Since there is a container for collecting water located separately from the toilet, then first of all it will be necessary to install drain by mounting the flexible pipe. Then it is necessary to mark the future fastening of the product to the wall. It is important then to check its correctness and horizontality with a level. Then you can fix the container using brackets and dowels. And at the last stage, a plumbing pipe with the use of nuts is connected to the tank. Upon completion of the work, a test test is carried out in order to identify whether the design was performed correctly.
If you have an embedded model of the toilet, then you need to install according to this scheme. Using it, the replacement of the tank will be carried out correctly. First, the plum is set. A flexible hose is taken, connected to the toilet, and then mounted to the container. After that, he is laid in special holes so that it is not visible. Then the tank is installed in the niche on the mounting frame using bolts. It should not be attached tightly, otherwise then if you suddenly be replaced, it will be extremely problematic to disconnect it. After that, it will be necessary to make it adjustment to set up a suitable volume of drain, which will contribute to saving water, and then connect the plumbing hose. On this, installation work will be completed, and it will only be necessary to check whether plumbing works without leaks, if it is identified, it will be necessary to use the sealant.
Article on the topic: Ventilated facade - Mounting technology of mounted facade systems with air gap
Useful tank replacement recommendations
When installing a tank, use only new fasteners.
To replace the toilet bowl to the toilet without problems and efficiently, follow the following useful tips:
- Use when carrying out the installation work new fasteners and hoses. After all, they are strongly wearing in operation, therefore, there may be a cause of leaks.
- To replace the tank, choose only the product that is suitable for your toilet model. It must have high quality.
- If the fasteners are strongly rusted and they cannot be cut off with a grinder, try using special cleansing agents. They need to pour on the bolts in small quantities and leave for a while. After that, it will be possible to notice that part of the rust is gone, which means unscrew the fasteners will be much easier.
- If the water in the tank is supplied with the pipe, then during the installation work it is recommended to replace it with a flexible eyeliner. After all, with her, it will be much easier to produce the repair of various elements of the drain mechanism.
- When buying a tank, pay for the presence of fastening bolts. If they are absent, then you will need to purchase them.
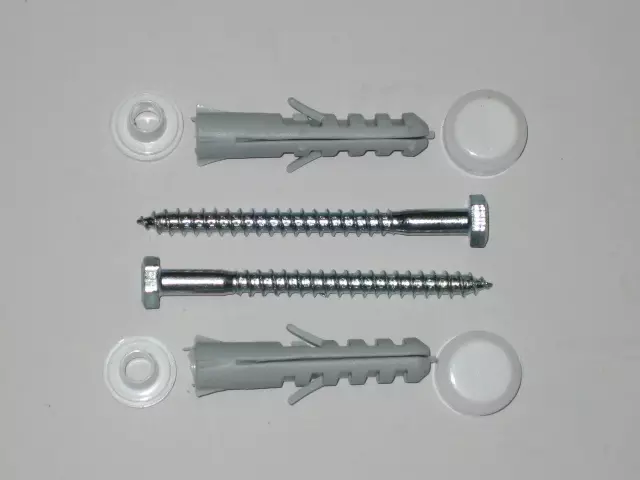
- It is not necessary when installing the use of plastic dowels, self-tapping screws and screws. They will not be able to provide reliable fastening.
Let's sum up
Summarizing, it can be concluded that the replacement of the toilet bowl is not too complex procedure. Therefore, there is no need to invite an experienced plumbing. Such work can be done on your own. Of course, you will have a little more time to you, but you can save a lot of money.
Conducting the replacement of the tank over the above instructions and guided by the councils given, you can complete this process successfully and without unnecessary trouble. So, plumbing will operate in normal mode and you will be satisfied with the work done. Good luck!