Today, the mastery of knitting lovers has reached such heights that needlewomen is not limited to the objects of the wardrobe, but also create interior details, and cute knitted toys. Today we will follow their example and try to tie a cute giraffe with crochet. You will also find a scheme and a description of the toys in this article, and several original ideas will help you find your own inspiration.
History of knitted toys
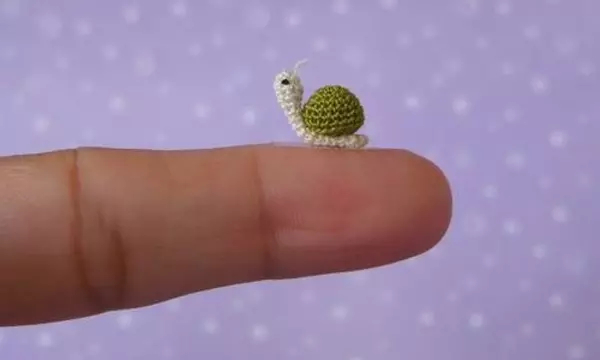
Knitted toys create from different types of yarn, crochet or knitting needles. These can be different animals - copies of real animals or fabulous characters created only by the author's fantasy. The art of knitting toys called "Amigurumi" has acquired the greatest popularity in the modern world. This type of toys come from Japan with its small sizes - from 1 cm to 40 cm, but their traditional average size is about seven centimeters.
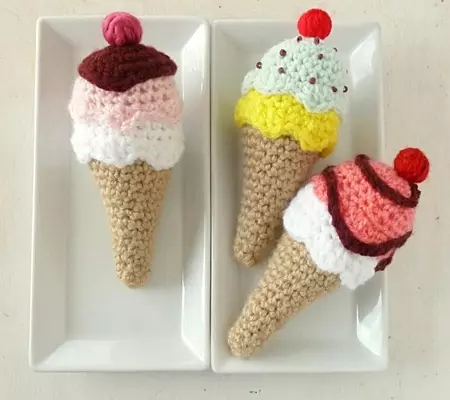
Initially, they were knitted in the form of cartoon characters of popular Japanese anime, and later animals, men and even non-residential items appeared among them - miniature handbags, hats, toy food.
Knitted amigurums are distinguished by some inherent in them, features. In addition to a small size, all of them are very pretty, and faces and faces necessarily express any positive mood.
The head of toys is usually more torso and limbs that have a cylindrical shape. Parts of toys knit in a seamless pattern - in a circle, knitting or crochet, with a diameter less than the thickness of the yarn so that knitting was obtained sufficiently dense.
Necessary materials and tools
A lot depends on the selection of yarn - thicker use for large toys, and for the smallest it is better to take the "Iris" threads. The most universal version is acrylic yarn. It is possible to knit from cotton threads, but in this case some experience will be required so that the canvas obtained homogeneous and dense. In addition to the yarn for knitting, you will need:
- spokes or hook;
- scissors;
- Ready eyes and spouts;
- Small elements for decoration - beads, beads, buttons, etc.
Article on the topic: Master Class for Knitting Winter Baby Sapps
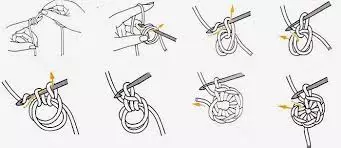
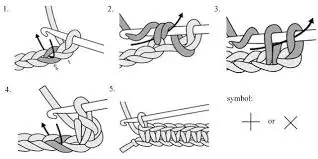
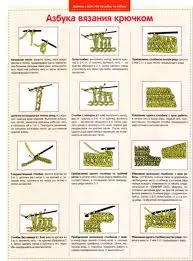
The basic principles of knitting are the "ring amigurum", the columns with Nakud and without it. Their execution schemes are shown below.
For beginner knitters, the process is described in detail in this video:
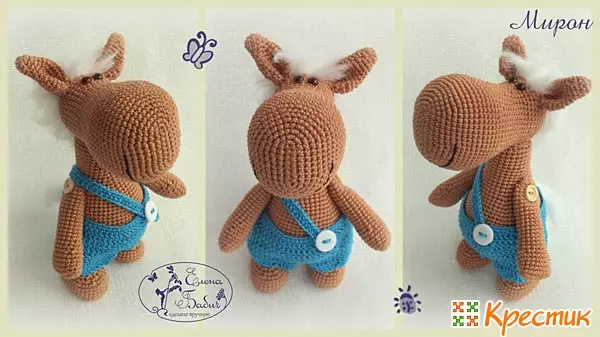
Homemade giraffe
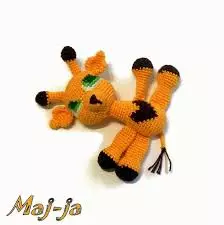
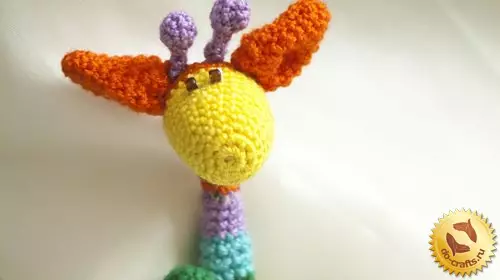
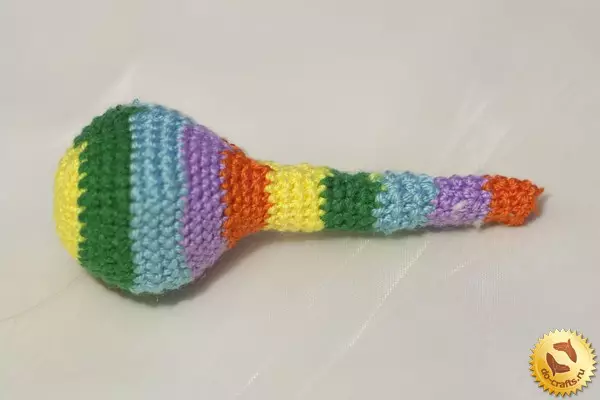
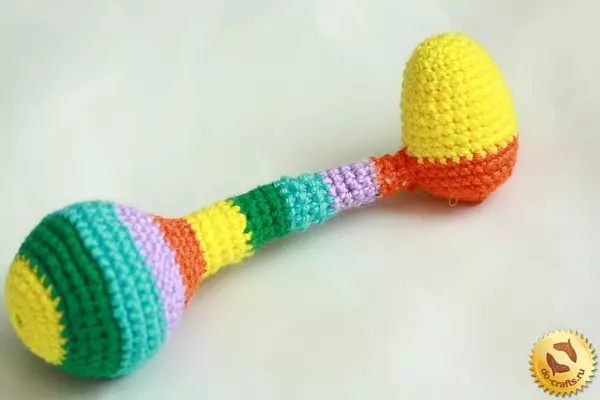
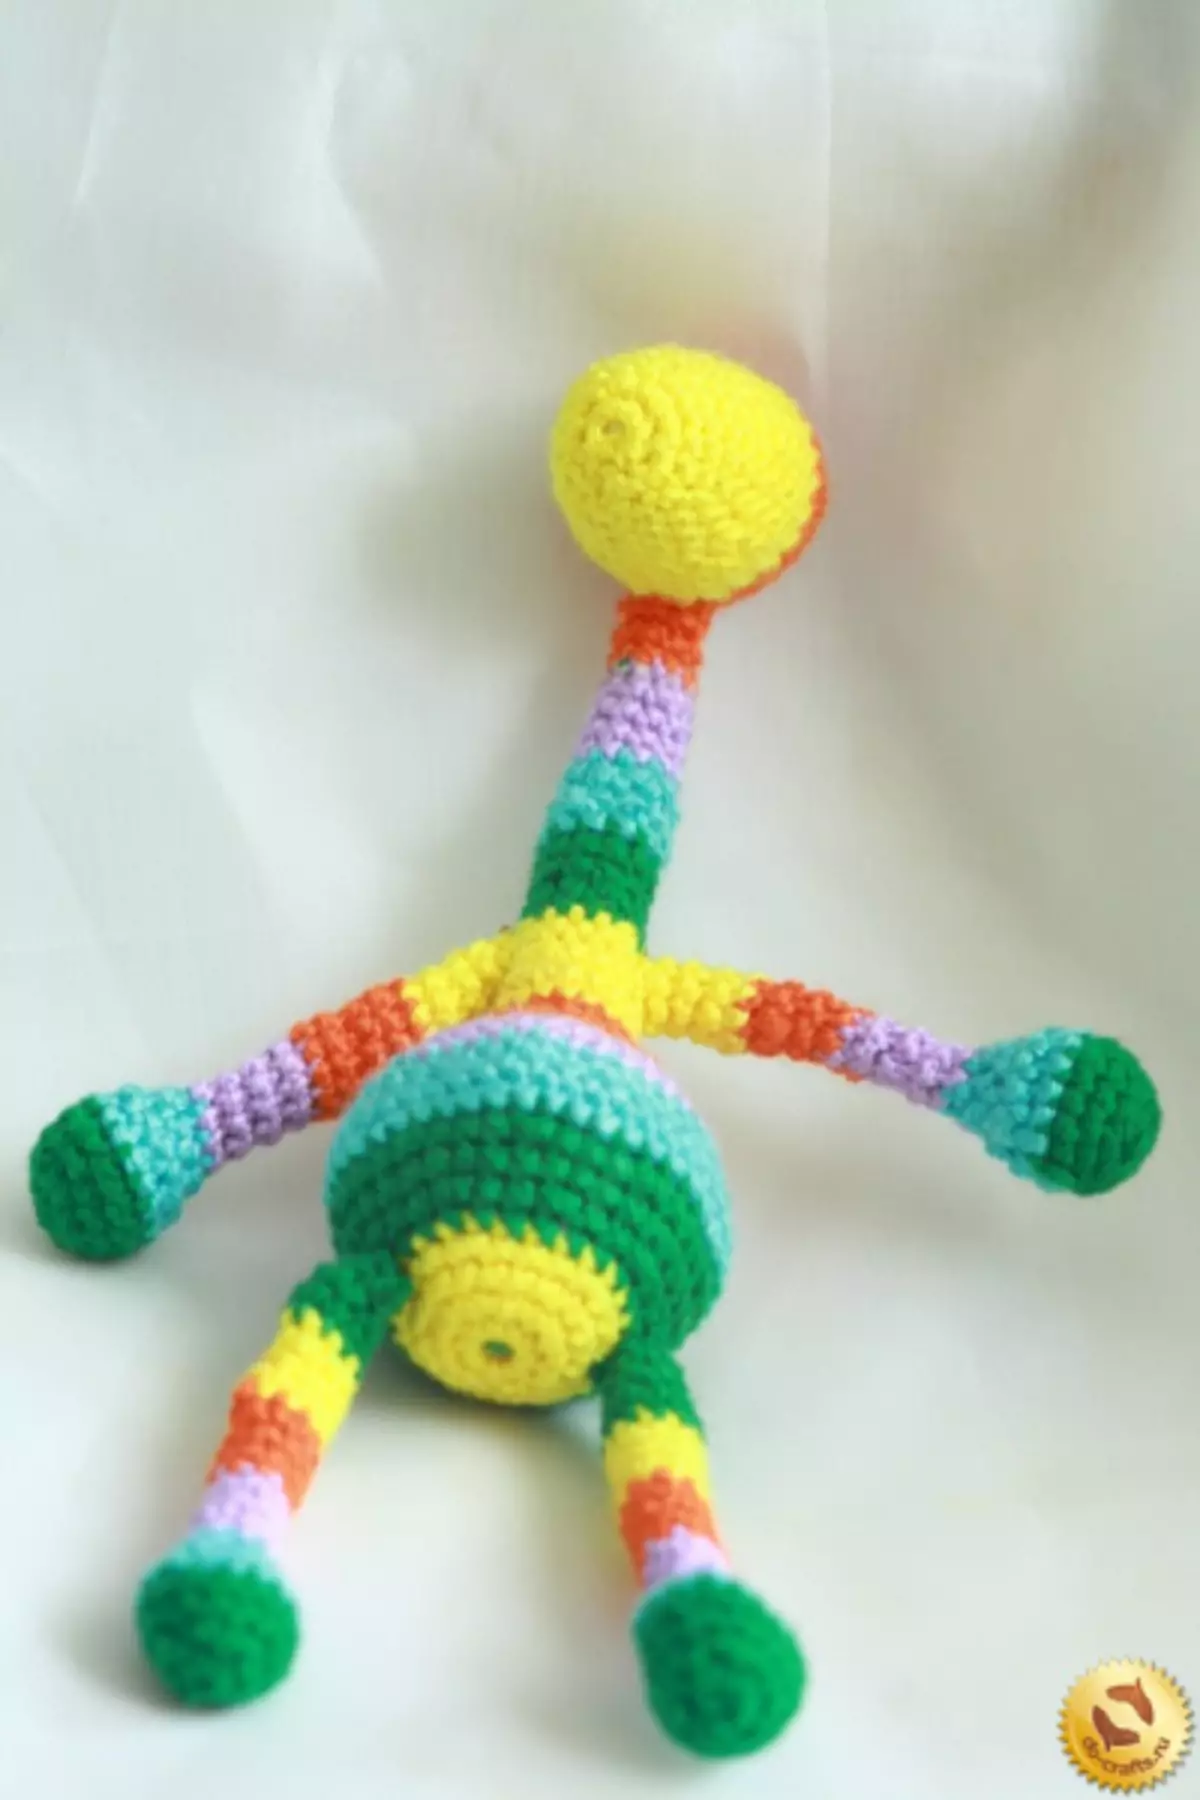
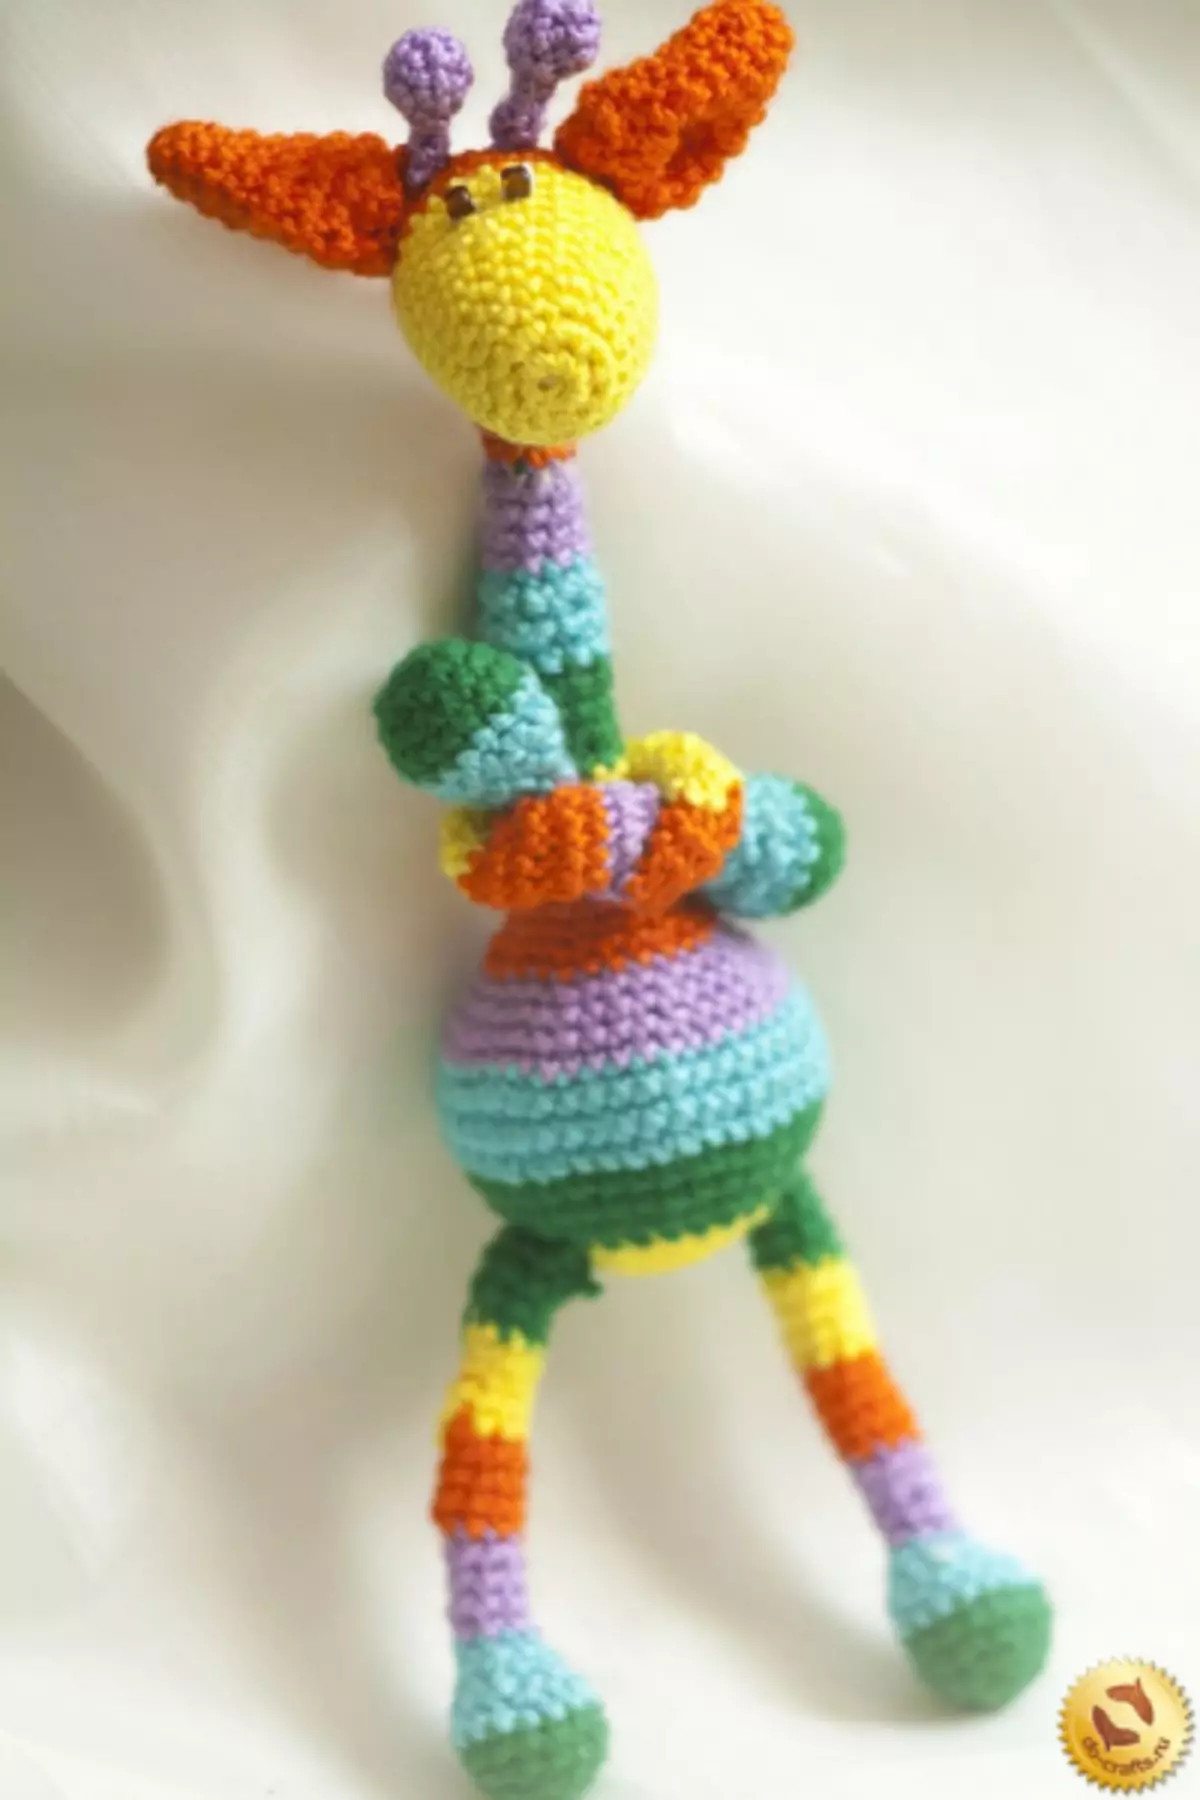
From the presented master class you will learn how to tie a crochet. Here is such a cute home toy in the form of a multi-colored girafi:
For manufacture need:
- yarn orange, yellow, green, blue and purple colors;
- filler - syntheps or unnecessary woolen threads;
- Hook 1 mm thick;
- Two small black beads.
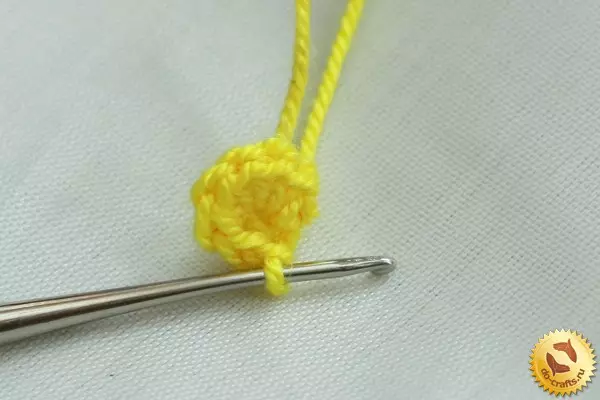
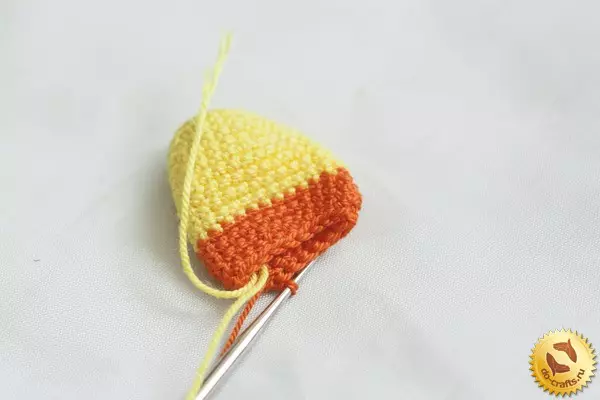
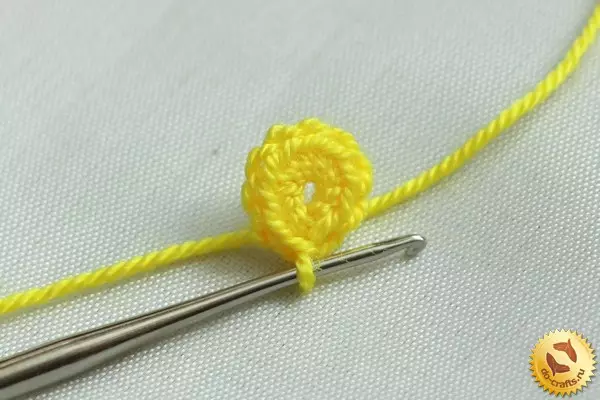
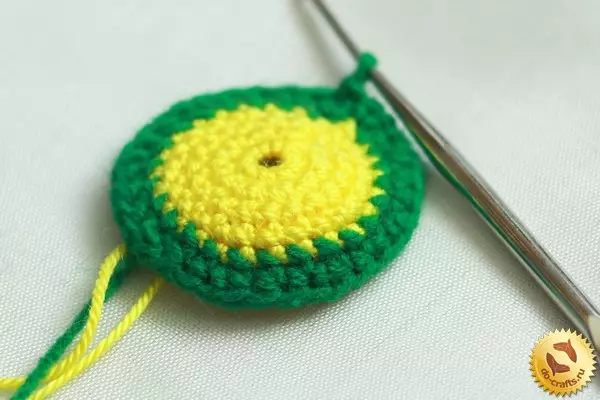
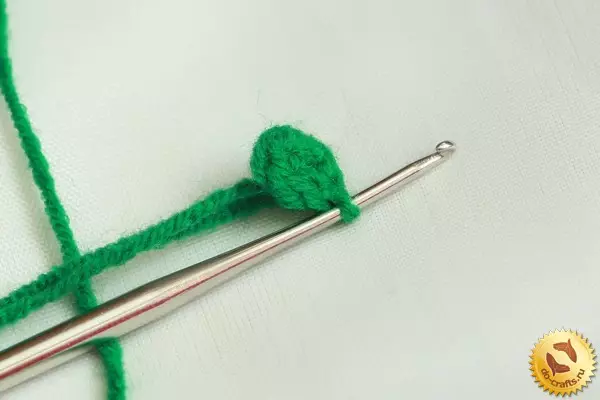
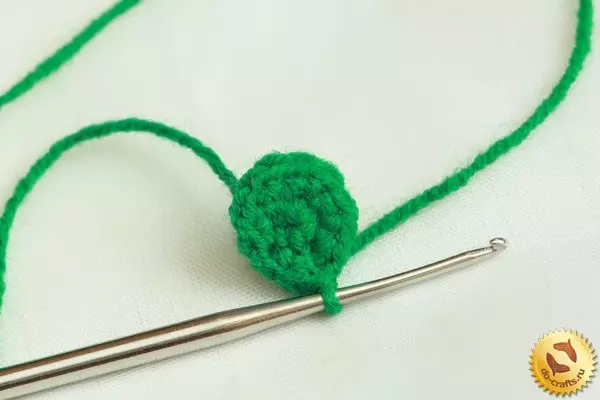
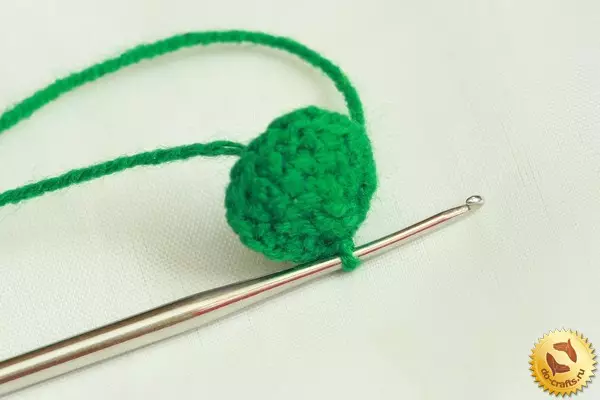
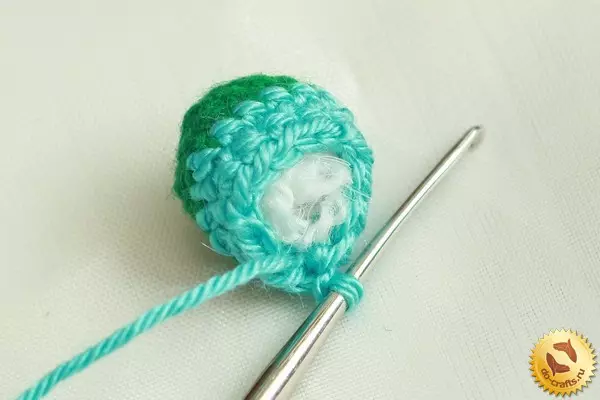
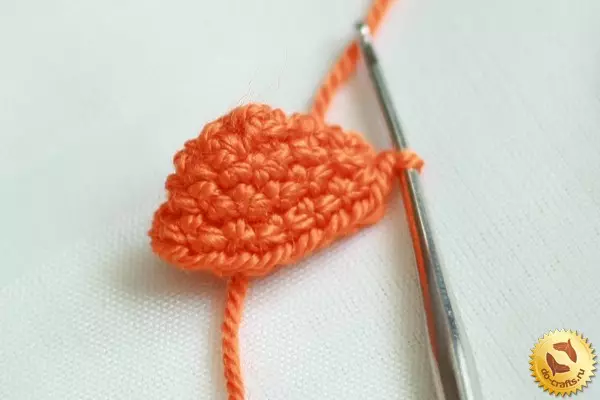
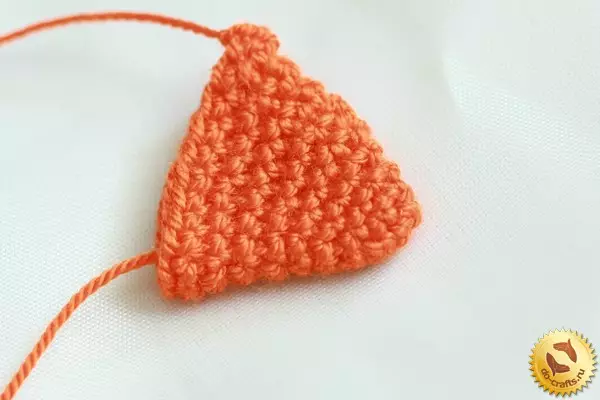
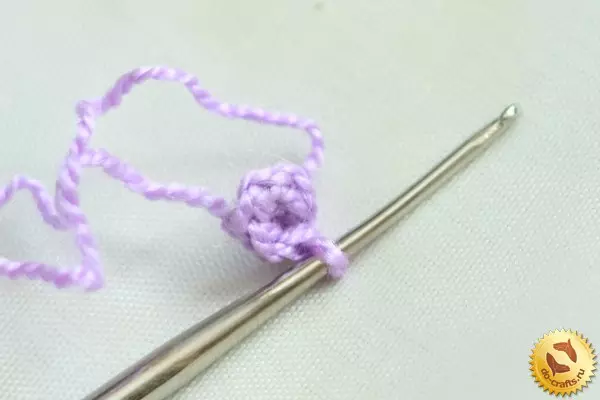
We start knitting your head. To do this, make a ring of yellow thread, we are taking it with eight columns of non-point, and tighten the free end of the thread.

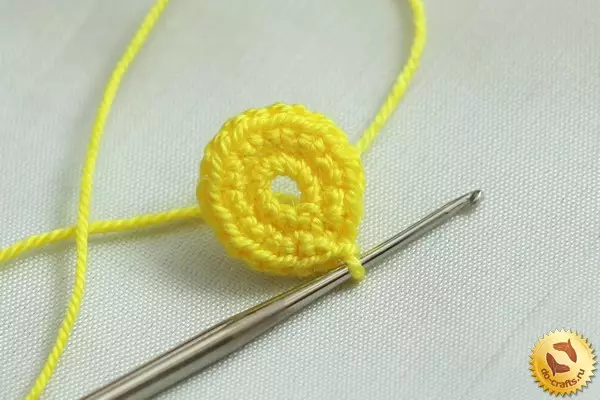
Then knit according to the scheme:
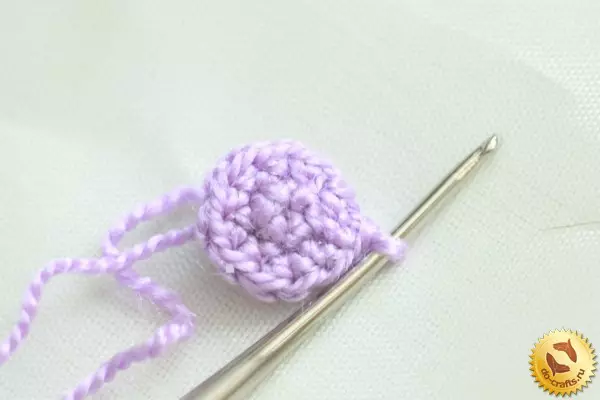
- 1st row - in each loop, they tie two columns without Nakid;
- 2 row - repeat everything as in the first;
- 3rd - knit columns without a nakid, and in each third loop, I add 2 columns.
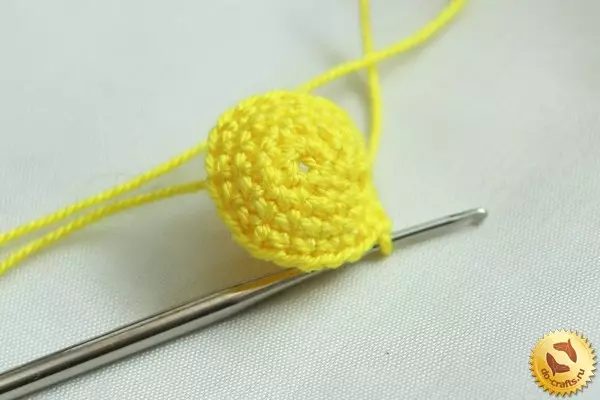
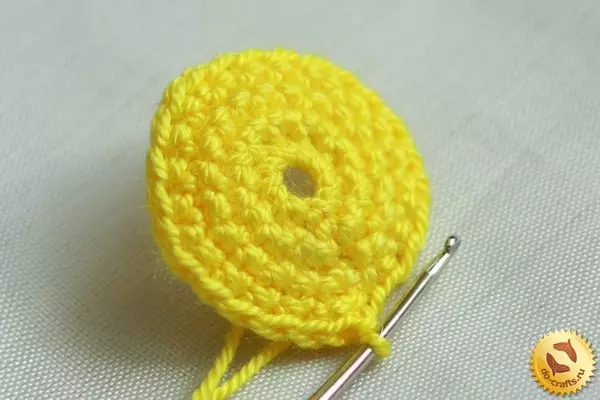
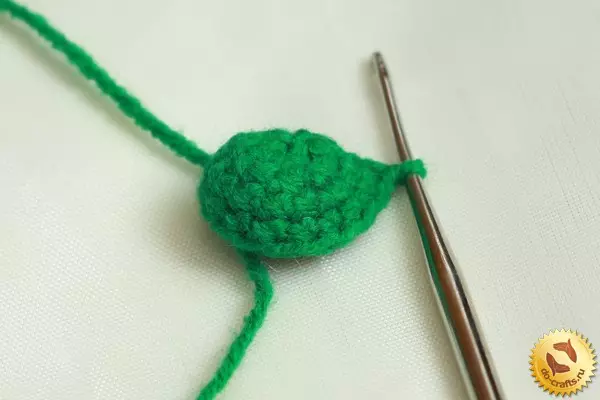
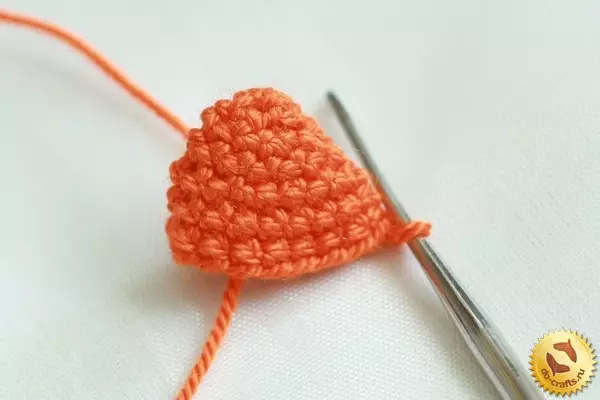
In the fourth row, the number of columns does not change.
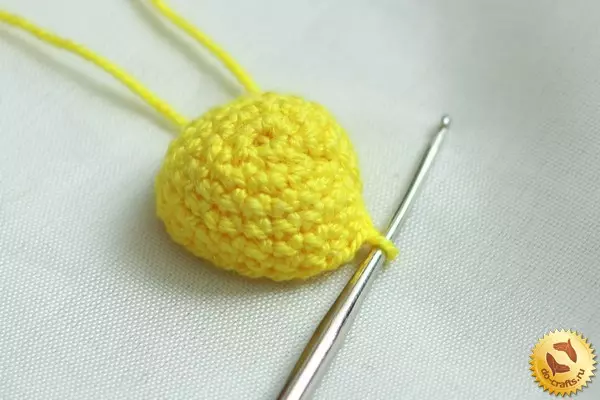
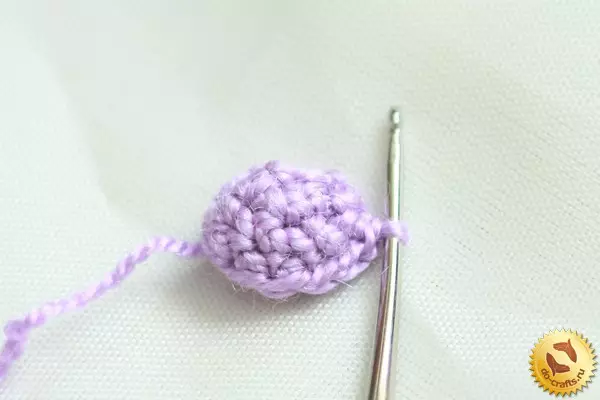
The fifth row - two columns without an attachment in every fourth Low-row loop. Next, we have five rows without changing the number of columns.
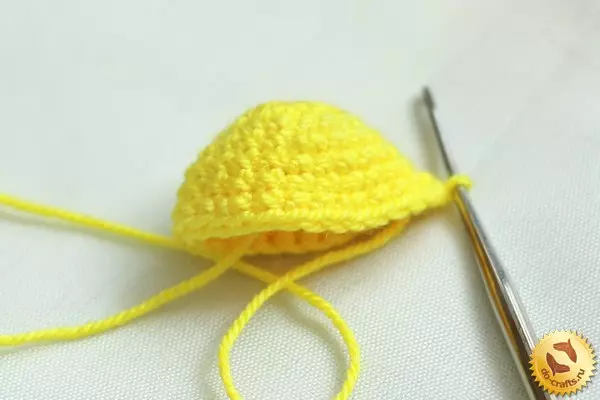
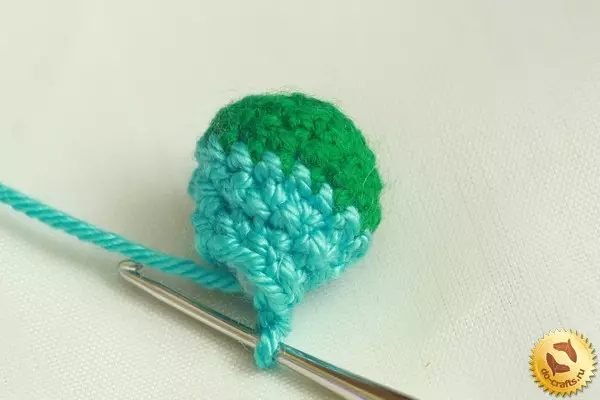
After that, we replacing the yellow thread orange and insert three more rows.
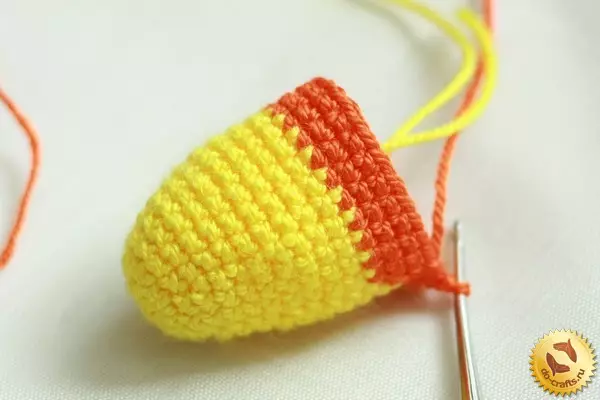
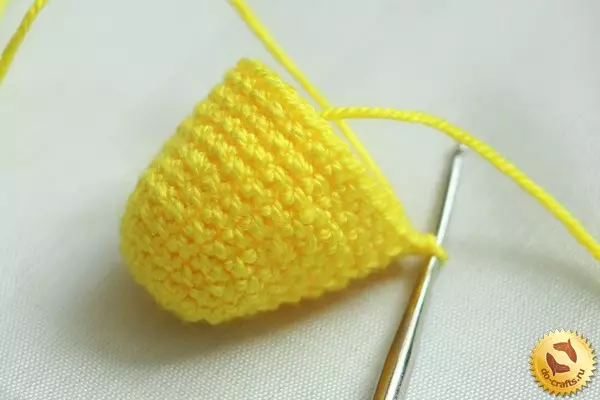
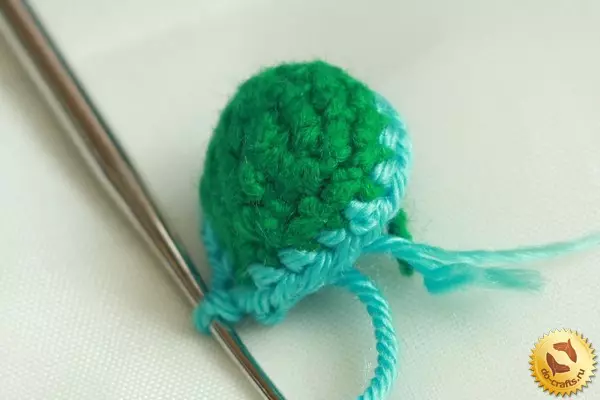
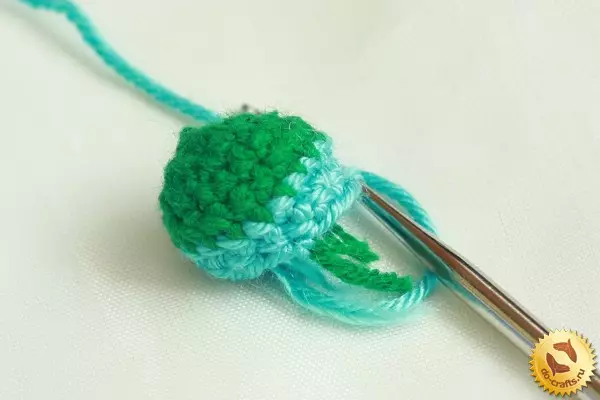
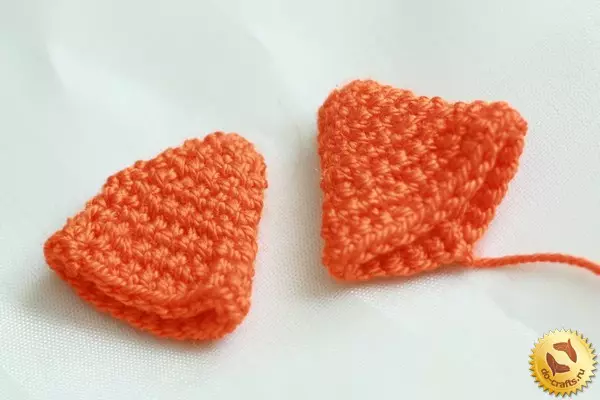
The next stage is the gradual recess of the loops. In the first row, we first reduce each fourth loop.
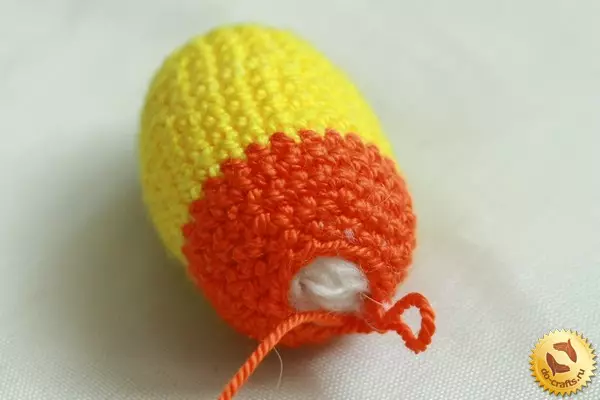
Fill in the inner cavity of the part of the Singryteron.
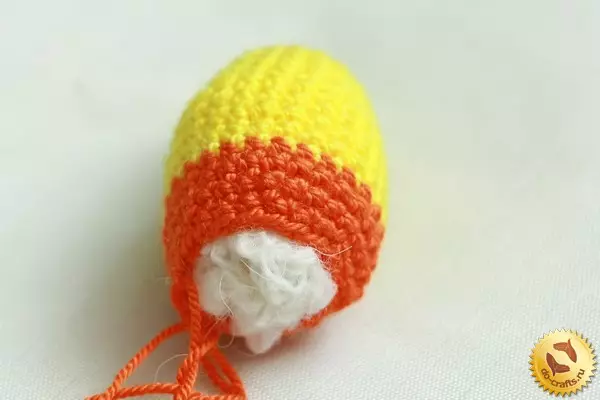
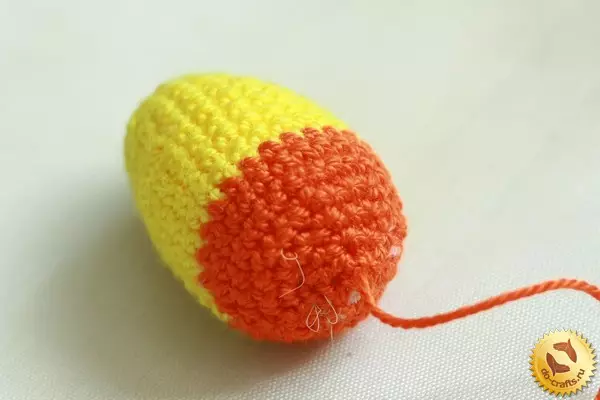
In the next row, each third loop is reduced. When a very small hole remains, it is necessary to pull it out and consolidate the remaining end of the thread.
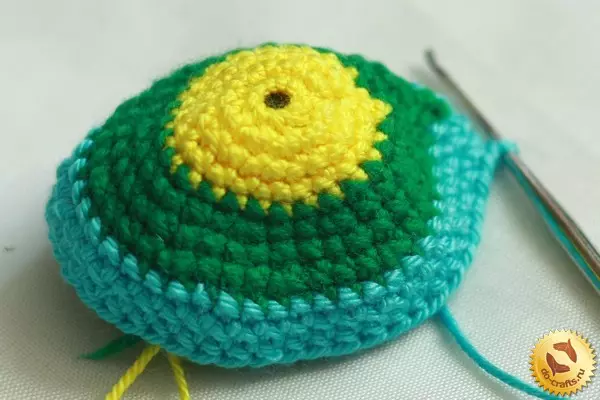
We proceed to knitting the body. The first two rows knit the same way as to start the head.
In the third row, two columns need to be pushed into every 3rd loop of the lower row.

The fourth row knit green threads unchanged.
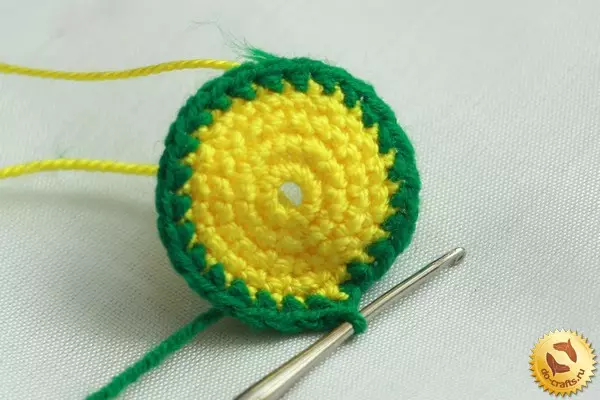
5th row - 2 columns in each third loop.
Article on the topic: Beading video for beginners: Master class with video tutorials
6th - no change; 7th - 2 columns in each 4th loop.

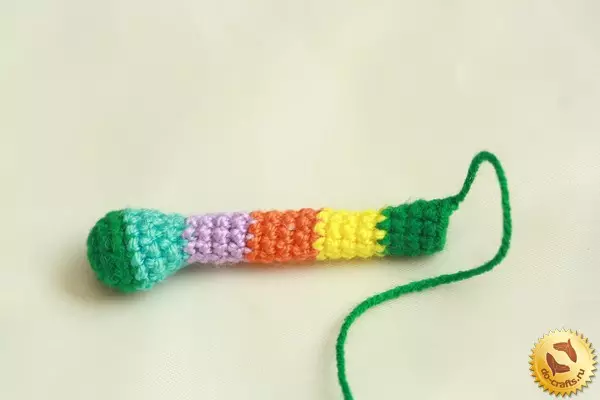
Then, in line with four rows of blue thread, without changing the number of columns.
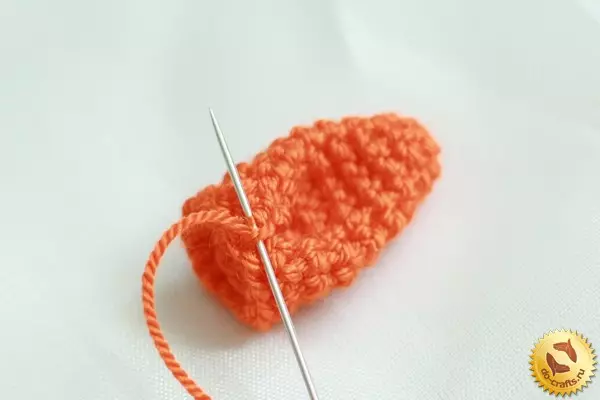
The twelfth row is purple, and from the 13th we begin the outflow - we reduce each fourth loop, the 14th row - they are sought as usual, and in the fifteenth we will again we reduce every fourth.
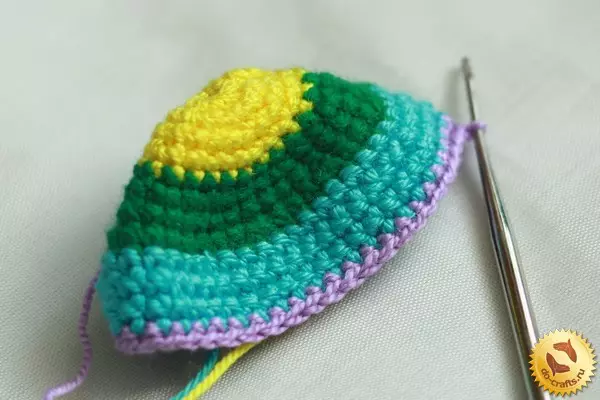
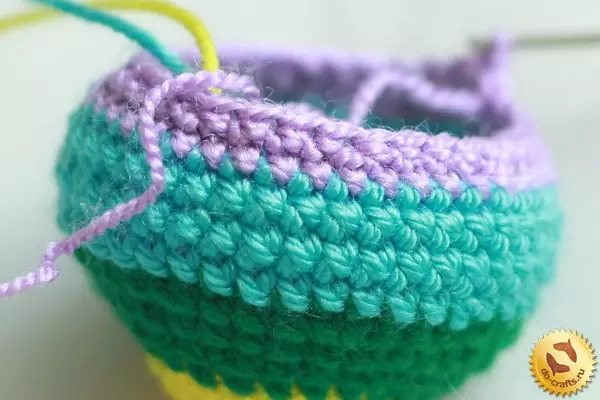
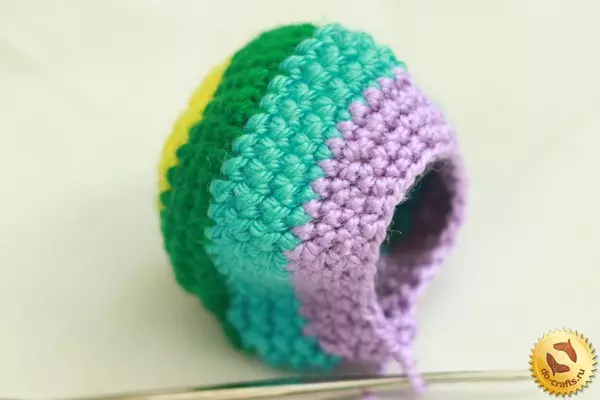
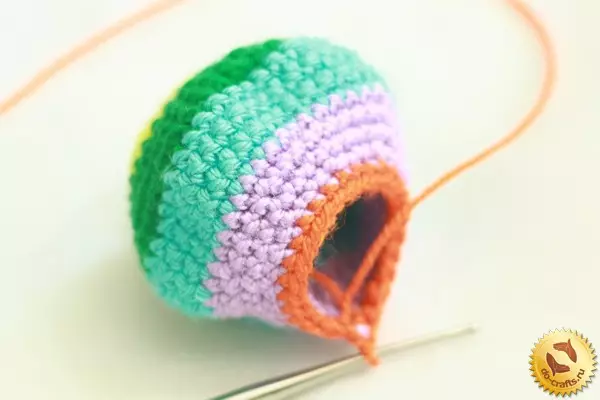
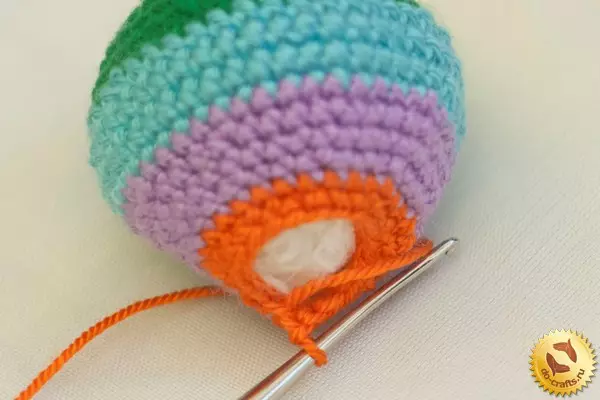
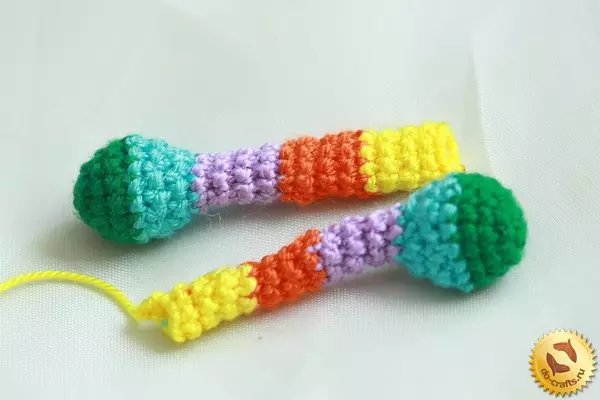
The 16th row knit orange, without changes, fill the body, in the seventeenth row we cut every 3rd loop, then continue to narrow the hole, as we did when you knit the head, but do not close it, but continue to knit your neck, alternating the colors of four rows of each.

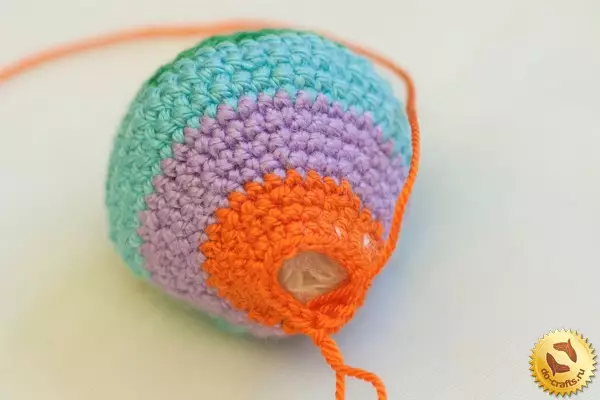
We connect the head with the body of our giraffe.
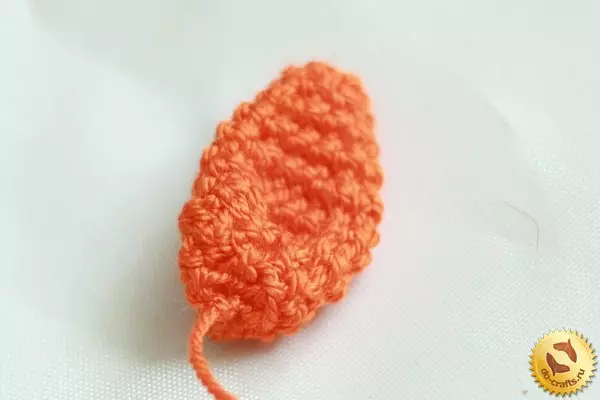
For the leg, we make a circle of six columns with green threads.
1st row - 2 columns in each second loop.
2nd, 3rd and 4th rows - without change, in the fourth we change the color on the blue.
In the fifth row, we reduce each third loop, fill the paw of Sinyprun.
6th row - reducing each 2nd loop.
After that, in four rows of each color, as they did with the neck.
In the same way, knit the second leg.
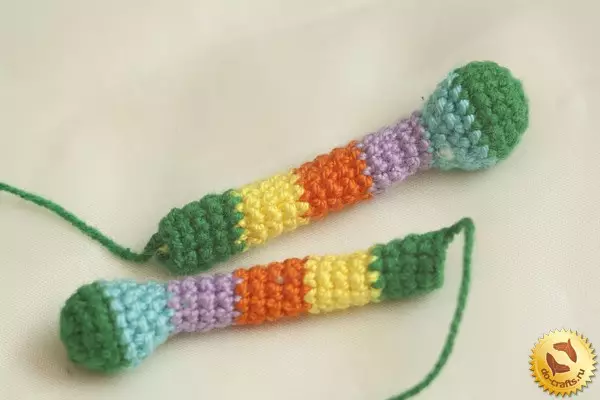
The upper paws knit the same, but shorter into four rows.
Send your paws to the body.
We unscrew the ears.
The basis is the ring out of five pole stakes.

1st row - 2 posts. In every 2nd loop.
2y - as usual.


3rd - 2 tbsp. In every 3rd loop. 4th r. - without changes. 5th r. - Like 3.
6th r. - do not change; 7th - like 5th.
8th - no change.
The second ear knit the same.
Then we fold the ears and attach to the head.
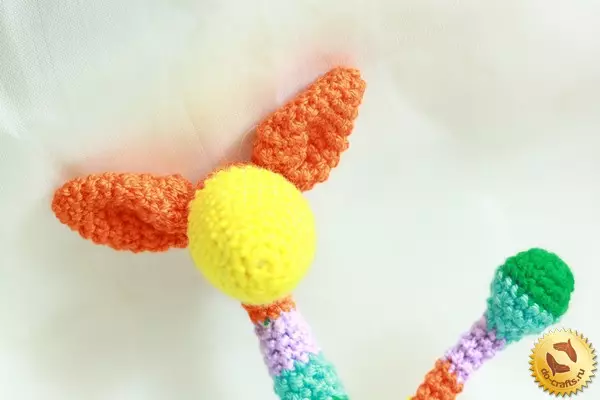
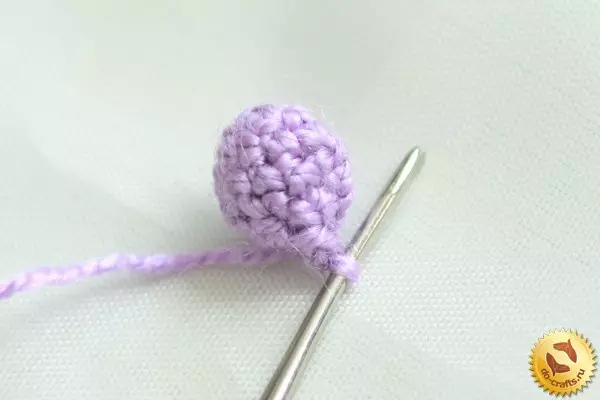
For the Rozhkin make a circle of five columns.
1st row - 2 tbsp. in each. 2nd loop; 2nd row - no change.
Article on the topic: Tea house of newspaper tubes: Master class with photos and video
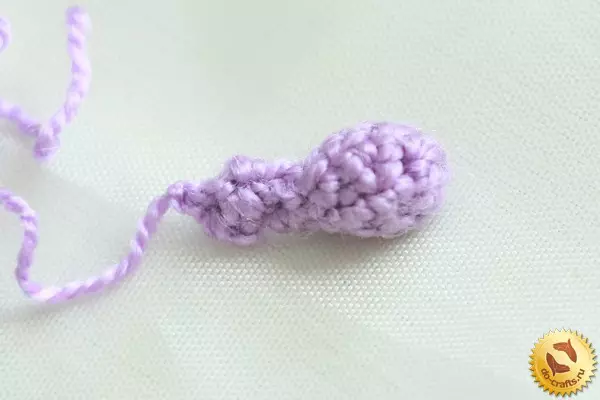
3rd r. - Reduce each. 2nd loop.
Next, we have four rows without changing the number of columns.
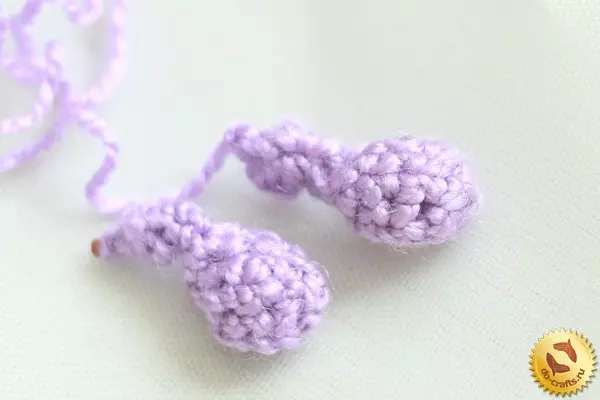
In the same way, we upset the second such detail, sew horns to the head.
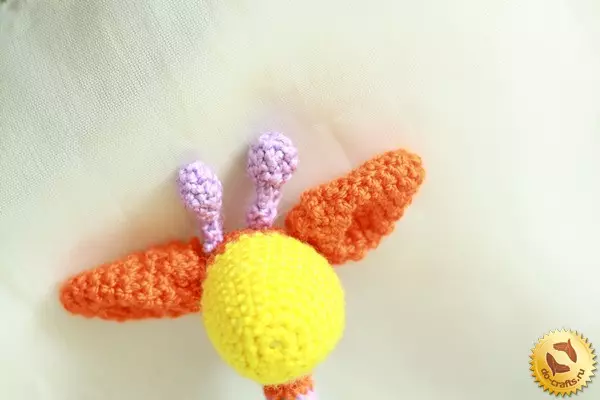
Eyes make out of two black beads.
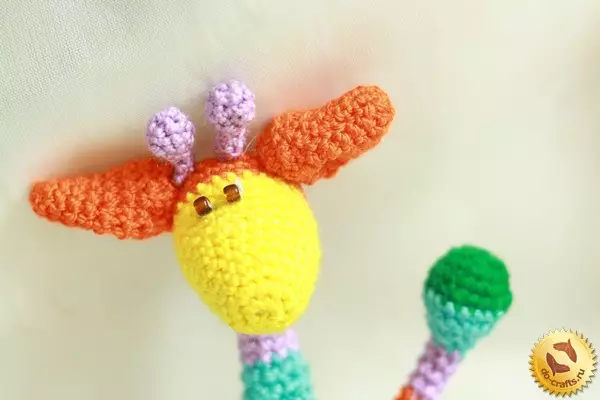
Our giraffik is ready!
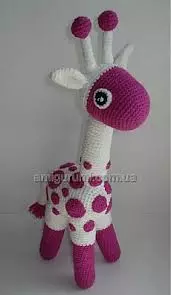
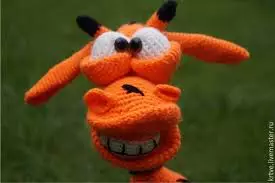
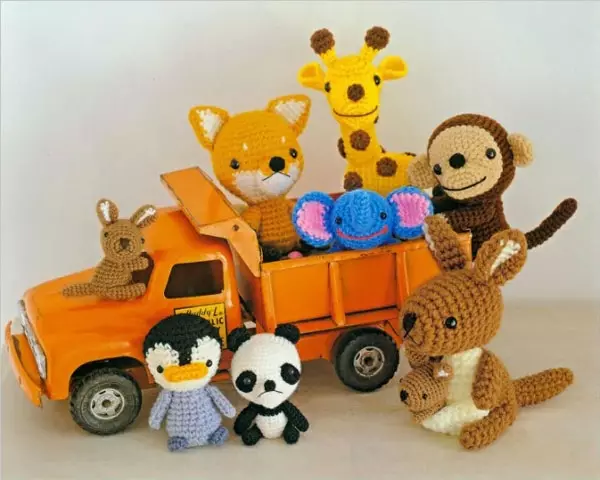
And here are some more photo ideas of knitted giraffes: