
All you remember from school pore, how to cut a beautiful snowflake of paper. In the long winter evenings, the children sat down at the table and mastered these simple crafts. Then they glued them on the windows, decorated the Christmas trees. Time went, the techniques of making snowflakes from paper were improved.
The easiest snowflake
To begin with, consider step-by-step instructions for the manufacture of the most simple paper snowflakes from the times of our childhood.
To create such a work, only one tool is enough - it is scissors and paper. And, of course, do not forget about the good mood.

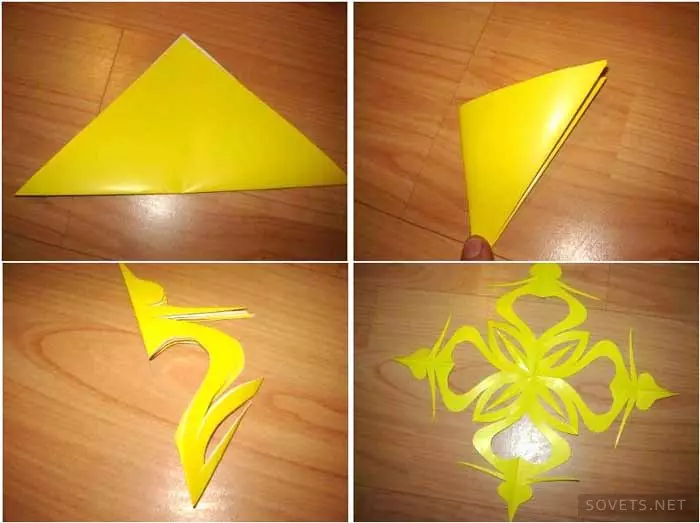
The most popular snowflakes from our distant childhood are folded 5 times a sheet. And first, 4 times the sheet must be collapsed in half, and the last - diagonally. From this workpiece cut out any patterns. Then deploy, and we get our New Year's miracle. This method has one "but" - patterns are somewhat rough. Snowflake, thus made, of course, will be beautiful, but too simple. It is simply uninteresting for this algorithm to make all the decorations. After all, there are other scope of paper.
Quadro Brave:
Pentighed model:
Hex snowflake:
Snowflake is more complicated - octaped:

In technique Kirigami
Do not be afraid of such a wisdom word at once! At the heart, we will have the same snowflake, only with volumetric items.
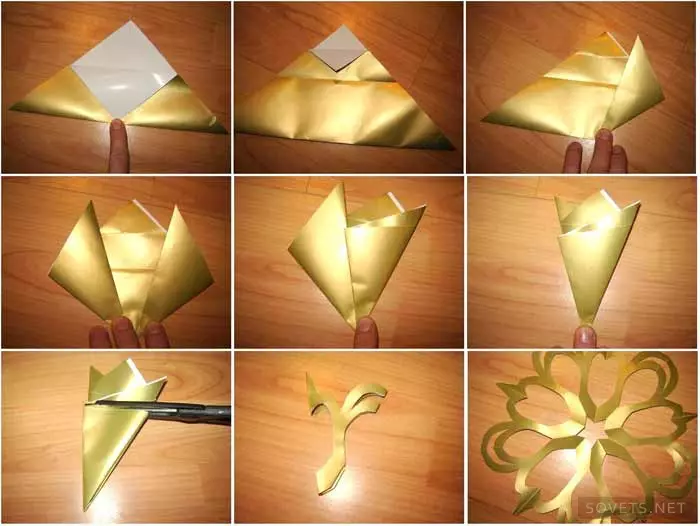
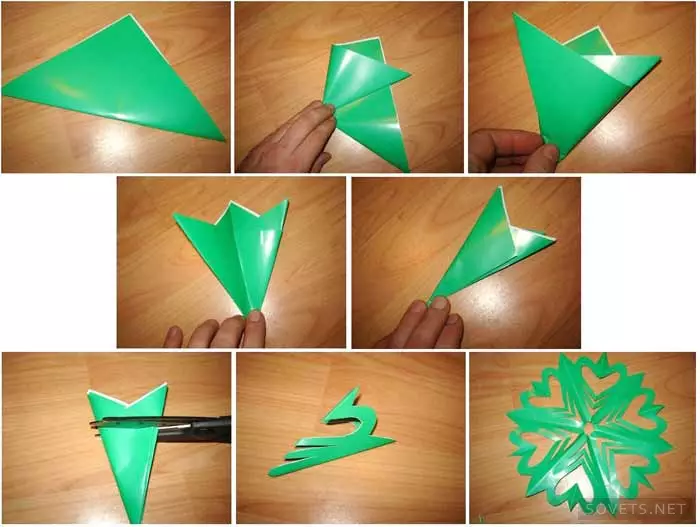
For example, consider how to make a hexagonal snowflake. Now for work we will need transport. Draw a template for a hexagon workpiece. The angles should be equal to 60 and 120 and degrees. Then we take another square sheet of paper. Now I will shine it diagonally. We got a triangle. Now the rolled side (base) is put on the pattern along the coordinate axis.
Article on the topic: How to make a key chain with your own hands: Schemes for beginners
Here, as it looks like in the scheme:
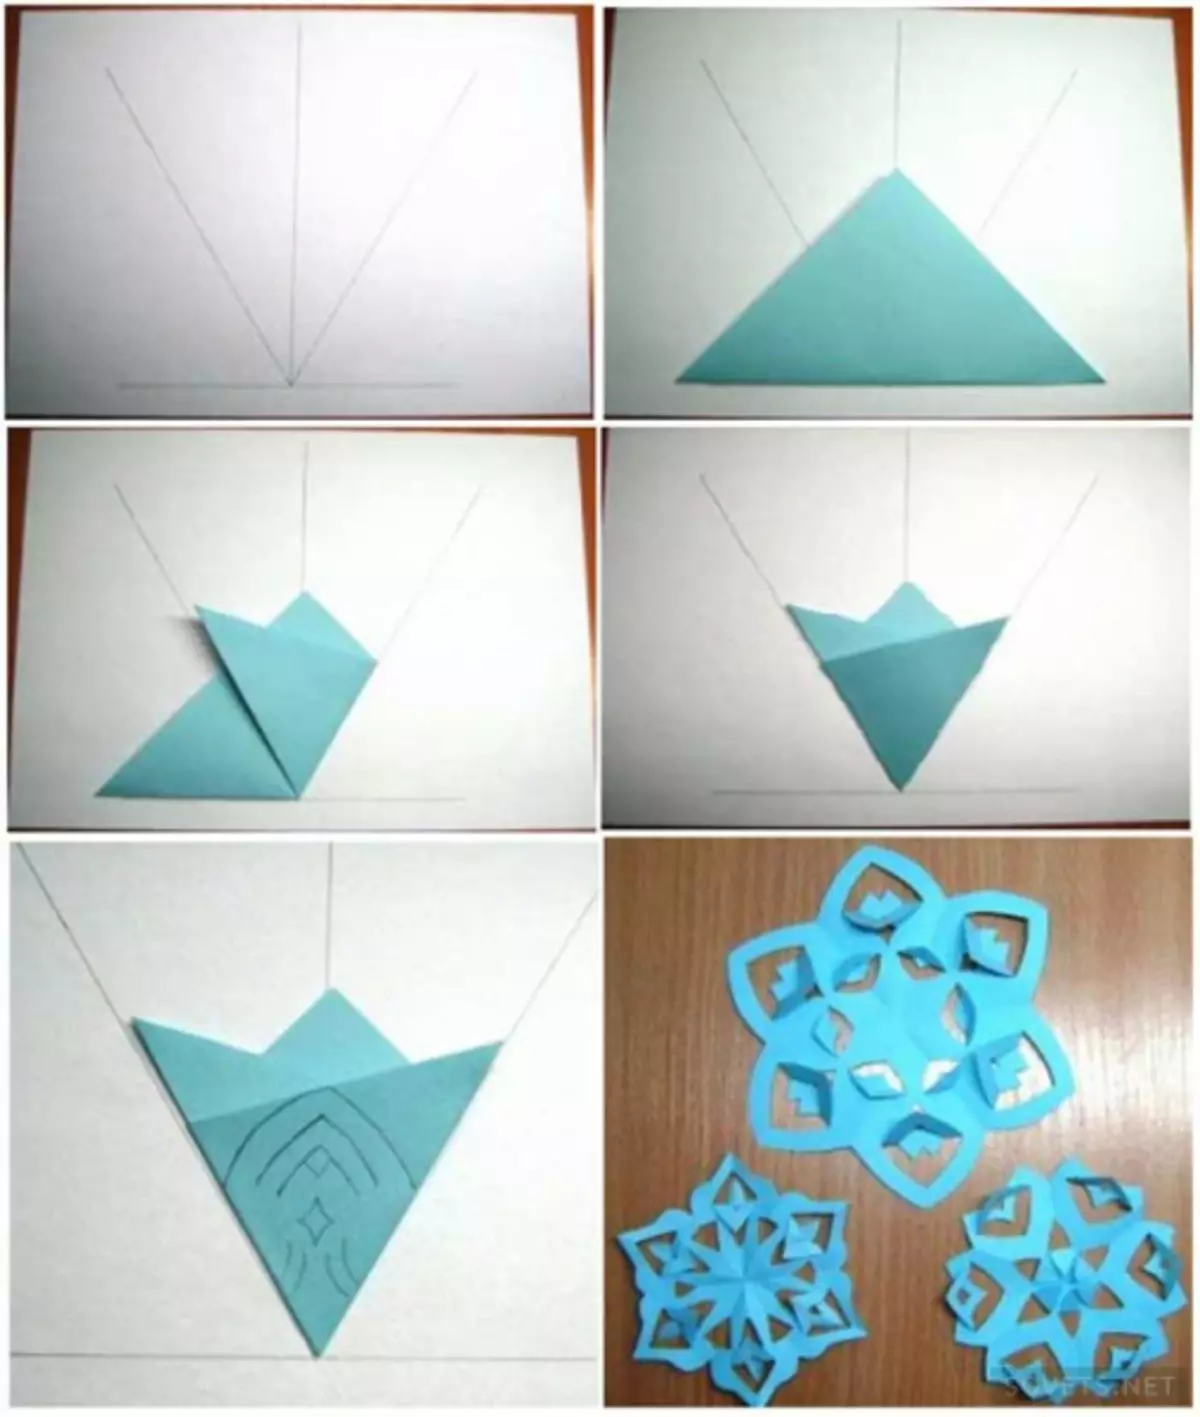
Next, bend the corners of the prepared workpiece. For ease of execution, you can put a small bowl in the middle. To do this, bend the part in half. It is advisable not to fix the average line, but only one clamp at the base.
Now, check with this label, start the angle, as you see in the diagram. Then bend the second angle. Detail is ready.
Now it is necessary to make a snowflake on a lot. To start, draw the pattern. If you are confident in your abilities, you can immediately cut. Expand the finished workpiece, adjust some details inward. Now our snowflake needs to decorate or decorate something.
Photos of some patterns for performing snowflakes in technique Kirigami:

The pattern for such snowflakes with kirigami can easily come up with themselves. The most important thing here is to understand the principle of work itself.
Volume options
For kids, you can glue such a simple bulk crac in the form of simple curls from the strips.

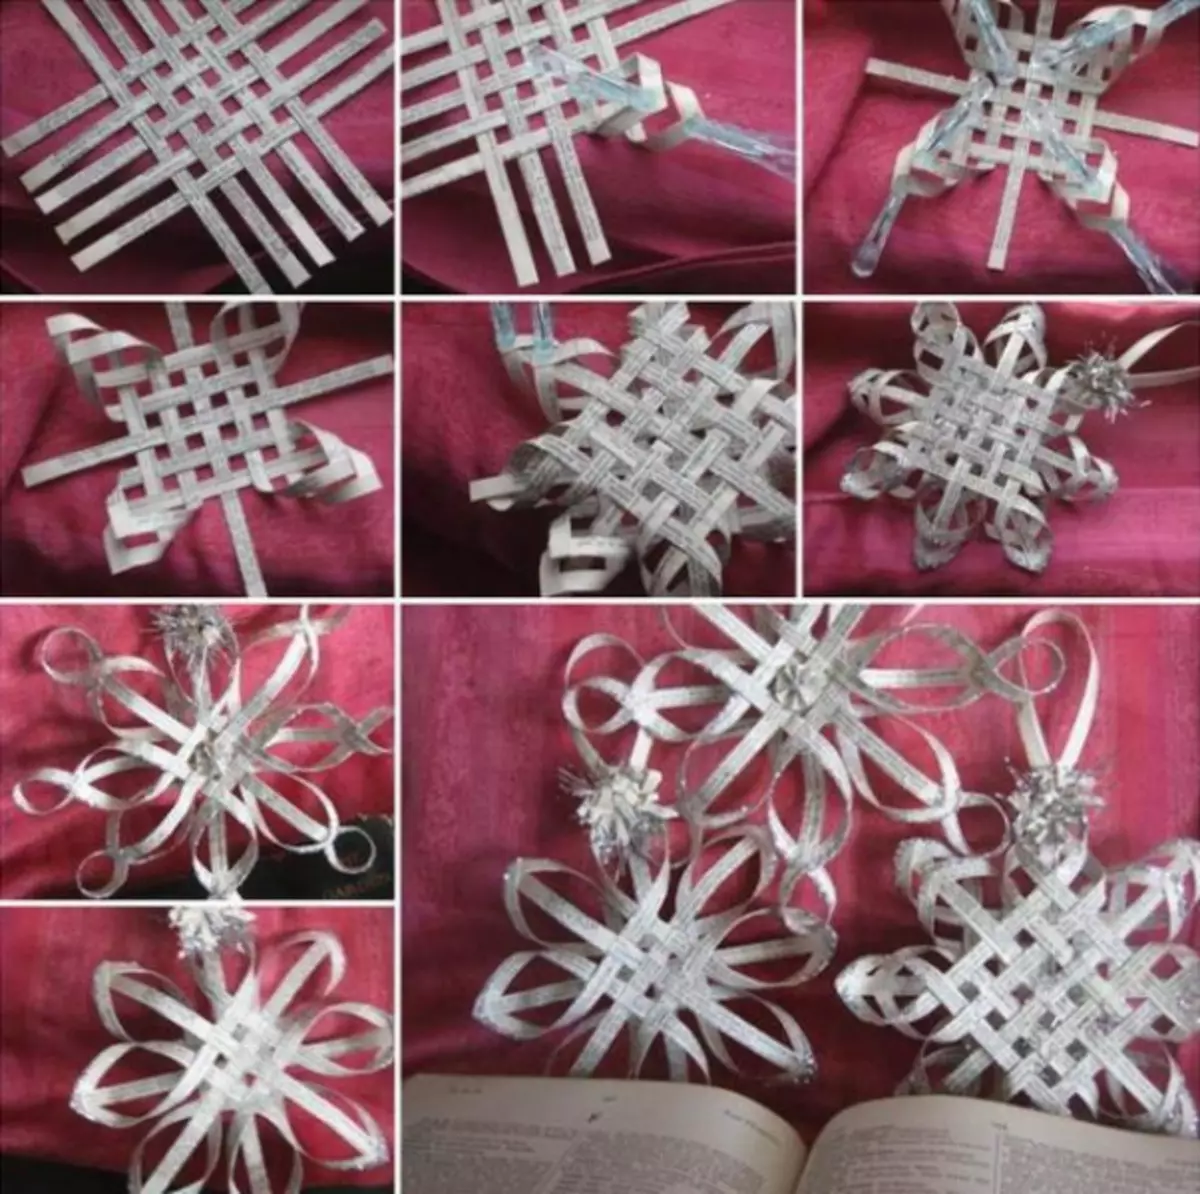
Now consider a fairly old and relatively simple way to manufacture bulk snowflakes. Previously, such crafts did all the guys in labor lessons.
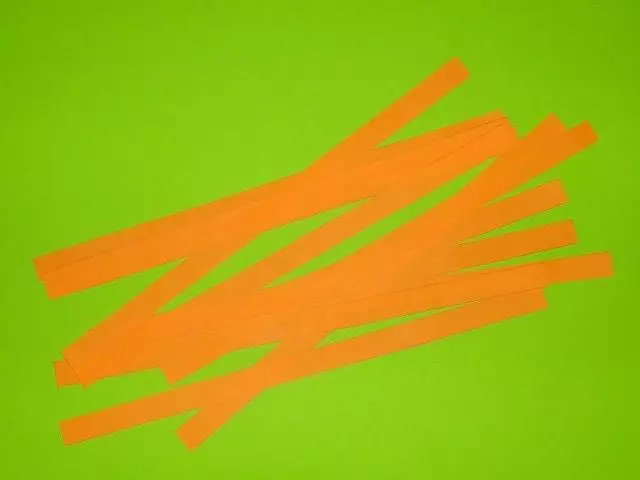
To work, take paper, scissors, glue and good mood! From the usual sheet of paper (A4 format), we cut long strips (width 1.5 cm, and a length of 30 cm).
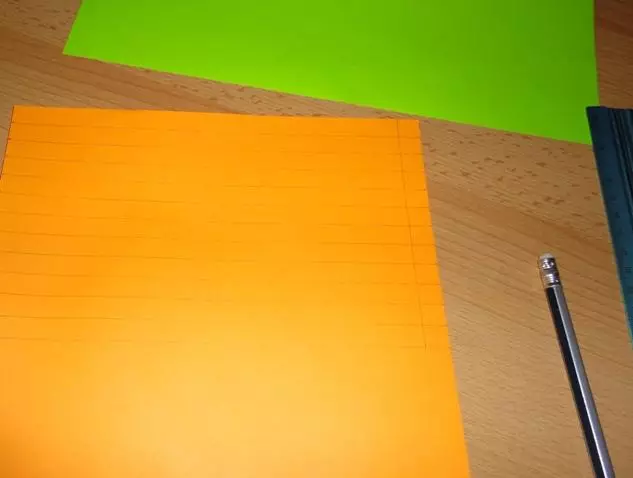
Such multicolored or, at will, one-time strips should turn out 12.
Further actions are extremely clear and understandable. It's easier now:
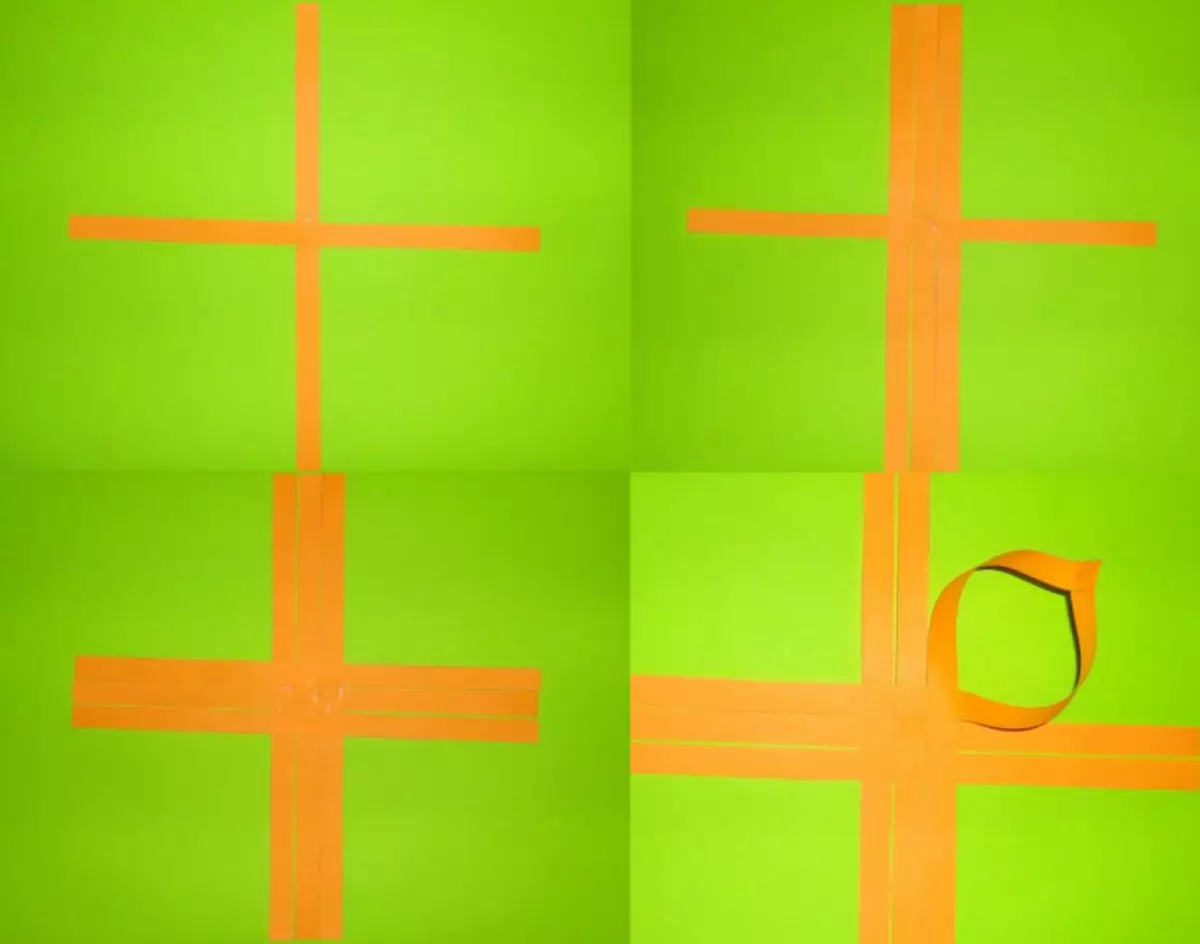
So alternately glue these strips with each other.
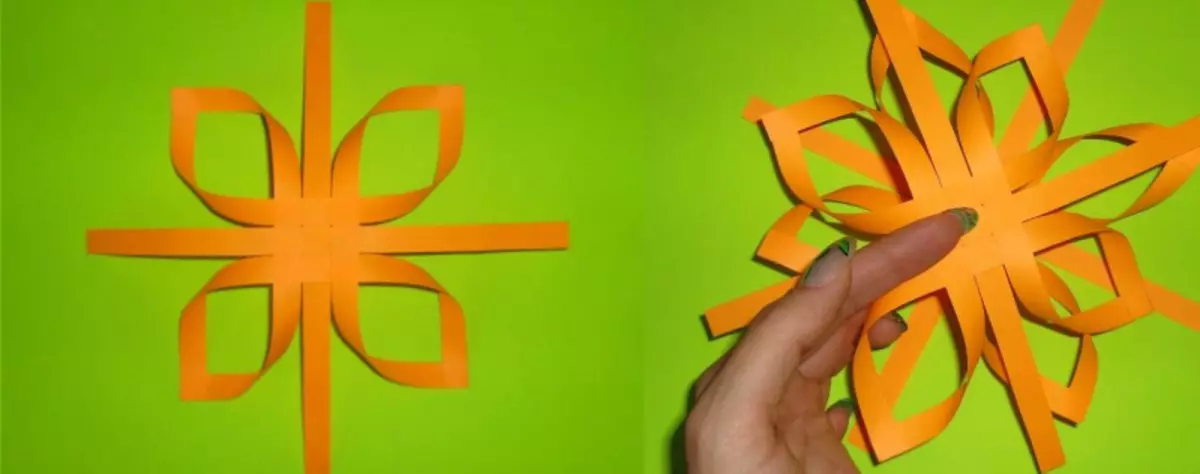
As a result, it turned out very original. Now such beauty can be placed at least on the Christmas tree, even on the window.

Here is another interesting option from paper stripes.

Or here: Snowflake from the ordinary newspaper. You can decorate the finished toy additionally. You can stick to her tinsel, beads, paint it with brilliant varnish. In short, to show fantasy.
Article on the topic: Toys from improvised materials with their own hands: Baby crafts with video
Or, as an option, twist from paper cones, and then glue them in a circle, alternating colors.

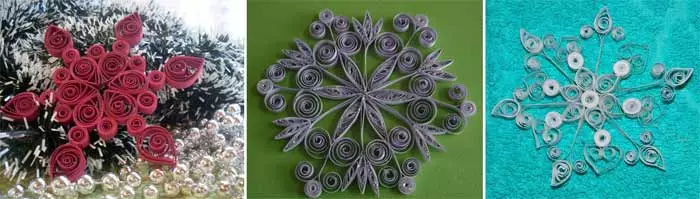
In the technique of quilling
Another wisdom word - quilling.
Quilling is the art of creating figures using thin and long paper stripes. The process is performed by folding the strips into a spiral with further gluing.
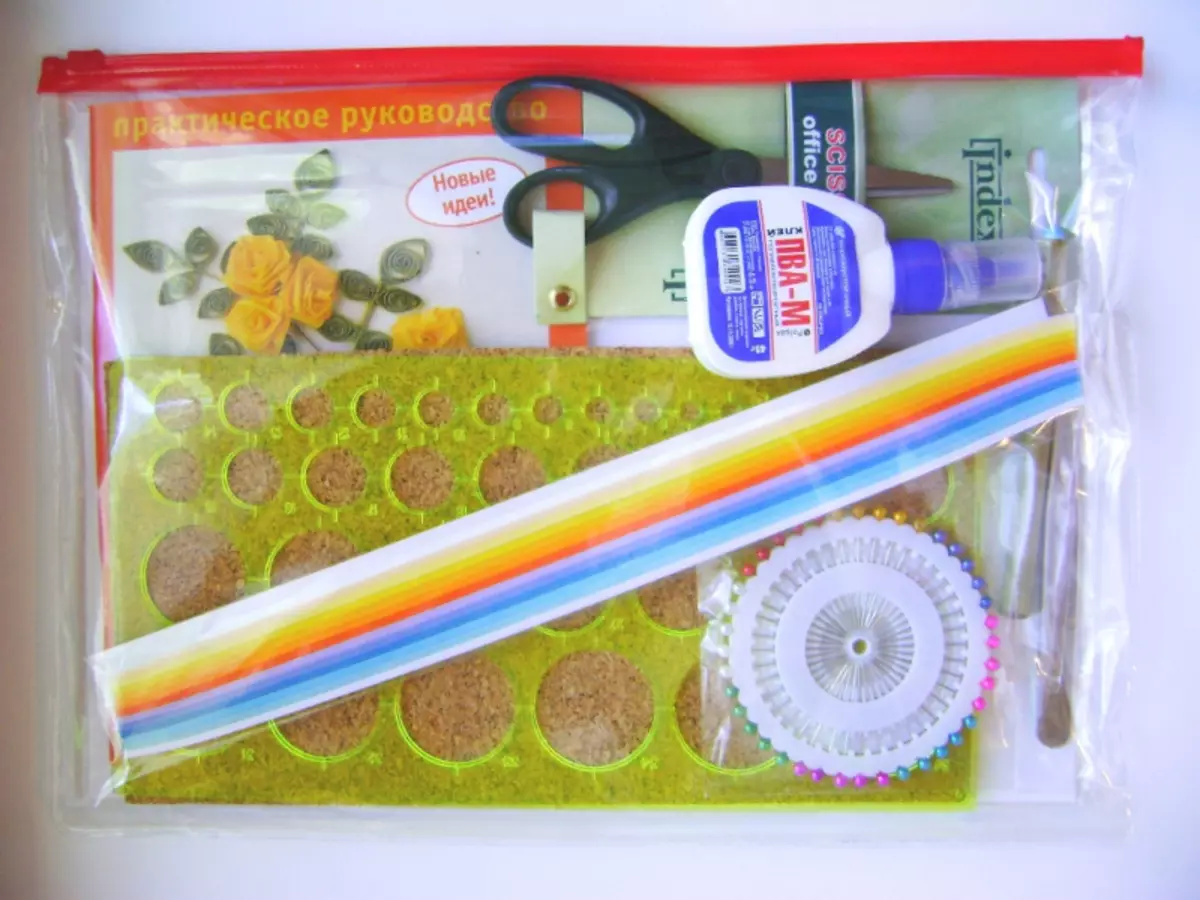
For the manufacture of snowflakes in a quilling technique we will need:
- Paper strips. The width of the strips is selected arbitrarily (usually it is 3, 4, 6 or 10 mm). The wider strip of paper will be wider, the volume will be released by our snowflake;
- Special tool for queening - a wand with an eye to twist the paper. Suitable for our purposes and machine to twist the tape. It can be bought at any needlework store. If there is not one of these tools, you can take a simple shine;
- PVA glue;
- toothpick (to apply adhesive);
- Stencil with different diameters of circles.
Details for quilling snowflakes are several types:
- Heart;
- circle;
- eyes;
- Droplet, etc.
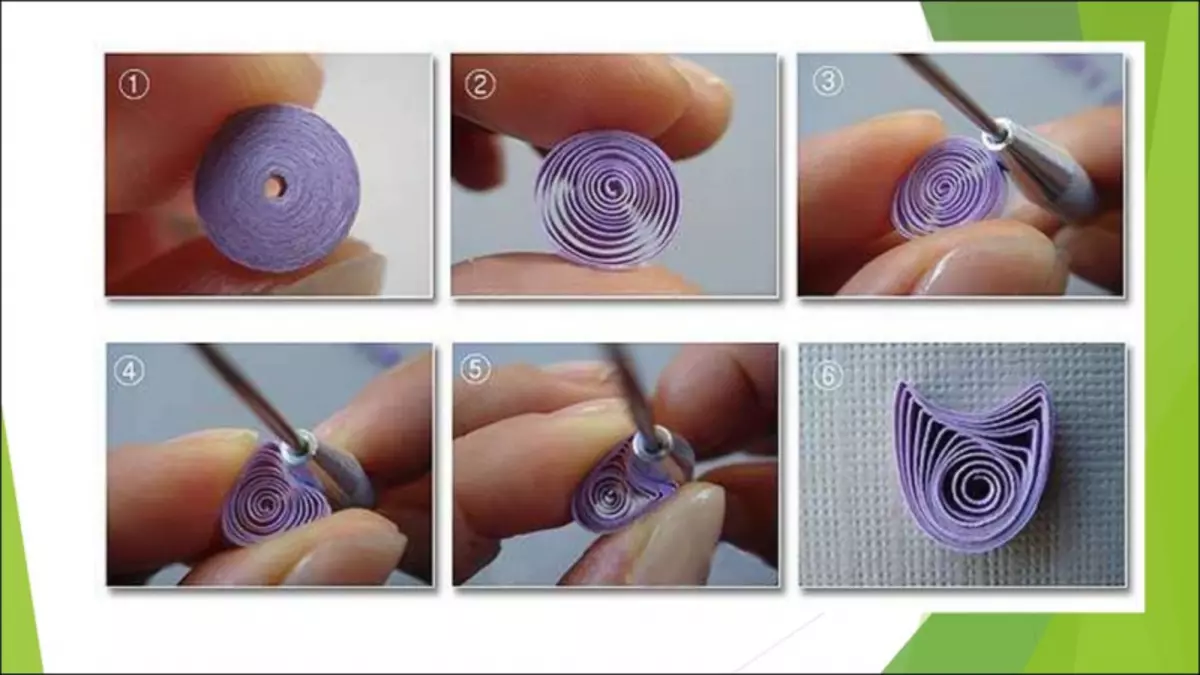
Everything is clear with the circle.
The droplet is, in fact, also a circle. Only with its manufacture first the part is glued, and then then squeezed into the shape of the droplet. We produce the same effect with the eye, only now we are squeezed out from two sides. But to prepare the heart, you need to pre-divide the strip into 2 parts. Then each of the parts received twisted the spiral inside. Now the heart is ready.

How to collect a bulk snowflake from these details, look in the video lesson:
Video on the topic
So, we realized that there are countless options for the manufacture of elegant snowflakes. In this selection of video, only some of them are collected.