Photo
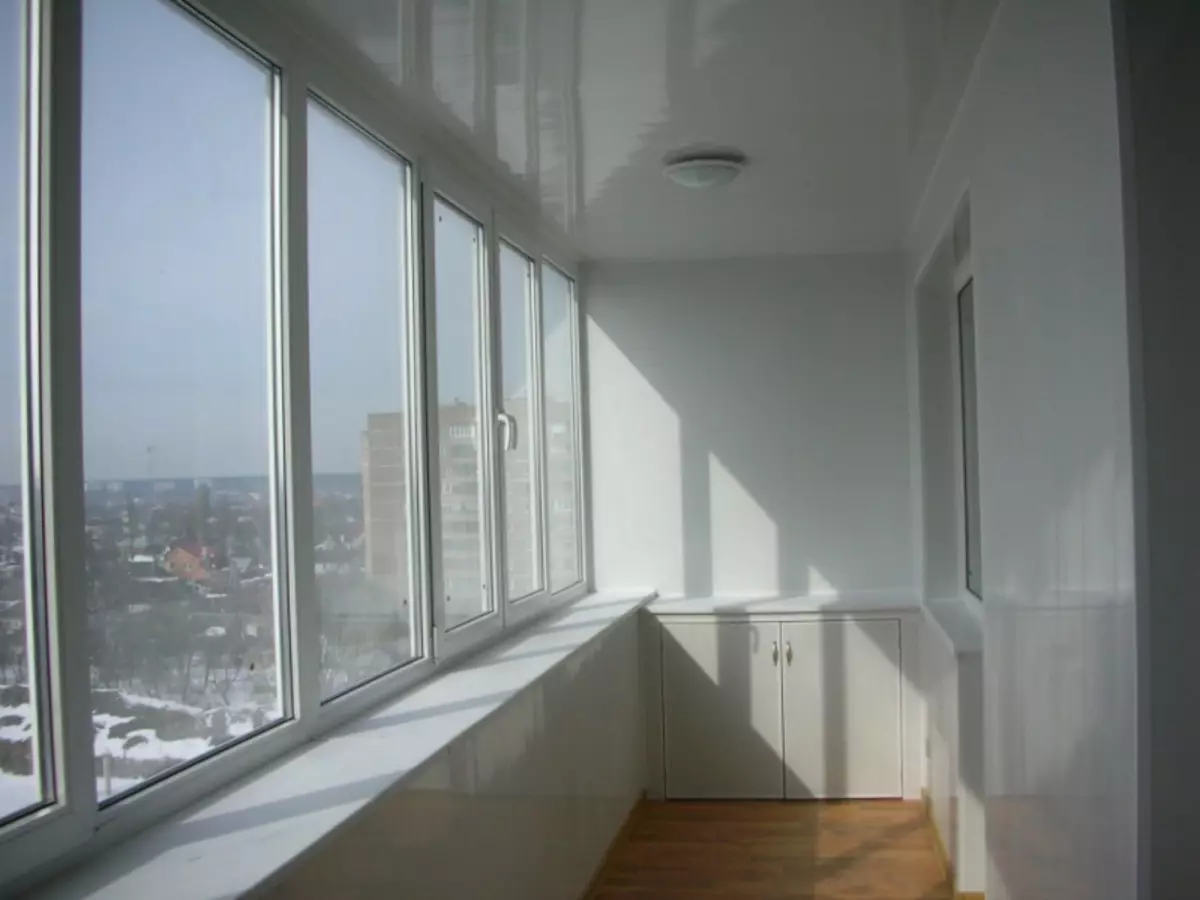
Glaping and insulate the loggia is the best solution for increasing the useful area. The question of how to glazing the balcony is solved by several most affordable ways: to equip the room with sliding wooden or metal-plastic sash, install double-glazed windows, which will allow perfectly to save heat indoors.

The choice of glass packages must be considered responsibly, because Through them, approximately 80% of the heat loss of the glass of glazed loggia occurs.
Most popular glazing
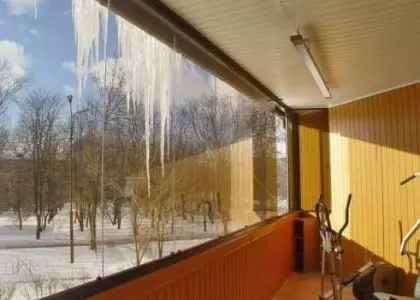
The most common methods of protecting the loggia from winds, dust and atmospheric precipitation are:
- Wooden design;
- installation of metal plast;
- Frameless design.
Glaping a balcony with your own hands using a wooden structure will allow you to isolate the room from noise and increase the temperature in the glazed room.
If the choice fell on an eco-friendly wooden structure, then you need to prepare tools and materials:
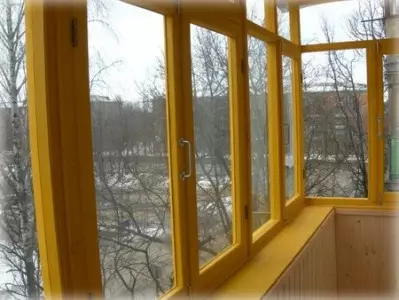
For frames used only high-quality wood treated with a special protective agent
- glasses of the required amount of 3 mm thick;
- small nails;
- a hammer;
- brush:
- platbands;
- Polished rails of a triangular profile with a side of 7 mm;
- Bar 50x50mm;
- Protective compounds for wood design (varnish, pinotex or others).
To make a better and reliable design, it is better to establish an additional galvanized visor on the loggia of the necessary sizes, which will protect the windows from the moisture pushing and give the attractiveness of external aesthetics.
Stages of design and glazing with wooden design
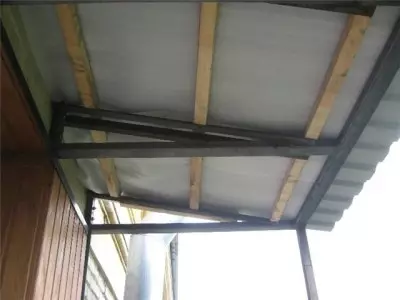
It is initially recommended to free yourself from all the outer coatings to the concrete itself. The surface should be cleaned of dust of other contaminants. After preparatory work, the first to further action follows the accurate measurement, production and installation with a minimal gap of a wooden box, which will serve as a basis for frames. This design, made of a bar, which is fixed at the level of the balcony and the top bar, which is mounted to the ceiling and side bars with a bracket. The side bars in turn are mounted with brackets to the side surface.
Article on the topic: Little Kitchen Design
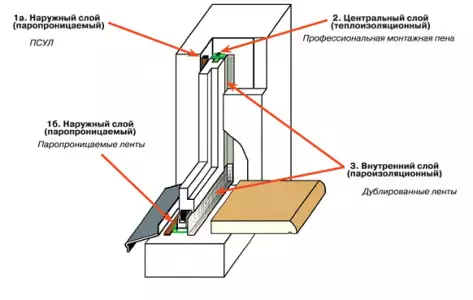
Scheme of high-quality installation of window structures (according to DSTU b B.2.6-79: 2009)
The next step is to install the lattice of the entire room for the plating the selected material. Only after the ceiling, the walls and the floor will be covered with their design (wooden panels or lining are suitable under wooden frames), it should be started to install frames with glasses. In this case, the glazing method itself can be divided into several types:
- european;
- Simple;
- Combined.
Each of the methods has its own characteristics. To install wooden frames, the most common glazing is suitable. It is important to remember that before glazing the balcony, glass should already be installed in the frame. Balcony frames can be purchased in the finished form of standard sizes, order on individual sizes or perform independently of the profiled wooden bar, in the grooves of which glass are inserted and pressed with nails with triangular rails.
The final stage will be a thorough bundle of gaps of packles or other insulating materials. Then the platbands are installed. To protect the wooden loggia designs from the impact of moisture, 5-6 times the protective layer should be applied.
Installation of metal plastic design
Frames made of metalplastic in appearance resemble puff pie: plastic, metal, air chambers. Water flows through drainage holes, so the freezing of the design itself and the premises is generally excluded. Glazing of the balcony by this method, very simple. The following tools and materials will be needed:
Metal frame - a reliable option for any frames
- perforator or drill (with a carbide drill, with a diameter of 8 mm);
- Construction pistol (preferably);
- a hammer;
- screwdriver;
- putty knife;
- knife;
- Pistol for fading;
- mounting foam;
- Dowel or self-tapping screw.
For self-editing and glazing, the profile must be based on the instructions. When the balcony frame measurements are made, then you should not make big tolerances. First of all, it is necessary to determine the accuracy of proportions. In order to check the symmetry of the opening, both diagonals are measured, and the difference should not exceed 5 mm. If it turned out to achieve this ratio of diagonals, therefore, the angles should be exactly 90 degrees. Then, when measurements, the technological gap is taken into account (from both sides of 15 mm).
Article on the topic: Fine Line Veneer: reviews, dignity and disadvantages
It should be remembered that it is not recommended to raise the frame on the upper floor already with installed double-glazed windows, in order to avoid distortion and damage. When installing, it is impossible to leave protruding mortgage wedges, as later you have to cut the protruding ends, which is extremely uncomfortable. Placement wedges are made in the width of the frame.
The metal plastic frame is mounted on spacer wedges, screws with dowels, mounting foam, also provides for an additional fastening of windows with metal brackets. Additional fasteners will help with maximum accuracy to fix the frame until complete alignment. After the design is foaming, it is necessary to leave it 8 hours to complete drying, to avoid the deformation of the frame.
Frameless way of glazing loggias
This is a new way that in a short period of time has become widespread among the consumer. Tempered glass, it is a very durable material that can withstand heavy loads. The thickness of the glass directly depends on the size. If the height exceeds 2 m, then glass is 8 mm thick. In the width, the sash marks from 60 to 80 cm. If desired, you can order tinted glasses.
The opening process is very simple. At first, open the extreme sash to the top lock (it resembles a flying switch), twin for it, the sash extends from the top and bottom frame. The flaps are open, the lower castle is on the move, more accurately plastic handle.

Finnish glazing of balconies spectacular and fashionable: the design of visual air and unaware
What is a frameless glazing:
- glass;
- top and bottom profile;
- upper and lower pad on the glass;
- Loading lock;
- handle-castle;
- retainer;
- rubber compressor;
- Ribbon-retainer.
The tape-retainer is necessary for fastening the sash so that they do not swear and did not beat each other. It is attached to the extreme sash of the lower aluminum profile. The design is mounted (going) is extremely simple. Aluminum overlays are glued to glass sashs from the upper and lower part. They are installed carrier wheels (loops with rollers). The glass is cling to the glass to the guide profiles (top and bottom). This type of design is very similar to the wardrobe and consists of the following items:
- glass, 6-8 mm thick;
- bearing wheels with ball bearings;
- upper and lower aluminum profile;
- platband;
- Slip and latch device;
- gasket;
- Lower latch;
- Pack with plastic coating.
Article on the topic: How to finish the doors with MDF panels do it yourself
As in other structures, upon completion of the installation work, it is necessary to carry out gaps between the flaps. On the edge of the glass, as the cover on the skates wear acrylic seals. They are easily dismantled, then the ventilation gaps are obtained up to 3 mm. Rubber seals are laid outside between glass sash and aluminum profile, reliably protect the design from the penetration of moisture. The slots between the sash and the walls of the balcony are filled with sealant under the color of the profile. The design itself is bonded with each other with special glue, without nails and screws. And the most attractive is hidden fittings.