
The wardrobes acquired popularity worldwide. They are comfortable in operation and easy to install. You can mount them, both in the form of a separate design, and simply covering the niche niche in the wall. In addition to the installation in the cabinets, the sliding doors are often used in the balcony partitions, they share their room to segments, or separate part of the room under the personal account at all. Some people, just separating the part of the room with such a design, put a table, chair and computer in a new room, it gives them a sense of privacy. Also, sometimes use a selected place for meditation and sports workouts.
Door installation
Features and advantages
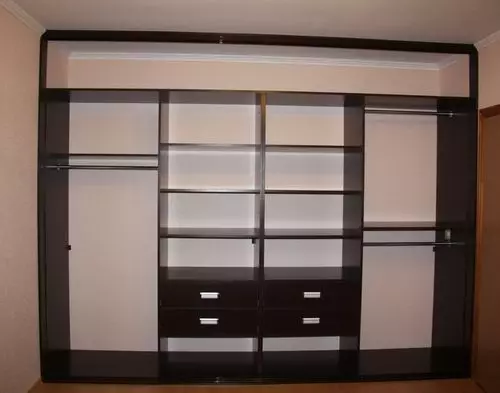
The sliding system of the wardrobes-compartment is convenient, also in that it does not take up much space, much saves living area, because the door of the cabinet does not need to open 90 degrees. Such doors give the opportunity to create a more interesting interior. In addition, it is very convenient to get all the necessary things from such a wardrobe.
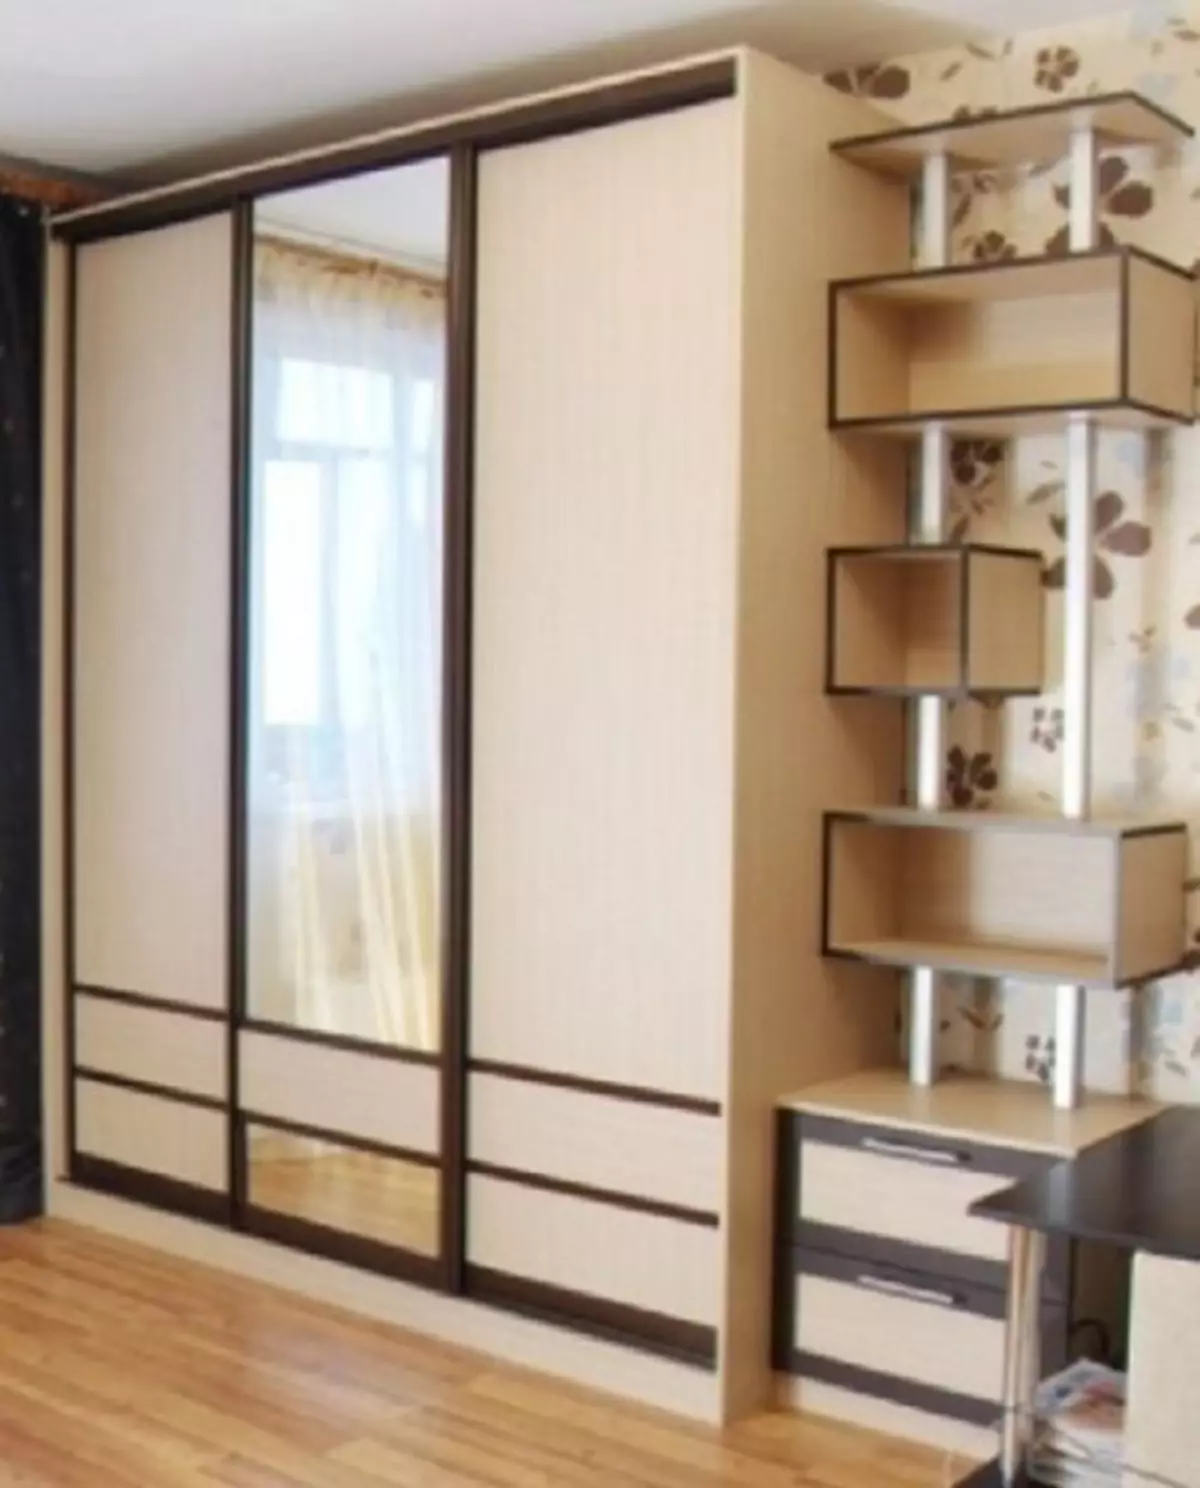
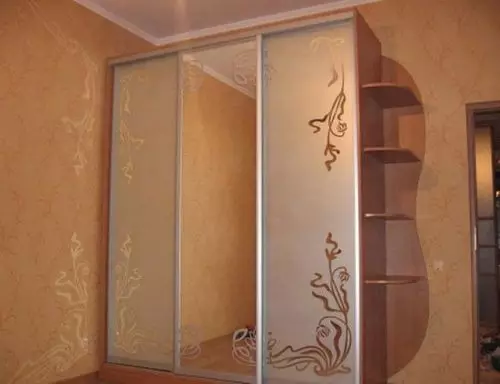
The wardrobes are quite functional, and the variety of variations of the design allow them to fit into any interior. After all, such a wardrobe can be decorated with painting, hang the mirror or stick the picture of your favorite landscape. The only problem that may occur is the installation of the design. Some companies offer their services, for such a service, they may demand about $ 50, which albeit is not essential, but hits the wallet, especially during repair.
Assembly
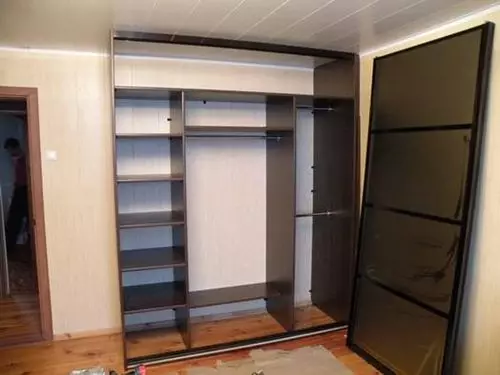
The closet circuit of the wardrobe is simple, but in order for the system to work reliably and well, this scheme must be adhered to. In installing a wardrobe, you will need items such as guides (lower and upper). These guides should be on the depletion from above and below, for each door. It must be borne in mind that the lower guides have to have the entire main load, therefore it is not worth saving. When choosing rollers, ignore the cheapest suggestions, since the sliding system can quickly fail. If you want to save on a wardrobe, then you already save on the weight of the doors, rationally use lightweight doors, and do not hang on very heavy mirrors.
Article on the topic: Designer Tips: How to expand the room with one-photo curtains

On the Internet you can find many step-by-step photos and videos in which detailed assembly instructions are described, they will greatly facilitate work.
In principle, the upper guides do not carry the load, they are guides the movement of the door, but without them the correct work is not possible. Also, the useful part of the overall design is the stopper, it regulates the width of the product disclosure.
Persay work
So, you can install a wardrobe with your own hands without help, even if you do not have special skills in construction and installation of doors, all work is performed easily and are not considered painstile.
Please note that the doors must be installed perfectly smoothly, so before installation you need to align the surface of the floor and the ceiling, because the surface curvature will lead to an incorrect installation.
- First of all, it is necessary to determine the sizes. Dimensions need to be taken, taking into account the adhesive of the door, as well as without taking into account the wall width, if you want the door to rest in it, and taking into account the width of the wall, if the door goes for it. Aesthetically, it will still be beautiful if the whole design is to stand in the wall, if the sliding system is not in the wall, but in the closet, then superimposed fasteners (that is, fastened on the side).
- The height of the doors should be measured taking into account the upper and lower wheels, 16 mm and taking into account the gaps, 15 mm. Total, from the overall height of the door, for the height of the web you need to take away 15 + 15 + 16 + 16 = 62 mm
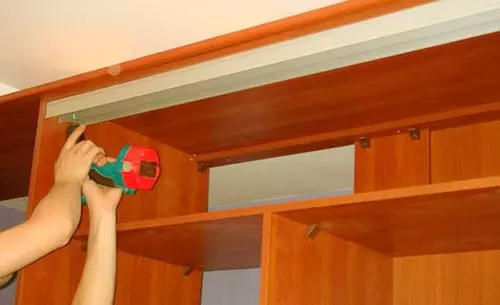
- When taking into account that you install the finished doors, the next step will be the upper rails, they will determine the movement of the door.
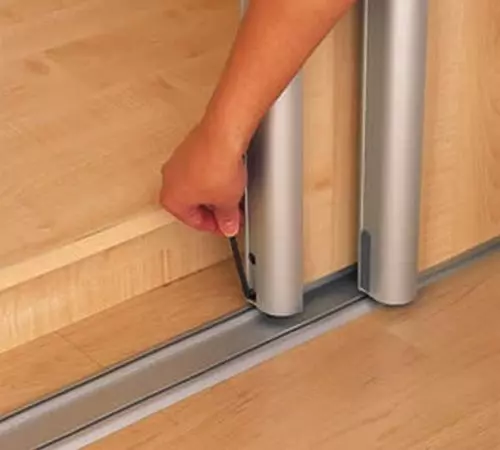
- The lower track with the positioners already installed on it must be put on the floor, but do not fasten it, it will make it difficult to install.
- The next step is to install the sash. It should be noted that the back flap is installed first, because if you immediately install the front doors, then the rear will simply be impossible. After all, the doors go to the brass one on the other.
- The next step you will need to insert the lower wheels of the doors in the groove. To do this, you will need to click on the wheels and start it to complete in the groove.
Article on the topic: We are tie to doors from MDF, laminated chipboard, laminate
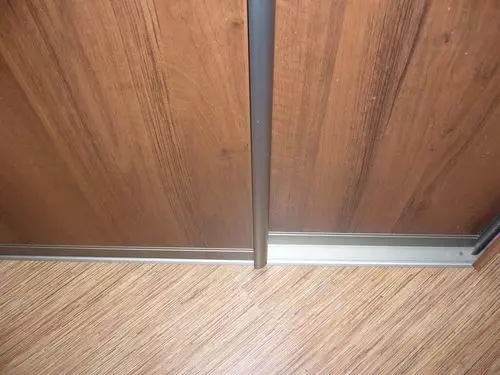
The stopper movements are very useful, it makes the use of doors more comfortable, as well as extend the life of the system. In addition, the installation is made in two bills. For work, the stupor, screwdriver and several bolts itself will be required. All you need is to screw the bolts on the guide.
This is the basic instructions for installing doors. It remains only to try to open and close the doors, if they slide easily, then you did everything right.