
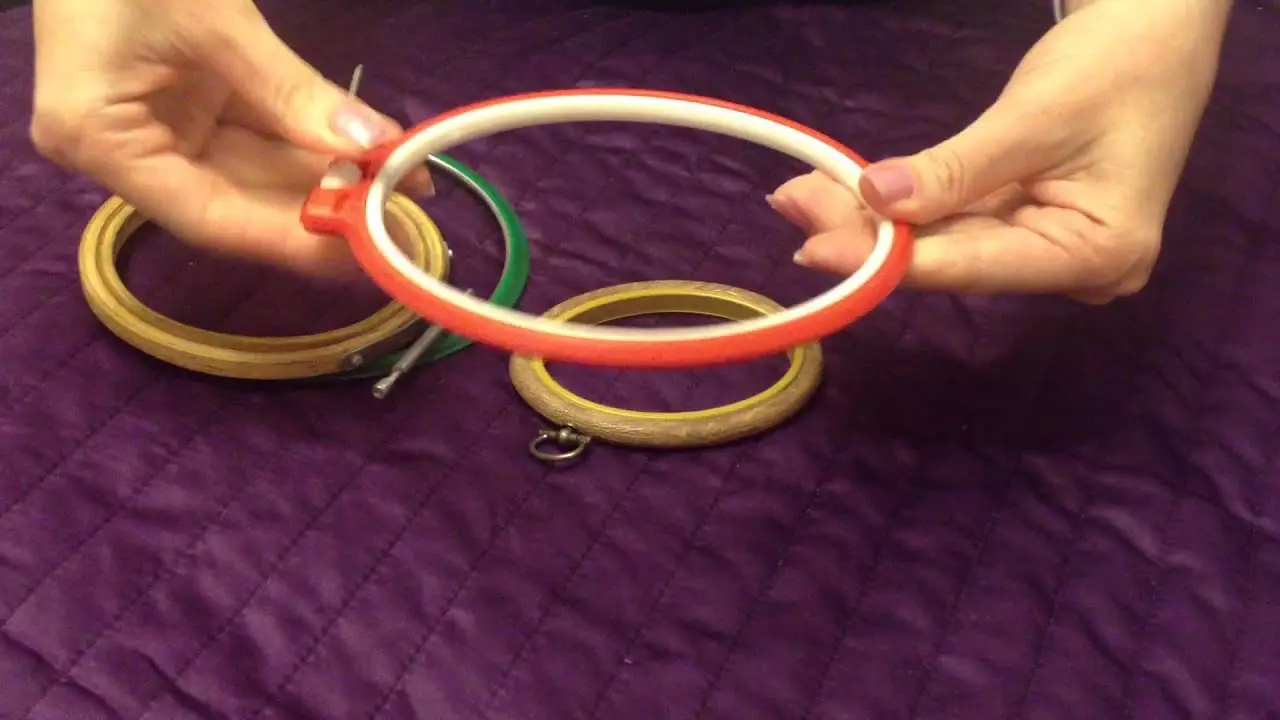
Have you ever had to use wooden hoops that did not fit each other in size? Have you ever embroidered, constantly screwing the screw and pulling up the fabric? Pulling the hoops can solve this problem, and not only her!
Solutions
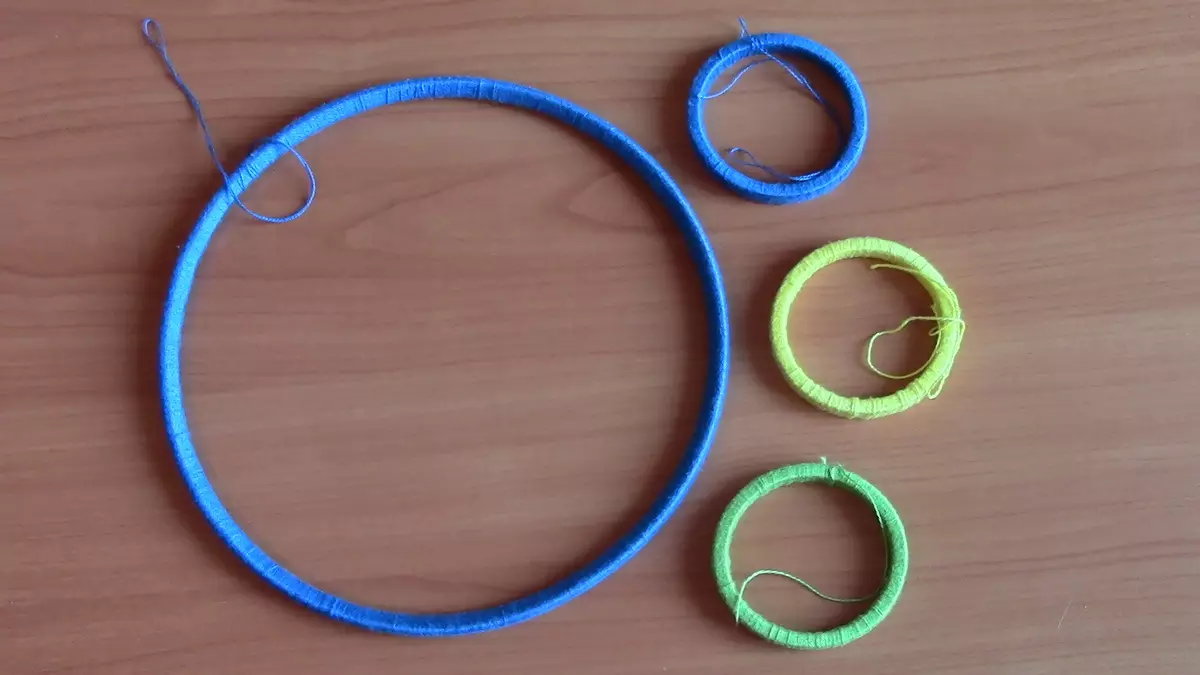
In order to bandage the hoops, we need to wrap the tissue lane or ribbon around one of the hoop. Due to this, the thickness of the hoop will increase slightly, and the friction inside the hoop will increase. This means that the flats will be tightly compressed and safer to keep the cloth! Also, the transfer will allow you to use the hoops that are slightly deformed - it often happens with oval or large wooden hoops . If you bandage the internal hoop, it will be more evenly adjacent to the external one.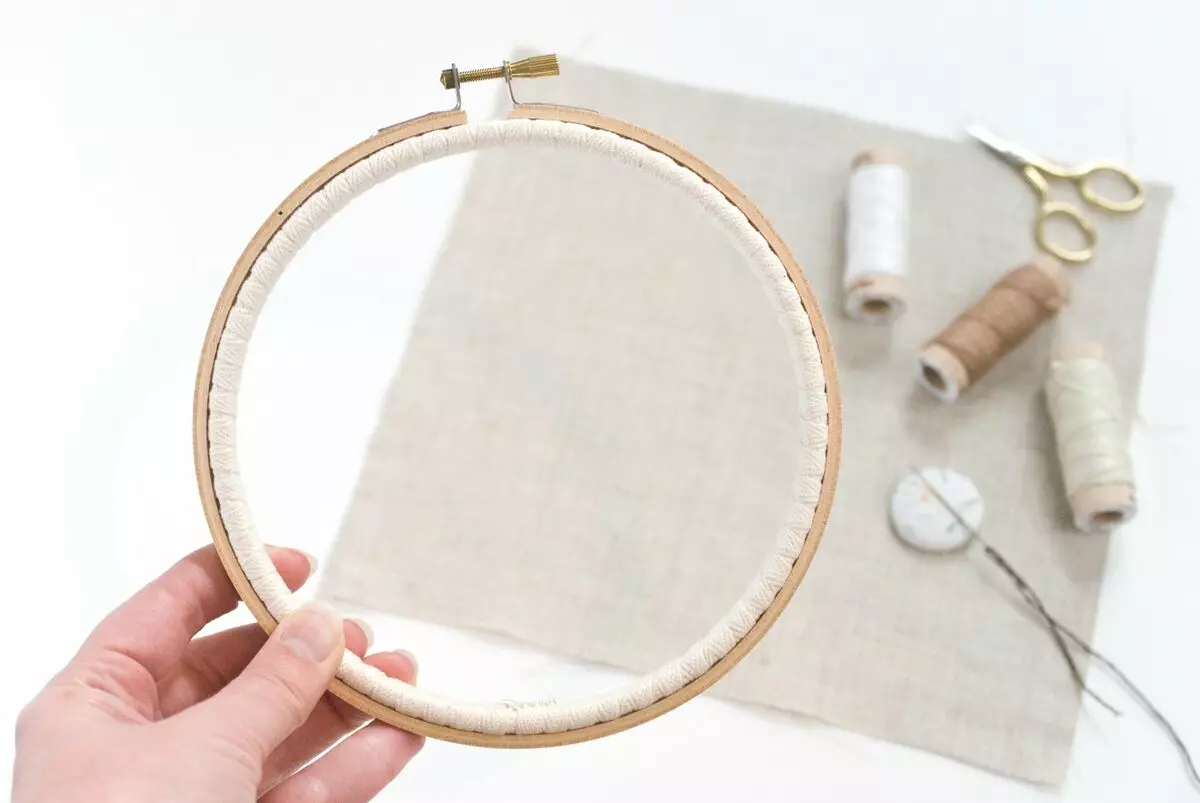
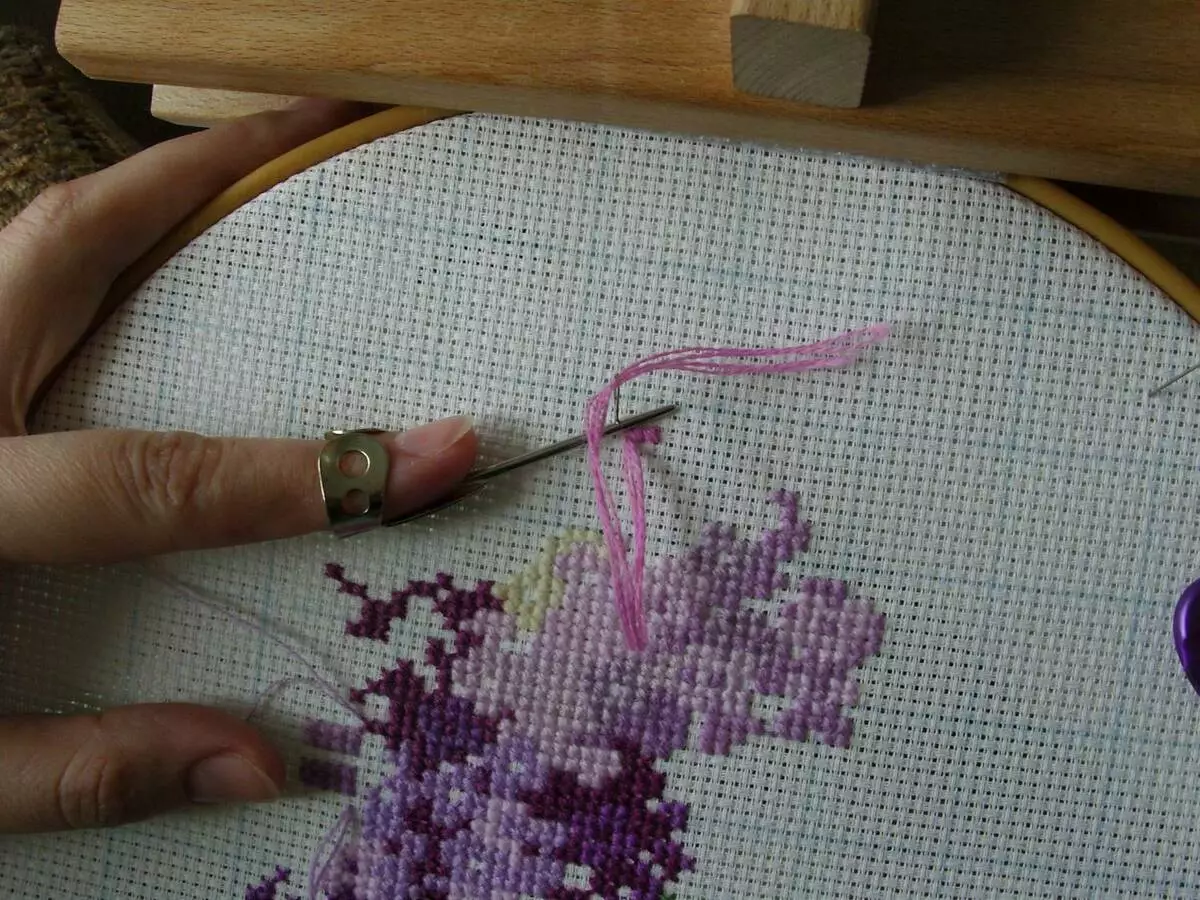
Work with delicate fabrics
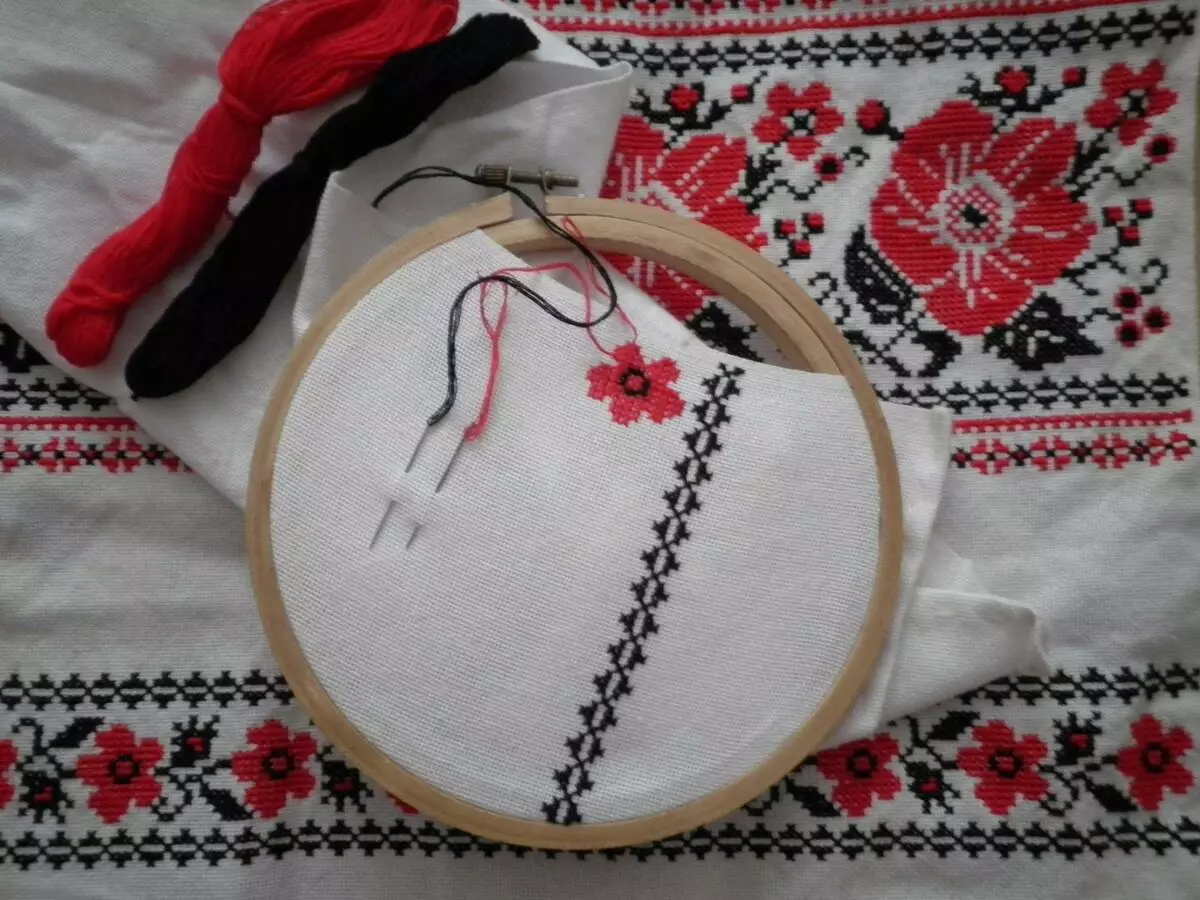
Still releasing the hoops - a great solution when working with delicate tissues, since solid wood hoops can damage them. This applies both for big things with embroidery when you have often to move the hoops, with the result that different parts of the fabric are compressed, which can also be affected by mechanical exposure.
Step 1: Tools and Materials
What do we need:
- glue for fabric;
- scissors;
- clothespins;
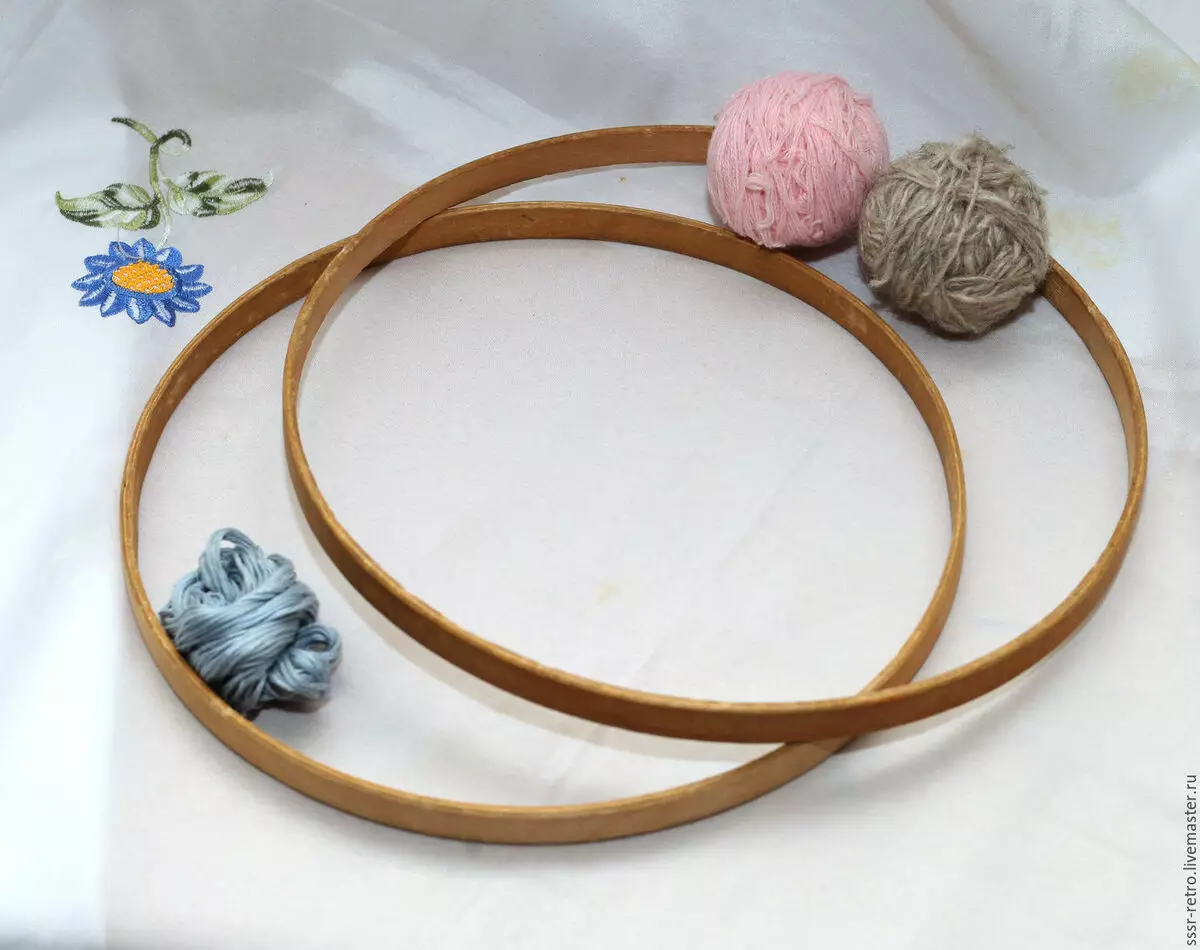
- wooden flats;
- needle and threads;
- 1/2 inches cotton sarge tape (approximately 1.3 cm) width or other tape on your choice - take at least 3 meters!
I like to use a 1/2 inches cotton sarge ribbon to secure the hoop. It is very easy to deal with her, and it is best suited for this purpose.
Cotton is the most reliable choice! Naturally, you should not use silky or slippery tissues.
Reeling requires quite a lot of fabric - I bought three meters of twilty tape, and it was enough only for three chambers. Keep this in mind when the materials are harvested.
Step 2: Start fixing
Place the end of the tape in the hoop at an angle and leave a small tip hang from the outside. You will understand what kind of angle you need when you start - it is easy to pick up!
Abandoning should be started and finished from the inner part of the hoop so that the tape does not create protrusions from the outside.
Use the clothespin to unscrew and keep the end of the tape.
Step 3: Winding
Start wrapping the ribbon around the hoop.Remember the main rule: do not allow tape to lay!
When enjoying the tubercles that we do not need and only spoil the result of your work. It is better to stay a little space between the eats, than they will overlap one on another. As a last resort, if you can't avoid it, let laying only on the inside of the hoop, where it does not hurt anyone.
Use additional clothespins to hold the tape on site after wrapping.
Step 4: How should a bandage hoop look like
Check: the tape should be smooth over the entire length, without layering or folds.
Step 5: Continue to wrap the tape until you return to the beginning
If everything goes as it should, the end of the tape will fit well into the line. Otherwise, move the ribbon around the hoop by moving it so that the free space appears.Article on the topic: Repair of an apartment on credit: all "for" and "against"
Now you can apply a long end on top of a short one and go to their bonded - crosslinking or gluing.
Step 6: Optional: Improve a short end glue
I found that it is more reliable to first fasten a short end with glue.
Cut a short end in such a way that the tape does not play the edge of the hoop. Apply a little glue, press the ribbon to the hoop and hold down to secure it in the right place.
Step 7: Fasten a long end
Take a long end on top of a short one and correct the tape so that the edges of the metakers do not impose on the neighboring. Crop the end is early!
First option: Fixing with glue.
Apply a little glue to a short end and give it a long end to this place. . Keep it until it freezes, and then cut everything too much.
Second option: Fastening with threads.
To inhale threads in the needle and sew the ends along the upper and lower edge. And do not worry about how it will look - the main thing is that the tape is securely attached to the winding under it! When you save them, make the thread evil and cut off the excess tape.
Step 8: You just finished winding the hoops
Collect them and look at all this magnificence. Now you are not only satisfied with the work done, but you can use them again without experiencing previous difficulties.Master class on the use of a five-frame frame (1 video)
How to fix the hoops are not suitable for each other in size (7 photos)


