
The bath has served enough longer service life and lost its appearance, what does it in this case? You can buy a new one, but what if there is not enough funds? It is necessary to resort to the restoration of the old with paint. How to paint a cast-iron bath? We will talk about this more. Observing technology and recommendations, you can restore the initial type of bath, without spending high tools.
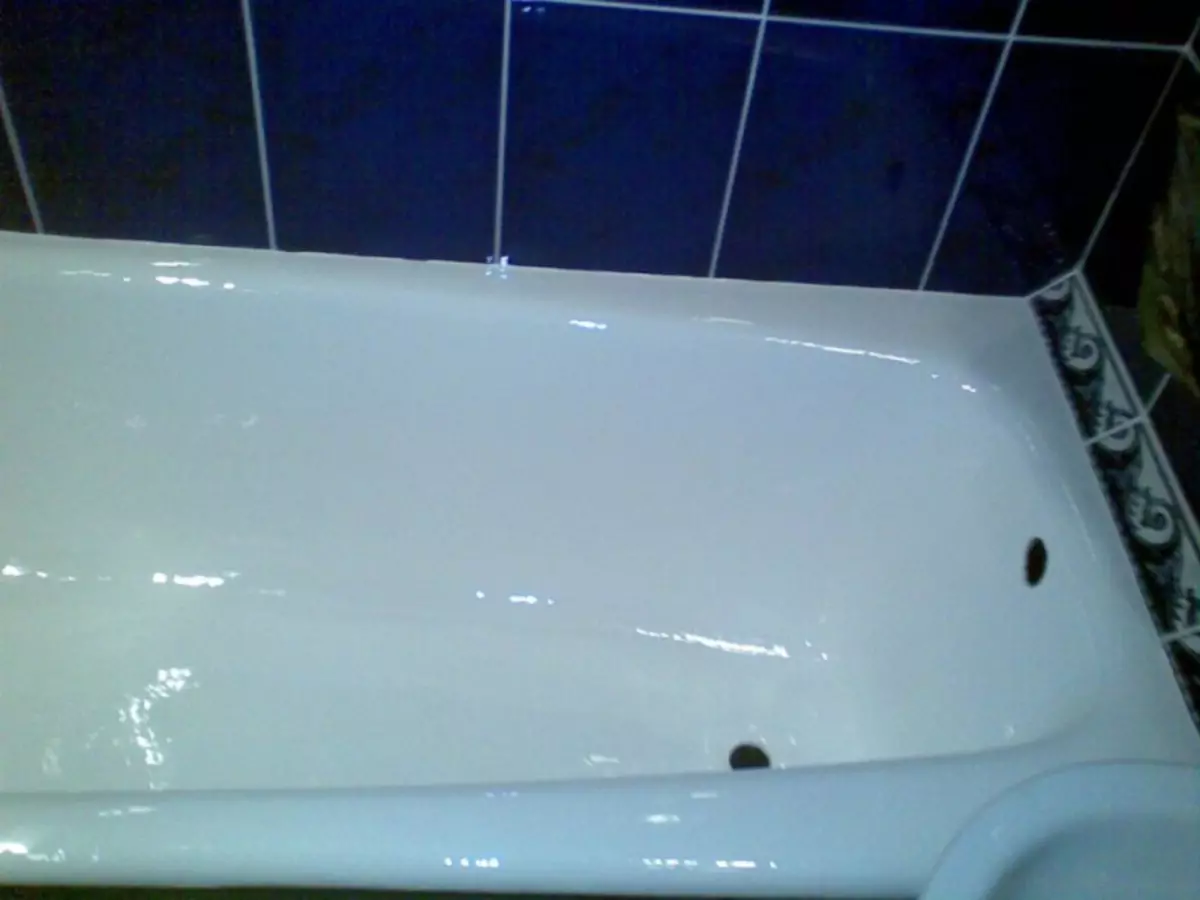
An old bath can purchase a new view by painting acrylic or epoxy paint.
Bath paint does not require large investments and special work skills.
Tools and auxiliary devices
In order to paint the bath with your own hands, you will need to prepare tools, protective devices and consumables. In addition to the skills of painting work, you need to know the technology of sanitary operations.
You will need as tools:
- Flice brush with a natural palatine width of 70-90 mm;
- Electrode with grinding nozzle (cord brush or duskin);
- laner knife;
- tweezers.
As protective devices:
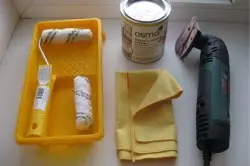
For painting baths use painting roller and an electric door with a grinding nozzle.
- The respirator ("petal" is not recommended, necessarily need a cartridge-absorber of the organic);
- Rubber gloves (3 sets);
- Adhesive apron.
To consumables in order to paint the bath, include:
- acetone or solvent No. 646 of 0.5 l;
- enamel;
- Microfibrous wipes for cleaning points;
- Ribs (flannel, x / b or old hazard).
The quality of work should be suitable for the choice of enamels, because the quality of work depends on it. In order to paint the cast-iron bath with their own hands, two types of enamel are used:
- epoxy;
- acrylic.
Each type of enamel has its own features in painting technology. Epoxy enamel is used in practice relatively long. In order to properly paint the cast-iron bath with their own hands, it is necessary to abide by the complex cooking technology for painting and applying enamel. When compliance with technology, the result of the work will be saved for 20 years. Enamel on acrylic resin appeared in the building materials market relatively recently, about 10 years ago. The characteristics of the enamel are not inferior to epoxy enamel, and its technology is easier. The complexity will only be to make enamel correctly. For paint preparation, it is necessary to mix acrylic with a hardener in certain proportions. If you have sufficient experience in painting works, then in this case it will be easier to use enamel on epoxy. Another drawback acrylic is its high cost in relation to epoxy enamel.
Article on the topic: Armrests for the sofa: making with your own hands
Technology of work
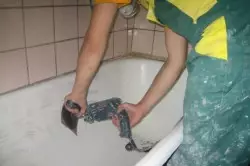
Before the painting bath, you need to get rid of the old paint with a drill with a grinding nozzle.
Before you begin to work, the preparation of the bath to paint. The bathroom is freed from things, since painting is carried out enamel with an aggressive volatile medium. If the bathroom has a washing machine, it should be carefully packaged into a polyethylene film, all the cracks need to be glued with scotch. Nickel plated mixer elements should also be protected from enamel action. The door to the bathroom opens a lamp, like all the windows in the apartment. Before painting, it is advisable to spend your households to visit. We proceed to the preparation of the surface, first of all it should be cleaned well.
For cleaning, it is possible to use oxalic acid, pemolux or other detergent.
After the completion of cleaning, we carry out abrasive processing. At the preparatory stage, the surface of the bath is slightly dusted. Dyepox on the design is a grinding wheel on a rubber-based basis. In the process of grinding, chips are removed, jar, rust stains.
With abrasive processing, it is not recommended to skip rust leaks, as it will subsequently lead to the cracking of the enamel. If rust stains have entered very deeply, you need to shoot the factory enamel to metal and dismantling the overflow and drain holes. Verification of abrasive processing can be performed "on the nail". On the properly processed plane, the nail does not slide, but stretches. You can check with the help of a LED flashlight - there should be no reflections.
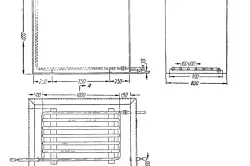
Scheme of abrasive bath treatment before painting.
With the help of a vacuum cleaner, dust is going. The treated surface is carefully degreased.
First of all, the surface of the plums is degreased in order to carry them out before painting. To degrease the surface of the bath, use 1 liters of adrilane or saohox (detergent). Works should be carried out in rubber gloves. After applying the solution, the time for one and a half hours is maintained. After shutter speed, the bath is closed with water to the edges. Withstand the time of warming up the bath, add a bottle of detergent. After cooling the baths produce water drainage. If your plug does not contain chains, before filling with water, you should tie a fishing line to it.
Article on the topic: how to glue washable wallpapers: work technology (video)
After the drain of the water, the bath washed, for this, the container is filled with water for another 3-5 times. At the end of the washing, the surface is carried out using a hair dryer.
When drying the surface, check its purity with the help of a rubber and solvent. Checking the purity and dry surface, disassemble the drain. You can paint the enamel of the cast-iron bath with your own hands.
Cast iron bath options with their own hands
Before painting a bath epoxy enamel, you need to cook compound according to the instructions. There is no general instruction for all enamels, as they differ in the composition for different manufacturers. It is not recommended to knead the entire hardener at once, as it will require painting quickly and due to the rapid solidification it will not be a solid foundation. It is recommended to prepare the paint of 250 ml.
The bath is scratched carefully with a painting brush.
The composition of epoxy enamels do not forget to add 12-14 ml of dibutyl phthalate. It is necessary to paint with a flusted tassel. Painting sequence:
- With the help of the brush, the first vertical band from the bottom to the edge is performed;
- The laid paint is triturated with horizontal smears on the sides;
- The next strip is carried out so that the grouting by 50% overlap.
Painting should be carefully. If bristle dropped from the tassel to the painted surface, it should be removed correctly using a tweezers. It is forbidden to remove with your fingers, since any fat deposition will lead to poor-quality color and the appearance of cracks during drying. It is forbidden to touch the bristle before working, since the bristles can absorb fatty deposits from the hands. Brushes are better stored in a special package. Upon completion of the application of the first layer, 15-20 minutes will wait and apply the second layer. At the end of the work, the bathroom shocks for 3-7 days.
The more time to withstand, the better the enamel and less likely the probability of chips and cracks.
Painting acrylic is easier: in order to properly paint the cast-iron bath with your own hands, you can use the brush or roller. The best color option is the method of applying acrylic spirals from the edges of the bathroom to the drain. With this method, bubbles can be formed that can be poured using a brush. It can be painted with acrylic in one layer.
Article on the topic: Characteristics of air conditioners
If there is a need to, you can paint the second layer, but you should remember the composition of the hardener and its careful stirring. Dibutyl plealate in order to paint acrylic enamel bath, do not add.