
The decoration of your house has always been personal and responsible, but, unfortunately, not all types of work can be done on your own, but I want to make the interior of your home unique and unique. Recently is gaining popularity to decorate walls with embossed plaster. This cladding is capable of making your walls unique. At the same time, applying relief plaster with their own hands will give you a sense of participation in the process of creating an interior.
What is embossed plaster and its dignity
Finishing plaster materials are divided into several types: leveling mixtures, whose vocation to eliminate the lack of supporting surfaces and decorative plaster, making the appearance of the walls unique. Relief stucco refers to the class of decorative mixtures.
From his fellow, for example, Venetian plaster, relief is distinguished by its plasticity, gives the walls a unique structure. You never will never find the same walls where the embossed stucco has been used with your own hands.
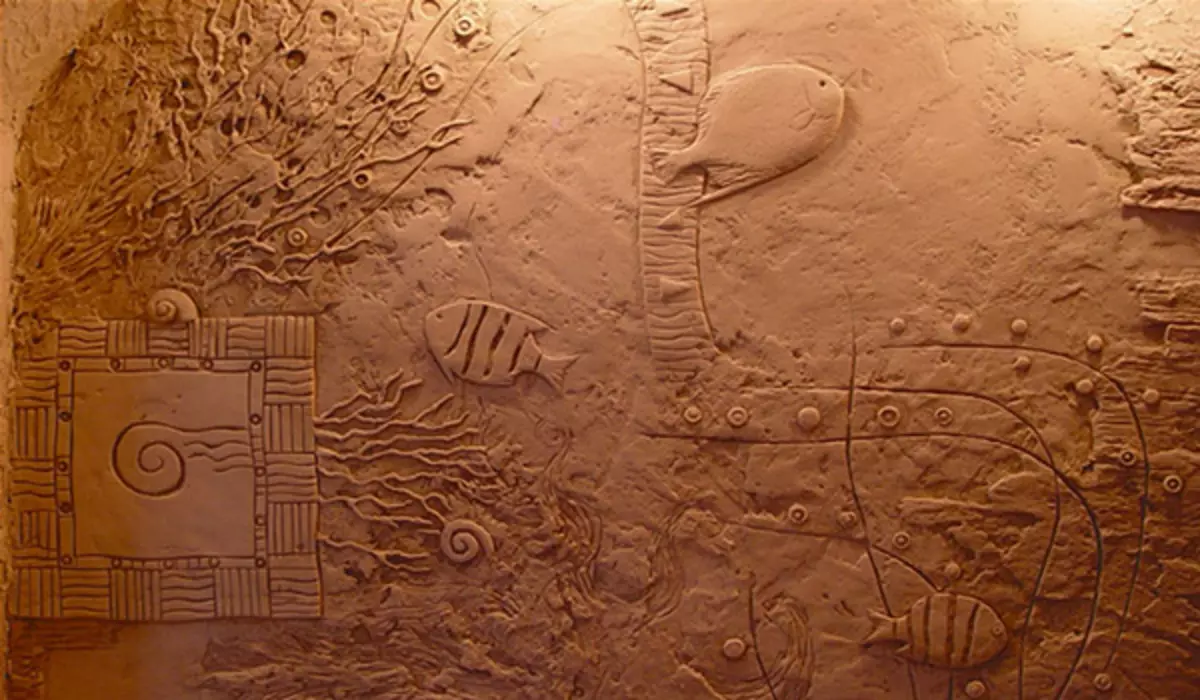
In addition to the ability to change the structural pattern, these mixtures can be used in combinations with each other. Relief stucco can be painted and polished, it allows you to make a facing an unusual look and shade. In some types of this material, we can create whole works of art, creating bas-reliefs from plaster.
Decorative embossed plaster, in addition to aesthetic advantages, is also practical material. Protects the wall from external influences and mechanical damage. The wall on which the decorative plaster is applied, protected from shocks, and also has good thermal insulation.
Do not worry if the walls in your home are not too smooth, relief cladding is able to hide these flaws, but only if the walls are insignificant. Otherwise, still you will have to equalize the wall.
Selection and preparation of composition
The choice, first of all, depends on your taste preferences. Decorative plaster Relief is divided into another two types: textured and structural. Textual mixtures have excellent plasticity, the creation of the relief occurs with the help of special tools, it is the texture mixtures that create bas-reliefs from plaster. Take a look at the textured embossed stucco in the photo below.
Article on the topic: how to wash dusty and dirty blinds
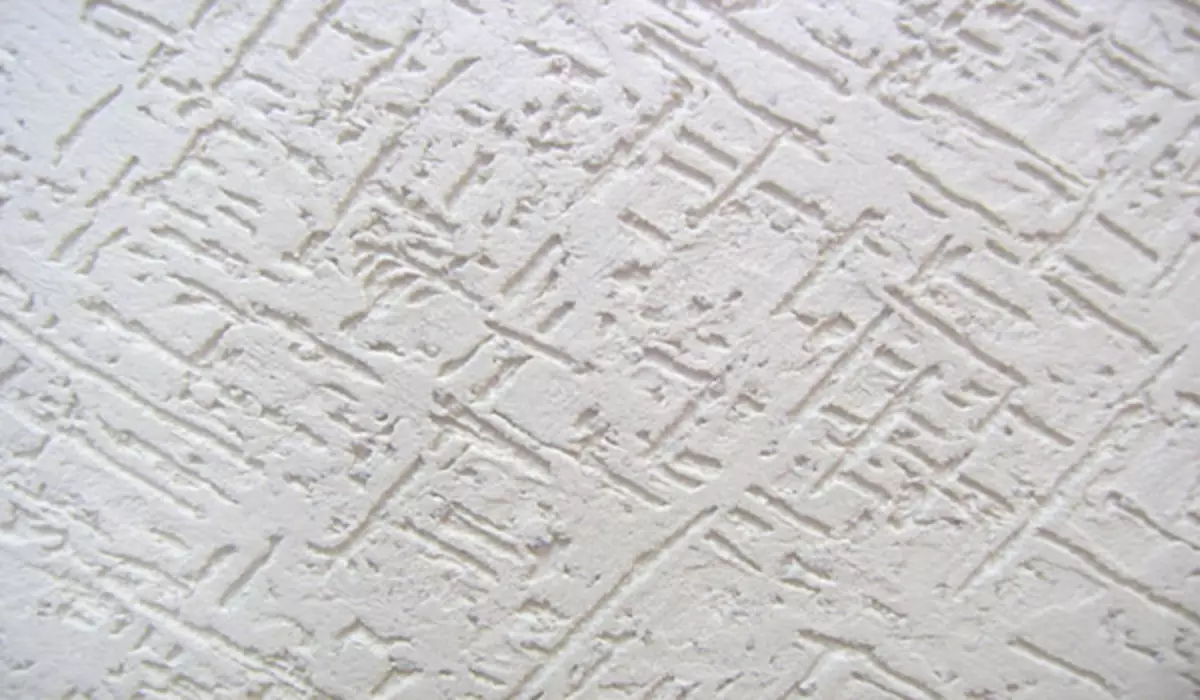
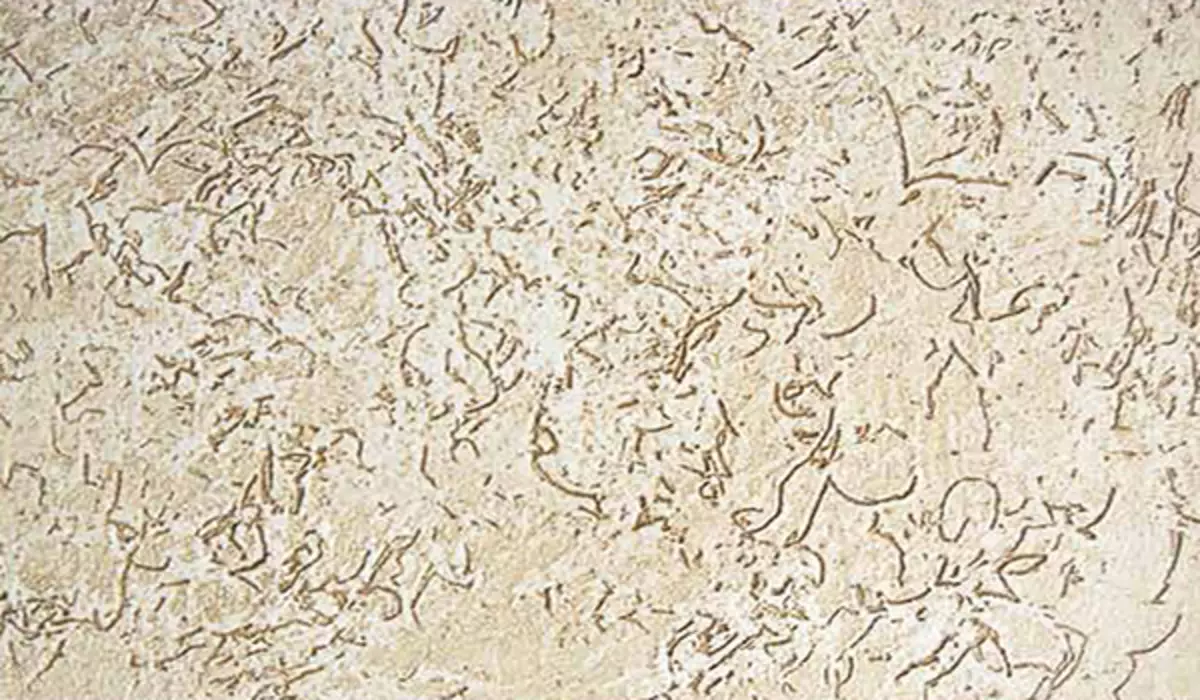
Structural mixtures create a relief on the wall surface at the expense of crystals of various values in its composition. During the application of these mixtures on the surface of the wall, the minerals under the action of the grater paint the bizarre patterns and decorate, thereby cleaning your room.
The structural option includes such a well-known mixture as a croroede. Minerals are done on the facing surface channels similar to the koroeda in the wood, hence the name. This is how relief plaster looks like:
Preparation of textured and structural compositions It is necessary to conduct only strictly following instructions on the package. In most cases, the amount of one portion of the decorative cladding solution is calculated based on the time of its setting. So, for example, if the same coroede is starting to stick out after an hour, then it is necessary to prepare a plaster solution in such a quantity to spend it in 60 minutes.
The timing time of decorative plaster depends on the type of binder. The fastest of everyone dries gypsum, for cement-based compounds, you need 10 or more hours.
Application instruction
As with the mixing of the composition, it also needs to adhere to a certain algorithm, which in the simplified version consists of 4 points.- Preparation of the decorated surface;
- Applying the first layer;
- Formation of relief;
- Painting or polishing decorative facing.
Surface preparation
As you know, to create something new, you need to get rid of the old one. So in this case, for applying a new cladding you need to remove the old and prepare the surface. Therefore, the first thing you need to do is remove the old wallpaper from the wall, paint, and sometimes an old layer of leveling lining.
Do you need to remove old plaster? It is possible to determine this in this way: catch the wall over the entire area. If you hear that there is a lot of voids under the cladding, then it needs to be deleted. If such a little and they are small, in this case the old finish can be left.
Article on the topic: You just look at what unusual design can be done using glass hemisphere
But regardless of whether you struck the old plaster or left, the walls after removing the facing, it is necessary to examine the presence of damage and eliminate them as it revealed. For example, cracks are melted with a small amount of solution, chips and potholes, are eliminated in the same way.
After the wall is rehabilitated and the solution is completely dry, it needs to be processed by primer deep penetration. Select the primer mixtures, pushing away from the material from which your walls are made. What primer is applicable to specific materials, indicated on the package, for example, acrylic primers are used for bricks.
Do not forget that the prepared wall should be completely cleaned from dirt and dust before priming, otherwise adhesion will be significantly reduced.
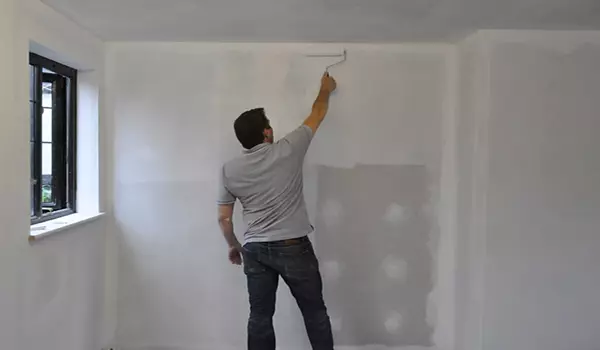
It will optionally be further treated with an antiseptic tool surface to reduce the likelihood of mold. Next, after the wall dried, you can proceed to apply the first layer.
First layer
If you did not shoot the old layer, then you can immediately apply a decorative composition, if not, the first layer will be the updated leveling composition. It does not use a decorative composition in its capacity, as it is impractical and deprived of meaning. Relief plaster is applied solely at the finish stage of the walls of the walls.
For the first layer, conventional leveling compositions with different binders are used. I do not recommend using gypsum and clay mixtures, they do not tolerate moisture and are rather fragile. The ideal option for the first layer will be plaster based on cement.
It must be seen and put on the wall, along the way aligning it. It is desirable that ready-made mixes purchased in a building store are used, since if you do not have experience in construction, create a well-balanced composition will not be able to affect the quality of the facing.
Article on the topic: How to grow tomatoes on the balcony
If the surface being processed is strongly uneven, then the first layer should be quite thick, from two to six centimeters. In this case, it is necessary to apply it in two navigations, focusing on the beacons to create a flat plane. In the event that the surface of the surface is satisfactory, the thickness of the first layer will be significantly less and can be applied using a long tool called, the rule.
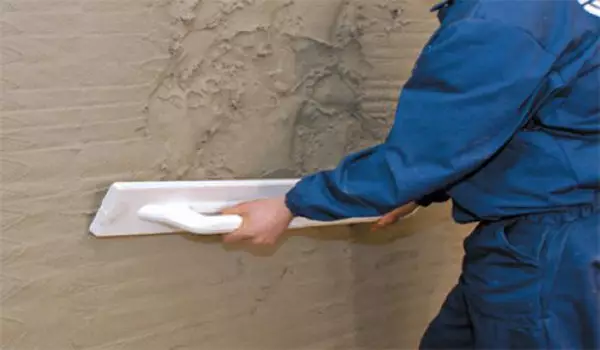
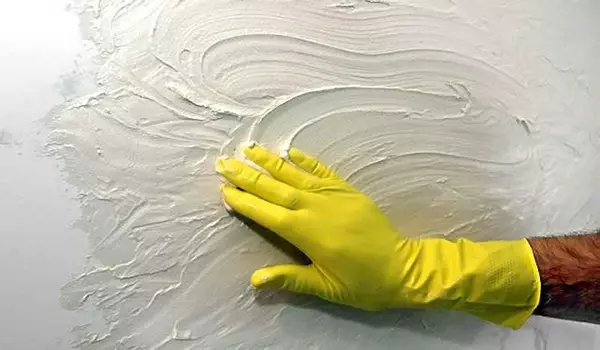
Making relief
As soon as the first layer of surge, you can proceed to apply the final decorative bowl of the facing and the formation of its relief. The composition is applied in the same manner as the leveling layer, with the help of Kelma and Terok.
Relief is formed in several ways. As already mentioned, the textured facing receives its relief due to manipulations with it tools, such as wooden and metal graters, a variety of brushes, etc. Creating a relief structure of the wall, you can even work with your hands, giving the will of your fantasy.
Applying plasters with the intellect of minerals, the relief is created by itself, you only need to smooth the surface with a special tool, as a result of which a unique structural pattern is formed.
Painting or polishing
What to choose? Paint, polishing or, perhaps, both. It all depends on the ideas about the appearance of the walls of your home. For staining of embossed plaster apply facade paint. With it, it is possible to emphasize the differences of heights on the embossed surface, painting the deeper places with dark shade and lightening the elevation of the wall.
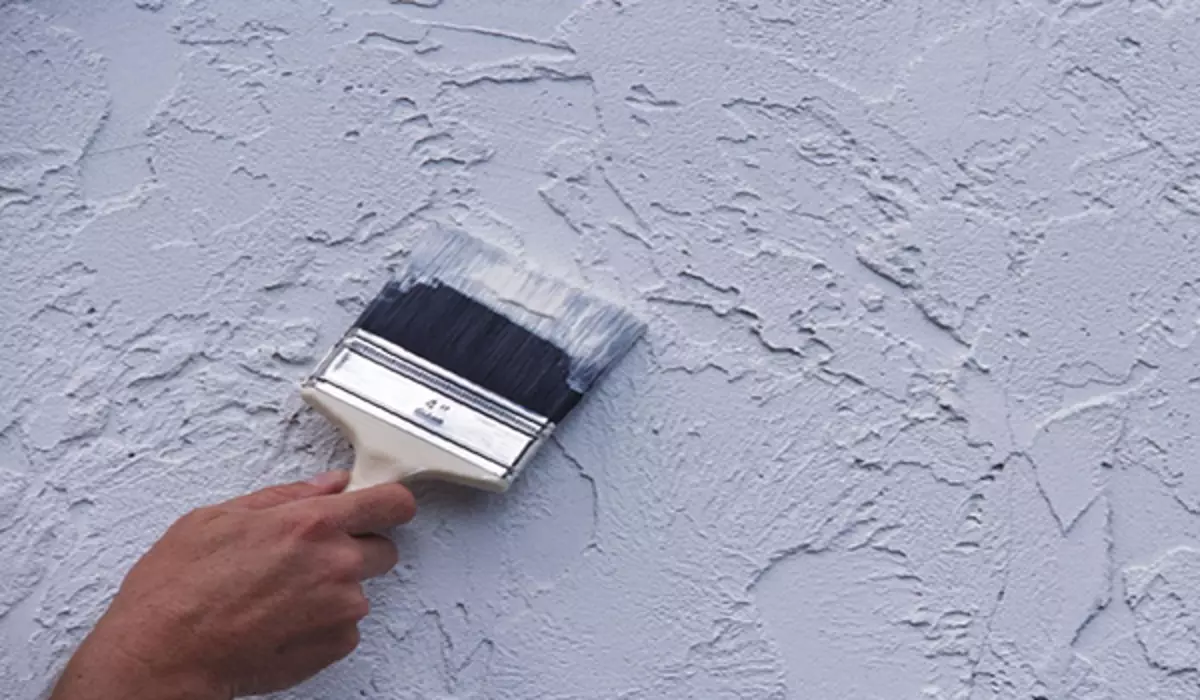
I recommend polishing the embossed walls to be carried out on the basis of wax. Such processing will give the surface glossy gleam. This effect looks particularly well on texture facing, and polishing makes bas-reliefs more pronounced.
Video "An example of creating a relief wall"
Video on the use of textured plaster and creating patterns on its surface using tools.