
Track lamps have recently gained serious popularity during the creation of lighting in large shopping halls, shops, workplaces, restaurants and residential premises. Previously, they used not completely comfortable metal-halide lighting devices. Now it is logical to use LED lighting devices on tracks, because they allow you to create full and high-quality lighting. Therefore, in this article we decided to tell you how to install track lamps with your own hands.
Track lamps - what is it
Immediately it is worth highlighting its advantages:
- Installation is quite fast.
- Without much effort, it can be disassembled and installed elsewhere.
- Such lamps can be used even with backup lighting.
If we talk for its disadvantages, it is worth allocating too high cost.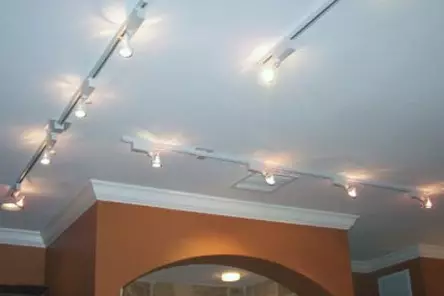
This lamp has won its popularity thanks to its simple design. It also allows you to get rid of all possible wires, and the installation can be carried out at the very end of repair. So, if you made errors during repair and in your room there is not enough light, then track lamps can easily help you out.
You can install them in two ways:
- On the wall.
- Ceiling. You can install them even on the suspended ceiling, some manage them to install them inside, while creating unusual lighting.
Video overview track lamp
How to install track lamps
Mounting track luminaires can be called a fairly simple process, each can perform it. However, we need to consider all the features at the initial stage.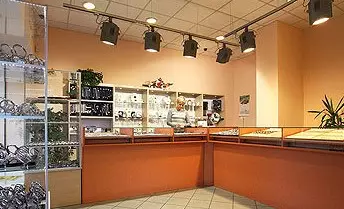
The main thing during installation is determined with the method of fastening. For example, if you need to install a track spot on a stretch ceiling, then you need to use cables or chains. If we are talking behind the suspension ceiling, then there is no special bracket here.
Article on the topic: How to make a lamp from LEDs with their own hands?
Now go to the main thing - installing track lamps in your place. The entire installation process can be divided into three stages:
Installation of busbar
Need to take into account the following features:
- Please note that before installing, you must collect the entire design on the floor.
- The finished design is already installed on the ceiling.
- To cut the busbar, use the usual bait.
- If you need to install "bases", it is not necessary to do without special joints and rotary angles (everything depends on the design).
All elements are connected to standard snaps. How it is done, look at the photo.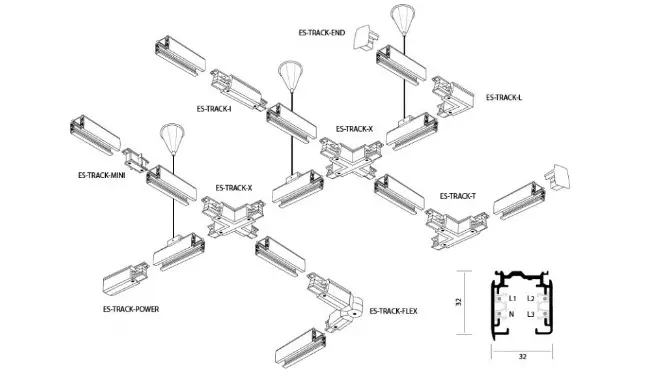
If you need to install busbar on the cables, then you should remember brackets. They serve as connectors between busbar and cable. Please note that the length of the cable from the 1st to five meters is possible. Cut and adjust them will not be any difficulty. To connect all to you to screw the busbar to the ceiling with screws. Self-tapping screws need to screw in advance prepared connectors in 20 centimeters.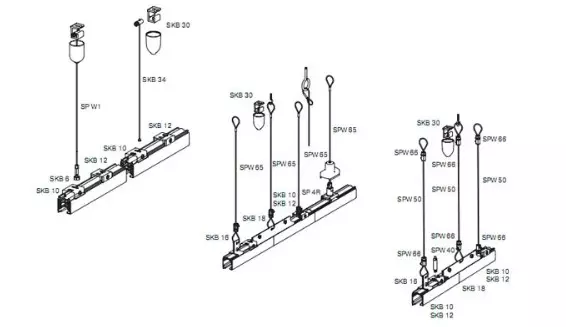
Connect searchlights
Connect the track lamp to the assembled busbench will not be difficult. To do this, you need to lauret the searchlights on the busbar and consolidate them near the base with the help of rotary elements.
How to connect the track lamp yourself yourself you can find out, even looking at this video.