
It is safe to say that almost every hostess makes decorations for your home alone. A distinctive feature of such interior items is their warm and cozy appearance. We suggest familiarizing yourself with the description and understand how to make a rug flower with a crochet.
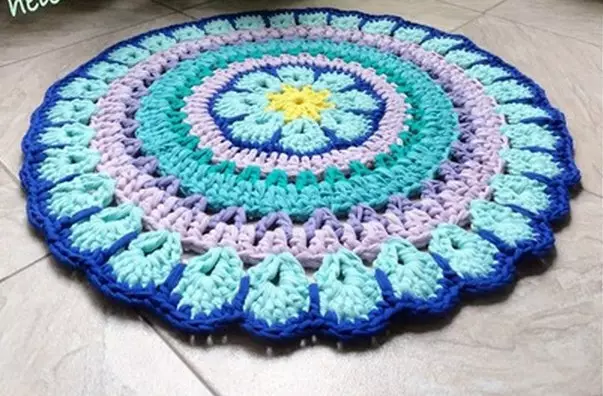
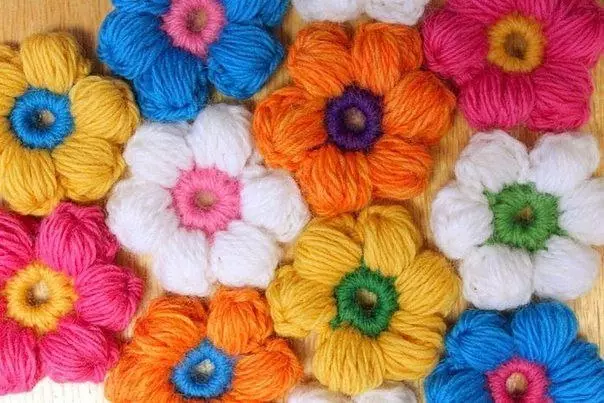
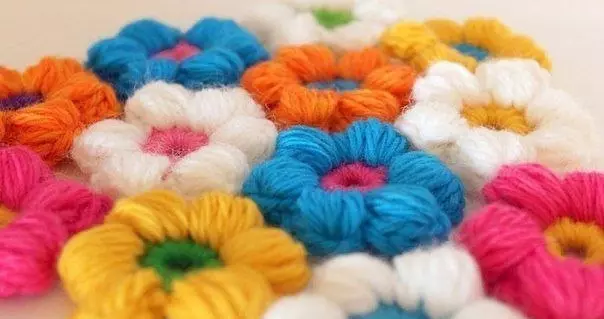
Bright floral motifs
Such a rug will be appropriate to look at the child's room, the bedroom. Knit such mats is quite simple and convenient, as you can use different colors. You can use small remains of yarn, only it is desirable that the threads are the same thickness. Due to flower motifs, the rug will be even more interesting to look at the interior of the room. For knitting the middle of the flower, we will use only yellow yarn. And already petals consisting of air loops can be performed in different color solutions.

Process description
Necessary materials for work:
- Yellow, green, pink and other colors yarn;
- hook.
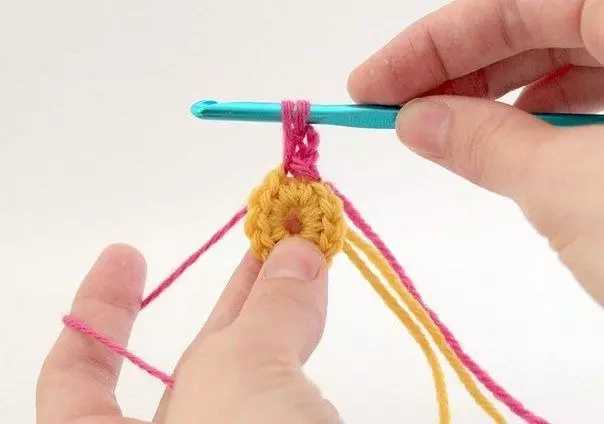
To make the center of the flower, as we said, take yellow yarn.
Crochet make the first loop and then pick up four more loops. In order to create an initial ring, you need to make a connecting column in the first chain loop.
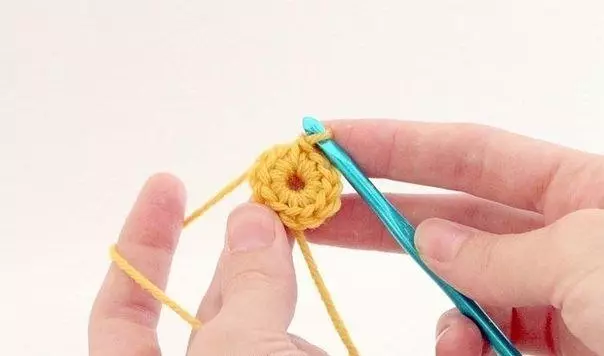
First row: To connect the flower, you need to perform air loops without Nakid. In the process of knitting, the end of the thread from the beginning of the mating should be traded along the columns and bind it, the residue of the thread can be cut off. To perform the end of the circle, after connecting all the columns, you need to perform a compound bar in the initial lift loop. Now the string can be cut off, and the end is tightened and secured.
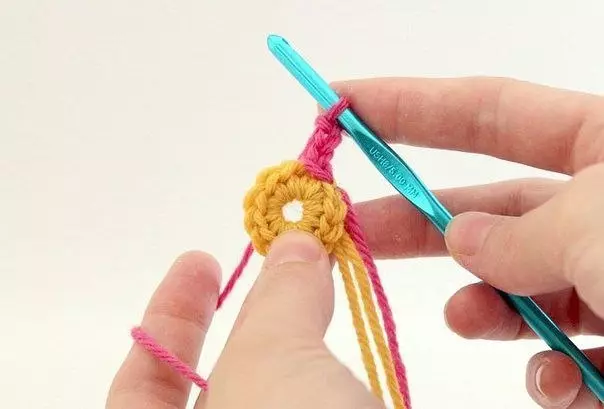
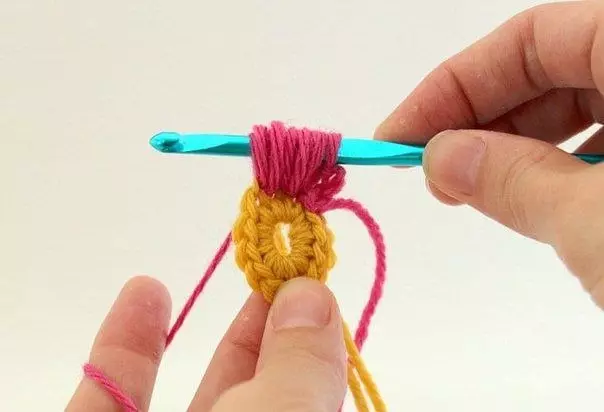
Second row: Now let's start knitting the flower petals. They will consist only of air hopes. We add a thread of another color to the initial loop from the end of the first row thread. To carry it out, you need to crochet to perform the first looping and stretch out from the loop of the column, which will connect colors. The end of the string should be sent in the direction of knitting.
Article on the topic: Leather binding with their own hands
Next, you can proceed to knit the first column. To do this, you need to dial three air hinges that will create a climb and perform the Nakid. Next, we produce the tip of the hook in the first loop, we grab the working string and stretch the loop, the height of which should be equal to the height of three kettops.
Again, we perform a nakid, the hook is doing to the same as before, the loop and again make a long loop. The third Nakid is performed in the same way. After that, from the next loop, we make three long.
Important! When creating long hoppers, you need to ensure that they are obtained the same in height, the appearance of the future flower depends on it.
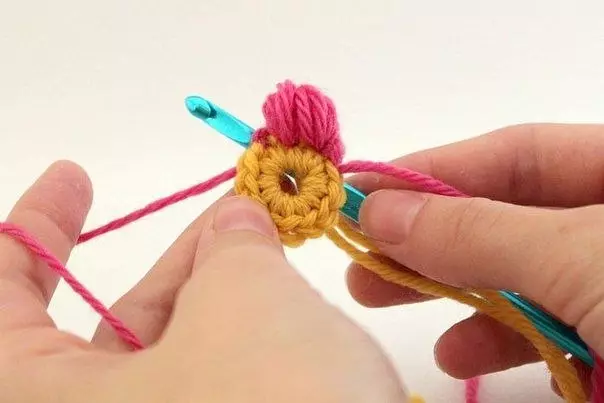
If everything is done correctly, then on the hook there should be a magnificent beam, consisting of long looping. It needs to be kept and consolidated by performing an air looping over it. Before completing the first leaflet of the flower, we make two more air loops, fix them with a connecting column to the third loop of the row.
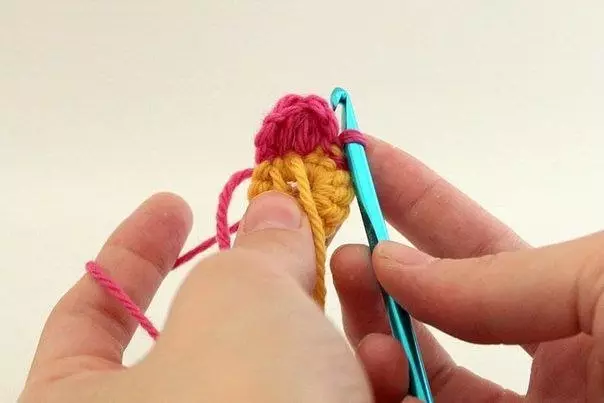
Similarly, you must perform the remaining five leaflets of the flower. As a result, it should be in the photo below.
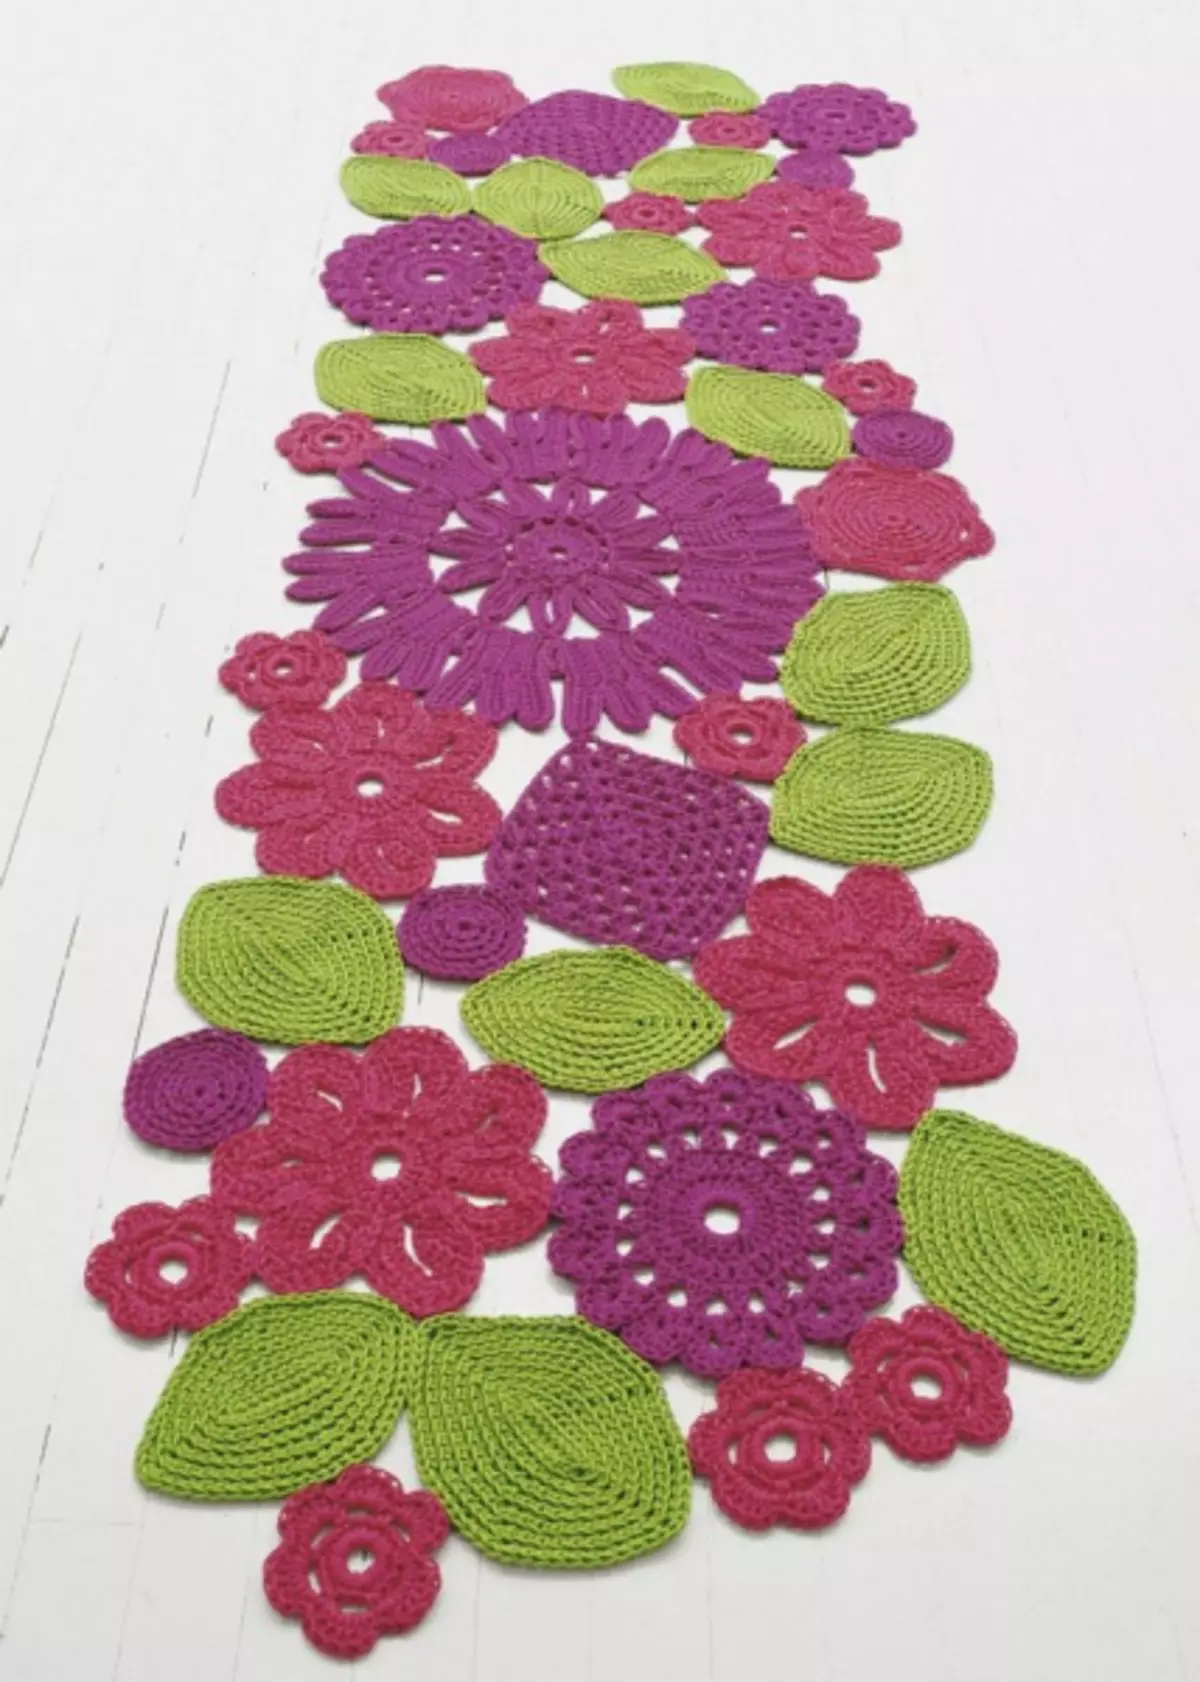
Now it remains to tie the flowers in such a quantity that they would have enough to fill the rope of the rug of the desired size. Such flowers from the columns are like their hexagons, with vertices in the corners of the flower leaves.
After completing the process of creating flower, they need to be decomposed on a flat surface in the order in which they will be placed on the finished rug. The main thing is to decompose so that the peaks of the petals are correctly combined.
Connect all the elements
In order to connect the motifs from flowerflocks, you need to put the chains consisting of air hopes on the wrong side. For this, the peaks of the petals are connected by columns accurate from the corners of two adjacent motifs.
First, the thread from the angle of one flower is fixed, and then the column is performed for the connection, from the tops of two motifs located nearby. Performs five air hopes until the next place of binding of the leaflets of flowers. The hook should be done immediately in two angle of vertices of motifs located nearby, and perform a connecting column. In order to connect three motifs at the same point, you need to turn the hook to the corner of the third flower and to stick another column for the connection. Before the next place of the combination of flower, we again perform five air hopes.
Article on the topic: New Year postcards do it yourself for kids: master class with schemes
In the same way, you need to connect all the elements of the future rug. After the connection is complete, the rugs from the closed chains will be obtained on the involve side of the rug. And on the front side, the motives will look like a flower glade. In accordance with the schemes below, you can perform several more variants of flower mats.


Video on the topic
Themed videos presented below will help more details with the technique of creating mats with floral motifs.