
If you decide to remove the doorway, it is easiest to do this with a drywall, since this material is not only easy to use, but also economical.

Tool for working with plasterboard.
This guide will help you close an unnecessary input or exit.
To work, you will need:
- plasterboard;
- screwdriver;
- self-tapping screw;
- putty knife;
- a hammer;
- nail holder;
- hacksaw;
- drill;
- noise insulating material;
- Putty.
Dismantling door
The first thing to do is to dismantle the old door. At this stage, you will need tools - a hammer and a nail. We remove it from the loops, also with a nail-breeder we tear the platbands. Then saws on slices and a nail-cutter or scrap remove the door frame. If the door shots were installed together with the floor, they cut them at the floor level and remove.Sealing door opening plasterboard
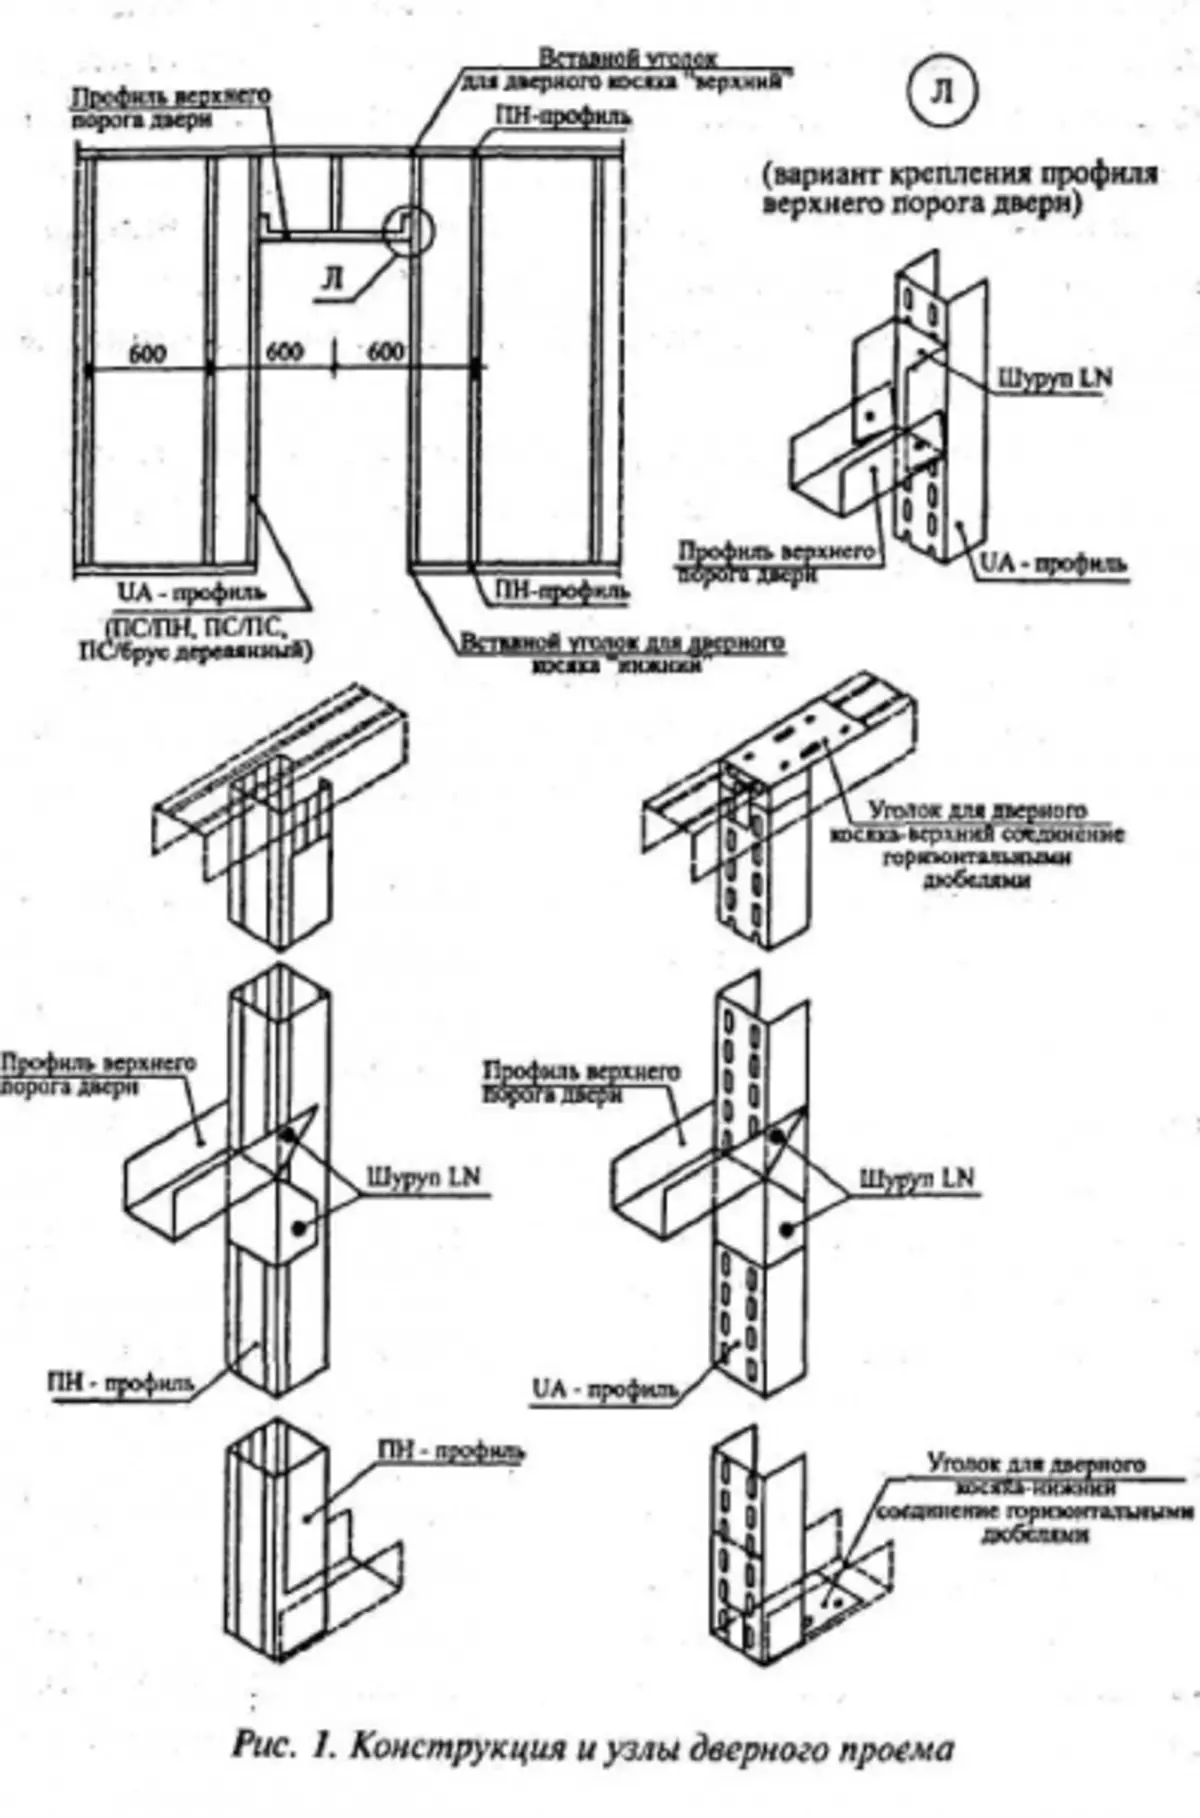
The diagram of the metal frame device for the gypsum cardboard opening.
For such a goal, different materials are used: brick or light aircraft blocks, but in this case another material will be used.
Inserting an unnecessary segment of the wall will not take a lot of strength. After the old door and unnecessary door frame is cleaned, we'll figure it out how to close the space in the plasterboard wall. We will start assembling the base (frame). For such a goal, it is possible to use a tree, but it is easiest to make it from a galvanized metal profile. It will be necessary to make 2 frames for each side of the wall.
Mind from the edge of the wall, where the profile must be attached (it should be so that its edge is inside the doorway to the sheet thickness). We carry out a line along which it will be fixed. Drills holes under the dowel inside the doorway and with the help of a screwdriver fix it. The same manipulations are made on the other hand. It turned out a double frame inside the doorway. We set 2 crossbars from the metal to strengthen the frame and give it the rigidity.
Article on the topic: Two-tight roof for gazebo hands
Now we will prepare drywall: Mind and cut the required sheet (you can use not one large sheet under the doorway, but a few, it will be more convenient to fix it). If noise isolation is needed, lay the mineral wool or other material that is used for noise insulation.
We close the doorway in advance prepared sheets with the help of screws and screwdriver. Self-tapping caps should be submersible in plasterboard. After that, you can start the completion of the work: we put the seams with a sickle with ribbon, put off and coated with the primer (the hats of the screws should also be covered). After the putty and the primer is dried, you can start painting or shook wallpaper.
How to reduce doorway?
In addition to the need to remove the doorway, you may need the need to narrow the entrance to the room. We'll figure it out how to properly perform a narrowing of the entrance.
You can narrow the doorway by similar technology: first draws a drawing that will calculate the required amount of material in order to reduce the input and put a narrower door. After that, similar work is carried out: all sizes are calculated, the holes under the dowel are calculated in the wall, the base is fixed under the future wall.
The difference is that it will be necessary to secure the frame on the floor and the ceiling (at the desired distance to zoom in the wall) and install vertical racks. Also, for hardening the design, we set 2 crossbars from the profile and fill (if necessary) the freed space of the open space of the soundproof material. Now you need to cut off the drywall sheet of the desired size in order to close the wall area where the door will be installed in the future. After the end is sewn, stuck all the seams with sickle and start finishing works: putty and grout of seams by sandpaper.
In order to close an unnecessary entrance or reduce it, you do not need to call an expensive wizard - everything can be done with your own hands!
Article on the topic: Competent operation of the shower