Bar rack do it yourself
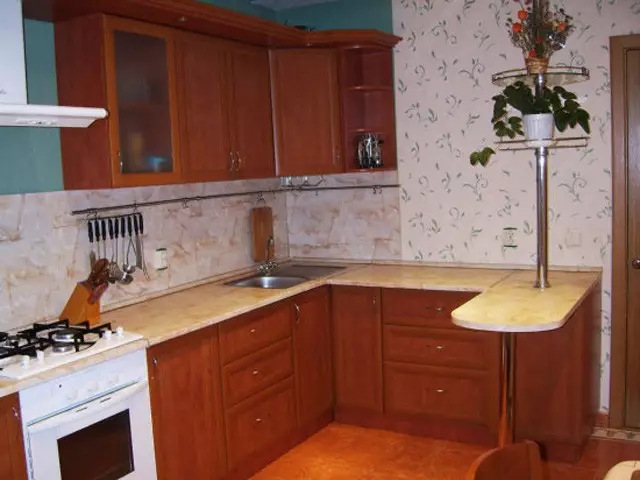
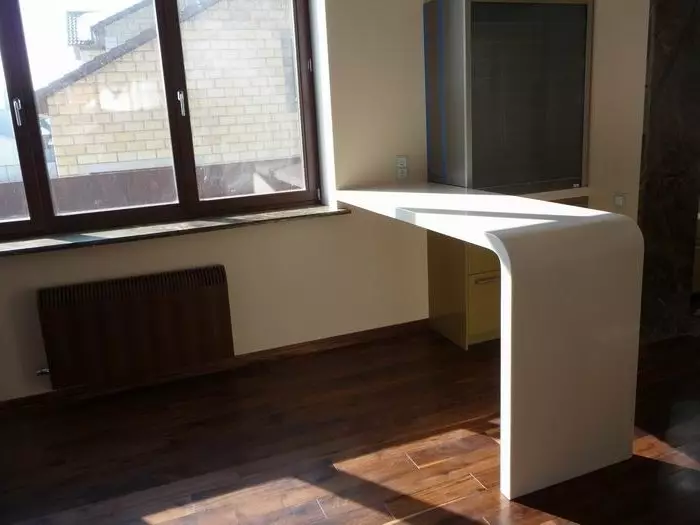
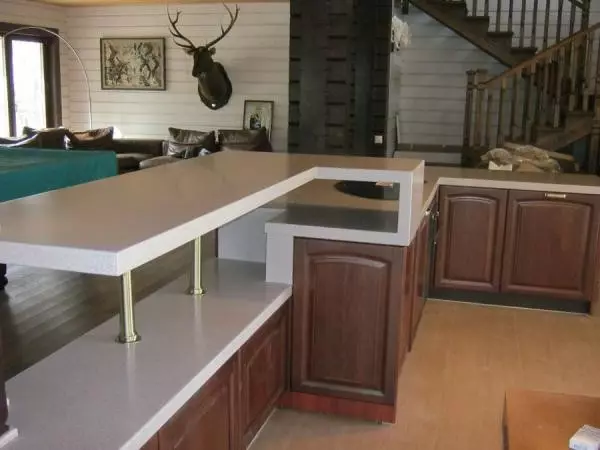
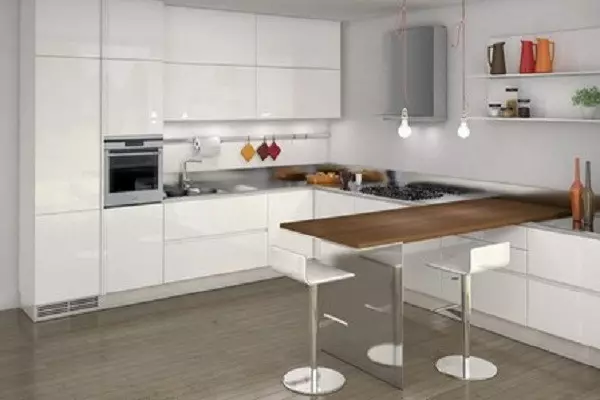
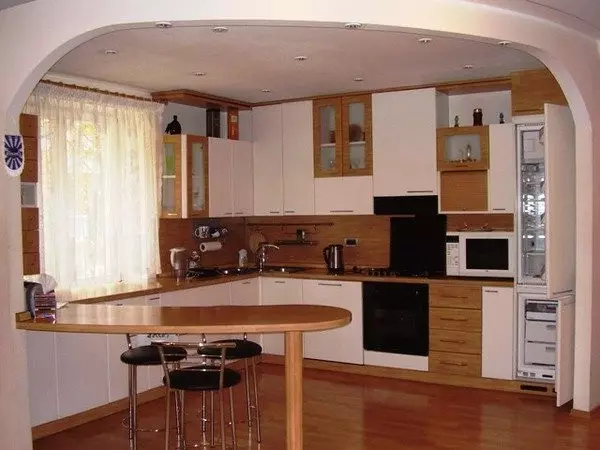
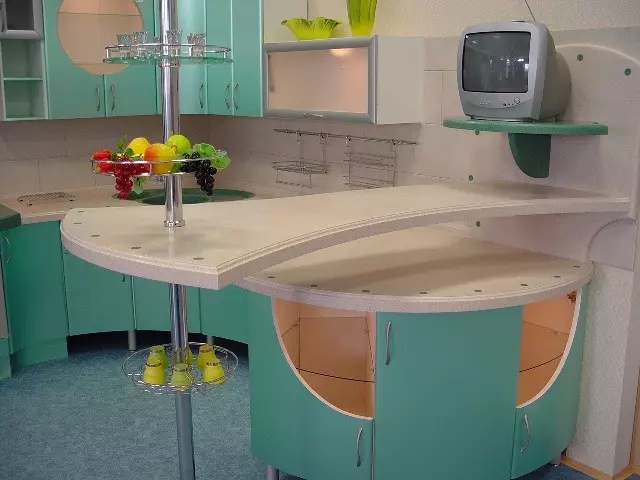
Bar rack installed in the living room or in the kitchen is practical and very convenient for drinking drinks or fast snacks. With a bar counter, you can divide the room to the functional zones. In addition, the use of a similar design in the kitchen makes the room space more functional.
After the repair house, everyone remains extra building materials. An excellent use of the remaining materials can be the installation of a boring rack with their own hands. Especially since this element of the interior is completely simple. But the kitchen or living room will acquire a modern appearance.

Bar rack materials
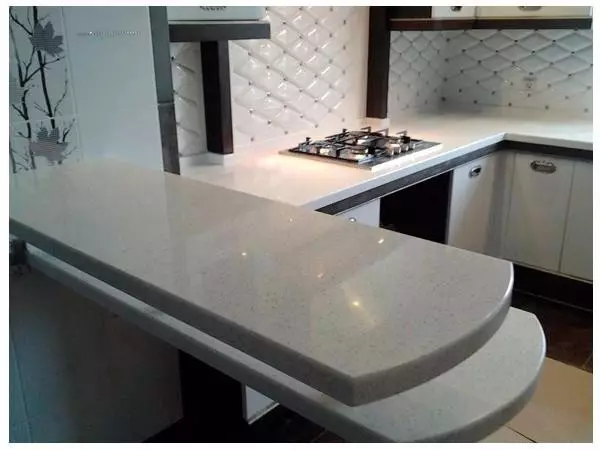
The first thing you need to decide on the location of the bar counter. Then you should think about how the rack will look, and draw an exemplary sketch of the future element of the interior on paper. And it is also worth deciding with the materials necessary for work. All materials for work should be harmoniously combined with the interior of the room, in which the rack will be installed, correspond to its stylistic design. As a tabletop, it is best to use a chipboard or stone. Of course, a tabletop of stone has a number of advantages, but it is worth an order of magnitude more.In order to install the bar rack at home independently, the following materials will be needed:
• Chipboard or drywall sheets;
• Wooden bars;
• plinth;
• putty;
• sealant;
• screws and nails;
• Molding;
• decor elements;
• Paint.
Bar rack manufacturing technology
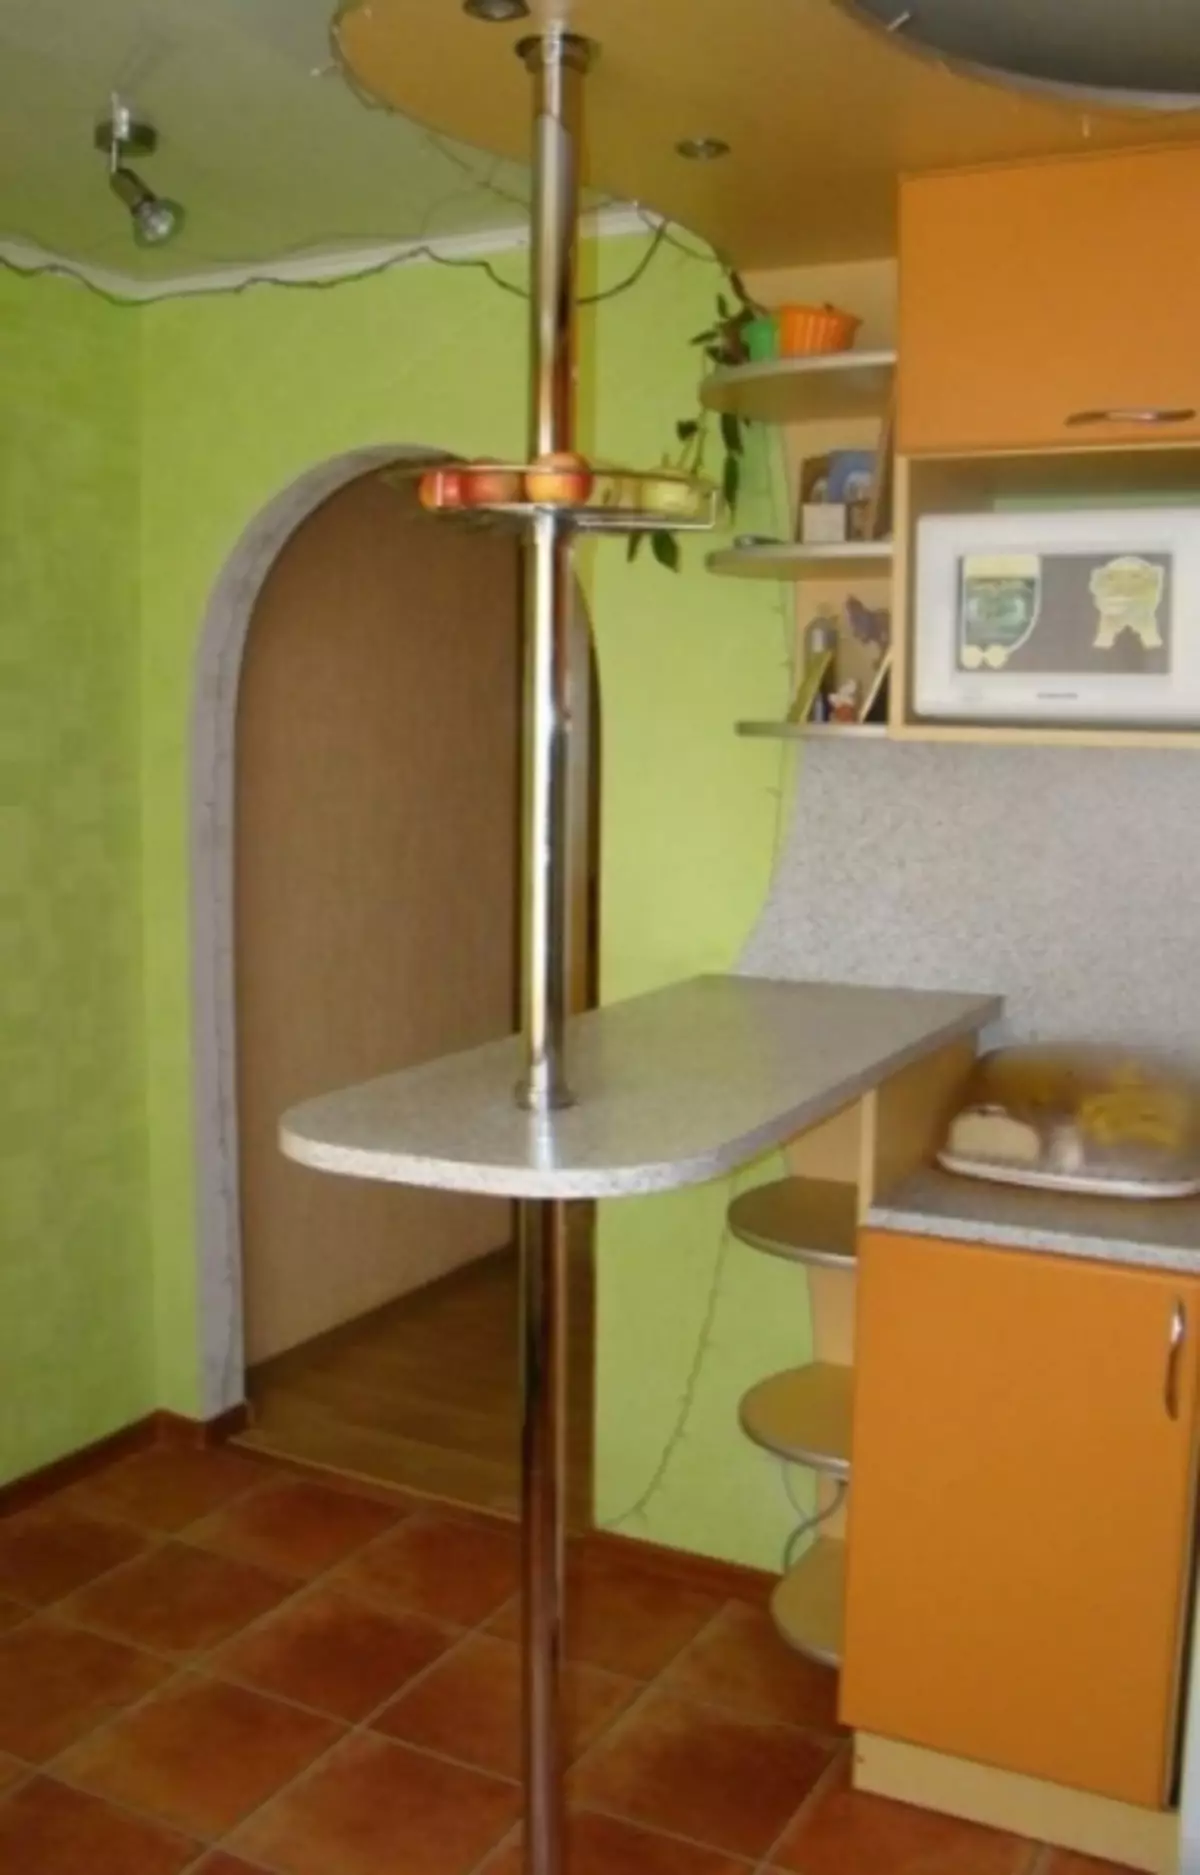
The main components of the bar rack are:
• Countertop;
• base;
• side walls;
• Intermediate shelves.
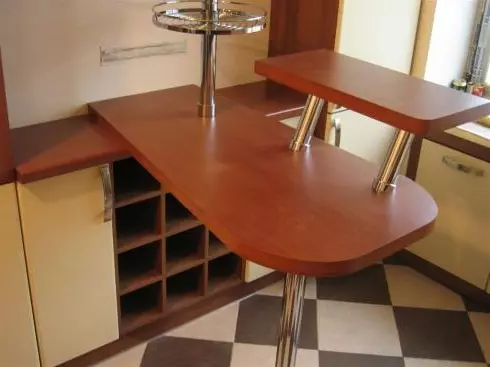
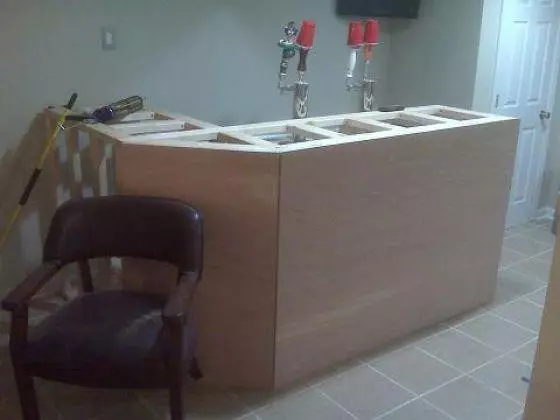
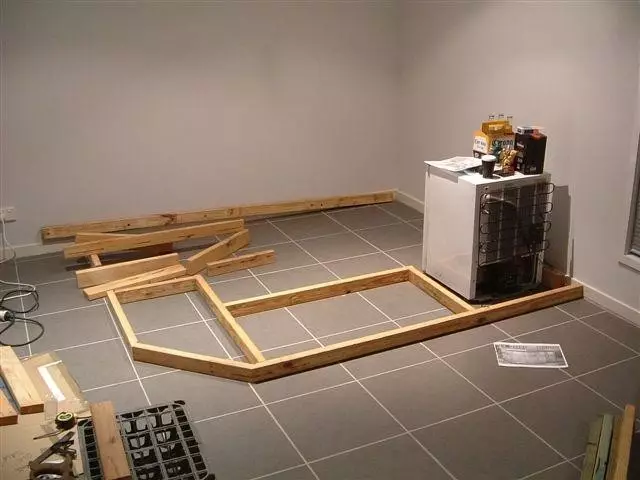
The table top and the base of the bar rack must have the same parameters. The base and countertop for the future boric rack must be cut off. For this, a pine board may come. From the same board it is necessary to cut the side racks and intermediate shelves. The length of these shelves is approximately 5cm less than the length of the table top. The height of the side racks should be equal to the height of the structure.
Article on the topic: Curtains in the bedroom on the ceiling cornice - which choose?
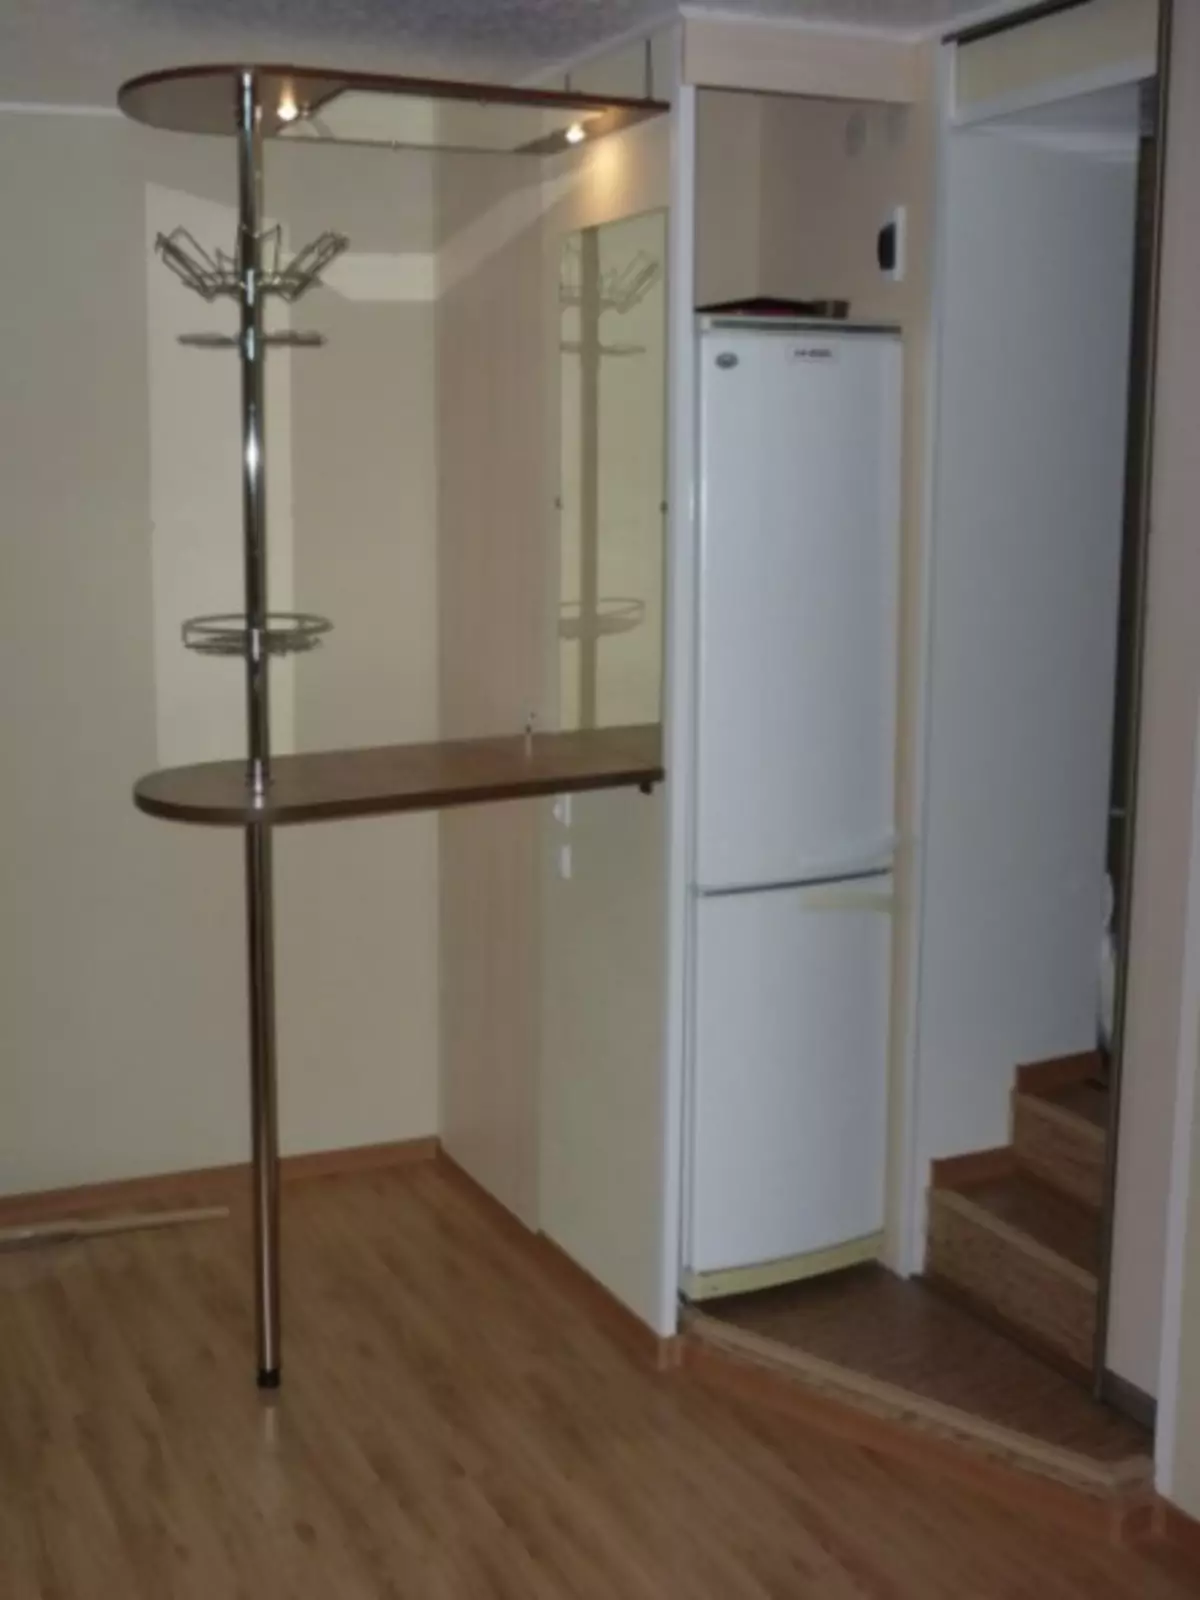
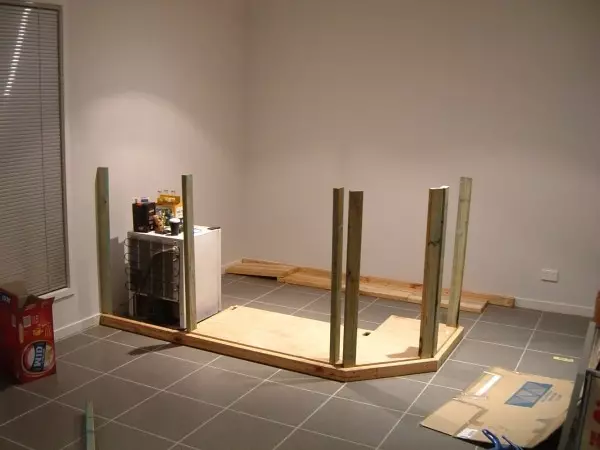
Then, with the help of glue and screws, it is necessary to connect the rear wall and side racks. When working should be carefully monitored so that the straight angle is formed between the racks and the wall. After the glue is perfectly dry, you can start setting the base of the boron rack and the countertops. Installation is also carried out with screws and glue.
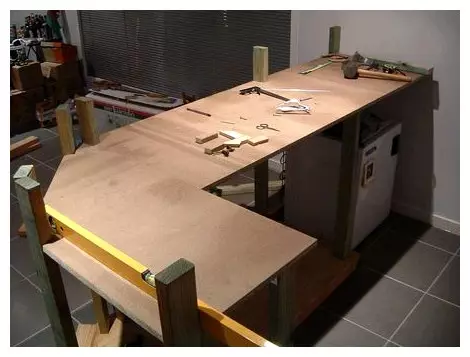
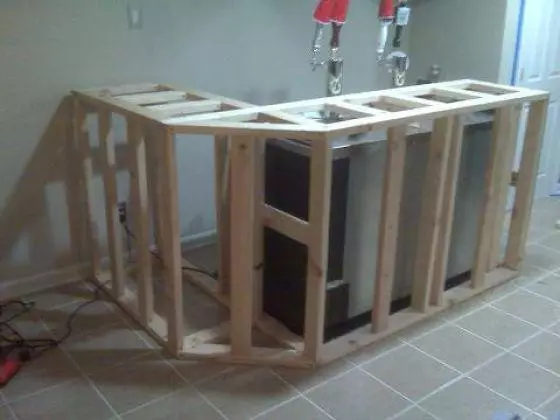
In order for the design to be more stable, on the inside, at its edges, you should install racks from wooden bars, 30x50mm thick. When the bars are installed, you can fix the inner shelf. If it is necessary, a small door on the loops can be found to the structural stand design. In order for the surface of the boric rack to be as smooth as possible, before applying the lacquer, the rack must be well polished. All ribbed design surfaces can be slightly smoothed or rounded with emery paper. All components of the design elements must also be treated with a reference. After that, a primer can be applied to the surface of the rack.
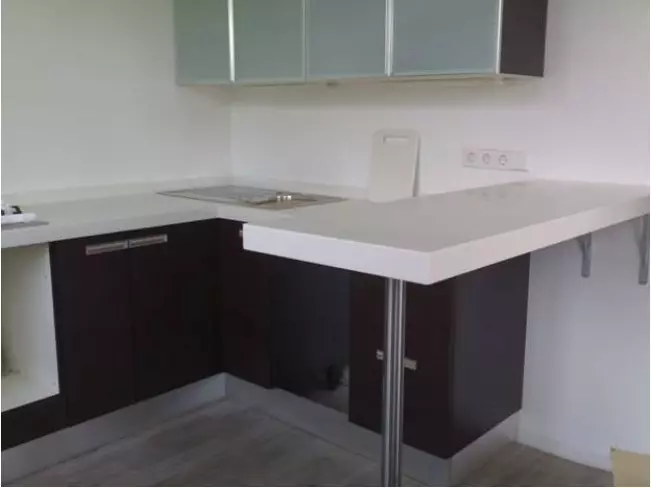
When the frame of the rack is completely ready, you can work on its appearance. In some cases, in order to lead the appearance of the boring rack in order, it is enough just to cover its surface with a layer of paint and fix the layer of varnish. But it is possible to make additional strokes of the design decor, for example, to paint the surface of the rack, lining with decorative plinths or additionally set the mirror table top. After carrying out the necessary decorative work, all elements of the boron rack must be covered with colorless varnish or varnish of a suitable shade. This will reduce the design from the negative effects of spilled liquids and various mechanical damage. Sculpted hats are hidden by decorative rivets. So that the doors of the rack are not opened and tightly held in place can be used by magnetic latches. The final stage in the manufacture of a boron rack with their own hands is the consolidation of the necessary fittings. The inconvenience can deliver and strongly speaking on the elements of the boring rack fittings. The design of the boron rack depends on the personal preferences of the owners of the apartment, and the stylistic design of the interior of the room in which the design is located.
Article on the topic: Treplex doors and their features: with photos Examples
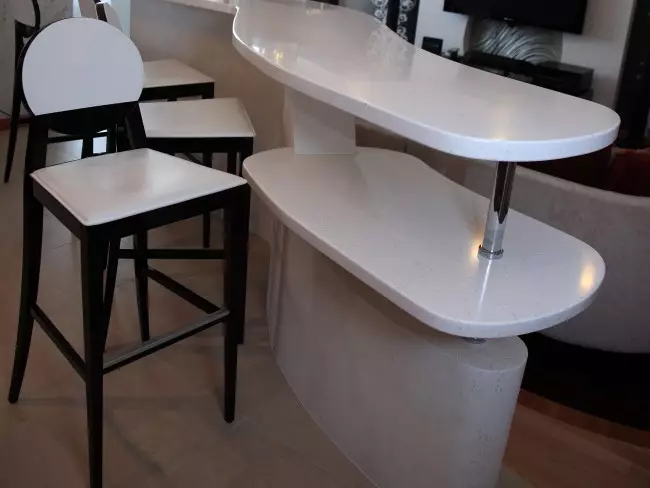
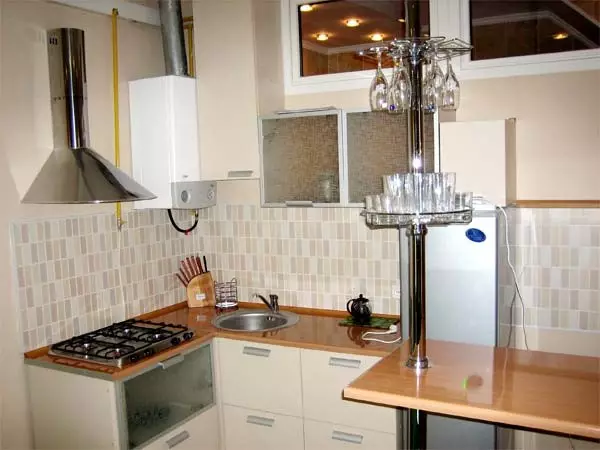
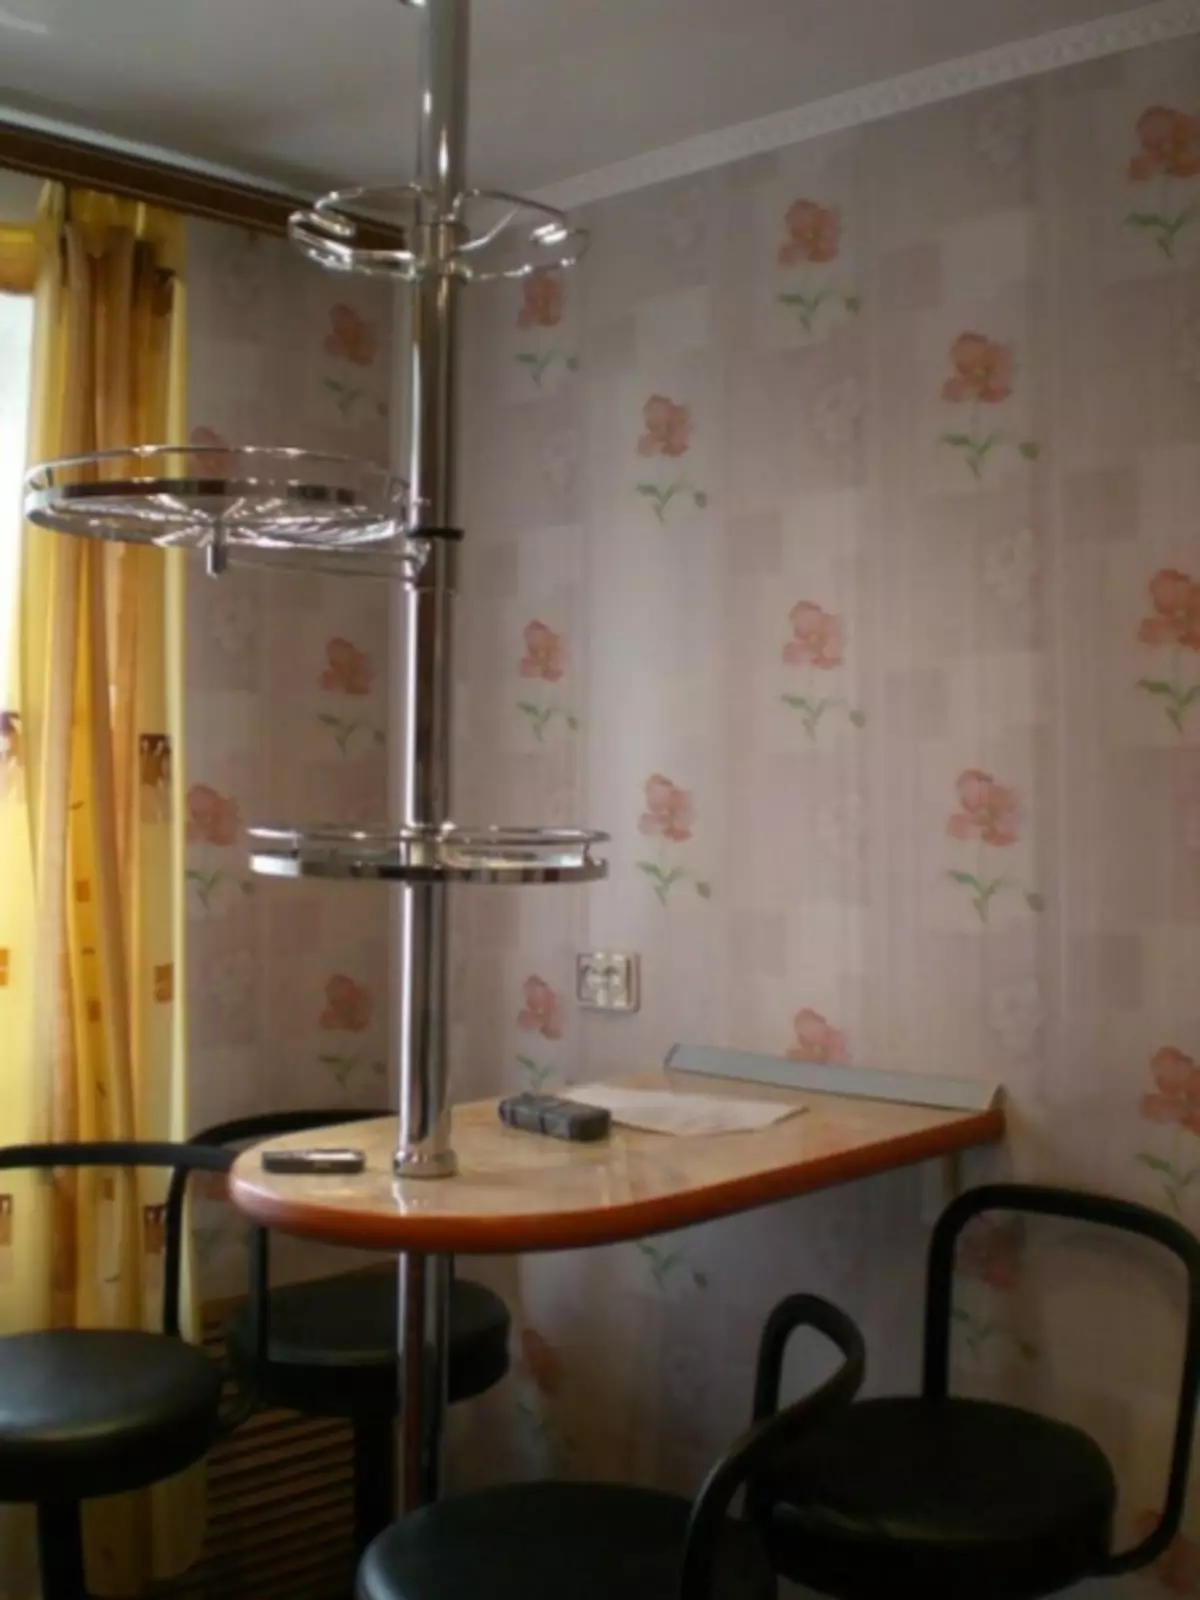
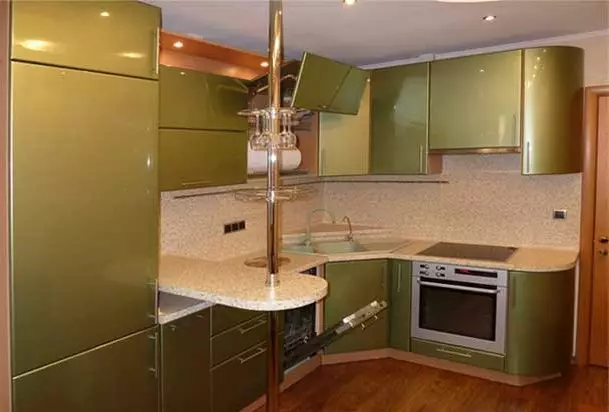
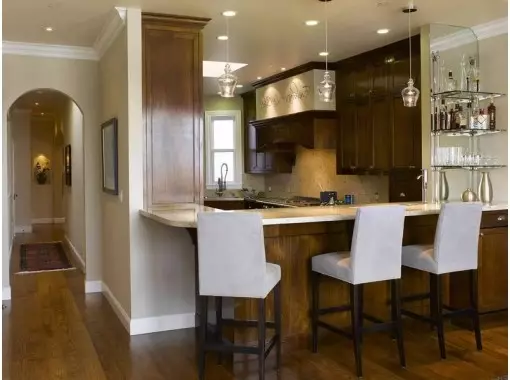
Focus on the boring rack or strengthen the area of zoning space of the space will help a competently designed design lighting system. With this task, glugenic light bulbs are best cope, which are mounted in the beam above the worktop.
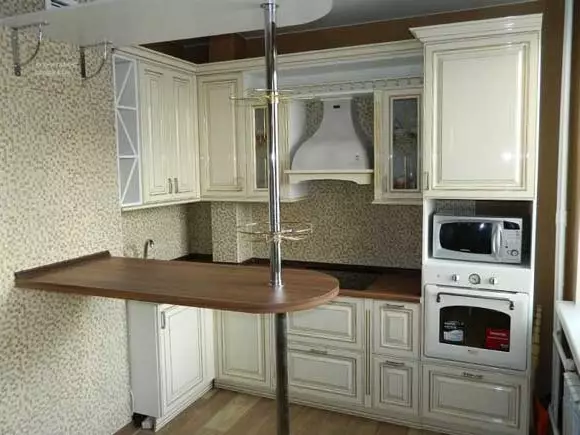
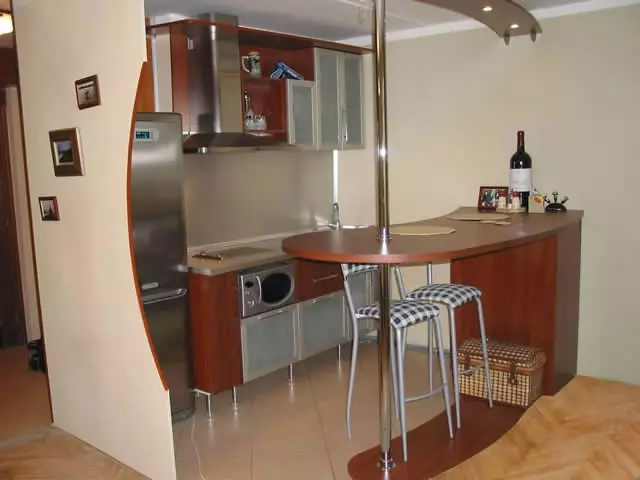
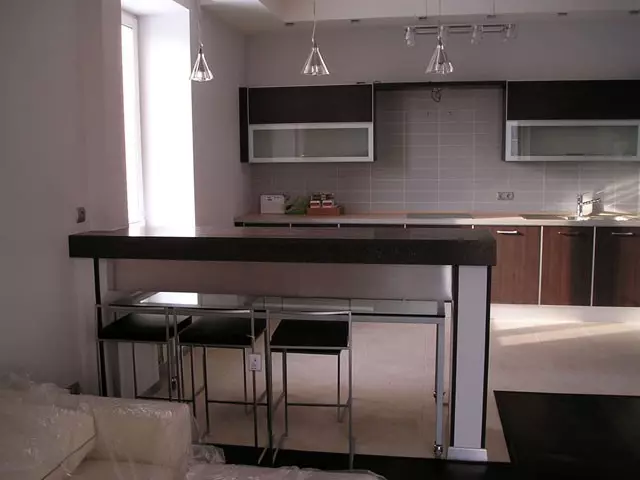
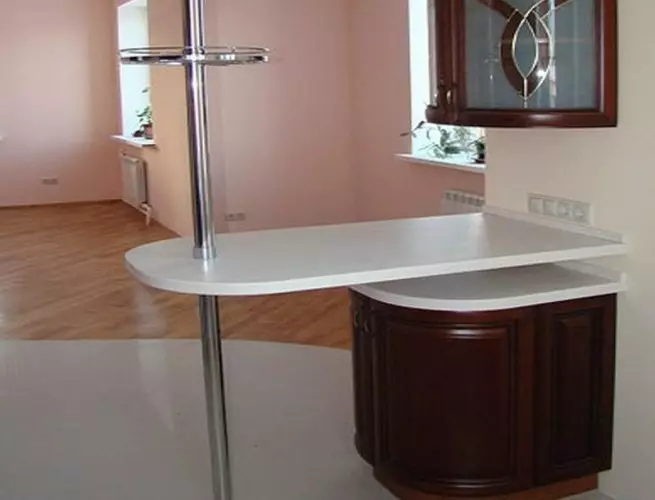
Bar rack do-it-yourself photo