
After the floor was a bed, you need to move on to installing baseboards. If used for finishing the floor tiles of ceramic, it is necessary to use the ceramic plinth.
In this article we will look at types of such products, and describe in detail how to make the installation of baseboards, without the help of qualified professionals and not spending a lot of time and money.
Criterias of choice
Ceramic plinth for the floor began to be used quite recently. Until now, the plinth of the tile was used, it was cut on the strips of the desired dimensions. However, this decision cannot be called the best.
Products were uneven, besides with sharp edges, which could be easily covered. To solve this problem, manufacturers began to produce a special plinth for ceramic tiles.
Consider that ceramic cartel can be used not only for floors of ceramics, but also in cases where the tile was used for lining of the walls, and the floor is processed by another material.
Plinth for tile differs on quite many factors. Next, we will study in detail each of them.
Design
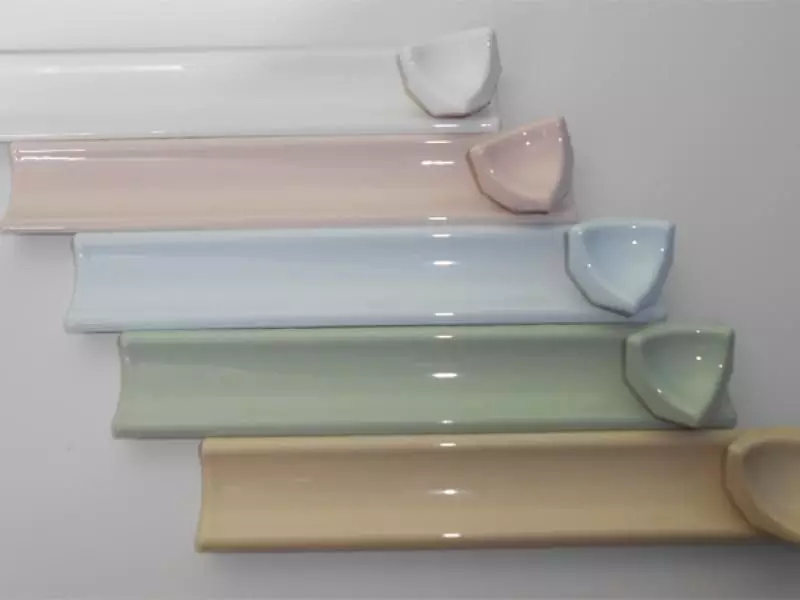
In the case when the plinth is part of the product, the question of choosing the design does not rise. Usually the color and texture of the element are completely similar to the tile. But if the plank is purchased separately, the choice of design is a rather important criterion. There are the following options:
- White ceramics plank. This option can be considered universal, as it is perfect for creating any design. Note that the white color is subject to contamination, so cleaning will have to spend quite often.
- Selection cartridges under the color of the platband in the door. With this option, the edging should look like a continuation of the door, so the plank is selected the same sizes as the platband.
- Selection of products under the color of the floor. Here as the basis is the shade of tiles.
These rules can be used to select not only ceramic plinths, but also any other materials.
Profile design
The design of the plinth can be quite different. However, two main types are taken as the basis:
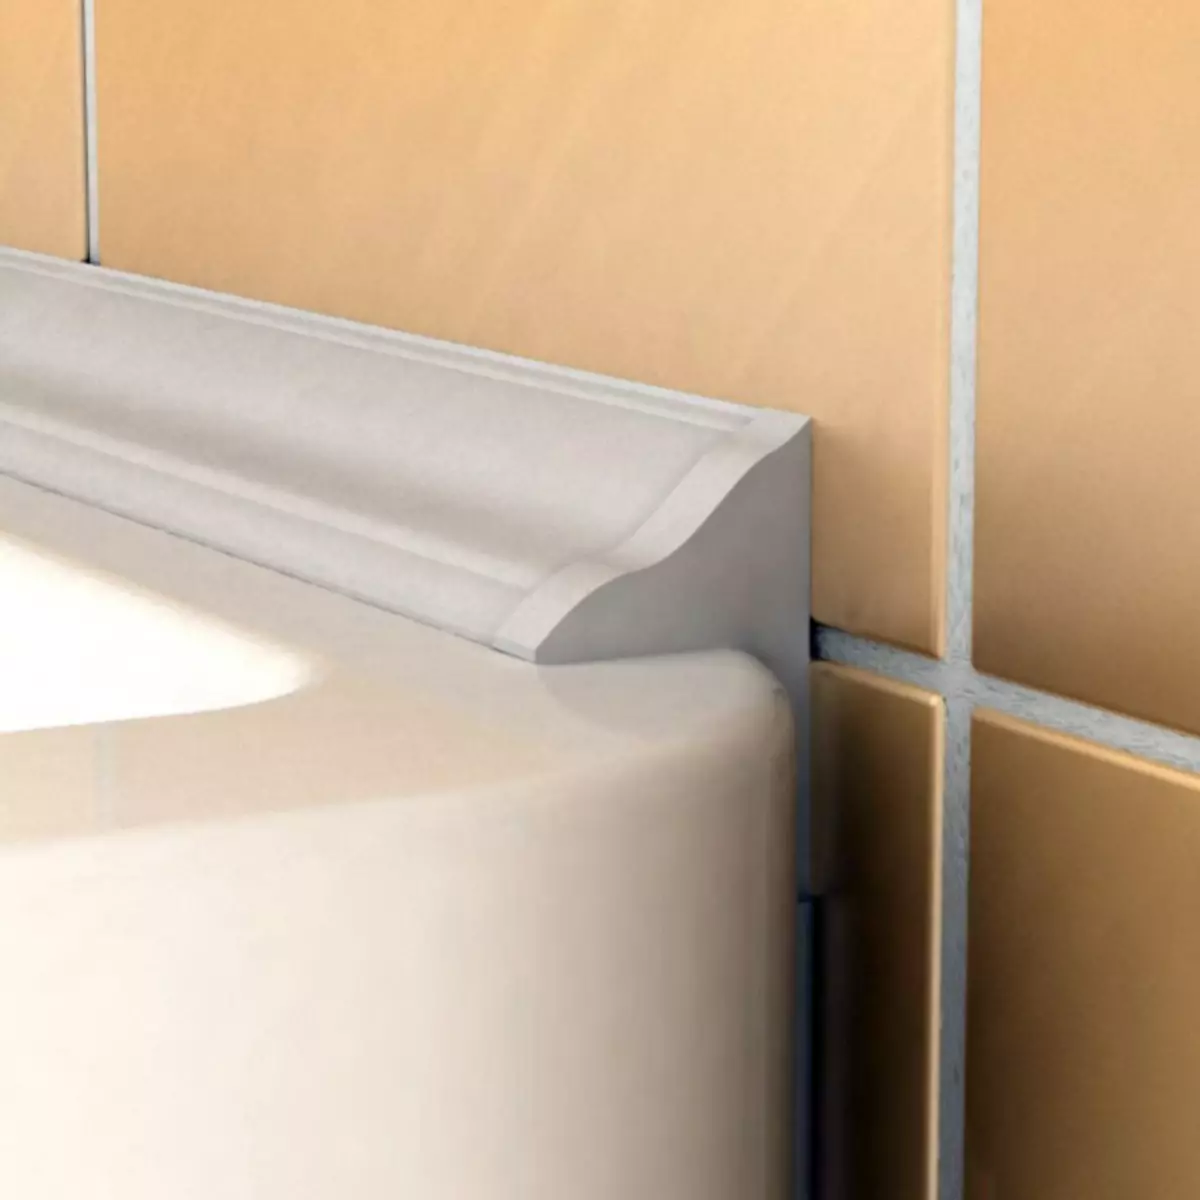
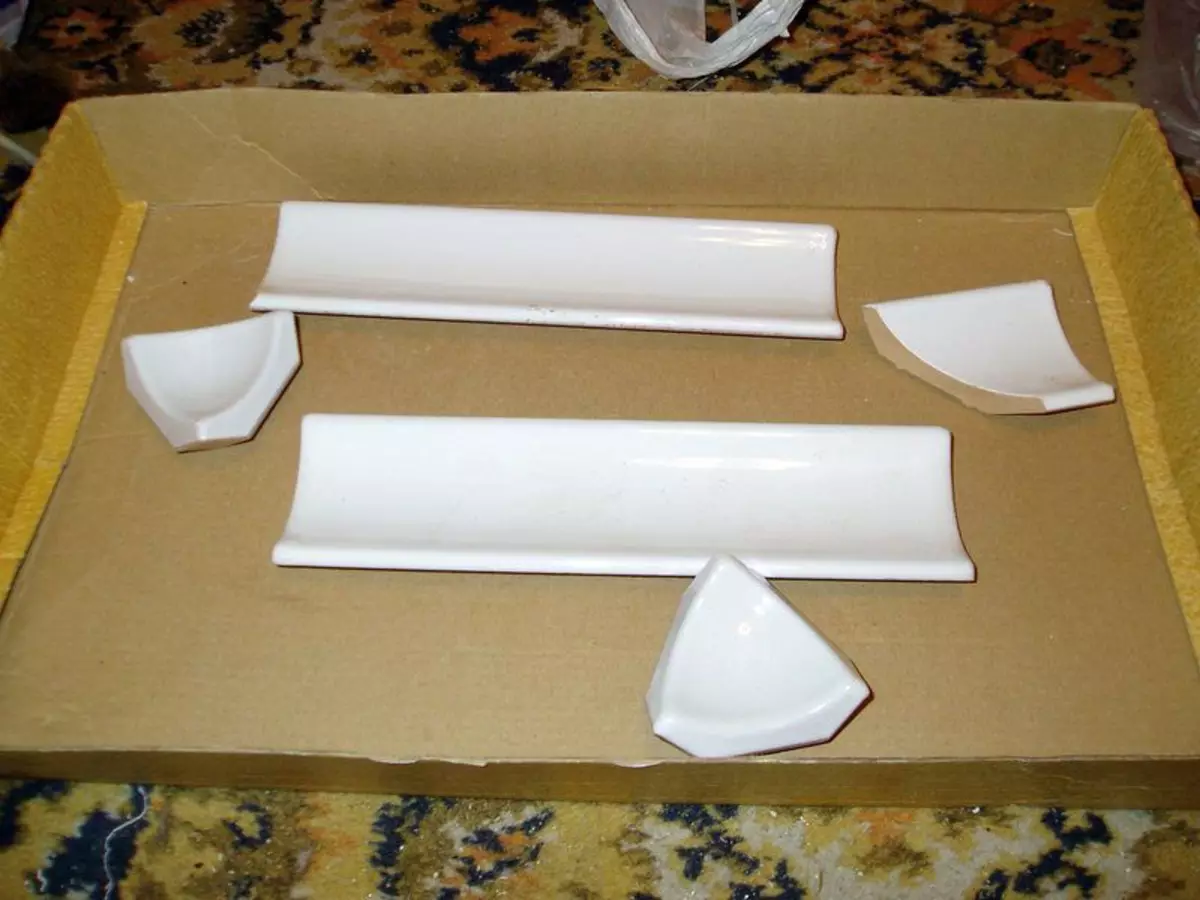
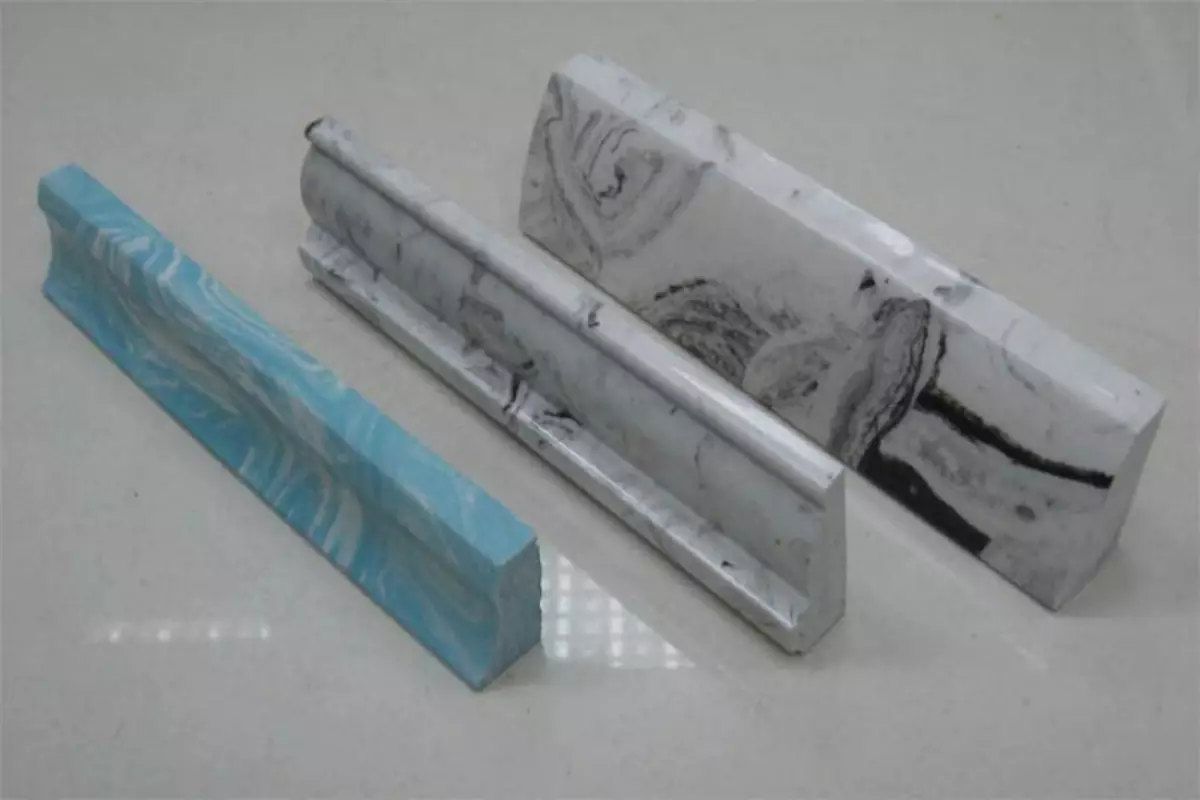
- Traditional. It has a triangle or trapezium form. One side is smooth and used for gluing. The other side, on the contrary, has bends.
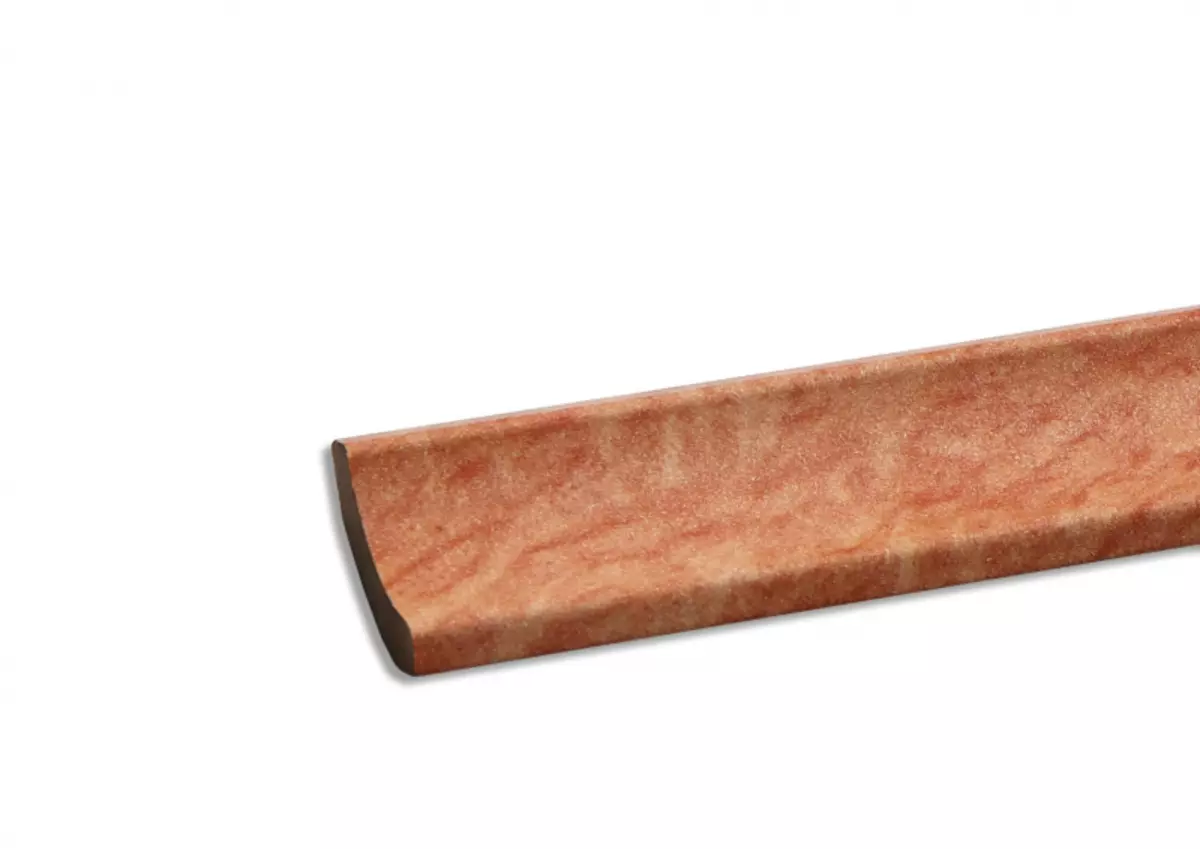
- Ceramic plinth tile made in the form of a flat panel with a rounded top. The advantage is that when installing the floor area does not decrease.
Article on the topic: Turquoise color in the interior
The choice of design largely depends on the style in which the room is decorated.
So for the classic interior it is better to use traditional planks. For rooms of small sizes, flat cartel will be better fit.
Dimensions
Long cartoons will reduce the number of joints
When choosing a ceramic cartel, the size plays a key role. Special attention should be paid not only to the length, but also the width of the product.
If the cartoons come in a set with a tile, their length does not exceed 2 m. This will reduce the number of joints when mounting.
The width, in turn, is selected according to the ceiling height and the overall size of the room. The width can vary from 10 to 150 mm. An already 30 mm cartel is used exclusively for cladding in the bathroom.
Installation
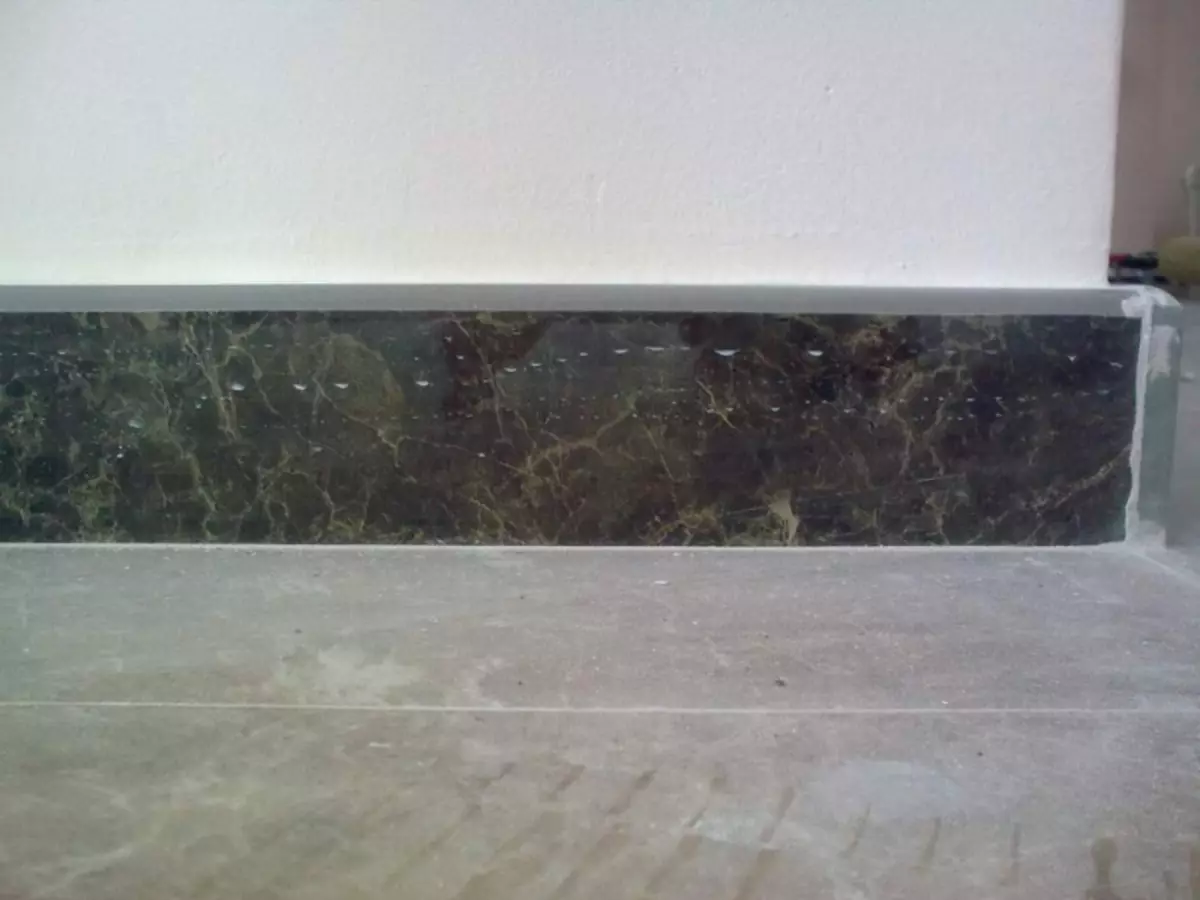
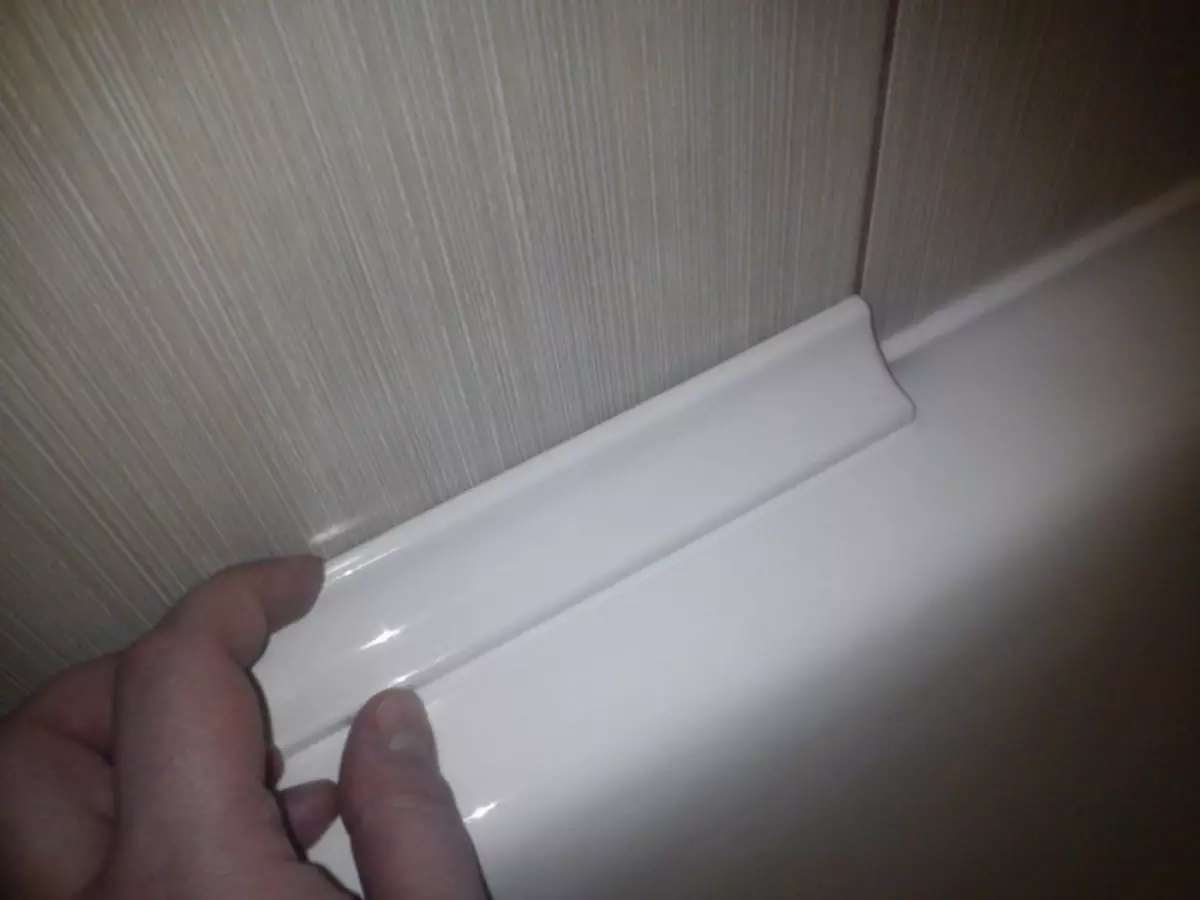
Ceramic plinths mounted on glue
After the choice was produced, you can go to the installation. In general, this procedure is quite simple, so even a newcomer will cope with it.
In the event that you laid the tile on your own, the problems will definitely not arise with the installation of the cartel. Ceramic plinth straight products are installed using the following tools:
- Bulgarian with a special diamond disk;
- adhesive coating spatula;
- glue for tile;
- Rubber spatula and hammer;
- building level.
The installation procedure is divided into two stages:
- Drawing up a scheme where the location of the seams and panels will be indicated.
- Fasteners of cartoons.
Next, we will study these stages in more detail.
Drawing up the scheme
Many newbies allow a serious mistake, they customize the plinth from the ceramic tile during the installation process. It greatly complicates the work, and sometimes it has to begin again.
We recommend first to think about the location scheme of the element, make marking and only then move to the installation.
The main steps of mounting are displayed in the table.

The most complex procedure is undergiving tiles. It is performed in the following order:
- First placed the cutting line.
- Next, apply the quilt so that the cut part is on weight. This will greatly simplify the work.
- Then we carry out cutting. We recommend not to hurry to accidentally do not damage the product.
If you plan to cut the straight tile of the plinth, we recommend using a special tile car. It will significantly make it easier and speed up the work.
Fastening cartoons
On the smooth clean walls to glue the plinth will be easier
Article on the topic: Door handle device: Three types of mechanism
After the scheme was composed, you can move to the installation. Procedure Next:
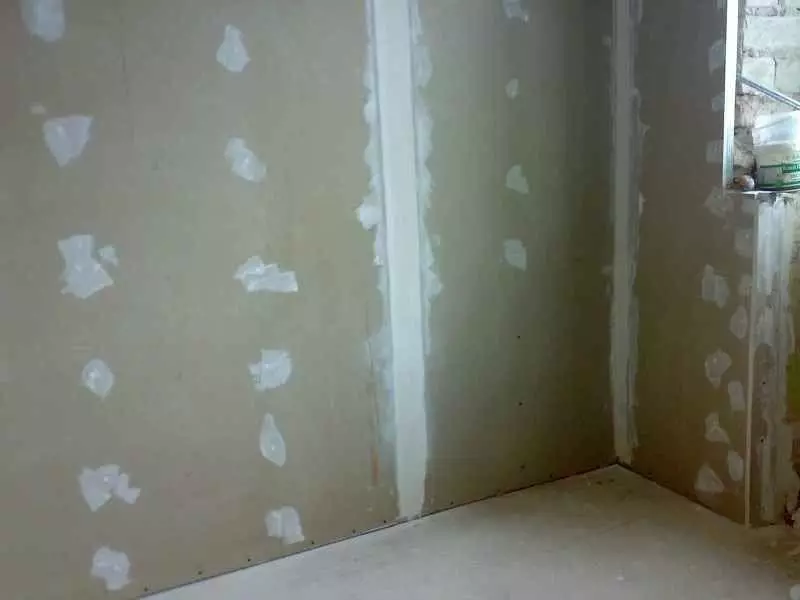
- First of all, you need to prepare the surface and tiled plinth to the installation. The wall is cleaned of dust and contamination with wet cleaning. Also cleared tile. Professionals recommend handle the wall by primer to improve the coating clutch. Suitable universal primer. The finish is made using a brush or roller with a double layer.
- Next, the glue is divorced by the instructions, which is indicated on the package with the mixture. We recommend to apply a drill with a special nozzle, it will improve and speed up the procedure. The thickness will be the mortar, the better the facing.
- After dial the solution onto the spatula and process the plinth with a small layer. Its thickness should be about 4 mm.
- Then make the processed carter to the surface and give it. The location can be adjusted using a rubber hammer. Be sure to check the accuracy of the location according to the scheme. To do this, use the construction level. The remnants of the adhesive carefully remove the dry cloth while he did not have time to dry.
- Next on the floor is the next cartel. So that the seams are uniform, use plastic crosses. We recommend leaving the gap between the plinth and the floor, this will allow you to carry out reliable sealing. Alternatively, you can process the lower part of the plinth with a special hermetic mixture before installation.
- After the installation is fully completed, a break is taken for a day. This will allow adhesion to dry.
- After the days of the seams are climbing. Its color must match the plinth, besides, it has the properties of the antiseptic. For applying, use the rubber spatula.
- The residues of the solution are removed. Do not forget to wipe the galler with a dry cloth. About how to glue the plinth, look in this video:
On this installation procedure is considered to be completed. As you can see, the work is quite simple, and you can easily cope with it yourself. Ceramic plinths have a number of advantages, so their use is quite justified.
Article on the topic: Installing the door in Siruba: Installation features