
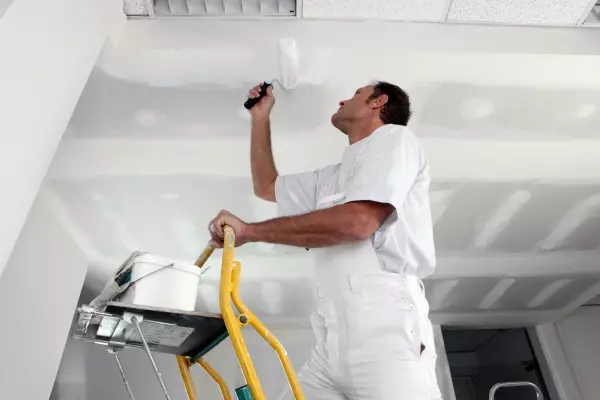
Ceiling putty is not so simple, because it requires some skills to perform construction and repair work. Many prefer to entrust her team of specialists, having previously estimated the cost of work, but with a great desire, such a kind of work is actually done independently. The main thing is to know how to properly prepare the surface for processing, what materials and tools will be needed, how to apply putty on plasterboard and before painting. All this will be discussed today.
Preparation of the ceiling
Putty ceiling always begins with surface cleaning and preparation. If the ceiling is flat enough, which can be easily verified, you will need to remove the previous wallpapers remaining on it, the glue either whitewash. To perform everything quickly and efficiently, the surface should be wiped with a sponge with water. After that, when the layer is soaked with liquid, remove it with a spatula will be much easier. It is consistent with the surface in stages - if you do it right away with big pieces, they will have time to dry.
To put the putty well on the surface, it is covered with soil in two layers. The first is performed in parallel with respect to the wall with the window, and the second must pass perpendicularly. Printing the primer is recommended to make a special roller or brush. Tassel should touch the ceiling only by the tips of the pile. When performing preparatory work, it must be rotated around the axis, and keep at an angle of 60 to 70 degrees to the surface. The roller needs to be purchased with short vile, and the priming is made without pressure on it. If the ceiling has strong drops, then before applying the putty, it will have to be plastered, and after drying it. Thus, surface alignment is carried out. About how to align the ceiling with putty, watch the video below.
Article on the topic: What can cover the wooden floor in the house
Material and tool
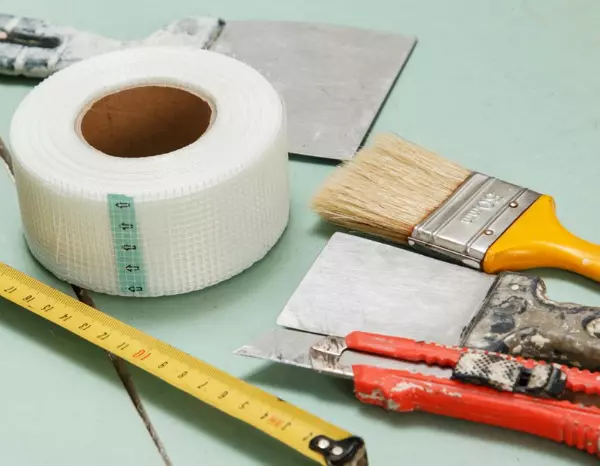
For such work, like a ceiling putty, you will need certain tools and materials. You should purchase:
- various spatulas (the minimum set consists of 1 narrow and 1 wide);
- halfter metallic (approximately halfter length);
- roller for applying soil;
- Capacity (for example, pelvis) for dilution of dry mixture to the required consistency;
- Building a mixer or a drill nozzle (they will need to quickly and well produce a mixture).
What put the ceiling to put the ceiling? Before you choose and purchase, the material is worth reading the recommendations that the manufacturer always places on the package. The main task of putty is the alignment of small drops - up to 50 mm. If they have a larger size, you must first conduct work on plastering the surface, and after applying putty.
What putty is better for the ceiling? For example, the spa "Rotband" makes it possible to level the drops of over 50 mm. In wet rooms, it is recommended to apply the tool called "concosite of the WX". For dry premises, you can choose "concrete LR" or "concrete cr".
Features of applying spacure
Ceiling putty with your own hands will be performed well, if you stick to the sequence of work. Read more about every important stage video lessons will be told.
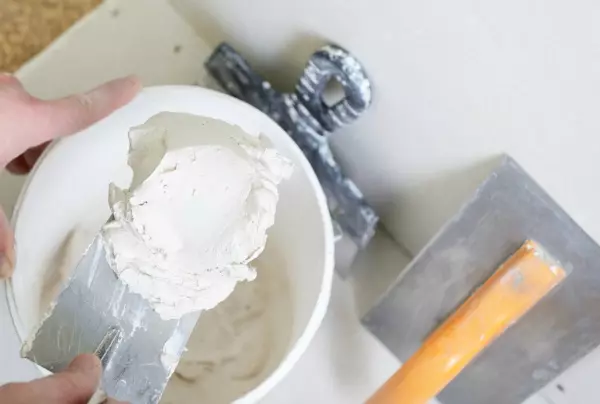
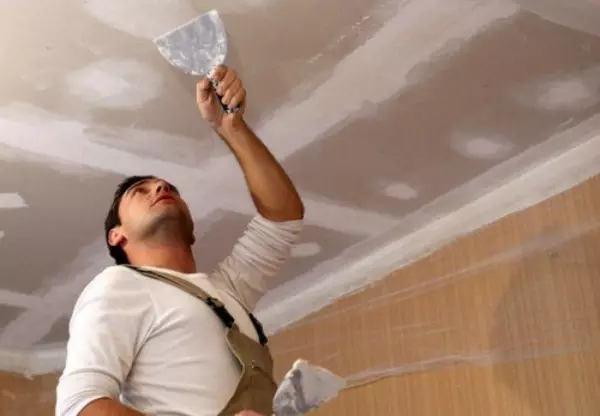
To knead the dry mixture is best building a mixer or a drill with a special nozzle. It is necessary to obtain a homogeneous mass, taking water into the tank portion. According to the consistency after mixing, it must make a composition like a thick sour cream. After the preparation of the mixture should be applied to the surface. How to do this, considering all the nuances, show video lessons.
A small spatula must be killed a little finished mixture and produce its distribution, and after alignment with a wide spatula. The putty is applied by a thin layer, and its residues from a wide spatula look narrow back into the container. So you need to work until the entire ceiling surface is covered with the first layer. After it will dry well, you need to eliminate all irregularities.
Article on the topic: Wiring in Pipes: Basic Mounting Methods
Alignment by removing the influx is advised to be carried out with a spatula or skirt. It is better to remove defects to choose a wide spatula, because after an opening there is a lot of dust.
The greater the irregularity of the ceiling, the more layers need to be applied.
Before applying the next layer, it is necessary to wait for the previous one. The last layer should be thinner than everything before. Do it quickly, so that the putty does not have time to be filled around the edge. When compliance with the technology after applying the last layer, the finishing grinding may not be required.
If then you plan to glue wallpaper, you can not do the finish grinding. Before painting without alignment and finish grinding can not do. Perfect smoothness can be achieved by treating the surface of the fine skin. Excellent finished grinding with the use of grinding, the cost of which, though not small, but with it, everything will be able to perform quickly and efficiently.
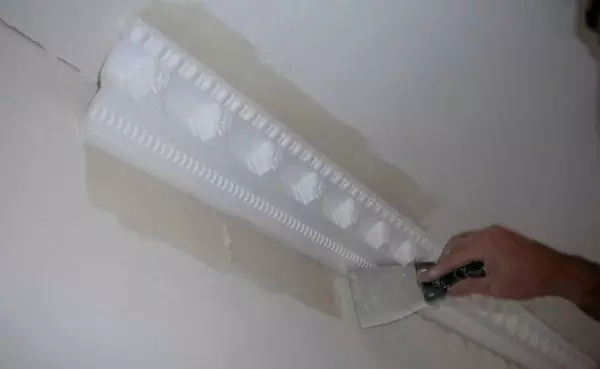
A ceiling plinth is used for a putty, the installation of which is carried out with a putty or quick-drying adhesives. Modern plinths are made of foam elements, extruded foam plastic, polyurethane foam.
Then we are talking to how to proper putty on plasterboard and before painting.
On plasterboard
Align the surface is pre-needed. The putty allows you to achieve homogeneous smoothness.
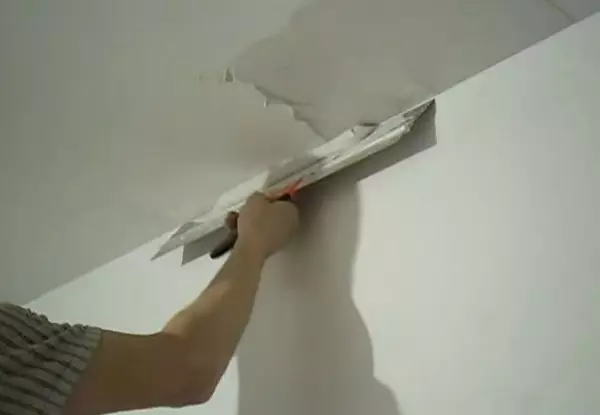
The ends of the sheets of the hyposkarton have a slash cut, which helps to align the joints. In the absence of such chamfer, it is necessary to cut them off at an angle of 45 degrees with the help of a stationery knife. Then you need to leave the joints and seams using a fiberglass grid. It is easy to do so, as it is equipped with a self-adhesive basis. Before performing work, the seams are advised to be primed. The mixture is applied by a narrow spatula, and the leveling is performed wide. The shovels of the screws of the screws are carried out crosswise. This is achieved complete filling of the fastener cap.
When the seams are dry, you need to process them with the help of a skirt. Next, the entire surface is ground and the last layer of putty is applied. See the video more detail.
Article on the topic: Gym in the house do it yourself
Video "Puttail of plasterboard ceiling"
Carefully watch a video lesson on putting on a plasterboard ceiling, and you make sure it is easy to repeat.Under painting
In order to in the process of staining, the spacure pieces did not begin to adhere to the surface of the roller, one should prevent such a nuisance in advance.
The finishing putty is recommended using waterproof material. It will not be splashing from water exposure, which is available in any paint, and will also be securely held on the ceiling surface.
If ordinary putty has already been bought, the situation can save the use of primer with water-repellent properties. It is used to breed putty. Keep in mind that it is impossible to add dry, it is first bred by water. A mixer is used for mixing.
Already after 3 hours, the finished solution will become unsuitable, so it should be used immediately.
So that the putty does not fall off from the surface, shortly before staining the ceiling advise to cover the waterproof mixture. In the process of performing manipulations on coloring, it is not necessary to put pressure on the roller. Also not advised to spend many times at one place.
What kind of putty to choose, find out the value of its application of the team of professionals or try to fulfill everything on their own - to solve all of these questions will have to each individually.
Video "How to put the ceiling"
This video movie demonstrates the entire process of putty the ceiling surface step by step.