
Over the past century, many different methods of housing heating were invented. Among this set, the original design is distinguished - this is a plinth for heating pipes.
The concept of "plinth" denotes a decorative platband that closes the floor of the floor adjustment to the wall. Like all the details of the interior decor of the room, the plinth is made from various materials, of different shapes and colors.
Since the design itself involves hiding a certain amount of premises, the idea of using it for laying heating pipes.
Principle of Warm Plinth
Warm plinths are used in combination with other heating devices
Warm panels like an independent heating system is not used. Heating floor elements are used in conjunction with other premises heating devices.
Warm air flows are tailored from the floor to the ceiling, evenly distributed over the surface of the walls. Heated walls in turn transmit heat into the inner volume of the room. Due to this effect, the volume of the room is evenly warmed at all levels from the floor to the ceiling.
For example, the temperature of the gender of 22 ° C will be the same at the level of human growth and at the very top of the ceiling.
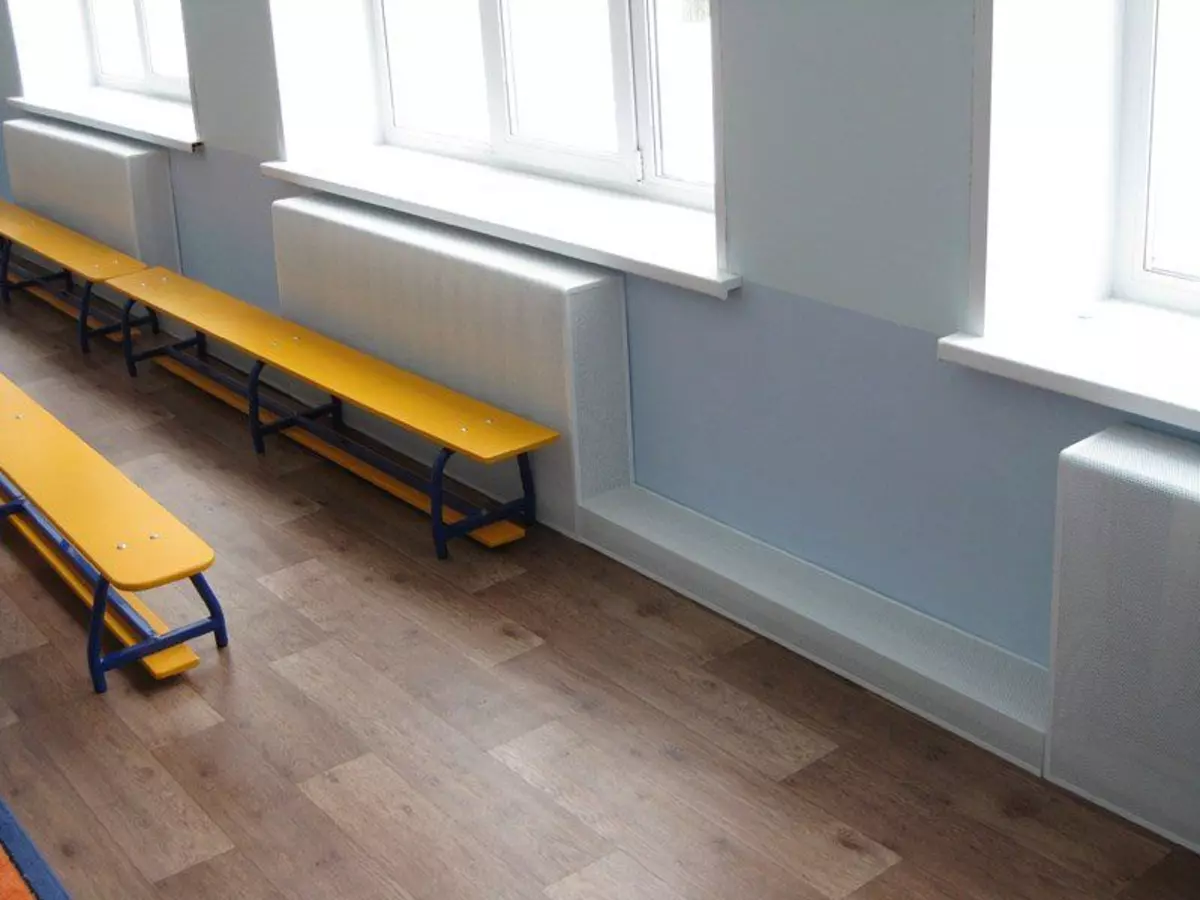
Heating outdoor structures are often used in indoors with panoramic glazing. The ascending flows of warm air do not allow to move in large glazing areas.
When this type of heating, walls and ceiling are reliably protected from mold and fungal formations.
Systems of heating plinths
Outdoor heating systems are made by three species:
- water system;
- Electrocabel;
- Infrared heating.

This design is often used in indoor rooms with panoramic glazing.
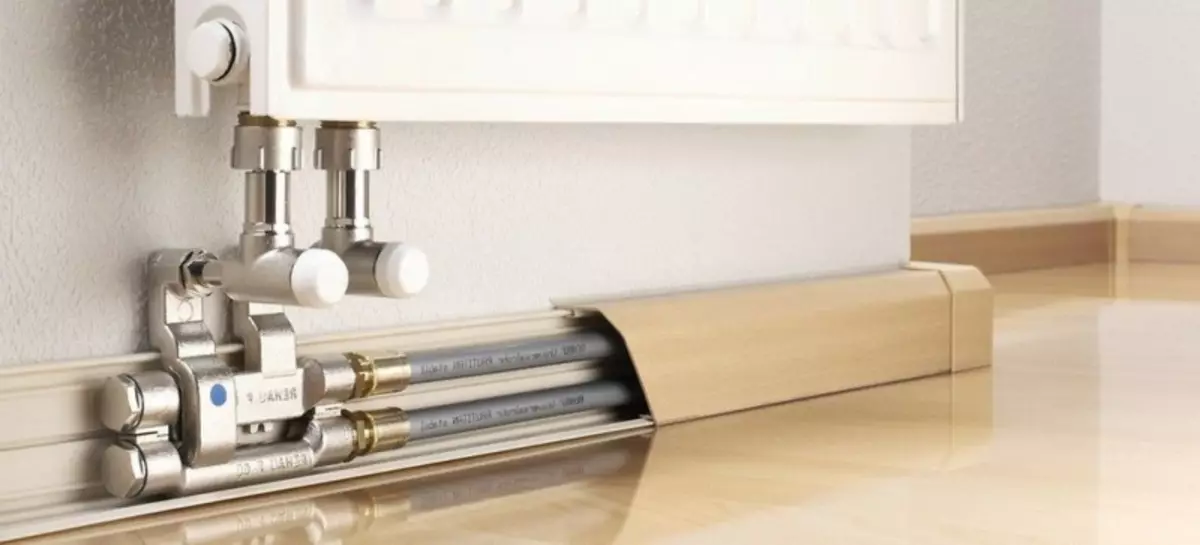
Water system
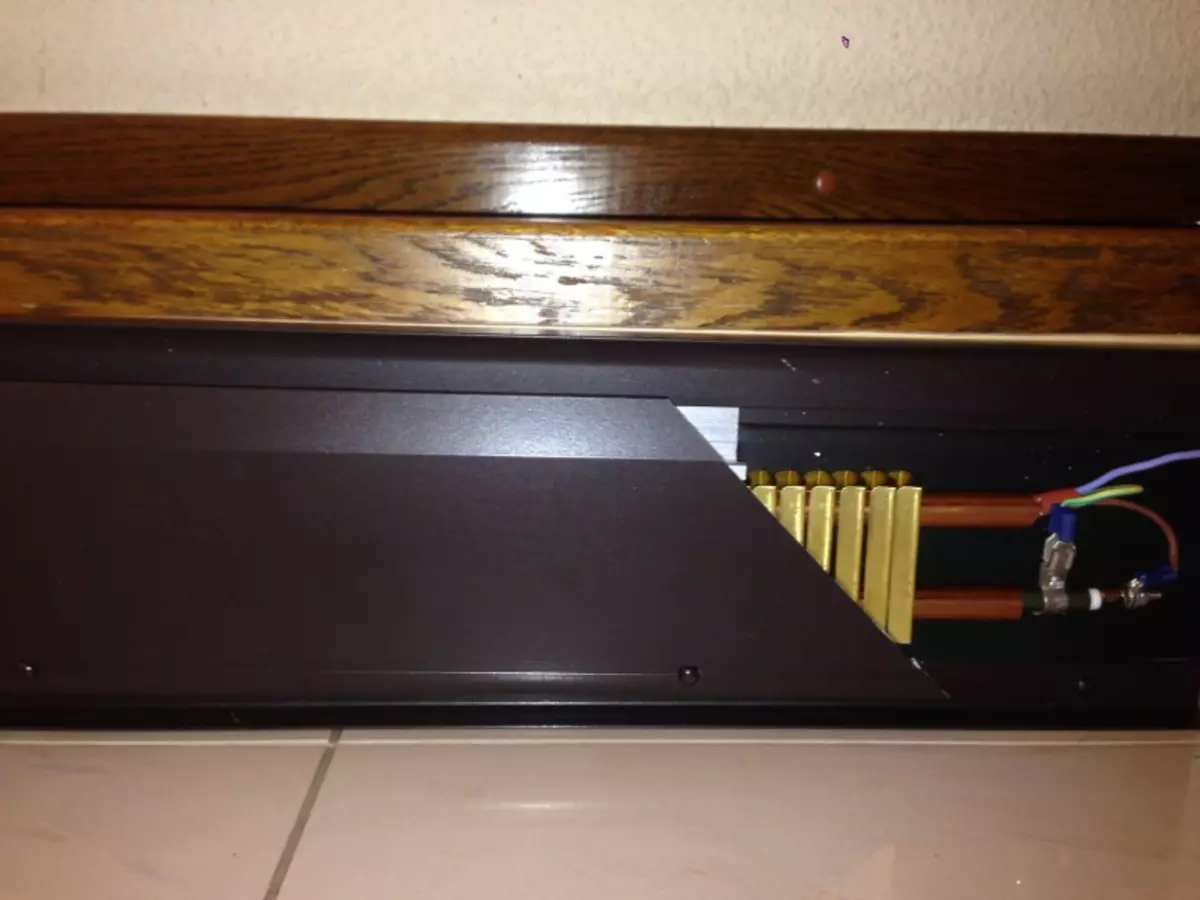
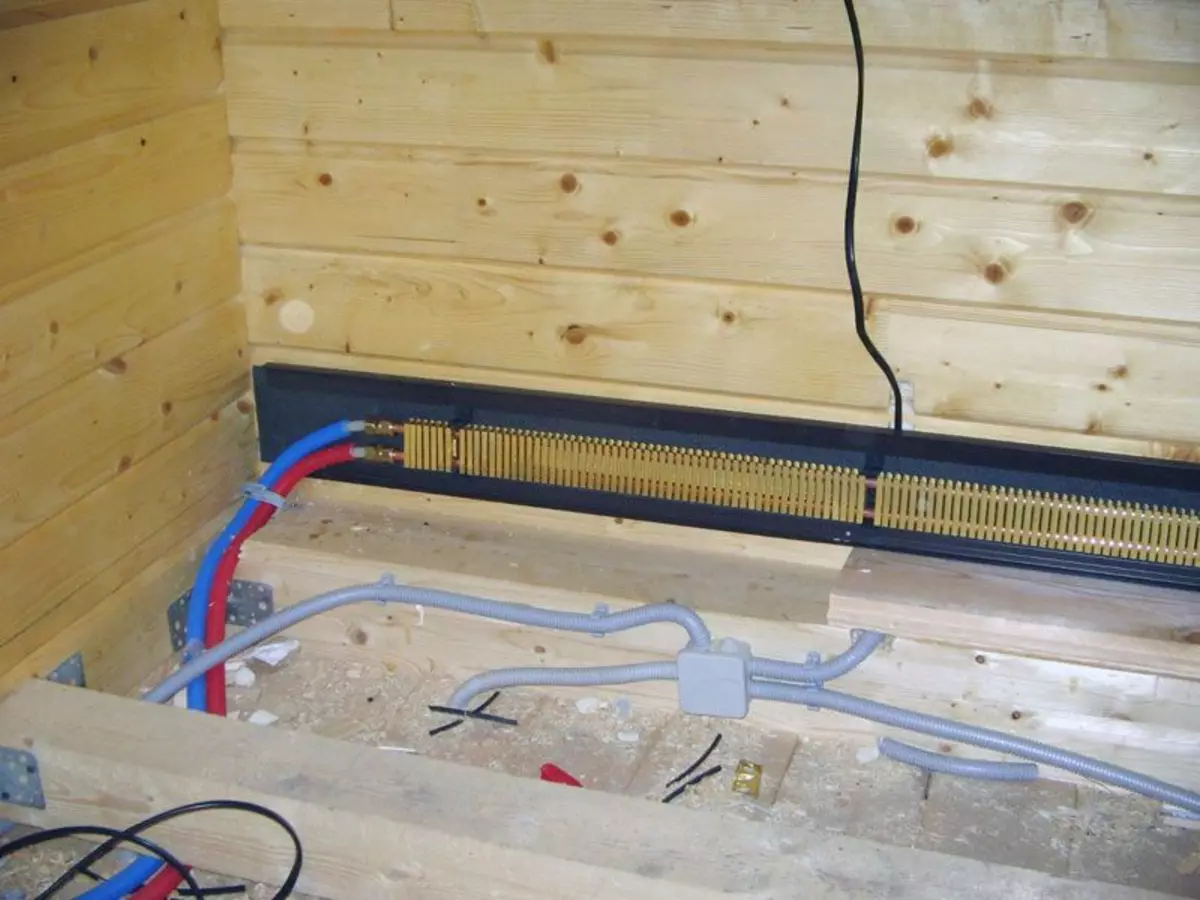
Outdoor water heating represents the pipeline connected to the heating radiator of central heat supply.
The most consumable type of pipelines for plinths - stitched polyethylene pipes.
In addition, pipes from polyurethane and copper are used. On pipes, as it were, the plates of non-ferrous metal are riveted.
The set of plates forms a radiator that significantly increases the heating area.
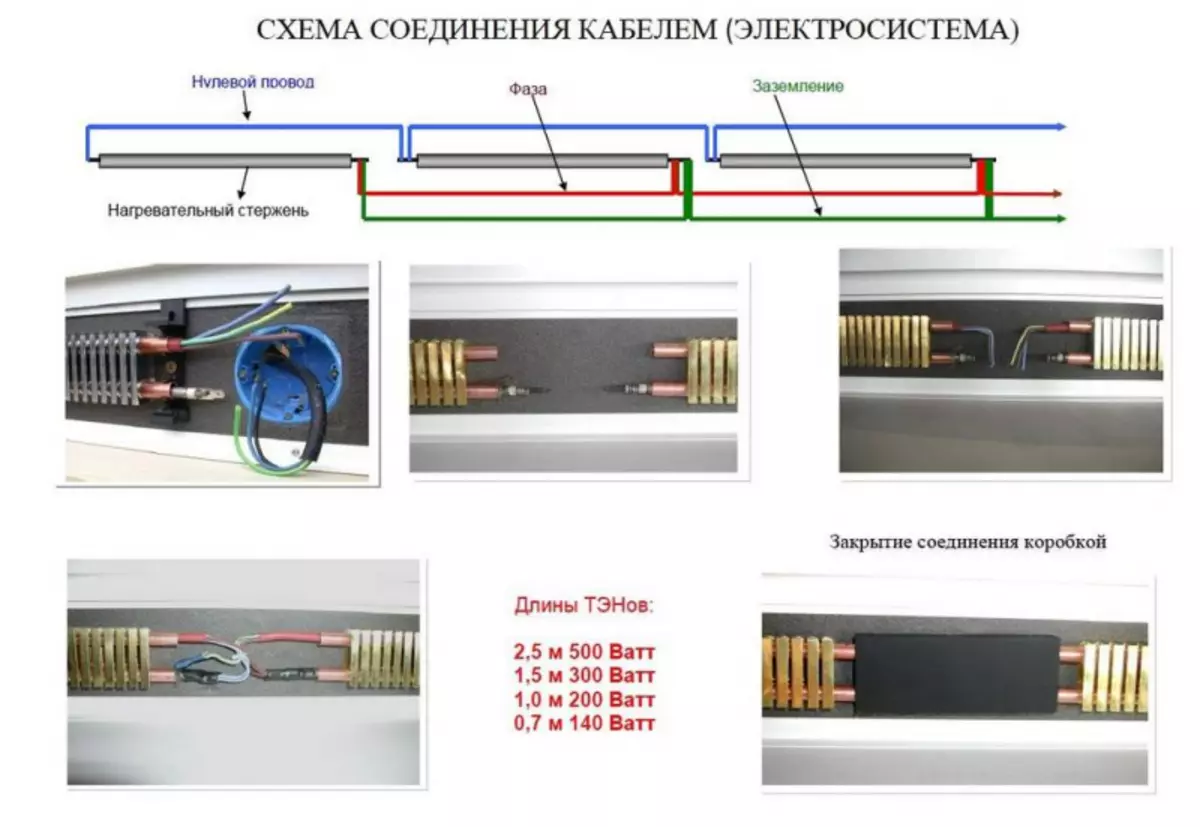
Electrocabel
Over the floor around the perimeter of the room as a gasket of heating pipes, the heating electrical cable is placed. The cable is connected to the power grid through the control system, equipped with heating sensors and information display.Infrared heating
Above the floor is fixed with infrared heat ribbon. The diagram of connecting infrared heating is similar to the power supply system.
The infrared heating system of plinths is easy to install and absolutely safe.
Advantages and disadvantages of warm plinth systems
For clarity, the advantages and disadvantages of heating systems in the table:| № | System of heating of the plinth | Dignity | disadvantages |
|---|---|---|---|
| one | Water heating | Affordable coolant | Seasonality |
| 2. | Electrocabel | Wide range of heating | High cost of operation |
| 3. | Infrared heating | Easy in montage | Afraid moisture |
Forms and Building of Wipe Plinth
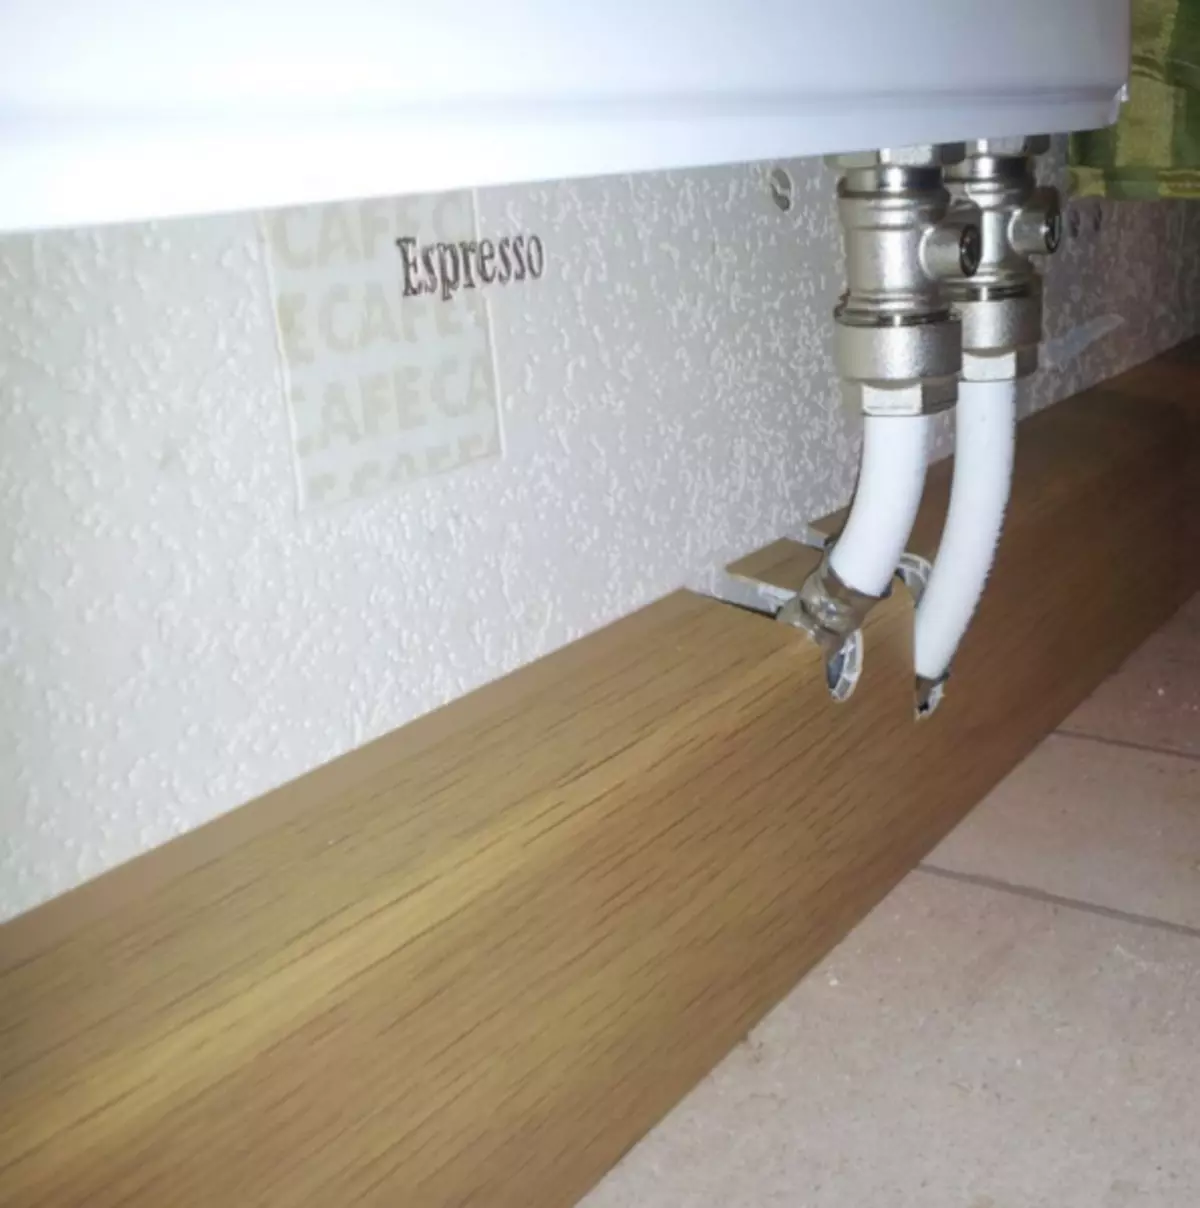
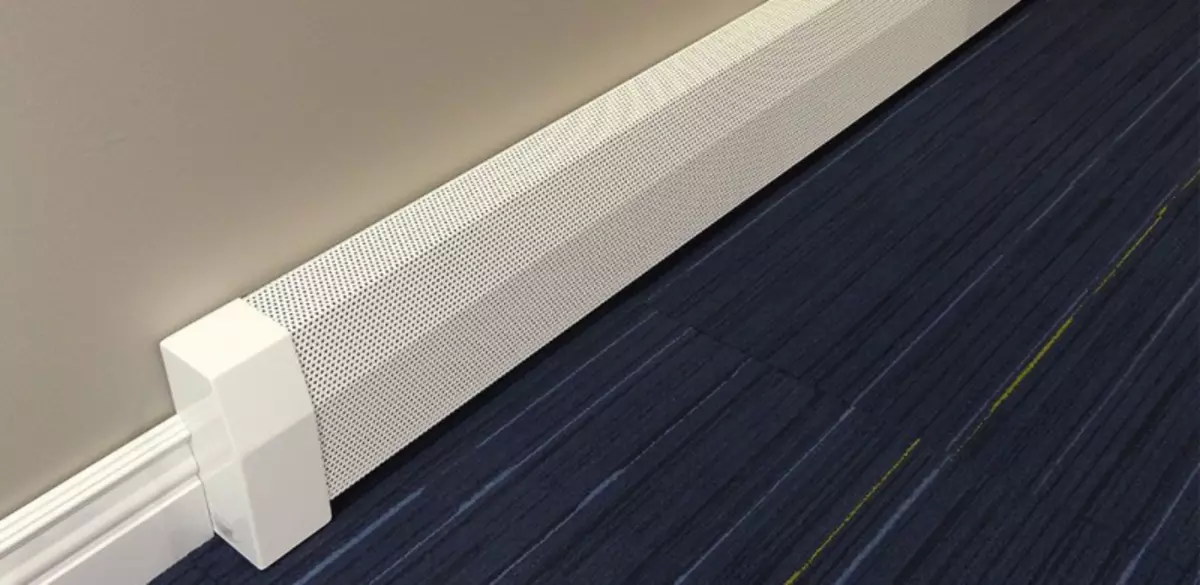
Often the surface of the plinth imitates the tree
The designs of outdoor valves are made from various materials. These are panels from laminated chipboard, fiberboard, plastic and enameled metal panels.
The height of such products depends on the vertical size of the heating elements. Plinths for heating pipes can be a height of 300 mm or more.
The height of the structure depends on the size of the heating elements
Prints produce various shapes and coloring. Popular plinths with a surface imitating the valuable wood species. The appearance of the plinth for heating pipes significantly affects the overall perception of the interior of the room.
It is necessary to remember the features of the structure of a warm plinth. This should not be closed box design. Panels must have upper and lower longitudinal slots. Make them to ensure the passage of air masses from the bottom up. Under the action of air heating, its natural ventilation occurs. Learn more about what is heating plinth, see this video:
Installation of warm plinth
The wall behind the heating element is protected by insulating tape
Installation of outdoor structures covering heating elements is about the same. The heating device consists of several stages:
- On the perimeter of the room on the floor and the walls purify the surface from garbage and dust.
- A plastic corner is installed in the corners of the walls of the walls to the floor.
- The walls are glued to the walls, equal to the height of the heating. The special tape is equipped with a back side by a protective film, which is removed before installation. The tape is pressed with an adhesive side to the wall.
- Then the upper angular bar is installed.
- On the tape using dowels install reference brackets.
- The heating water pipeline is hung on the brackets, and the electrocabar is also fastened.
- Infrared tape is installed on special plastic clips.
- The heating system is closed with panels. The panel snapped on the top and bottom plank using special locks. In some cases, the plinth is fixed directly to the wall of the dowels. Read more about the installation of the system, see this video:
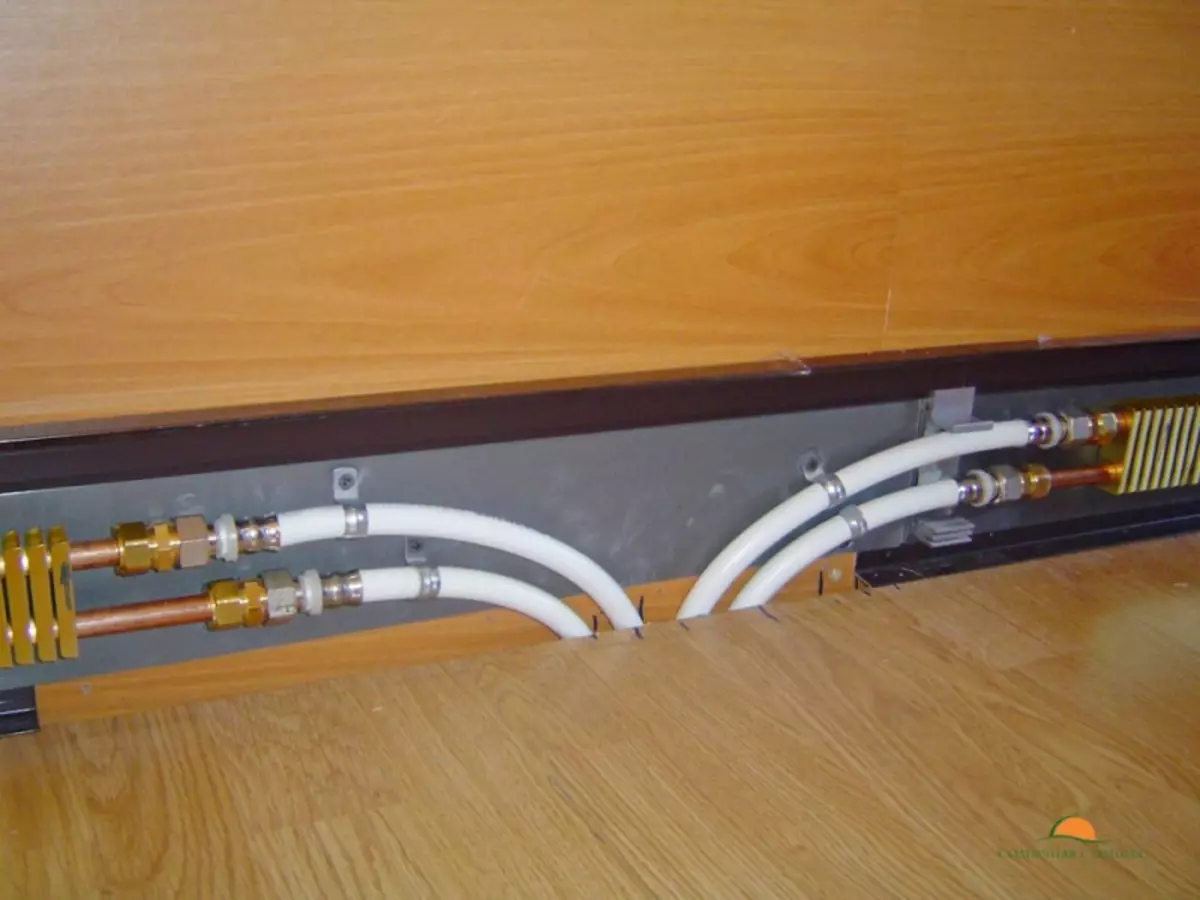
Gaskets of heating pipes associated with the radiators of the central supply of hot water can be single-row and double row. The single-row scheme consists of one pipeline, which is first connected to one radiator, and at the end it enters the last heating device. The two-row location of the pipes has a jumper at the end of the contour.
Infrared and electrical heating of the plinths is favorably different from the water heating system by the fact that it does not depend on the heating period and can work all year round.
Article on the topic: save with mind: Choose Roman curtains in IKEA