
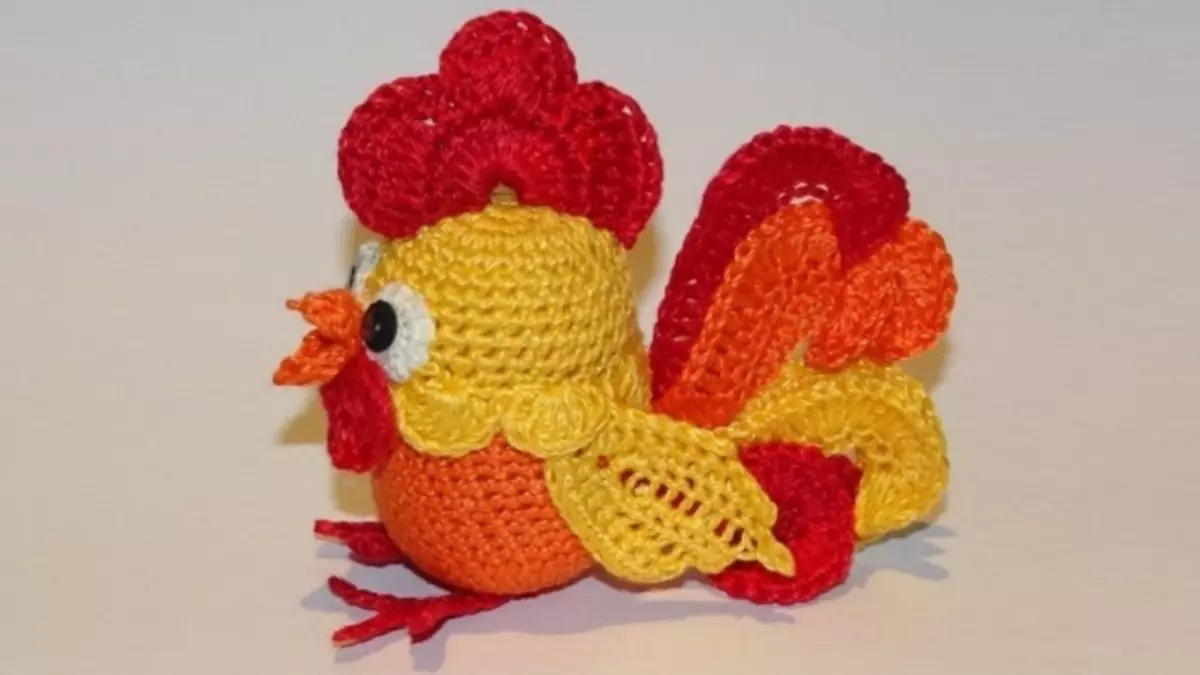
Crochet - one of the lightest and most popular types of needlework in the modern world. Many girls make interesting crafts, knit clothes, items for life (bedspreads, pillows, tacks, rugs), toys and more. From one day of yarn, which can be old or have a color not suitable for you, you can make a beautiful toy - a rooster crochet, the master class in our article will definitely not leave you indifferent. Such a toy is perfect for the decor of the house, a specific room or just will serve as a toy for your baby. After laying at the top of the toy thread, it will be calmly you will hang on the New Year tree.
Interesting lesson description
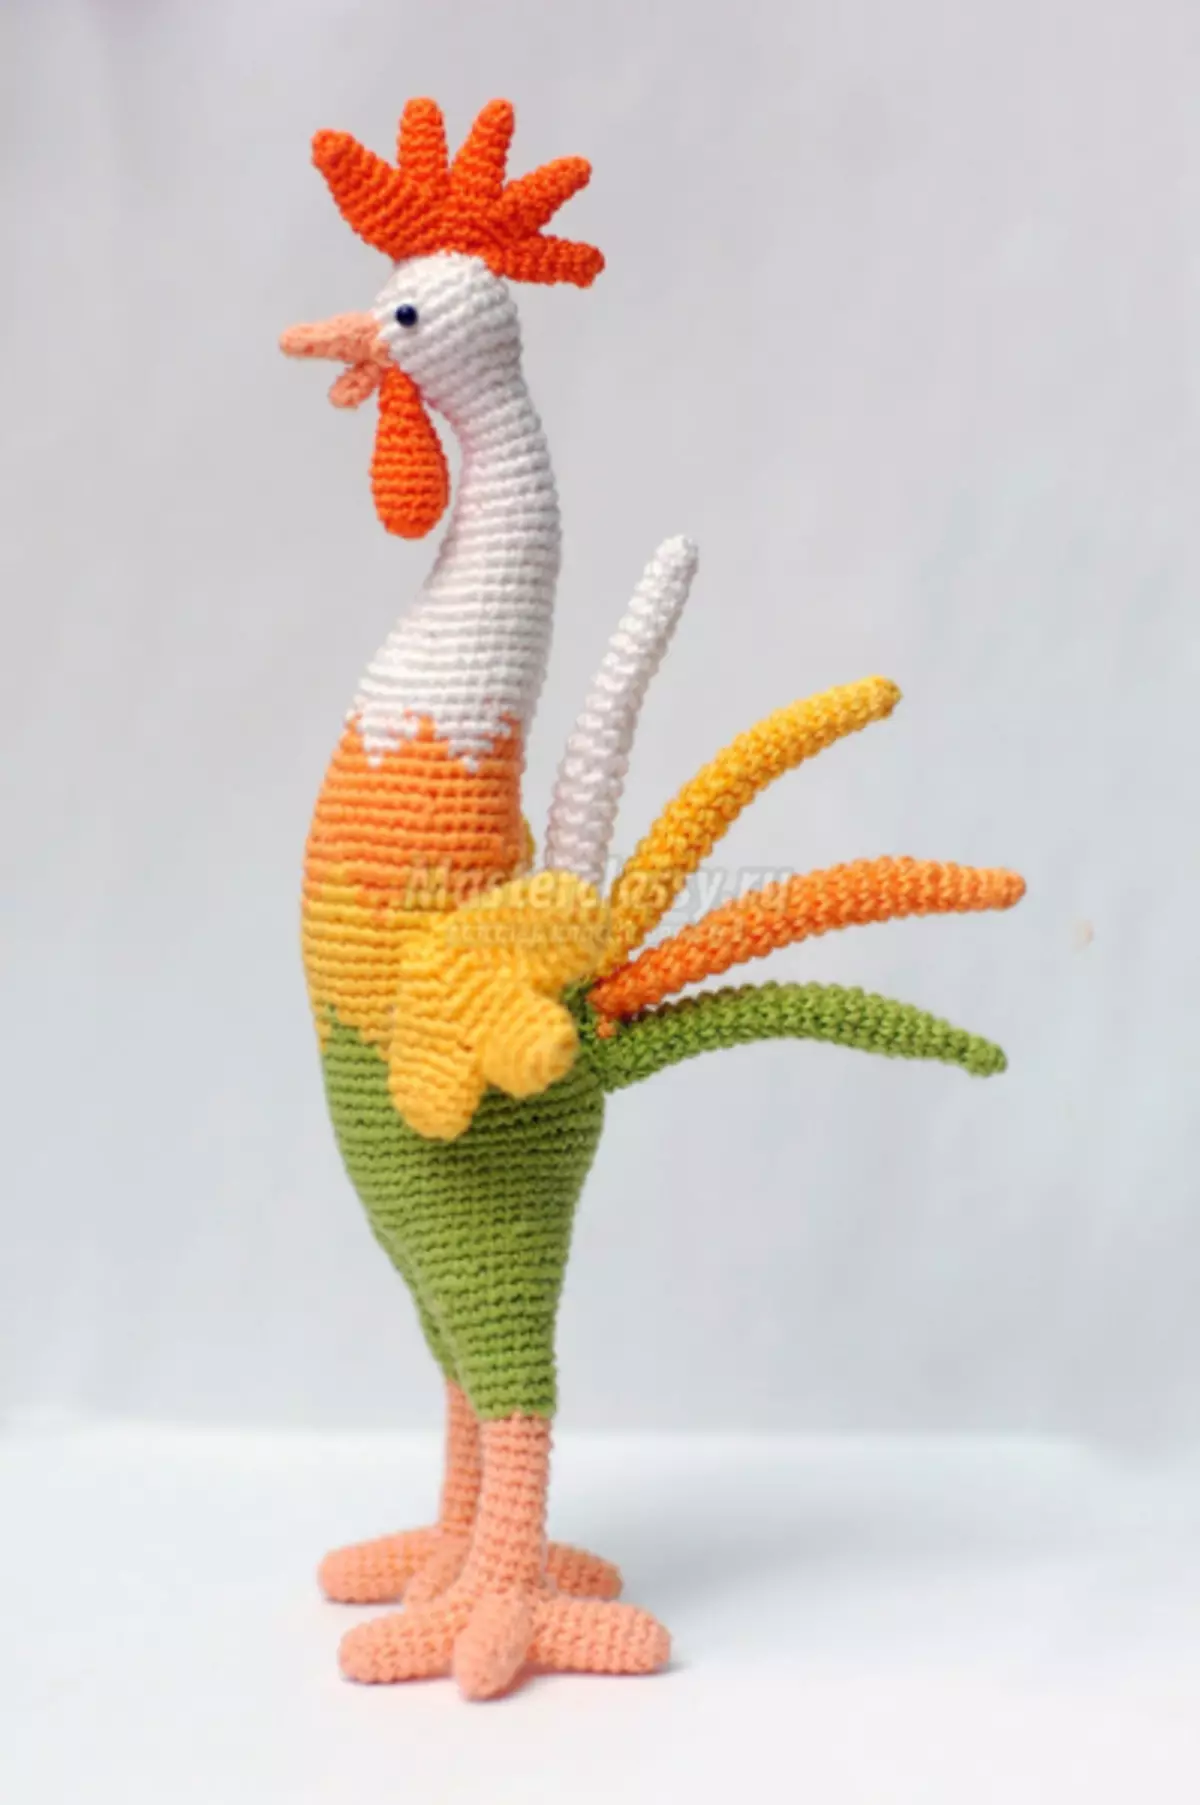
The process of phased production of fire rooster with a description is viewed on the example of the master class.
You will need yarn of different colors for work, hook, filler. Knitting diagram is shown below.
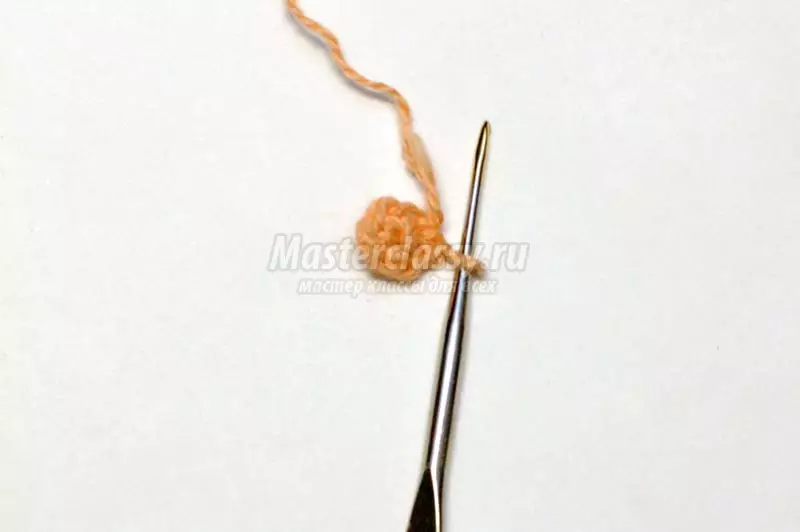
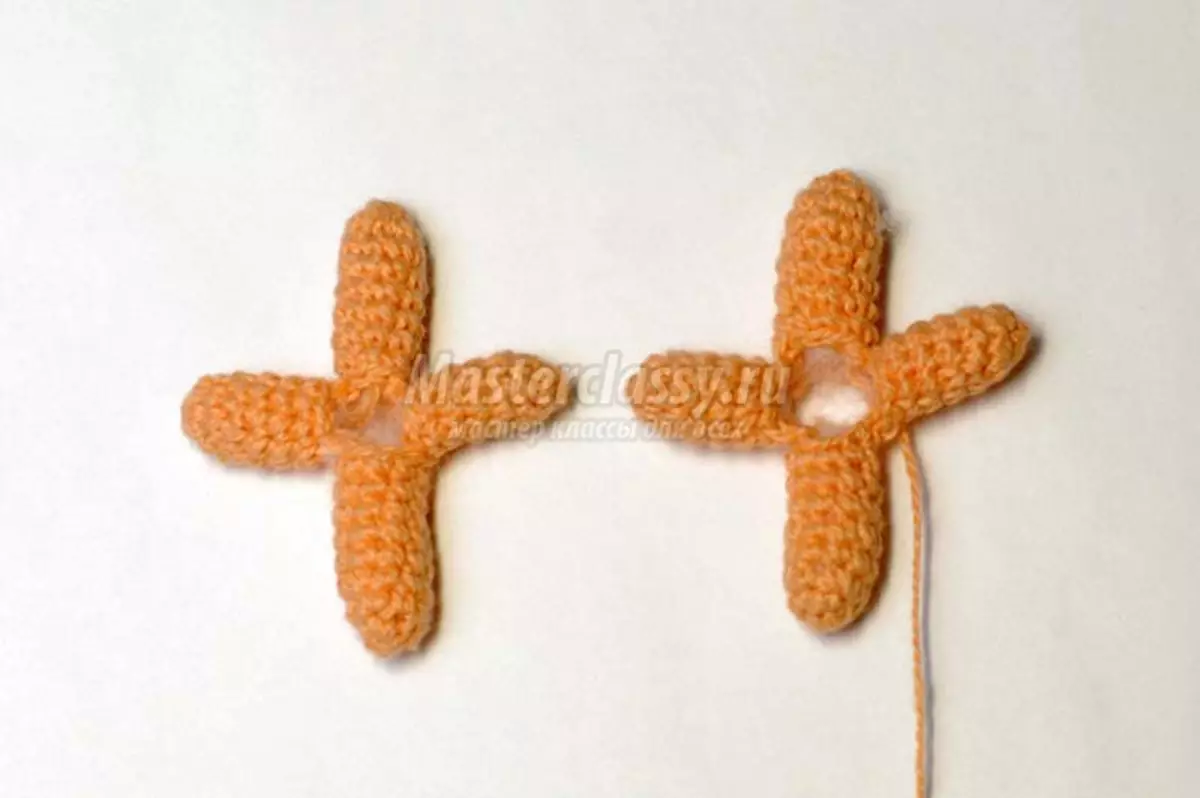
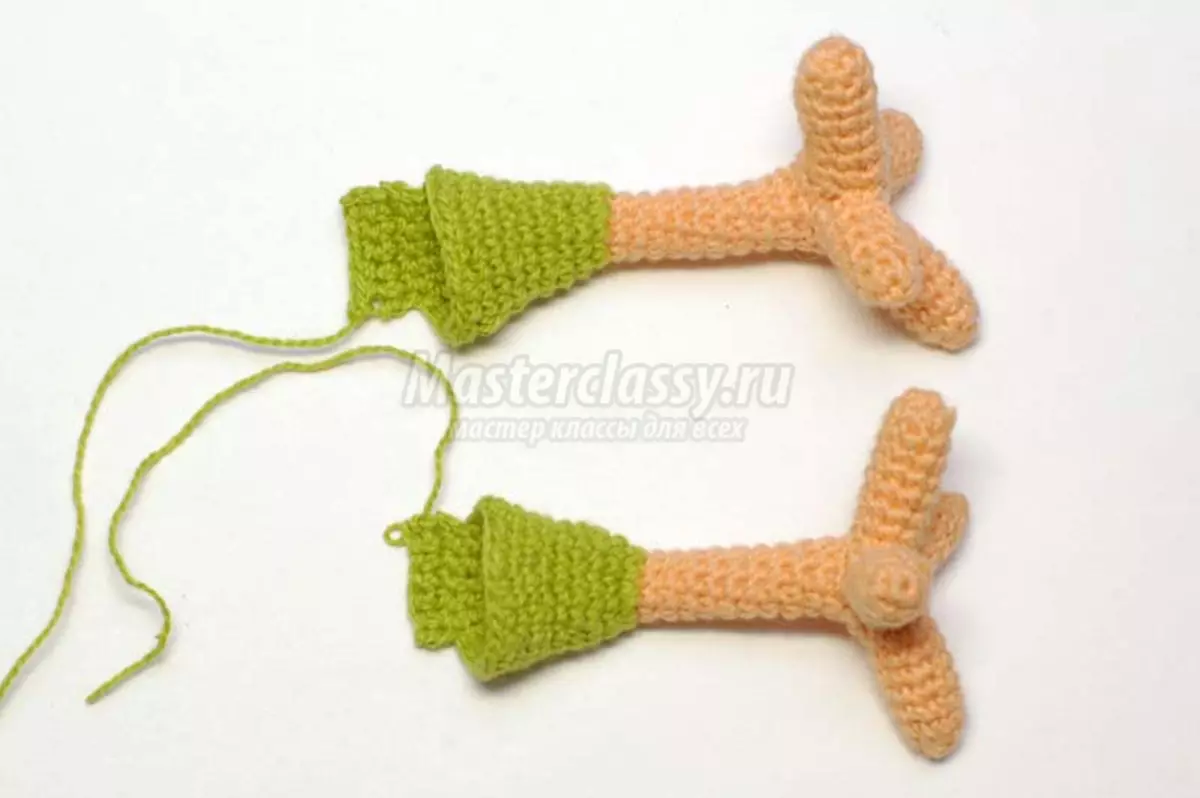
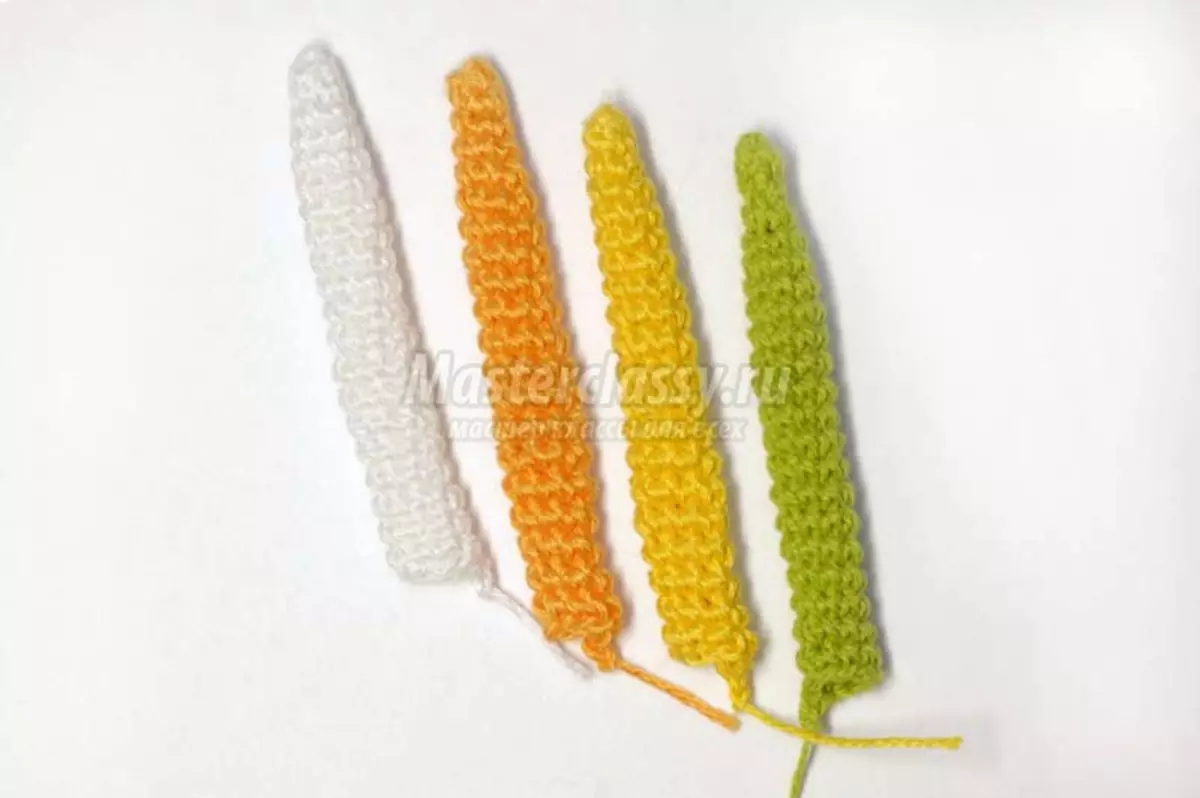
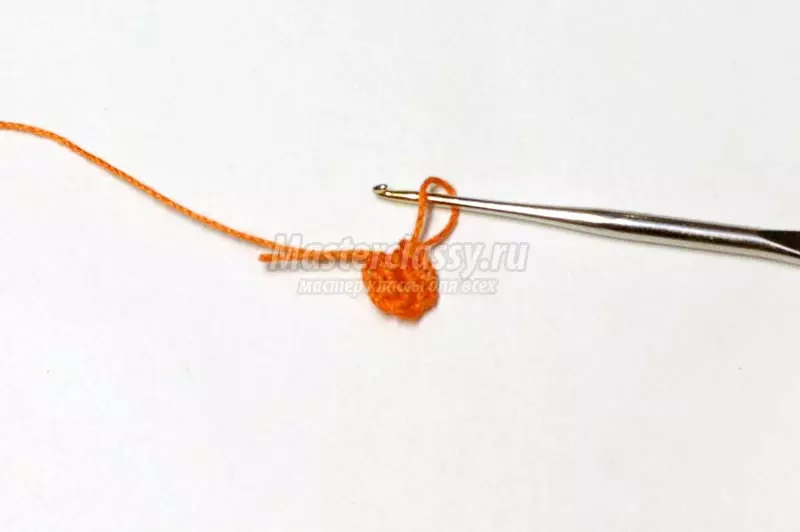
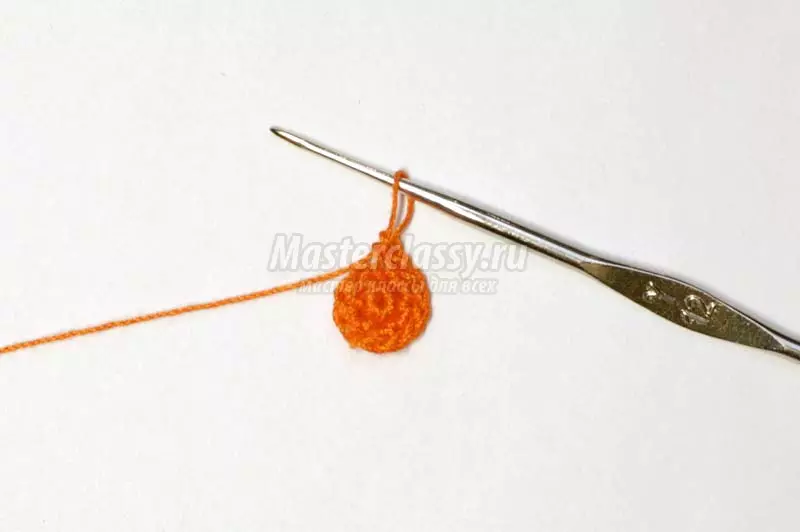
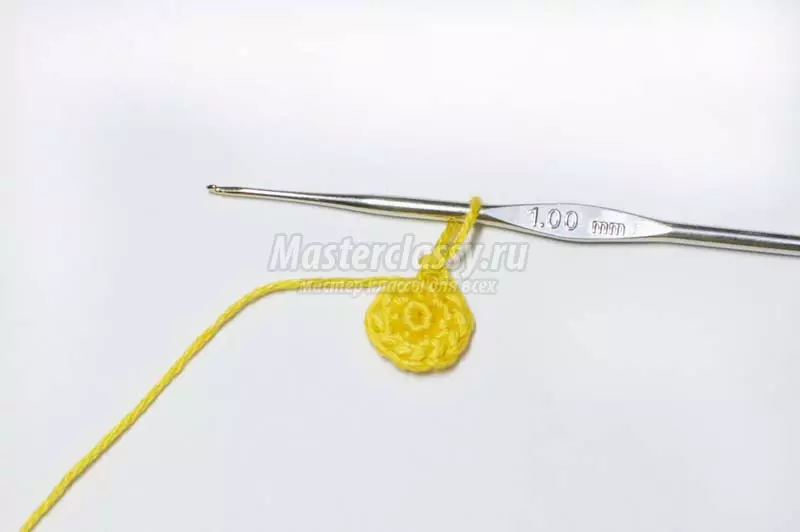
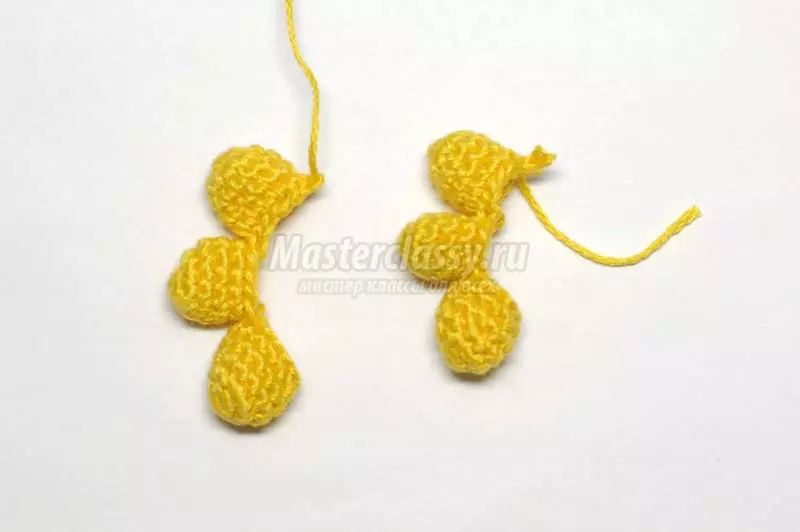
The first step we will encourage the paws of the cockerel, on which it will be easy to stand. In total, four fingers will be on each foot: two on the sides, one in front, one behind. We proceed to the manufacture of the middle finger: we make the amykoleco and type six columns without a Nakid. In prioritize the first row - six columns without Nakid.
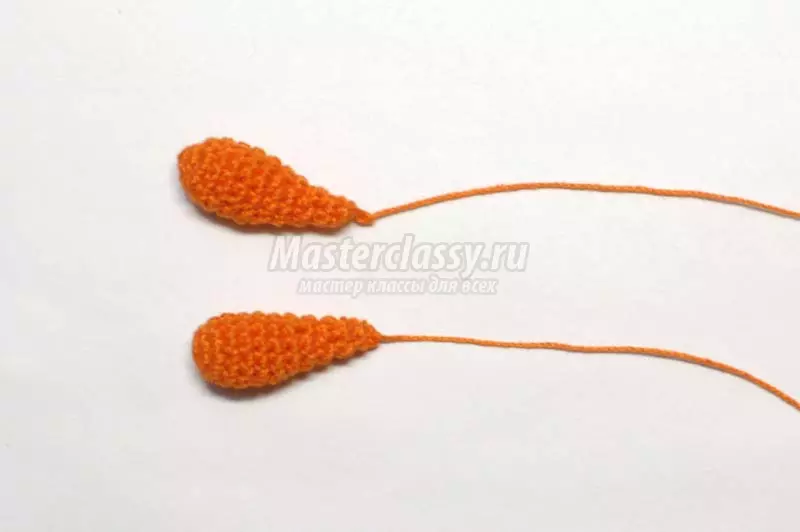
In the second row we will make an increase in each second column. Then they see five rows without changing nine columns. We make four such fingers. Tight put the filler.
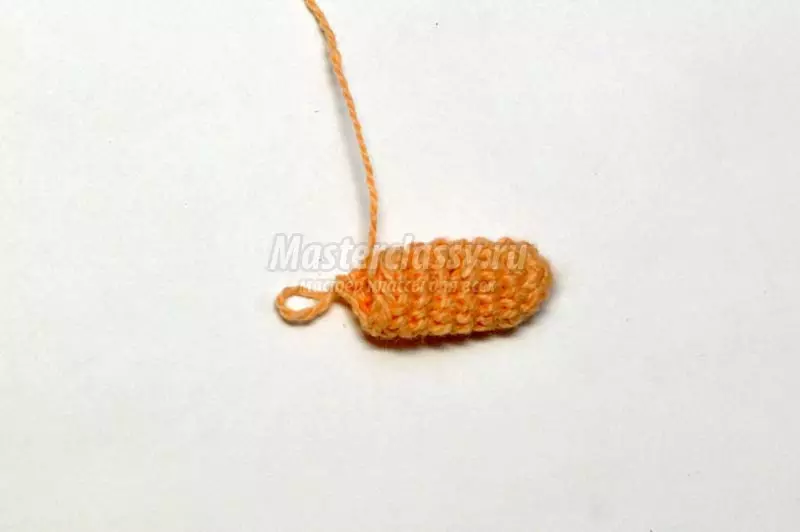
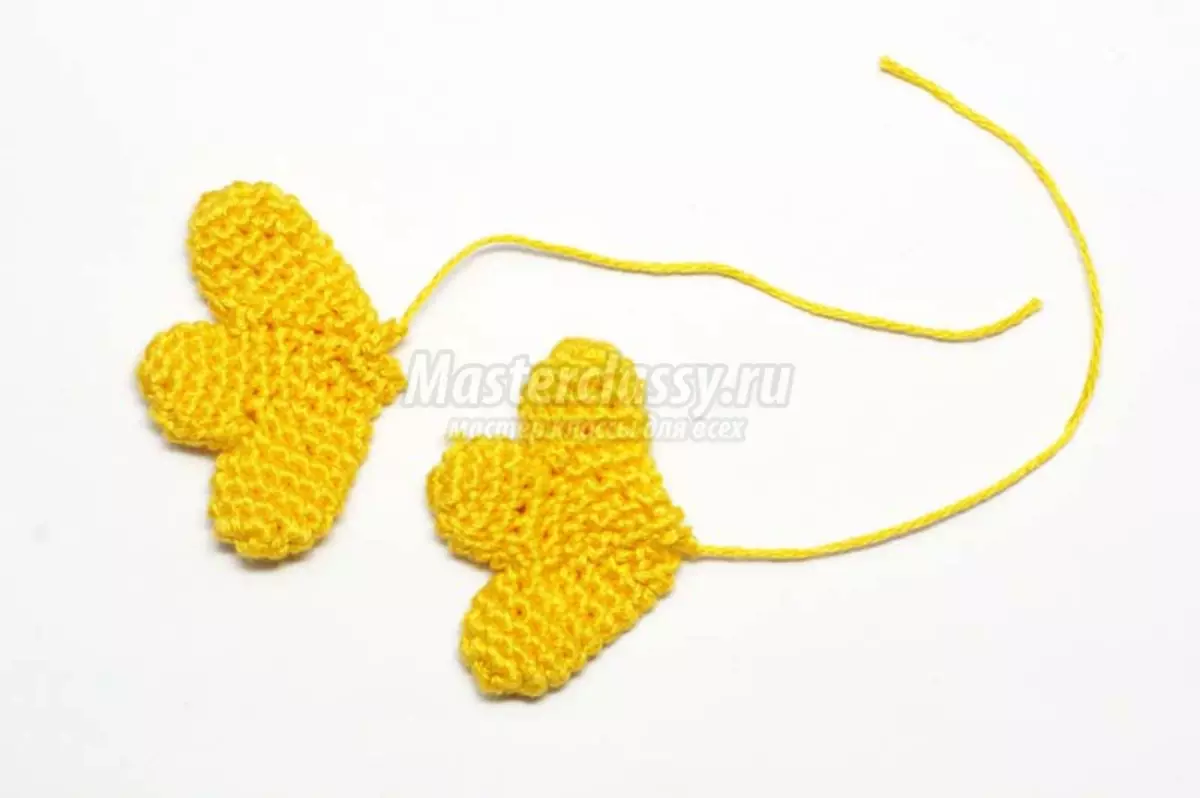
Second step we make side finger. Again there are six columns without Nakid again, then we make an increase in each second loop and there are still three rows of nine columns. We make four such fingers. Tight put the filler. We fold your fingers in such a way as they are placed in the foot.
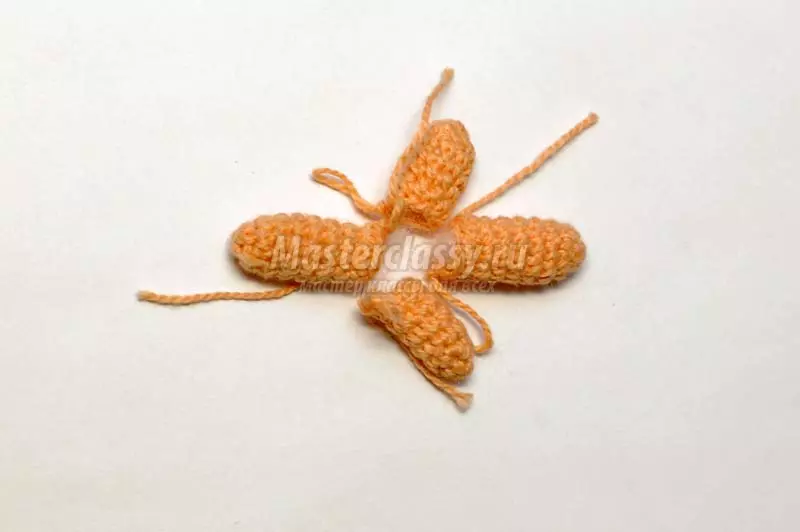
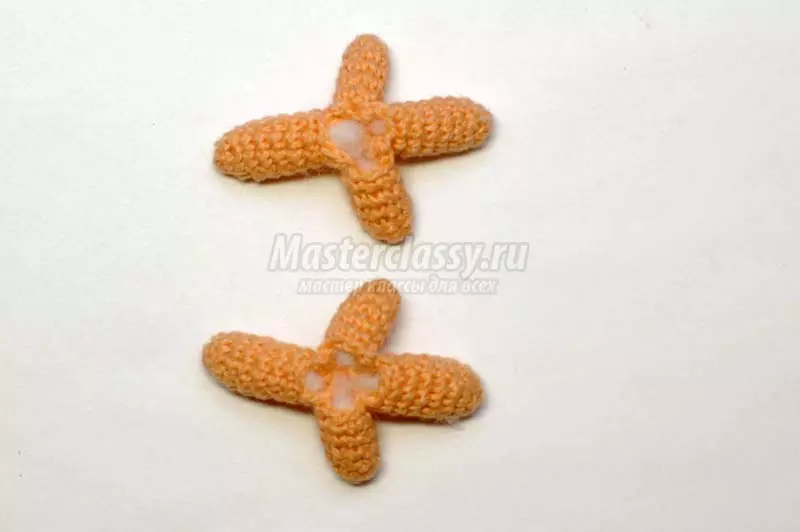
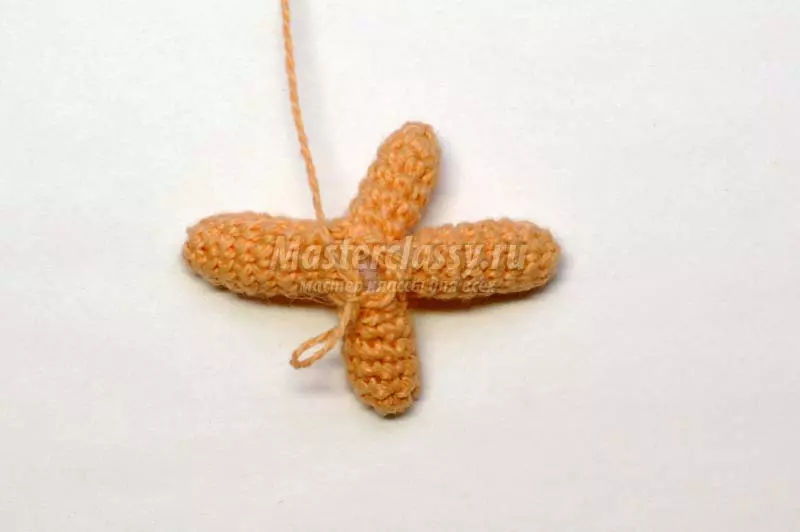
For the sides we associate them with each other.
Then take the needle and sew the lower surface. There should be no single string. Give your paw shape.
Article on the topic: 12 ways to get rid of midges in flower pots
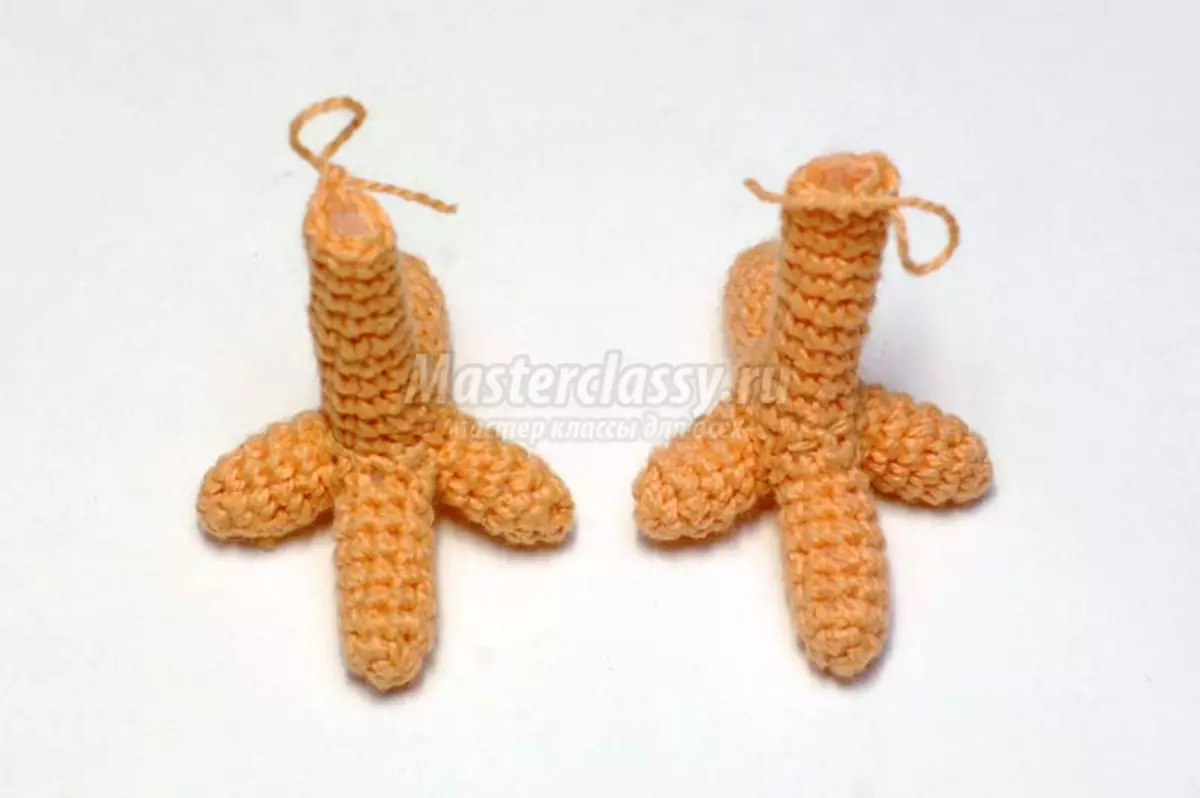
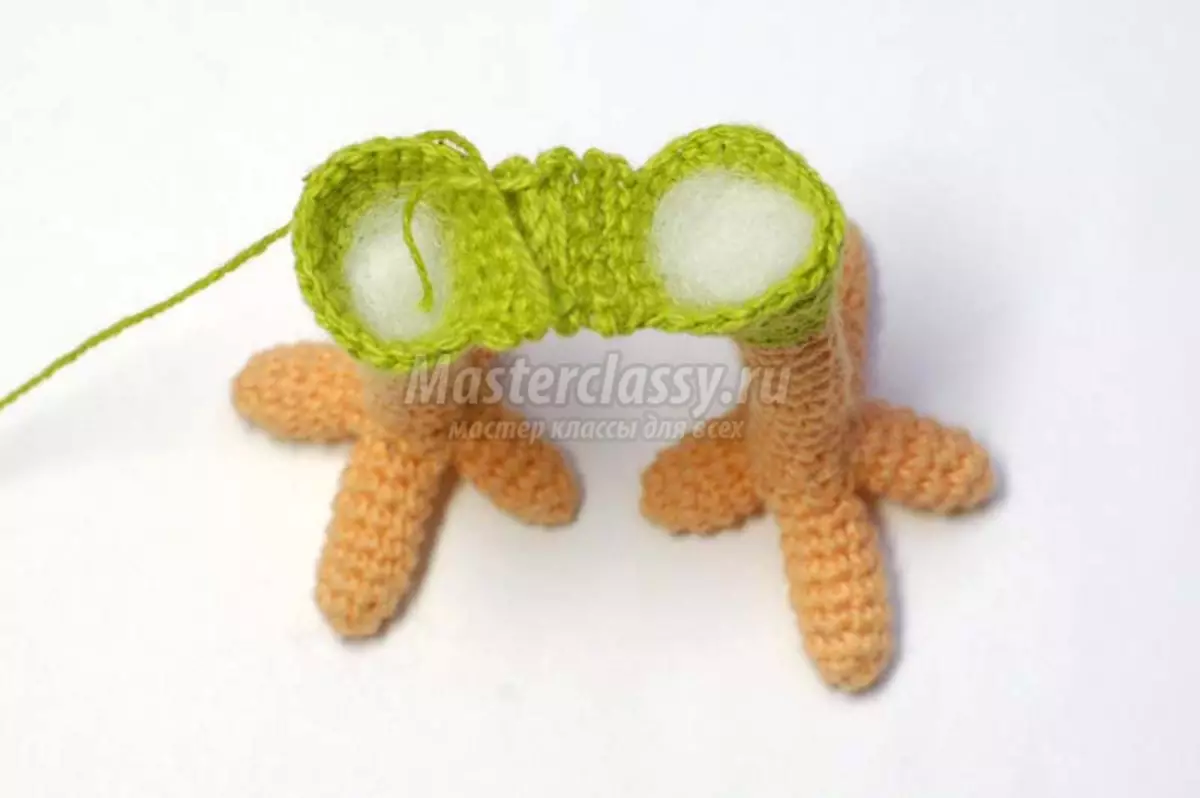
We bring the hook for the loop (top), pull them out and make nine columns.
Fill with a synthet toy where it is not. We are tied ten rows.
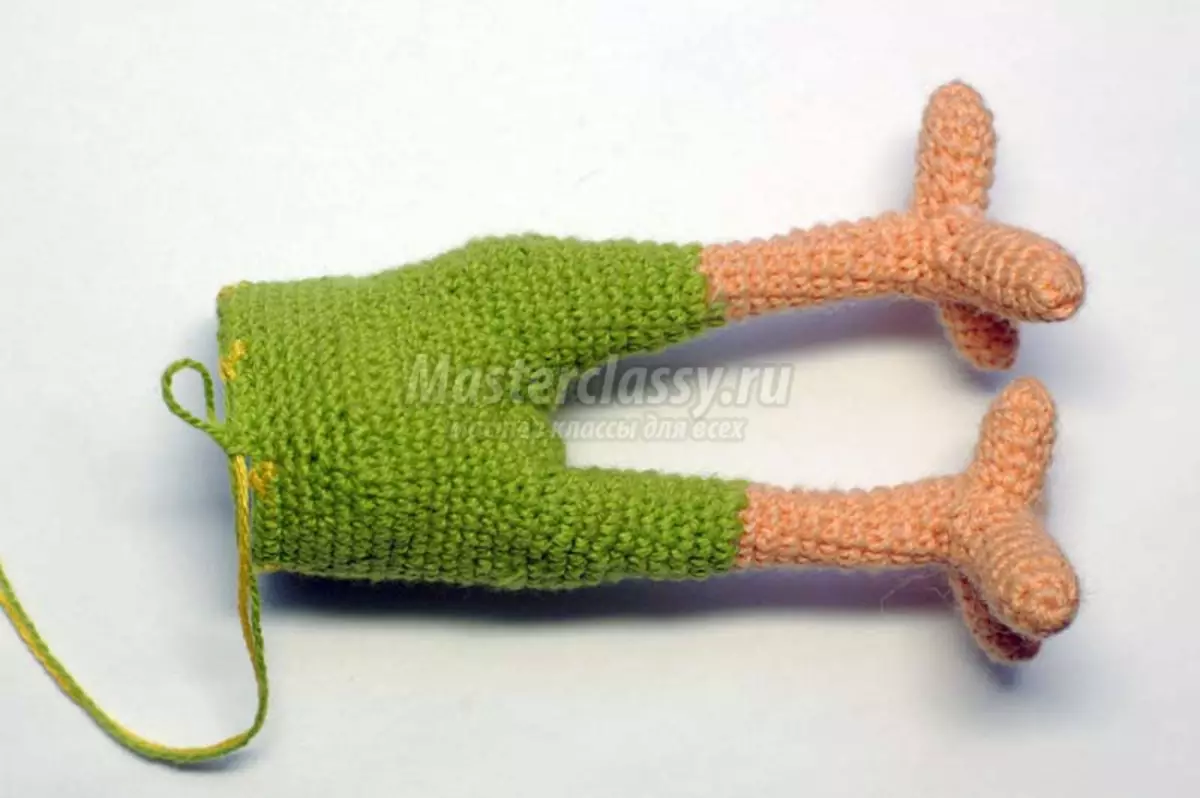
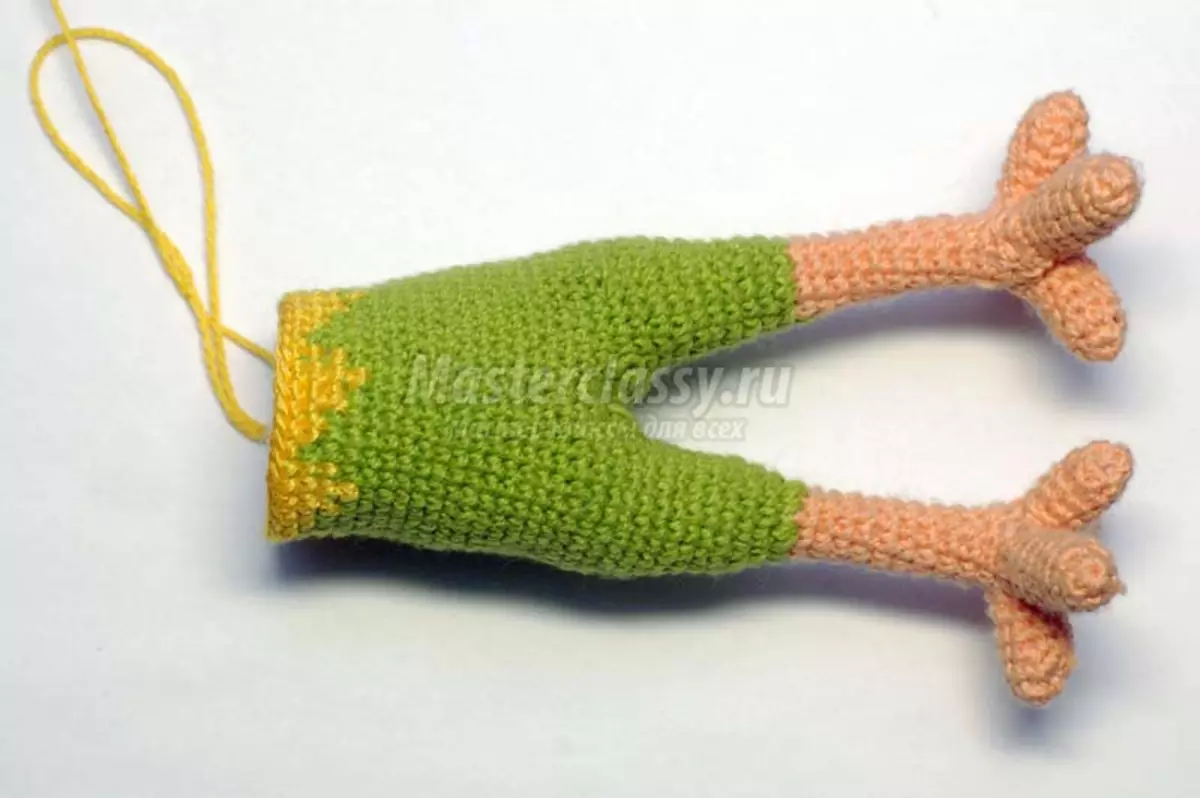
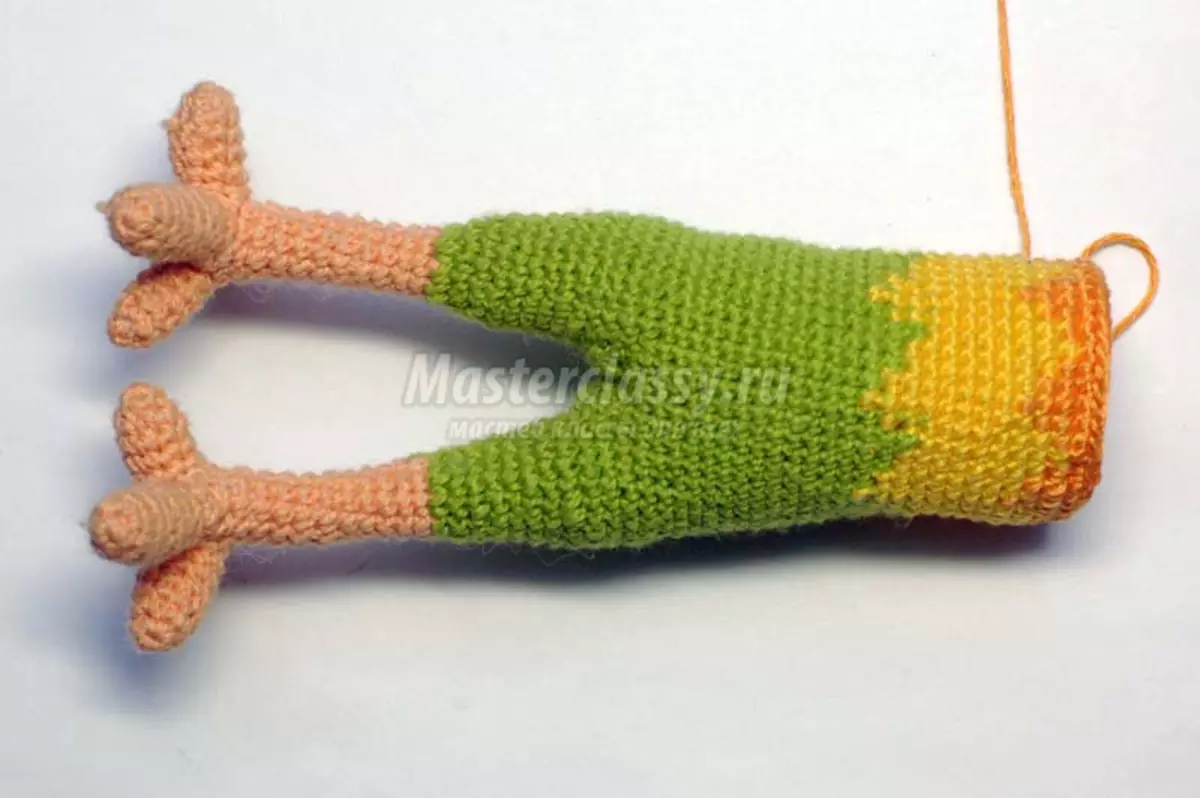
We change the color of the thread on the green, go to the exposure of the tibia. We start knitting the body. To do this, we double in the first row every second column, the next layer is usually told. Then add the freight to each fourth loop. We are tied two more rows usually. Again the addition to every fourth column. The seventh row knit twenty fails. Then the addition to each fifth loop. In the ninth row of 24 columns, turn the product - we make six columns without an inlet, lifting loop and repeat this process twice.
We associate legs, without forgetting to fold them and fill with a syntheps.
Five next to the columns. Then we make three boosters for the tail through two hinges. In 17 row: 48 columns. In the eighteenth row in the same place we make an increase. Then again a simple row. In the next line, we reduce the two loops in the same place. Simple row and further we reduce the three loops. Then begin to knit a specific scheme (zigzag), adding yellow. In 25 row alternate 1 yellow, five green.
Then three yellow, three green, in the following circle 5 yellow, 1 green, the last row is completely yellow. Slip five rows in yellow. Using the previous scheme, add a zigzag orange color.
In 38 row, we take three loops. In the usual way the next row and fill the toy. From the side of the chest we make three slugs and then insert the next row. Again, according to the scheme, we make the transition from orange tone to white color.
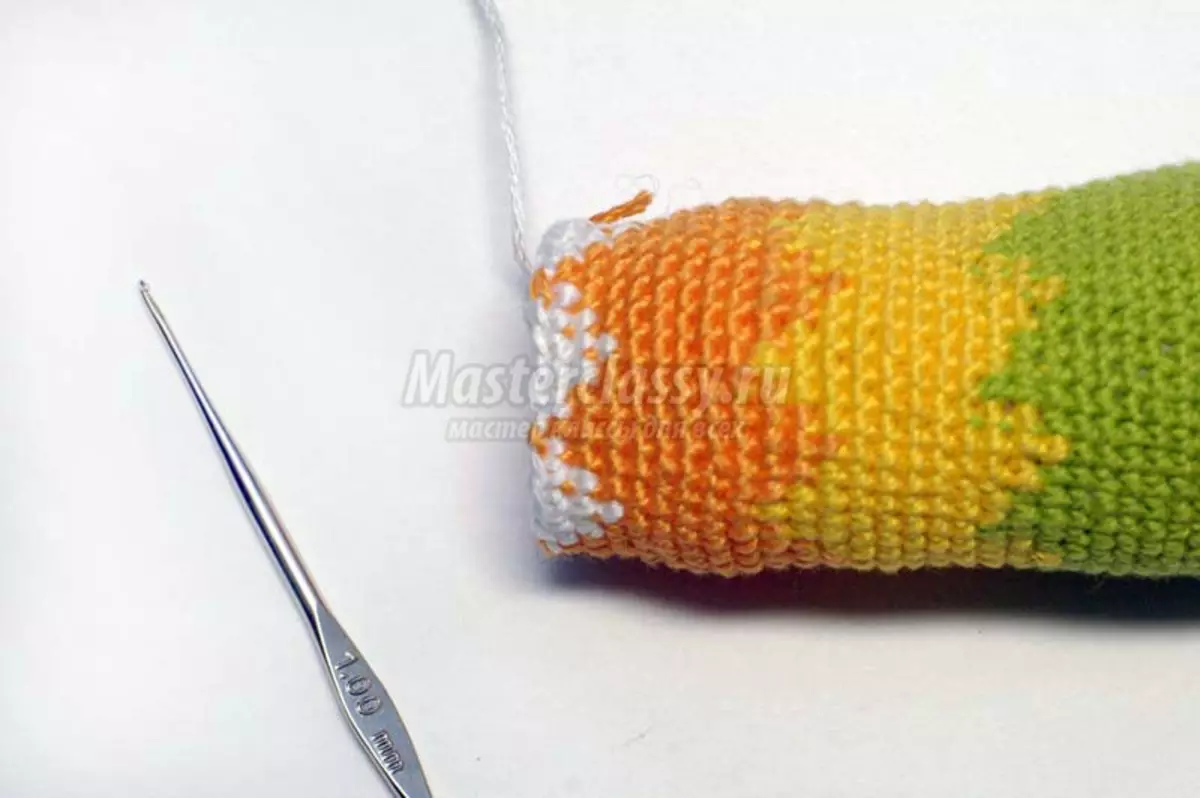
At this point, when the word is written, you should understand that we will take three loops. In 45 row, the row from the side of the chest, 46 is the usual way. In the following two circles - a grave. 49 Strit twenty-seven columns, re-refilling, in 51 rows already knit 24 columns. Through one row we make a gravel. From 59 to 61 lines knit twelve columns.
Article on the topic: Topicia from coins with their own hands: how to do with a master class, photo and video
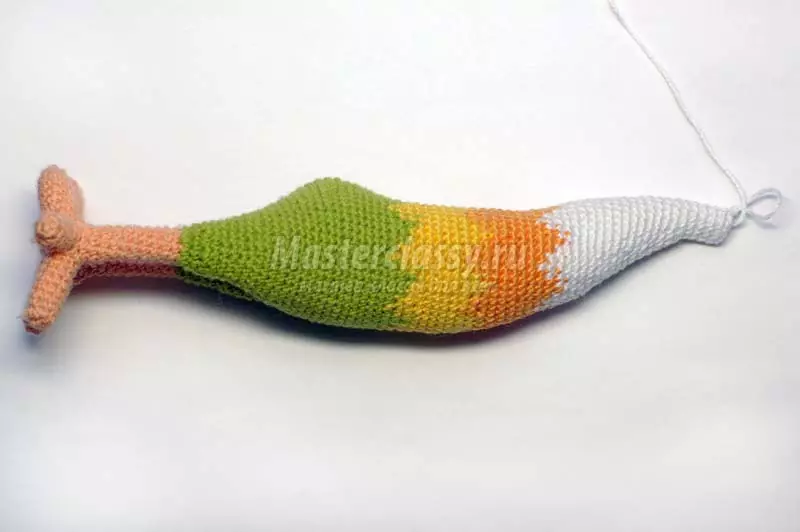
Put a tight filler. The head begins. First double each second, and then every third column. Slip from 64 to 66 rows - twenty-four columns. Then in the next three rows we take six loops, do not forget to lay the filler. We close the knitting, hide inside the thread.
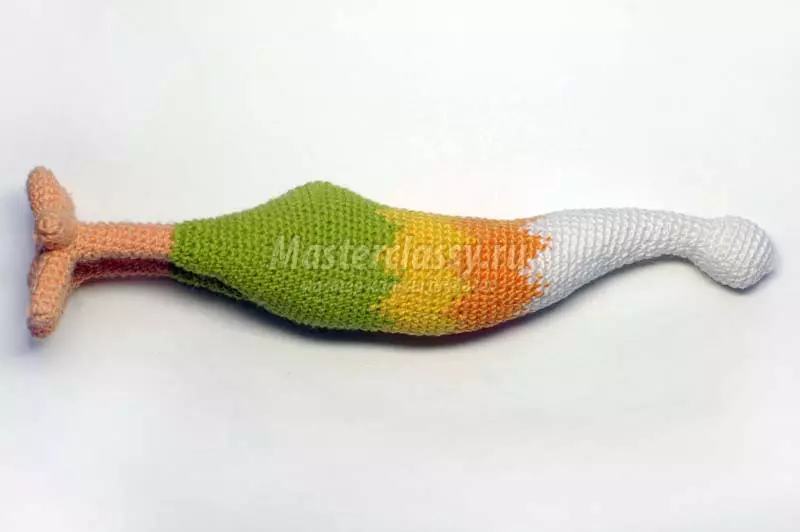
Knit tail. The first two rows of five columns. Then we make an increase in three loops and prior to 20 rows of eight columns without Nakid.
Knit a beard. In the first row, six columns without Caida, then the addition twice, after which they knit until the sixth row of 12 columns.
Alternate a simple row and gravel in three loops. In the tenth row - six columns without Nakid. Close knitting. We make the second part.
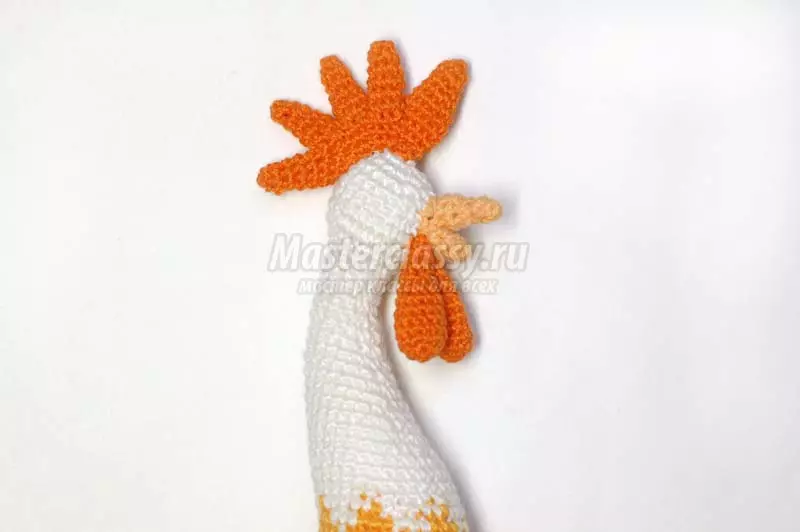
We work on the scallop. The first two rows of five tables, then we also alternate an increase and simple row. In the sixth row knit nine fails. And we make three teeth.
Then make a smaller detail with this method, only to 5 rows (first five columns, then the addition of two loops, then two rows of seven loops). It is necessary to make a detail more. To do this, add two loops in the sixth and seventh row.
We collect the items. We are tied by columns without an in perimeter. In the next circle we reduce six loops, then we make a gravel again.
Making the beak. First, the upper part: four columns, then in the following two rows of two absorb. 2 lines of eight loops. Now the lower part: four loops, then an increase in 1 loop and the last row - in the usual way. We sew both parts with each other.
Send all the details to the body.
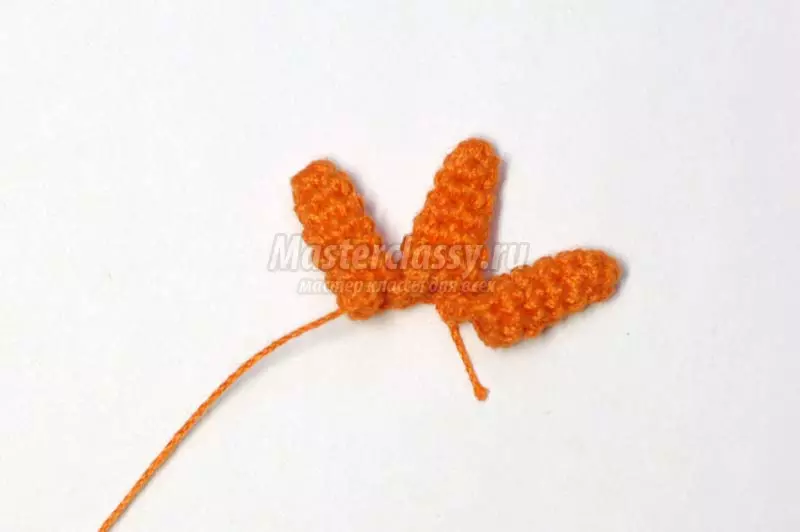
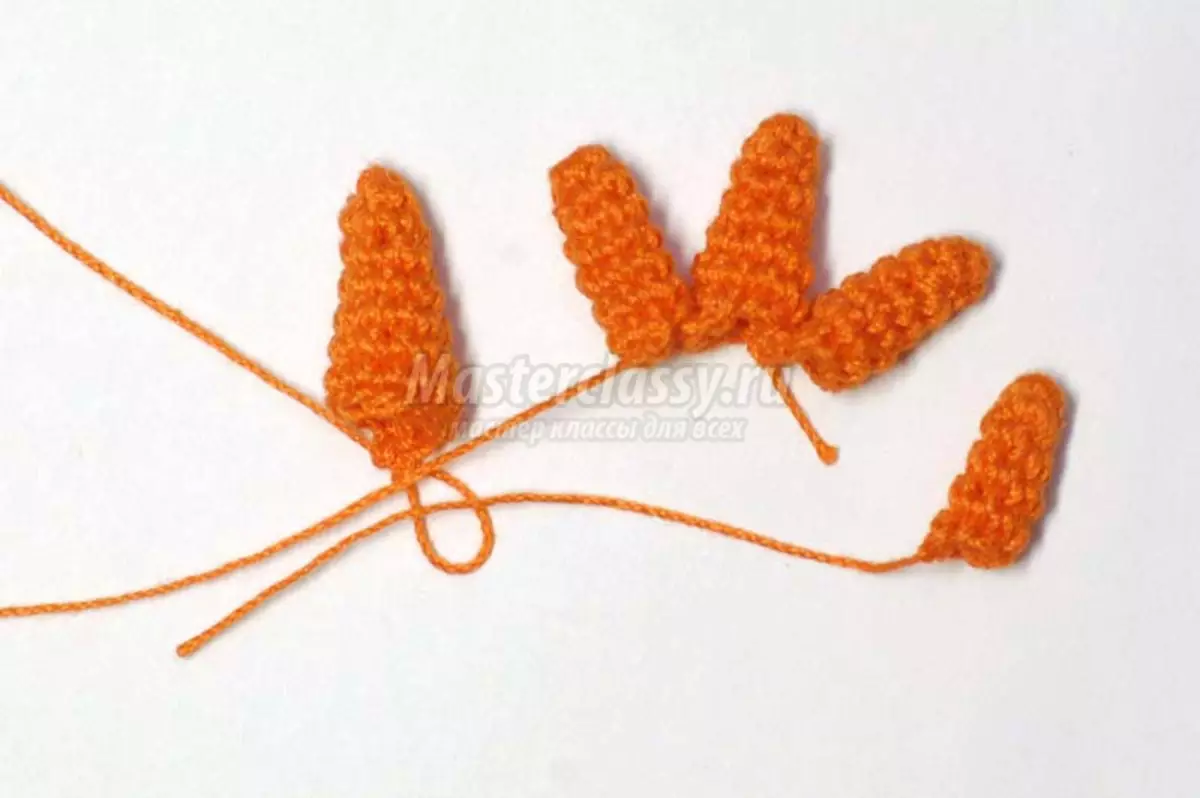
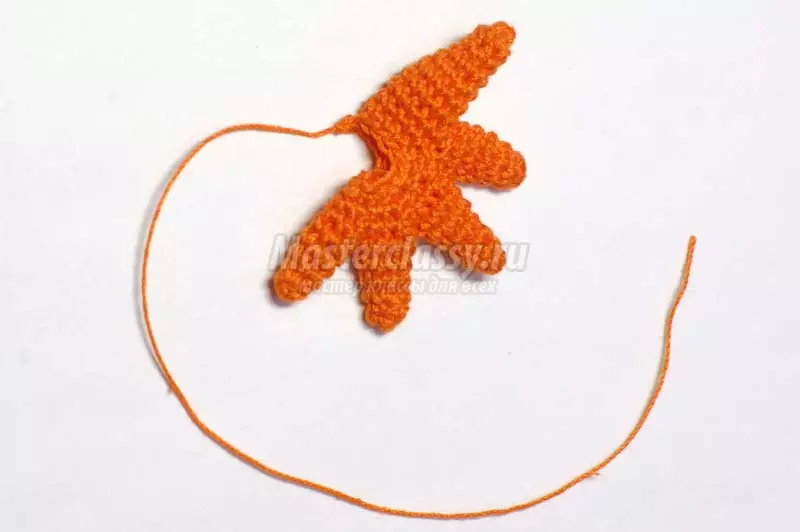
Making wings. Six loops, in the second row increase in each loop.
Then knit to the fifth row in the usual way. We make five more details. On the sides we associate them with each other.
Article on the topic: Cake from diapers with their own hands Step by step with photos, video and master class
We bind them in a circle of 28 columns. The following two rows of fastened loops. Then reducing the number of hinges by six. In 10 and 11 row we remove 4 loops. Close the product. We make the second wing.
Sefers the wings, and the rooster is ready.
Video on the topic
At the end of the article, we offer to see an interesting selection of videos in which the entire process of creating the cochetic cockerel is shown in detail.