
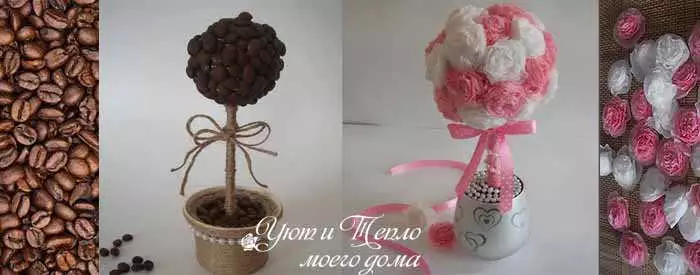
Good afternoon friends! Today I have my boasts - my first Topiaria do it yourself. For a long time they attracted these beautiful decorative trees in the photo, and finally decided to do it myself. I looked at the video, how others do, and began to think, from which material I will create your first works.
To begin with, I tried to make the simplest Topiaria: from coffee grains and from napkins. As it turned out, these are the most popular types of Topiaria.
Moreover, I have all the collar - it turned out, first made some of those materials that there is at home, just bought the napkins and braid, and then it began to study what the needlewomen advise.
So I will write a step-by-step guide, I made photos, and video of some moments, but I do not pretend to the master class for beginners.
Topiary - Tree of happiness
A small artificial tree, which is the Topiary, is considered to be a tree of happiness, as it brings good luck and well-being in our house, creates comfort, beauty, good mood and can serve as a guard.Types of Topiarias are the most diverse: they can be completely miniature and not very, both classic in the form of a round crown, standing in a flower pot and made in the form of a heart, soaring from a cup or made on an inverted glass.
And at the Fair of Masters, you can buy as a gift Topiary: the price of such a product is an average of 500 to 4,000 rubles.
But you can try to make a decorative tree with your own hands.
What is needed for Topiaria
For crown , to choose from:
- coffee beans
- Paper napkins
- artificial flowers
- Shelli
- Shishki.
- satin ribbons
- candy
- fruits
- cotton woven disks
- Coins
- Cash bills
- Beads
- Knitted roses and other flowers
- Decorative butterflies
- Craises
- Corrugated paper
- And in general, everything that can come to mind.
These elements are glued using a thermopystole based on which a foam blank (balloon, heart, triangle) or a papier-mâché is suitable.
Article on the topic: Socks Baby needles for beginners: How to tie soft socks for newborns by photo and video
Ball for Topiari You can also make it possible to make foil, newspapers and even mounting foam.
Trunk for Topiari Make from any girlfriend: wire, twigs, pencil, bamboo sticks, etc.
The tree is fixed by Stand Best of all, a flower pot is suitable for this purpose, but different cups, kettles, jars can be used in the move.
As a fixer, plaster, alabaster, cement, putty, prepared according to the appropriate material of the instruction, are used.
In addition, they will need materials for an additional decor of the crown and trunk. How to decorate Topiari will tell you by your fantasy: ribbons, beads, paper, organza, lace, etc.
Simple Topiaria do it yourself: step by step description
Contrary to sound guidelines, I did somewhat in my own way. I did not want to specially acquire either plaster, nor putty, nor the more thermopystole, he in principle is not needed.Therefore, as glue, I used the glue "moment", and to secure the barrel in the stand - the usual clay, which is full of my house. Maybe this is not the best option, but in a dry form it is very hard and the tree in it is perfectly held, and I'm not going to turn your topiaries on your head.
I also made the balls with my own hands, although I planned to buy first, but then I saw the rollers, how it turns out to be easily done.
For sample, I chose the simplest topiary.
Topicia of coffee grains
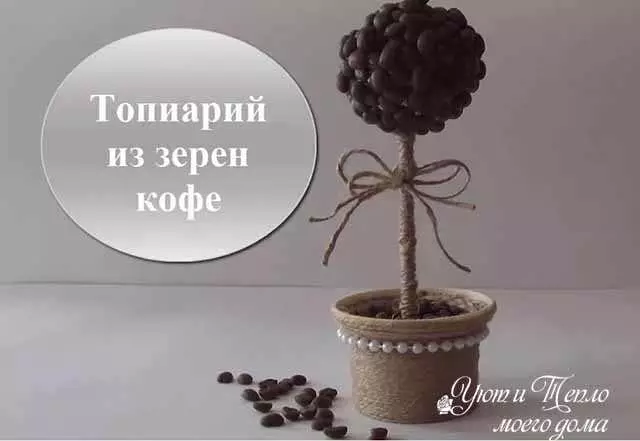
This is my first job on which I studied.
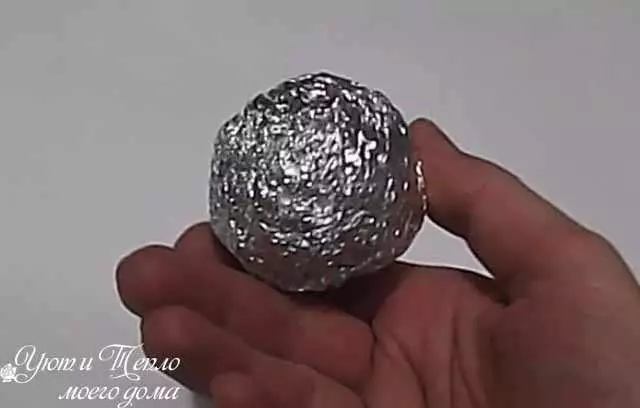
- First of all, I made a ball of aluminum foil. It is very simple: from the Foil Roller, the piece of approximately 30 cm long, folded it fourwise, and then, holding the edge of them, and kicked them with his hands. At first, he seemed to me too small, then I screwed a few more layers of foil over.
The ball turned out very dense and almost flat.
Coffee Topiary should be done on a dark basis so that the lumens between the grains were not noticeable. Usually, the foam ball is painted with brown paint, before gluing grain.
Although I thought about it, but I did not have paints, and I don't know the ball, I would not know, it would be painted. Therefore, I came up with another way out in this situation.
Article on the topic: Cap-stocking knitting needles for a girl with a description and photo
And then I learned that it was possible to wind through his bandage painted in coffee or tea.
- So, the basis is the ball is ready, the next stage would correctly insert the trunk in it.
But at first the grain of coffee pasted, I saw in the rollers, that they also come. In the case of coffee, this is not fundamentally, but if the Krone is a tree will be from fragile materials, then in the process of compound there is a risk of damaging them.
The grains stressed one by one, starting from the central part, i.e., first along the diameter, and then gradually moved further.
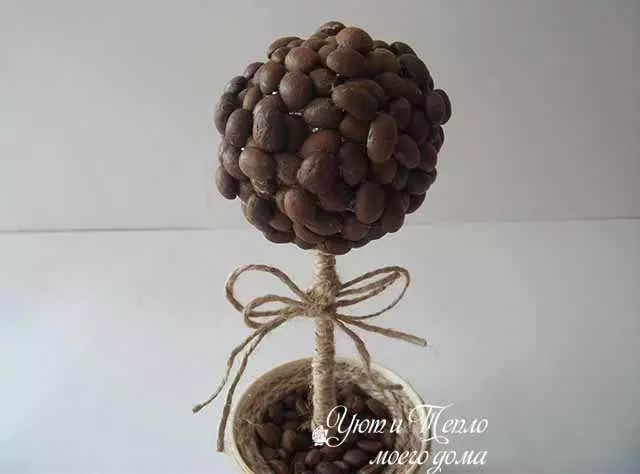
After drying to the places of the lumen, the second layer of coffee was stuck. So I solved this problem, and the ball turned out more voluminous.
- For the trunk, I took three bamboo sticks from the old napkin, which began to fall apart.
Wrapped them with twine, putting up and down on the glue.
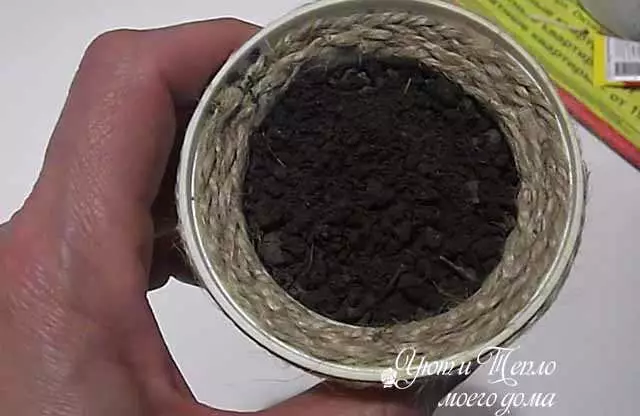
I did a hole with scissors in a bowl, a little glue drove into it and inserted a stem.
- The most pleasant moment in all this process was for me the decor jars for the stand.
At first I tried a flower pot, but it turned out to be great for my little Topiaria, then I found an old straw, lying a long time without a business.
She wrapped it with twine, and on the upper edge, two pigtails were stuck, woven from the twine.
Additionally, decorated near the finishing beads, especially when they bought something for the decor. So I like this jar!
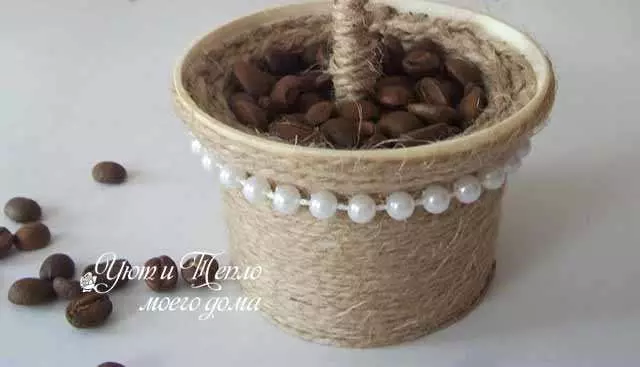
- I poured into the coaching clay, watched her with a water and planted herd there. On top posted grains of coffee.
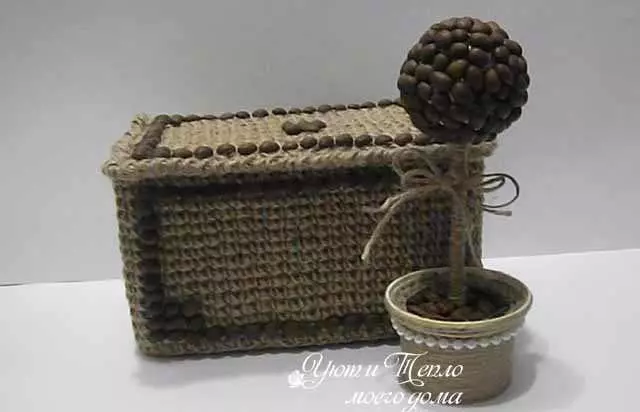
6. At the trunk attached a bow of twine.
Topicia made of coffee grains with their own hands, it looks great next to the casket from the twine, which I have when Mastery.
Topicia from napkins
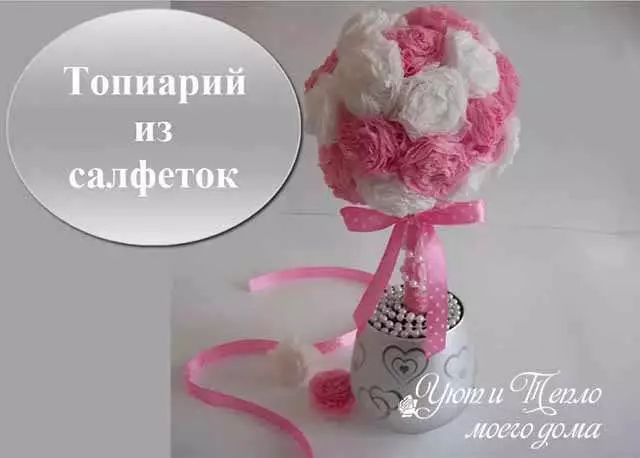
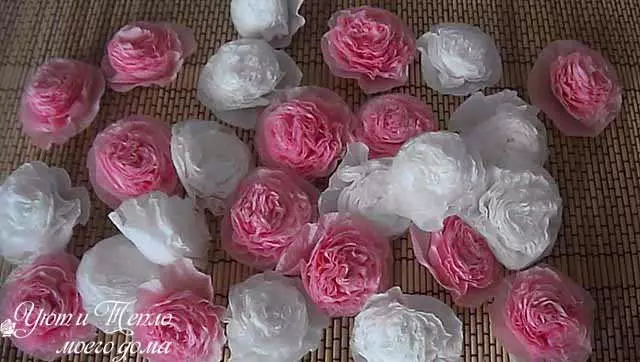
The second tree of happiness, I wanted to perform two colors from paper napkins - white and pink.
I learned the flowers from the napkins, even when the panel on the hoops came up with pompons. Last time I only casually touched it, and now I want to tell and show the whole process of their creation.
Article on the topic: Crochet Khomut Scheme: Children's option with photos and video
How to make a flower from a napkin
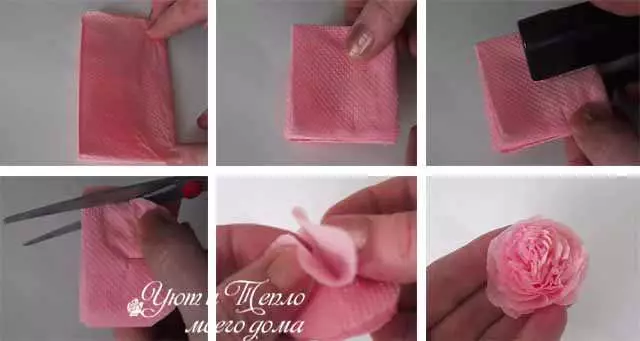
- We put the napkin in half.
- And once again in half. By collar can be cut.
- In the central part we fasten the stepler.
- Cut the circle from the napkin.
- Now each layer of napkins, starting from above, raise up. It is important to do it with each layer.
- When all the layers will be raised up, gently spread the edges.
That's all, the work is painstaking, but quite simple.
Flowers for Topiaria took a lot, I completed a few pieces already in the gluing process on the ball.
The ball made a newspaper this time.
How to make a ball for topiary from the newspaper
The newspaper must be broken or cutting into parts of the A4 format (the size of the conventional standard print sheet).
The first leaflek need to squeeze into the ball, and then wrap the ball into the second newspaper sheet. The resulting ball wrap in the next sheet and thus use several sheets to the desired size of the ball.
Paper ball need to be wrapped with threads so that it does not turn.
The tips of the thread I was glued.
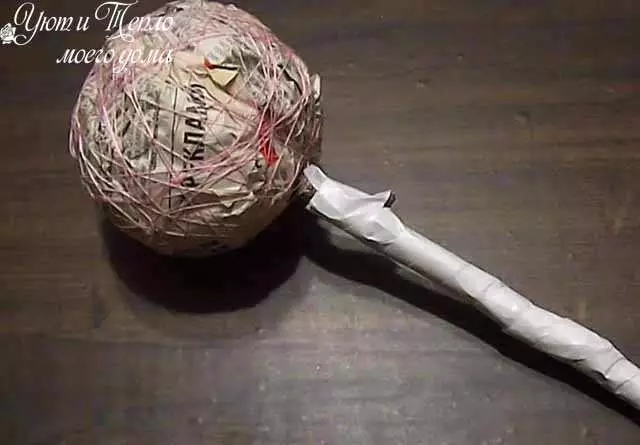
I used the trunk for Topiaria this time a twig. At first, it wrapped it with white paper and inserted into the ball, having done a hole in it and secured with glue.
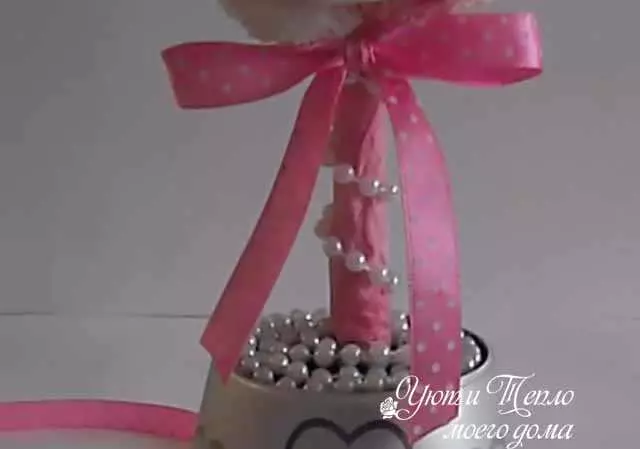
But then I decided to still change the color: walked the trunk with a pink cloth, and on top of it lasted a thread from the bead.
Among the home items, I did not find anything suitable, where you could fasten the topiary from the napkins.
I had to go to search in Fixprass, where I looked like a pretty candlestick.
Well, at the end of the image, a bug made of pink satin brackets in polka dot. Long studied, looking at the video tutorial, with the third attempt I portrayed something, but I'm afraid you can't repeat.
Here are my first simple Topiaria with your own hands. I like very much. There is a desire to do yet, but my next idea requires a lot of time to implement and while I postponed it.
And my video: