
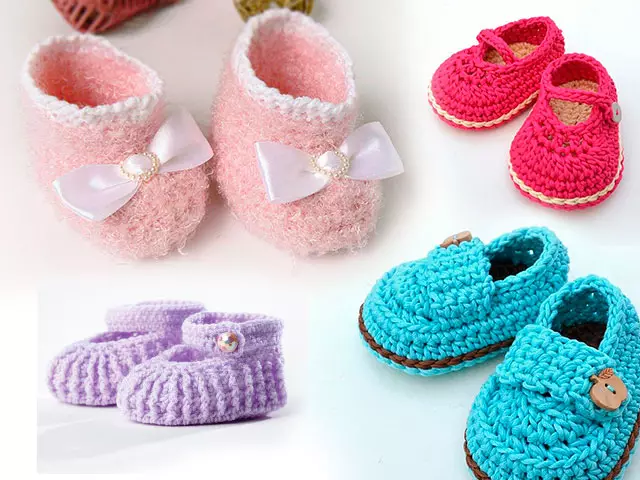
Unfortunately, not every crafter can tie the booties with crochet. For this, a lot of time, patience and desire will really need. But, of course, do not do without basic knowledge (understanding of the schemes, skills to knit columns) crochet. Our article will help to please your little miracle with beautiful and cute crochet booties, schemes for beginners will be stages to sign, and step-by-step photos will help for better results. Since the article contains several master classes, we will start from the simplest (first master class), smoothly moving to a more complex option (options from the video).
We start with simple
The process of manufacturing the simplest booties can be traced on the next master class. After you learn to knit this simple option, then you can begin to unsclude the form or drawing on the pins. For the leg of ten cm we took the acrylic yarn of two colors of 50 grams and a hook.
Knitting sole scheme. If you are not strongly understanding in the scheme, we explain: air loops are marked with circles, and with a drop with a dash, the tables with one nakid are indicated.
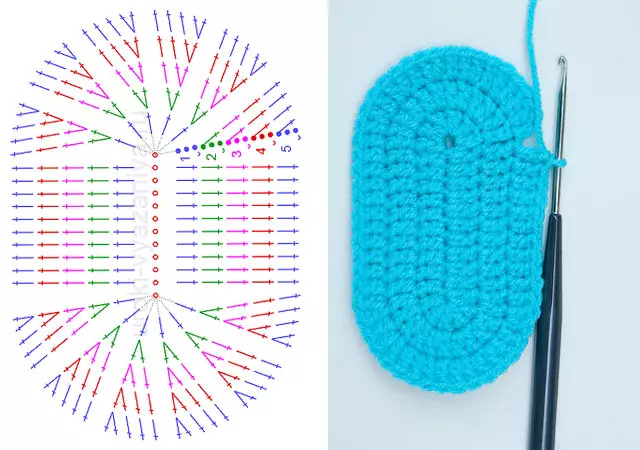
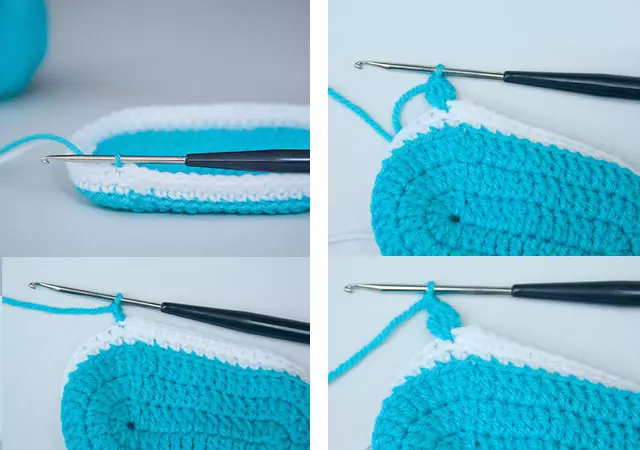
We proceed to knitting: we recruit a chain of air loops on the hook (12 pieces), and then three lifting loops. In total, it should turn out 15 loops. Then you need to enter a hook to the fourth loop from it and insert three rows with one nakid with columns. After you leaseed three rows, we change the color and continue to knit.
In the fourth row, in each back of the column, I have a loop without Nakid. As a result, at the end of the fourth row should be fifty-six hinges.

We are in the same way as the fourth row, not forgetting about the loops without Nakid.
In the next row, change the thread on the main color (in our case is blue) and then begin to squeeze small "lumps". First, it will be necessary to make a couple of air hopes, then peck two unfinished columns, and then the air loop again, but this time is one. All these actions are pronounced in one loop of the previous row.
Article on the topic: Ukrainian wreath do it yourself from satin ribbons: master class with photo
Then we make one more exactly the same "shishchka", but we skip one loop.
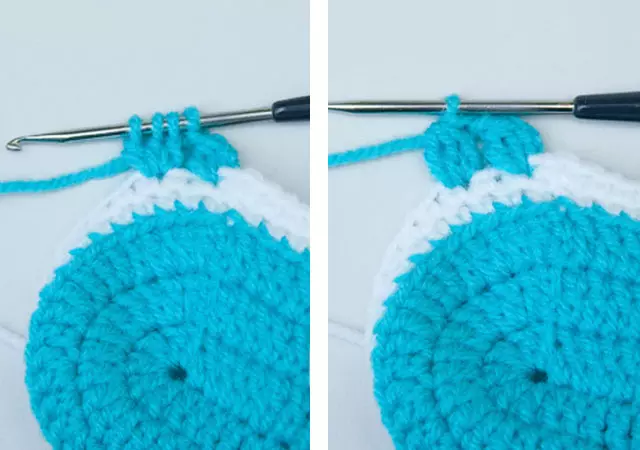
After that, we make one air loop, as shown in the photo.
We assign in such a way along the entire length and closer the first and last "shishche".
The seventh a number of future booties must be kept in the same way as the previous one (sixth).
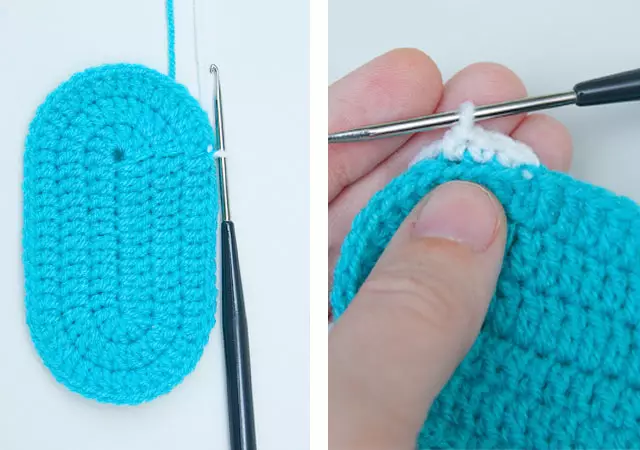
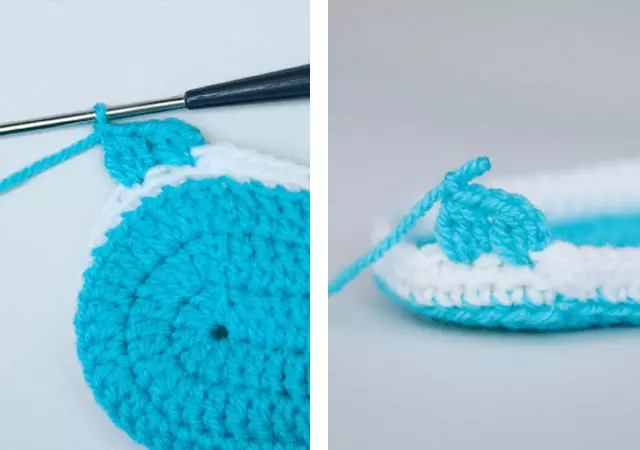
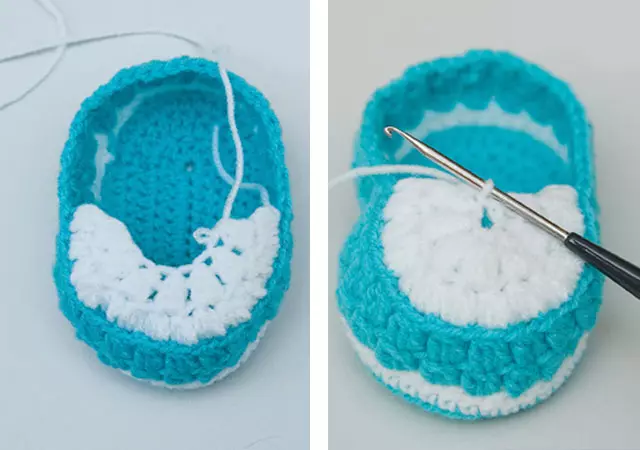
After we have accurate a whole series, you need to closer to knitting, and then cutting it either to cut an excess thread and hide the tail. On the hook pinning a white thread. Next, we note somewhere the middle of the booties and begin to knit with white threads the second step of our work - Myster.
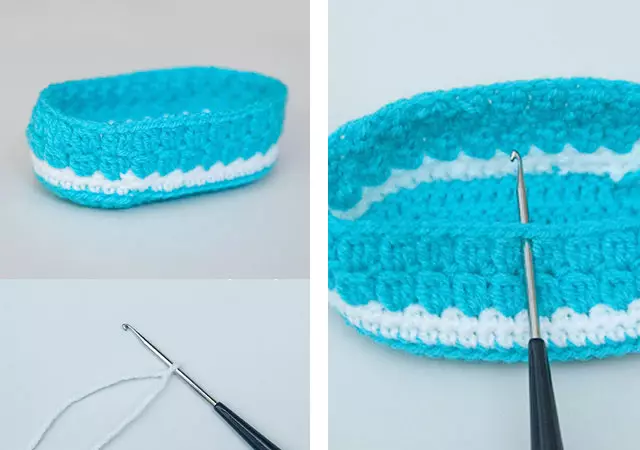
To do this, you will need: make a hook in the back of the loops and to stick the white "shishche" on the same principle of the pair of unfinished columns.
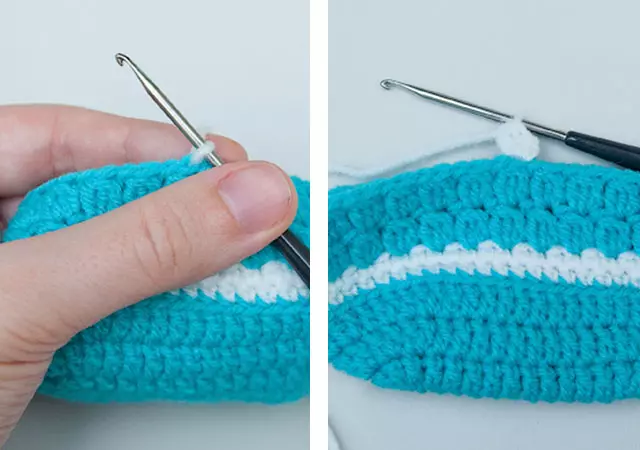
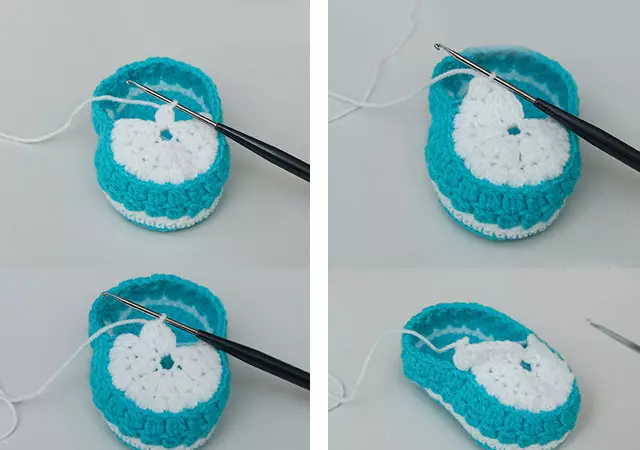
But then, we will need to knit the "shishchekes", but already from three unfinished columns. In our case, it turned out fourteen pieces, but we make an extreme detail from two unfinished columns.
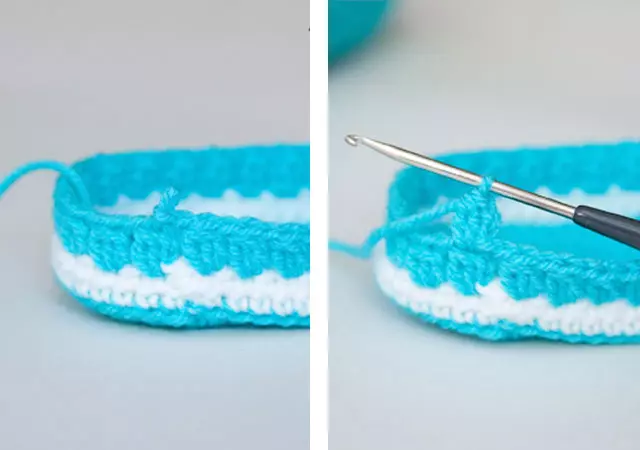
Then we turn the knitting and tie the second row with white threads.
In this layer, we succeeded twice as fewer "shishchek" (seven pieces).
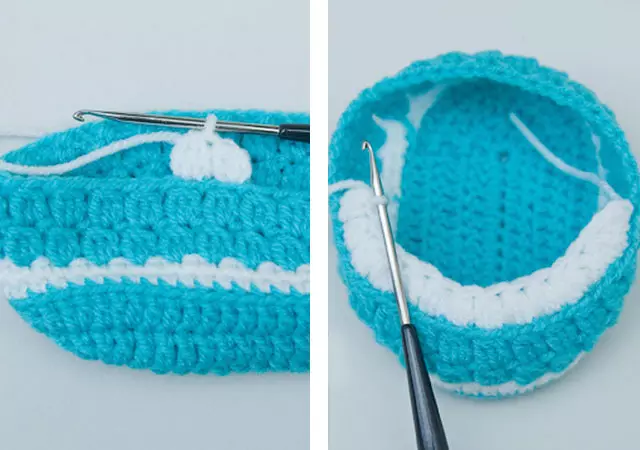
Next, we connect them. More details are shown in the photos below.
The next step is to have four "lumps" and fix them as shown in the photo. And after which the remaining row of booties exactly in the same way.
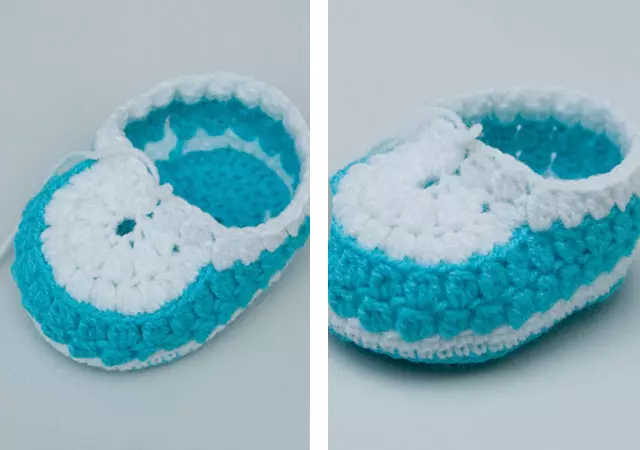
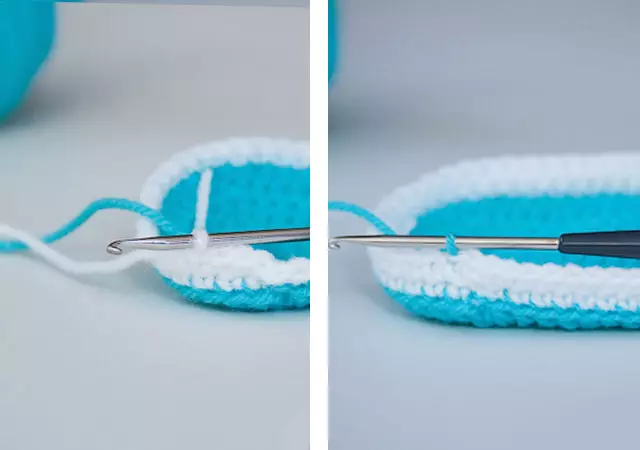
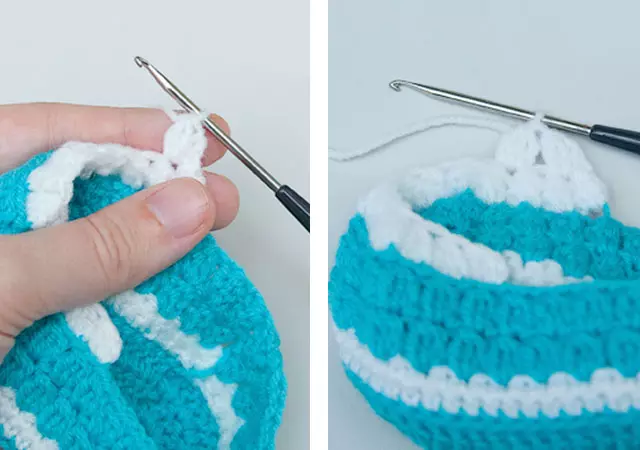
Next, we make a couple of white rows and change the thread again (on the blue color).
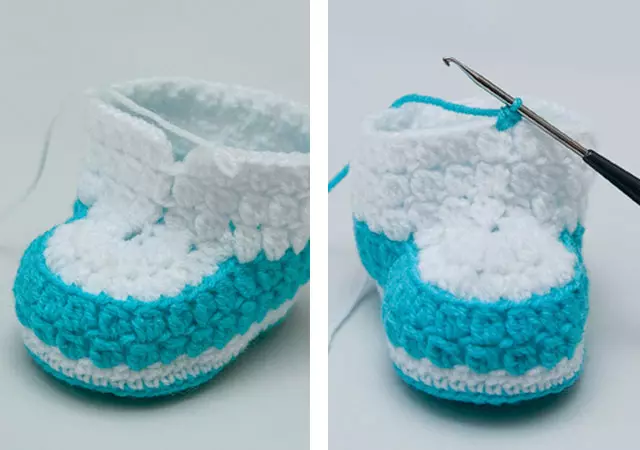
The last stage, we need to decorate the edges of the boosters. For beginners, we offer such an option: each "baby" of the previous row is tied up with three air hinges. But already experienced craftswomen can come up with their strapping method: with columns without nakida in a combination of pico, for example, or something else.
Article on the topic: Cross embroidery scheme: "Black swans" free download
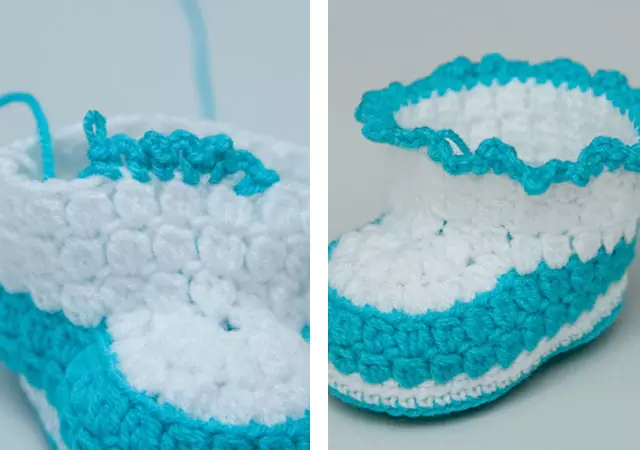
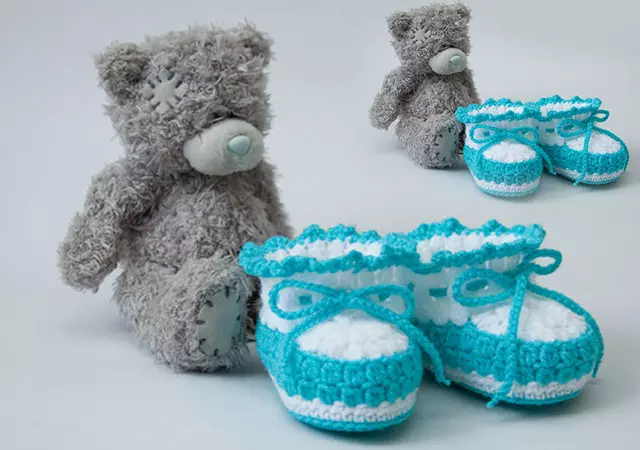
Here is such a beautiful booty for a small leg with us turned out.
On a note! They can be decorated with some interesting bows or beads.
Video on the topic
We offer to see a selection of video for the manufacture of cute booties with your own hands.