
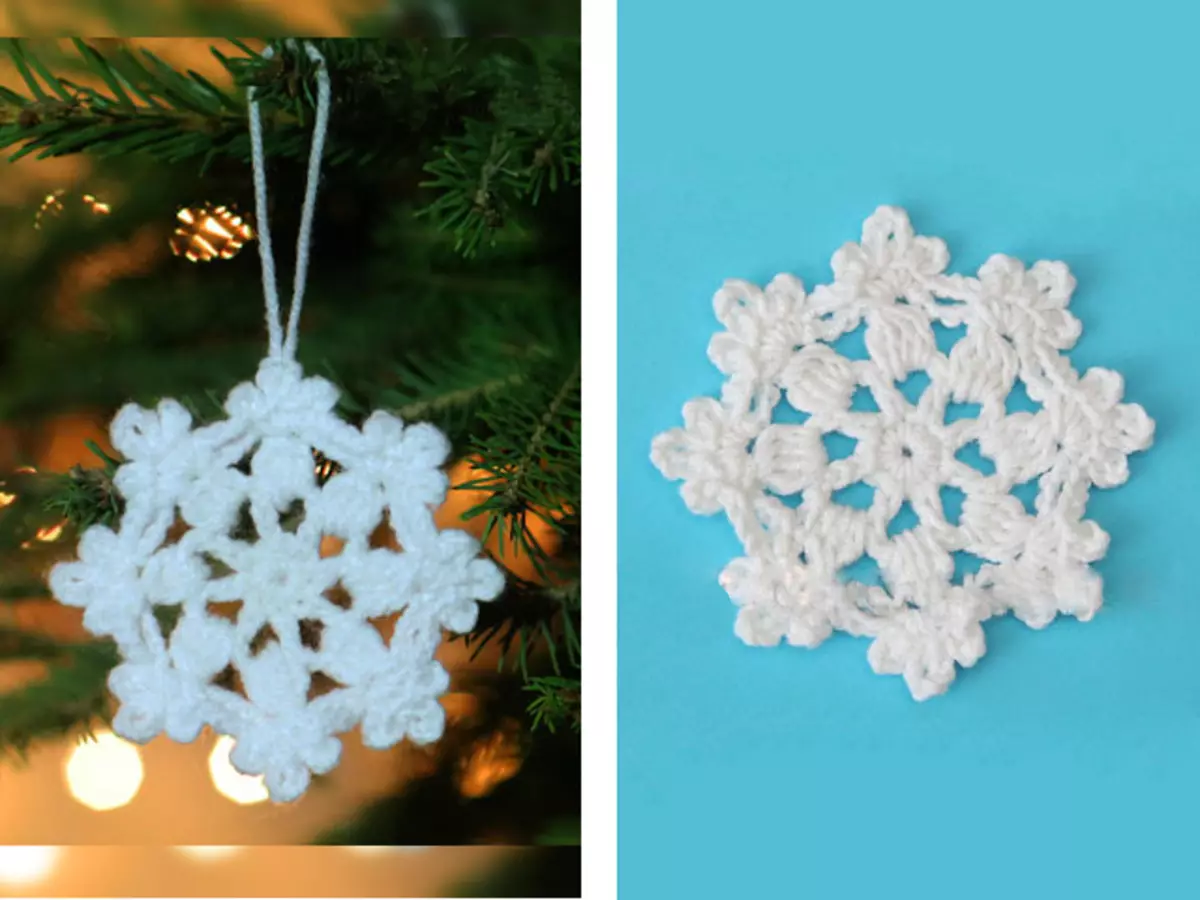
Crochet perfectly suitable for both dye lovers and beginners of this needlework. One of the simple in the implementation of the schemes is a snowflake. In this article, in addition to a detailed description of the snowflake circuit with hook, photos of each step are attached. Therefore, even a novice can cope with such an easy task as a knitting of snowflakes with a hook.
First simple option
You need a hook and yarn for work. This master class takes white, but for a variety you can take any other.
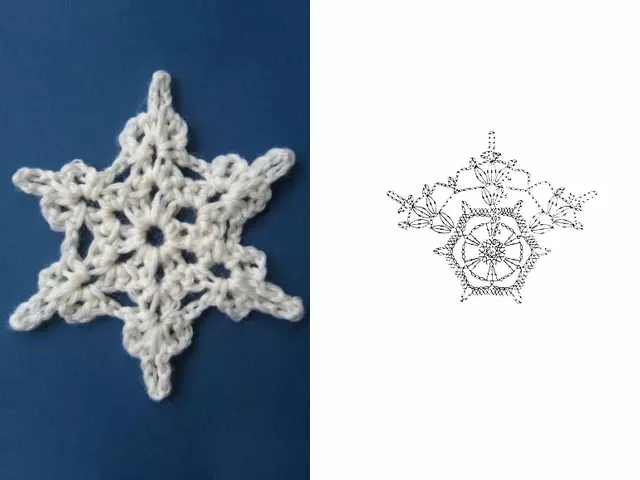
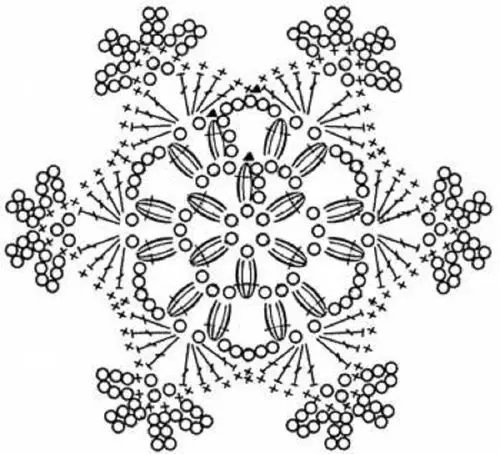
Scheme of this snowflake:
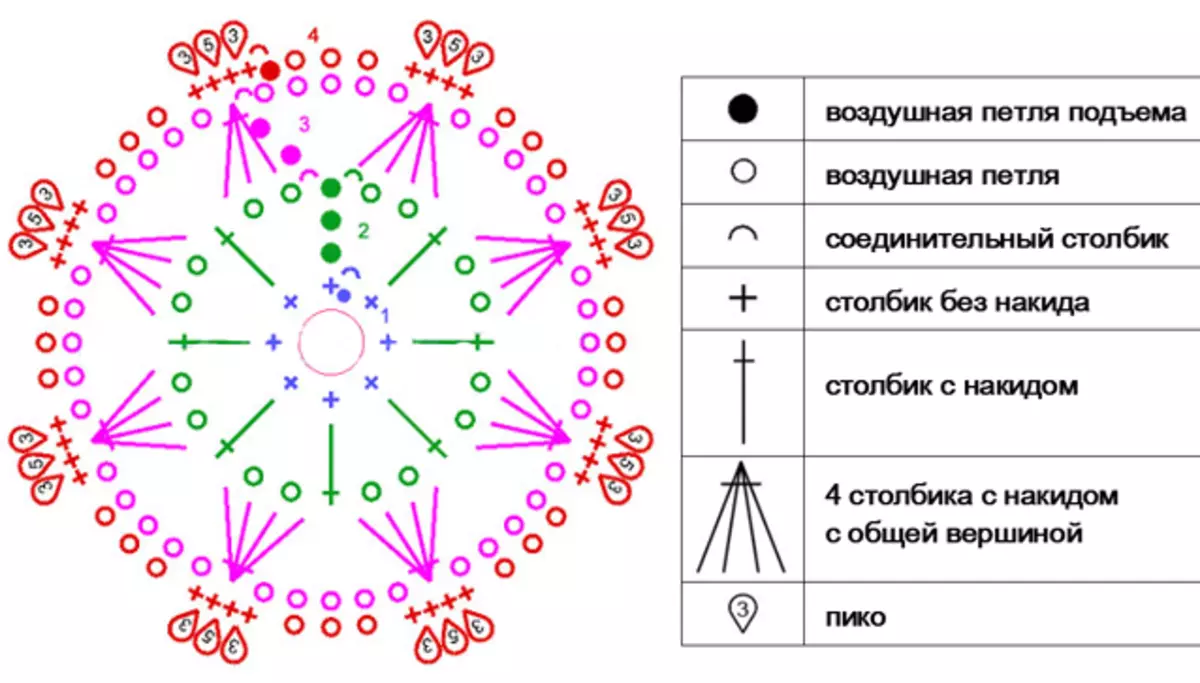
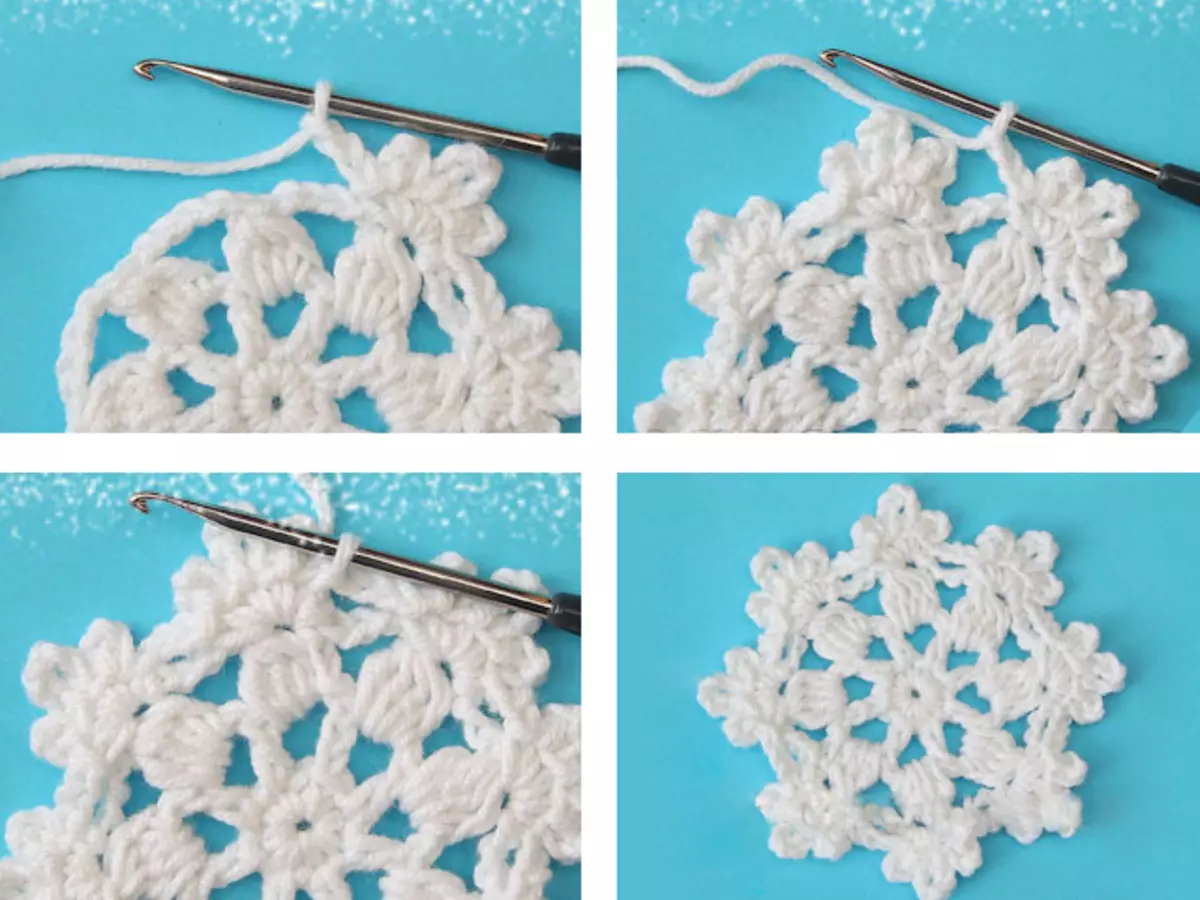
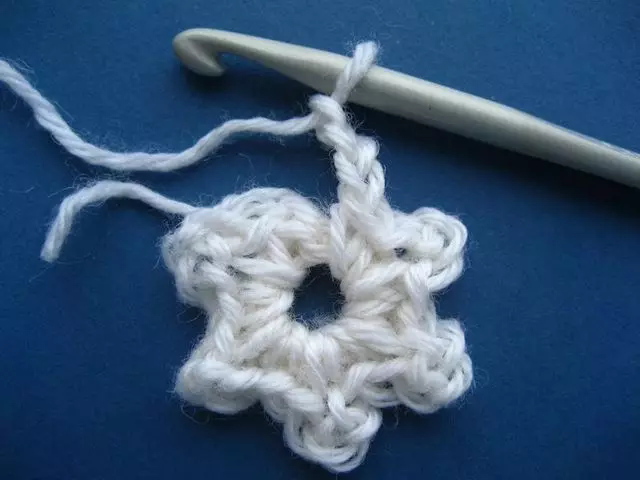
Forming a ring and peel one lifting air looping. First row: Tie eight columns without sketch in the ring. Turn the ring. Keep the connecting column by entering the hook to the first column without a sketch of this row.
The second row: Tie three lifting air loops and two air loops according to the scheme - the total air elements are coming out. Peel the column with a sketch in the subsequent loop, then two air hinges. Repeat such a composition (as follows. P. - 1 tbsp. From nab., 2 places. N.) Once again, continue to knit this way until the end of the row.
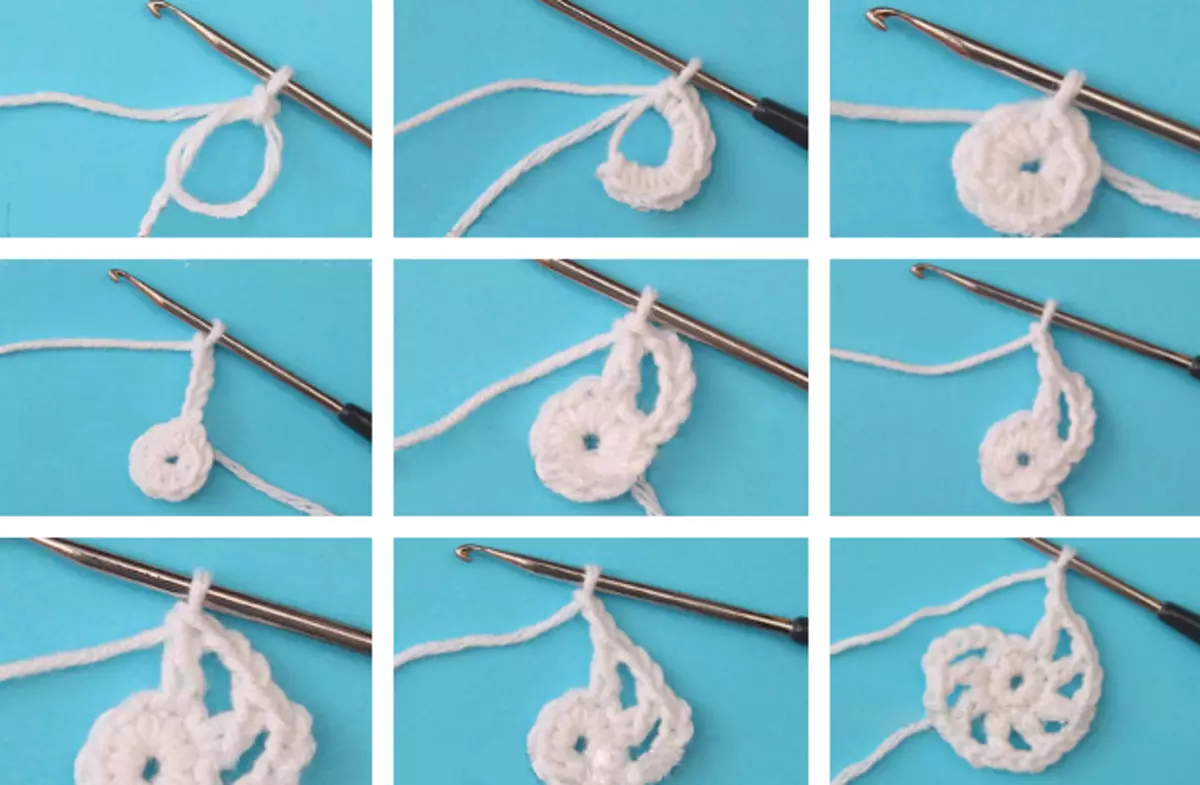
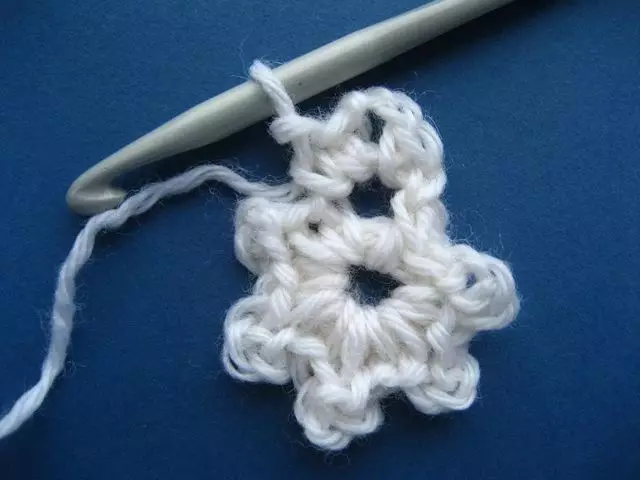
A row to close the connecting column, enter the hook to the third lifting air loop. The third row: tie one connecting column, two lifting air loops, three columns with a sketch with a common top, then five air hopes.
In the subsequent arch knit four columns with a sketch with a total top, again five air hopes. Knit so until the end of the row. A row to close the connecting column by entering the hook into the collapsy tip.
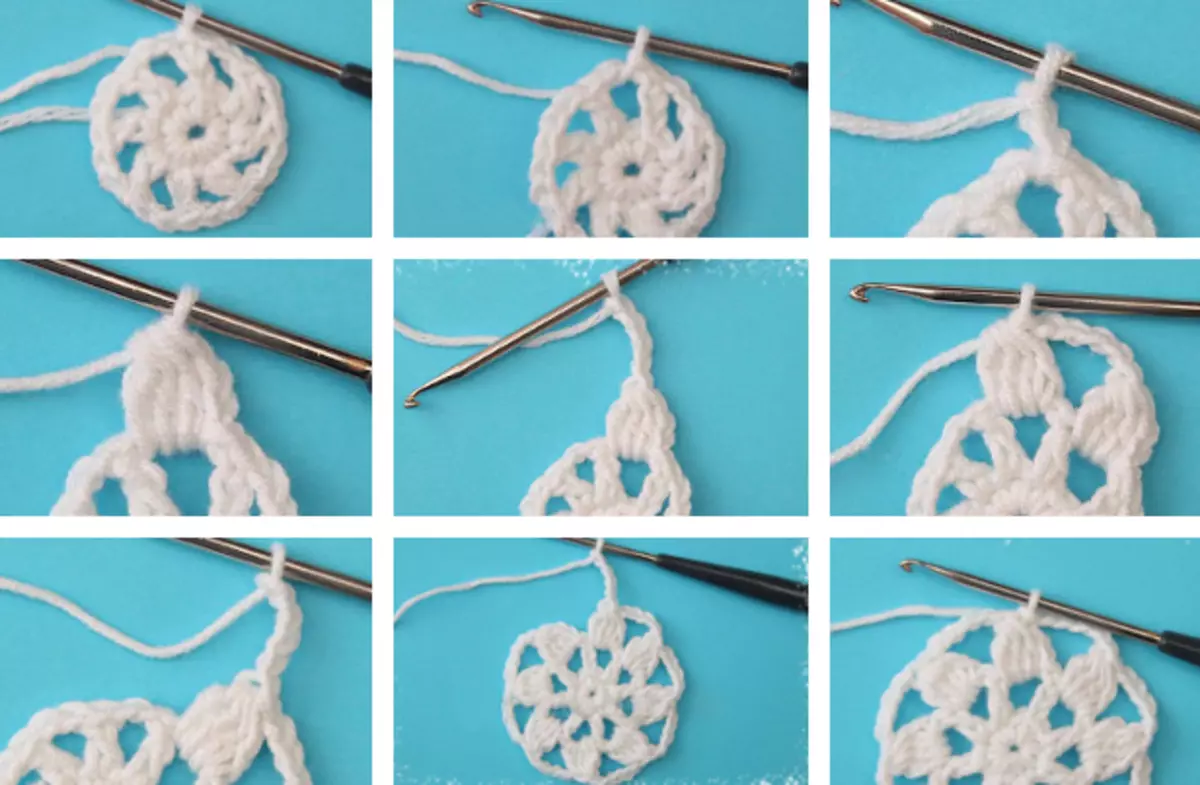
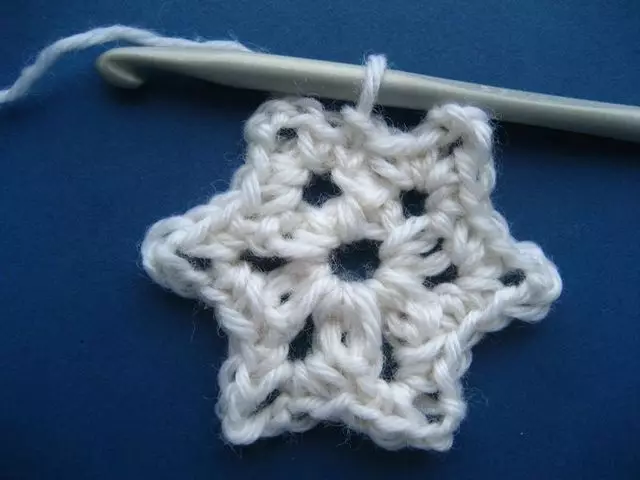
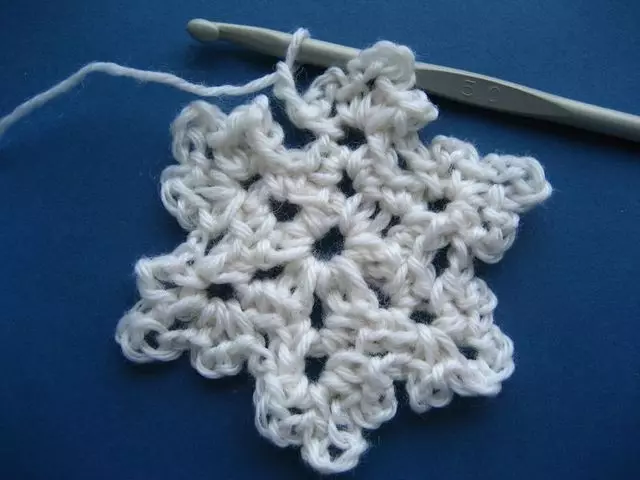
Fourth row: tie one lifting air looping and one column without sketch into the same looping of the base, knit pico from three aircraft, column without sketch into the same shelling of the OSN, then pico from five air hostelek, the column without sketch in the same Loeting Osn-I, Pico of the Three Wards. Pet. and art. Without emb. By entering the hook to this loop.
Article on the topic: Weaving from color tubes for beginners Step by step: master class with video
Video on how to knit pico:
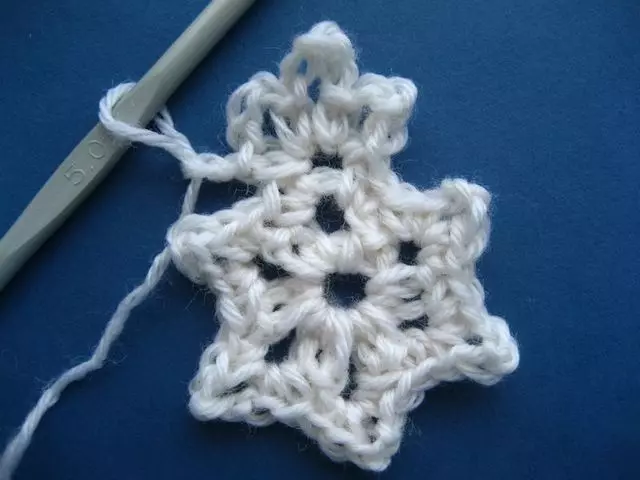
Next, knit three air loops, to the joint top of the subsequent columns to knit also one art pack. Without nab., Pico from three plants. Pet., One art. Without nab., Pico from five plants. Pet., One art. Without nab., Pico from three plants. Pet., One art. without emb.

Then three air hinges. Knit, as in the description above, until the end of the row. A row to close the connecting column in the first Art. without emb. This row.
Remove the free ends of yarn. Snowflake ready!
Second way
There are two ways to knit the middle of such snowflakes:
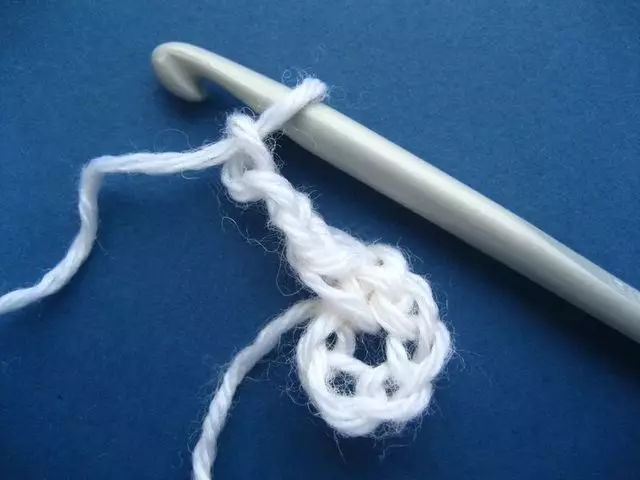
- Knit a chain of air hopes with their subsequent connection to the ring. The ring is drove on the finger from the yarn and is knitted by columns without sketch;
- Dial five air hopes. Ring closure. Knitting the connecting column and three air hinges of the initial row. For beginners, it is better to choose the second option.
Peel again connecting column and three air hinges. Close the connecting column.
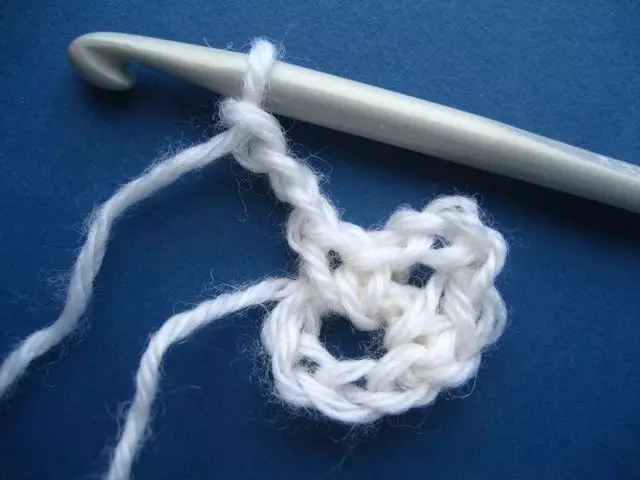
In total, there should be six such elements. The row is closed by the connecting column.
The first element in the form of the argy is to peck with one column without sketch, three air hinges, two columns without sketch.
The second and third element are suspended in the same way.

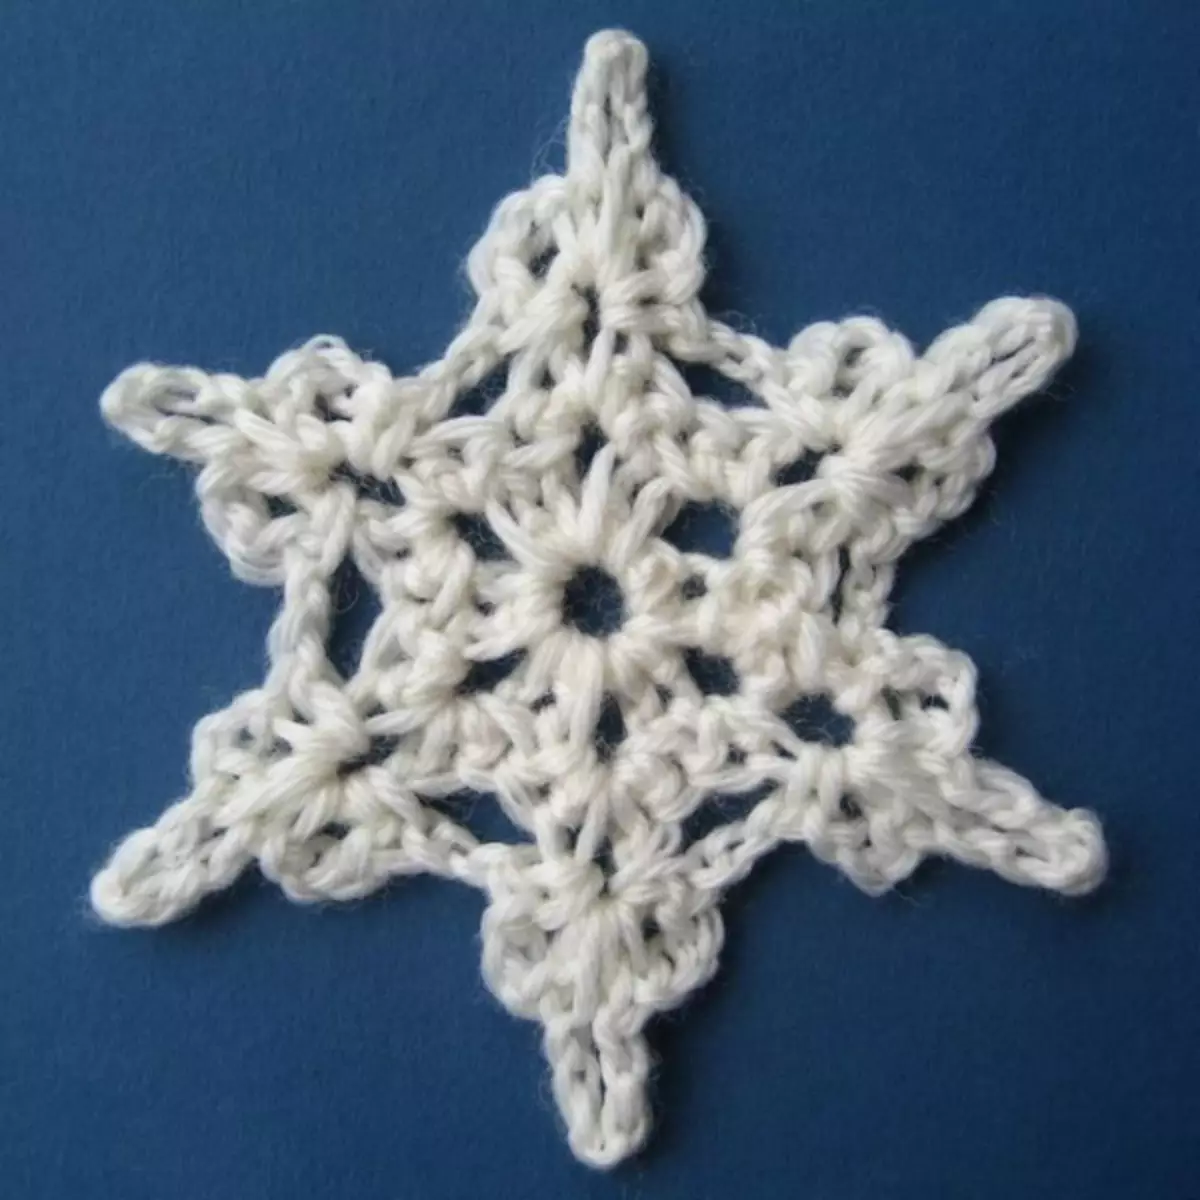
Three times repeat. It turned out a beautiful openwork star, it remained a little embellish. But you can leave so.
By connecting column to start the third row. Next, knit in the form of a rapport: one column without sketch, three air loops, one column without sketch, five air hostels, one art. Without emb., Three wears. Pet., One art. without. Nab., Two Wards. Pet.
This rapport repeat five times.
The product is ready. Now it can be hung on the Christmas tree or decorate the house.
Third Snowflake
Material used:
- Hook 1.9;
- Yarn liked colors.
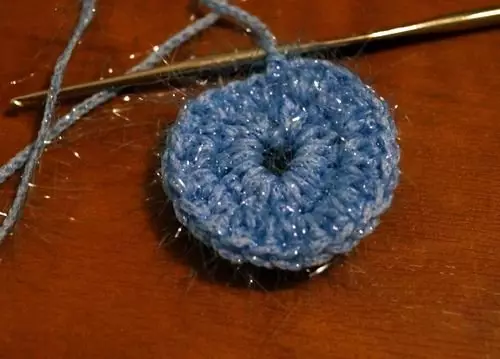
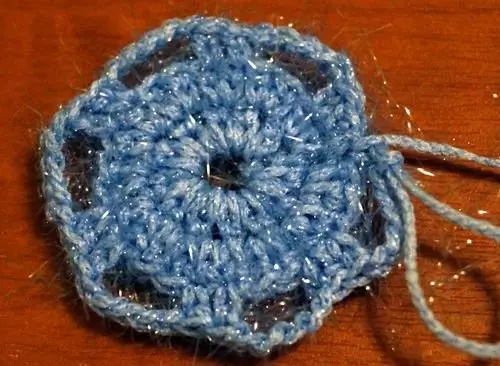
- Peer six air hostels and connect them to the ring. Knit twelve columns without sketch.
Article on the topic: Children's hook vest with braids and bumps

- The subsequent row knit so: twenty-four columns without sketch, from each loop with two columns.
- The fourth row is to penetrate the air loop, the column without sketch, five air hopes, two columns without sketch. As a result, there are six acclaimed tops.
- The fifth row is two columns without sketch, three air loops, one column with a sketch that connects the centers of the air covering of the previous row with the data. Next, to train three air loops, two columns without sketch and then make the repeated part as in the photo:
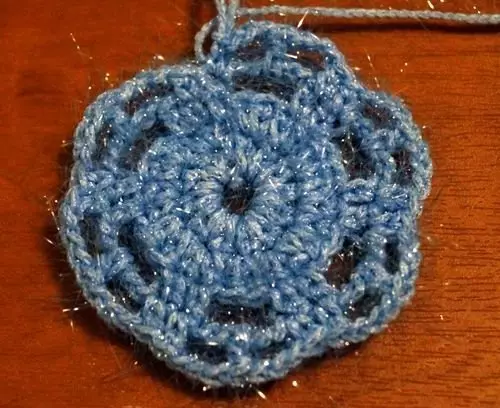
- The final sixth row to check this way: two columns without sketch to shorten in 1, three air loops, a large column with a sketch of 2 elements, to stick three air hinges and fasten on a large column. Next, three air loops are pronounced and again a large column with a sketch of two elements, three air loops and again fasten on a large column. In the same way, we repeat this part and at the end of the three air loops and two columns without sketch to shorten in 1. As a result, the painted top is coming out. In general, there should be six such tops.
You can add a loop to hang the snowflake on the Christmas tree.
Work is ready.