As a continuation of Halloween theme, I want to share material with you, which is dedicated to the "pumpkin carving". In addition to the usual and standard luminous physiognomy ("eyes-nose-mouth"), you can learn how to make beautiful and original pumpkin products. The process of their creation is quite simple and fascinating, provided that you will pick up suitable tools. In the near future, the site will appear on the site dedicated to the manufacture of instruments that will greatly make it easier to cut the desired pattern. In the meantime, let's find a pumpkin and take advantage of what we have at hand.

Required materials and tools:
- Shilo (needle, small nail);
- knife;
- the spoon;
- film and self-adhesive paper that will be used as a stencil;
- Scotch;
- pumpkin.
Choose a pumpkin
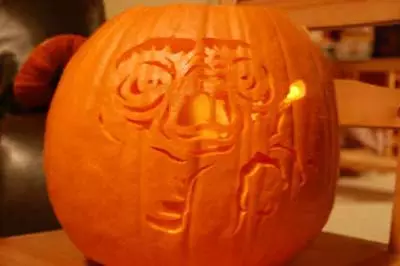
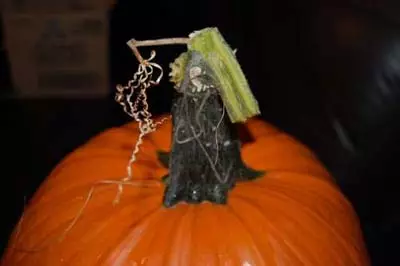
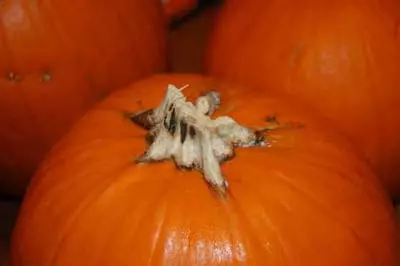
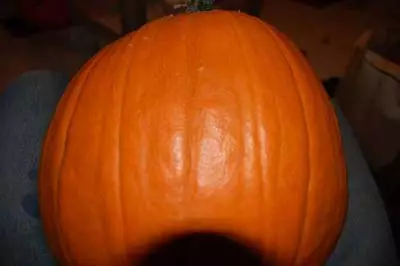
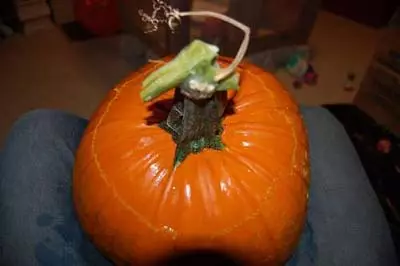
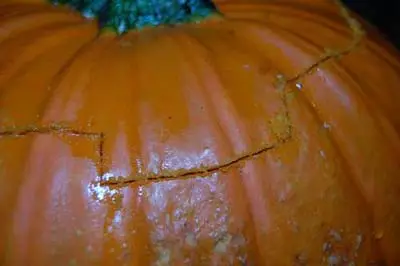
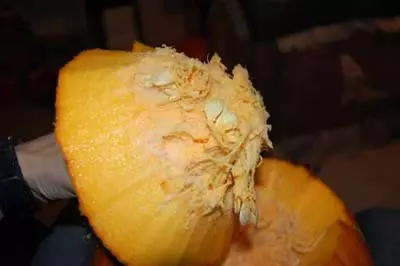
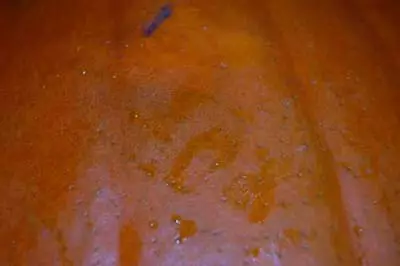
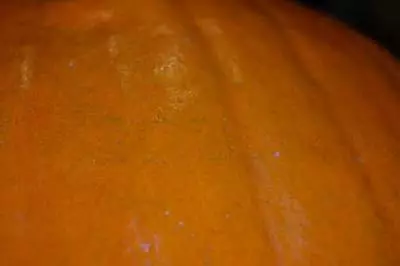
Choose a suitable pumpkin: the fresh it will be, the better. Here are some recommendations on this. The fruit should be green and wet allily (photo №1), avoid pumpkins with dry brown stem and with white mold around it (photo №2). In principle, old pumpkins can also be used, but they can present unpleasant surprises. The pumpkin surface should be smooth, as far as possible, without deep grooves. This will allow you to cut the prepared pattern without any problems. The fruit in no case should be easy. Light pumpkin is a rotting pumpkin and you will never get a good result. Let's knock your fingers on the fruit, a good deaf sound should be heard. It is also desirable to avoid pumpkin with any stains and seals on the surface that can complicate the cutting pattern. Of course, if your head already has an idea about the pattern that you will cut, choose the pumpkin of the corresponding size and shape.
Article on the topic: Knitting the regulated knitting for children on the example of a blouse for a child up to the year: CHEMA and Description
Cut the top
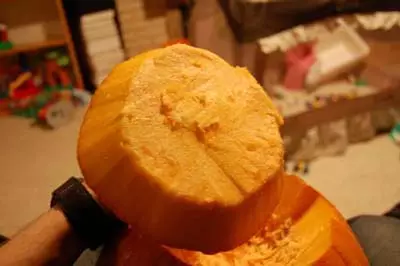
When you bring a pumpkin home, wash it in cold water, removing dust and dirt remnants. After get ready to remove pumpkin's internals. Cut the top of the pumpkin. At the same time, the blade of the knife must be at an angle (directed towards the center of the pumpkin), it will not give the resulting "lid" to fall inside. You can also make a kind of groove (or score) so that it is convenient to insert the "cover" in place. After you cut the top, you should apply a little effort to remove it. After that, cut the inside from it to get a clean smooth surface. Set aside the lid aside.
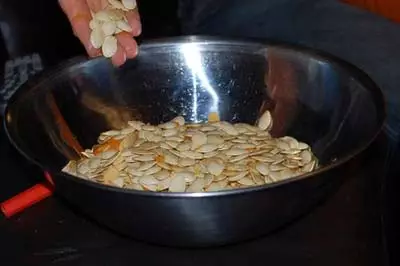
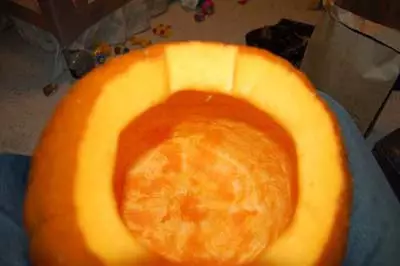
Cleansing
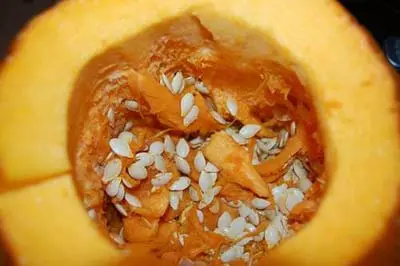
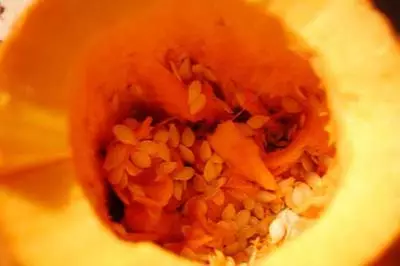
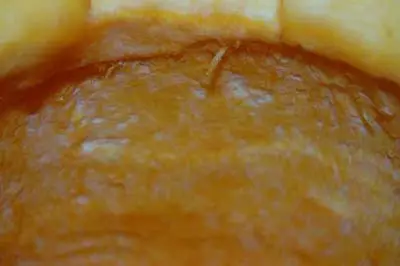
Now it's time to clean the cavity of the pumpkin. Remove seeds and veins, squand all over the inner walls with a spoon. If the walls of the pumpkin are too thick, with the help of the same spoon squigrate some amount of pulp. The tool that you will use when cutting, should pass through the pumpkin shell.

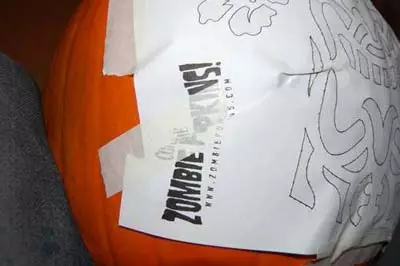
Transfer Figure
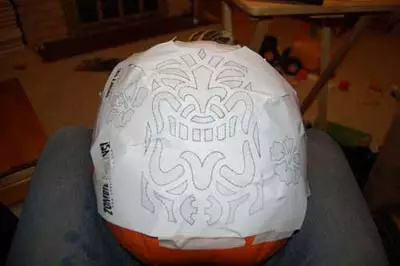
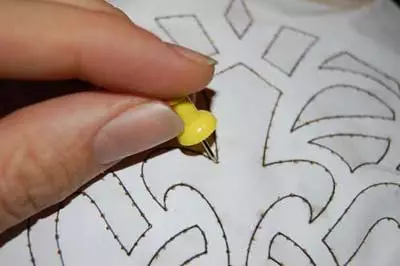
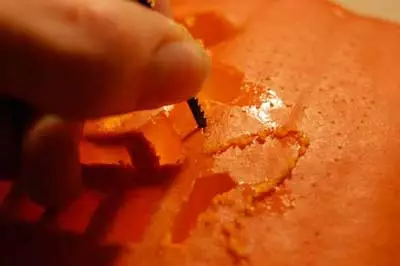
It is time to take a paper with a pattern and sewer. Attach the drawing to the pumpkin and attach it from above and below the scotch. Next will be more convenient to sit down and put a pumpkin on your knees, as long and painstaking work awaits you. On the sides of the stencil is not yet fixed, press it to the pumpkin and fasten the skotball on the sides. It may happen that stencil in some places will be launched and distorted. To fix it, just make slots in paper from the center to the edges. When you attach the template, you can start to carry the drawing on the pumpkin. Make it we will be, piercing holes in the skin of the pumpkin (not deeper) with a sewn or similar tool, moving along the drawing lines. Place the dots at a distance of about 1.5 - 2 cm from each other, in more detailed places, reduce this distance. Do not forget to do hole in every corner. When you finish, remove the stencil and set it aside. He is still useful for you as a sample if you have difficulty recovering your pattern lines. If necessary, draw contours with a handle or marker.
Article on the topic: New Year's toys from light bulbs do it yourself
Cut out
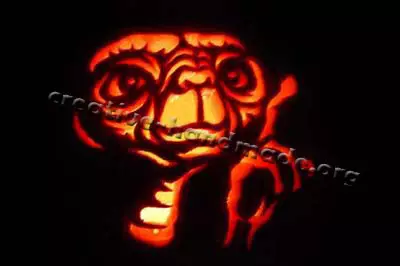
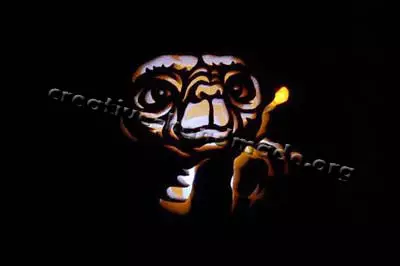
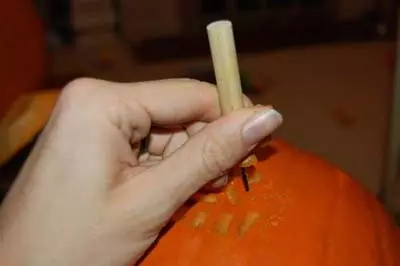
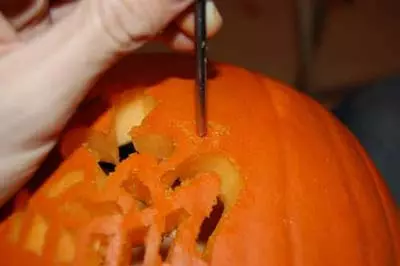
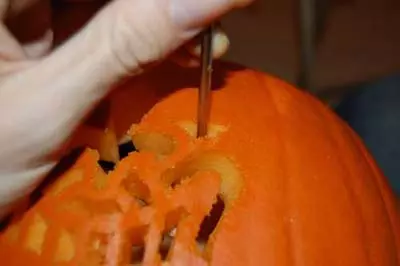
Now proceed to the most important part - cutting out. At the beginning I have already noted that for a successful result you will need suitable tools. Of course, a beautiful detailed drawing does not cut with a kitchen knife. You will have to search for all kinds of small files and jigsaws. In general, at this stage, you will need maximum accuracy, concentration and effort.
Note
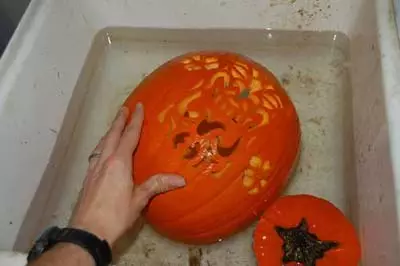
When you finish with cutting, you need to clean the pumpkin from sawdust and other garbage. If you want your product to look good as long as possible, you can take into account the following recommendations: - plunge the pumpkin into water with a small amount of bleach. It will destroy all microbes and fungus; - Keep the pumpkin in a cool wet place to keep it fresh as long as possible; - treat the edge of the edges of the cuts to block moisture care and thereby slow down; "You can" return to life "fading pumpkin by placing it in the water for 2-3 hours.
Ready
It remains to take care only about lighting. To do this, you can use conventional candles or electrical lamps. I think a separate article will be devoted to lighting the pumpkin. That's all! Happy Halloween!