
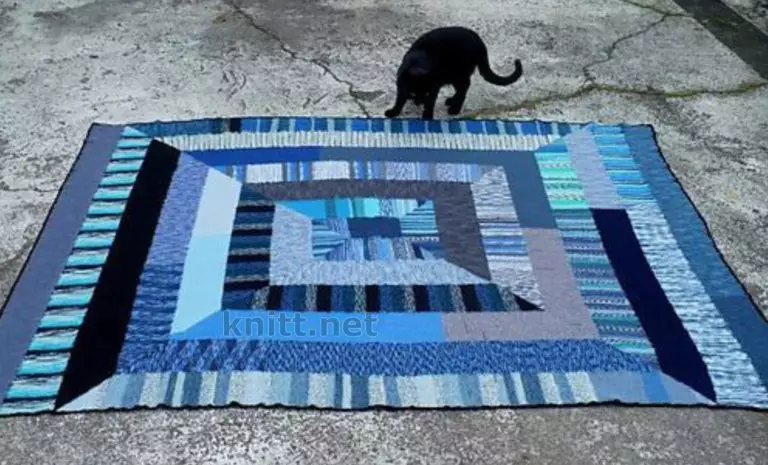
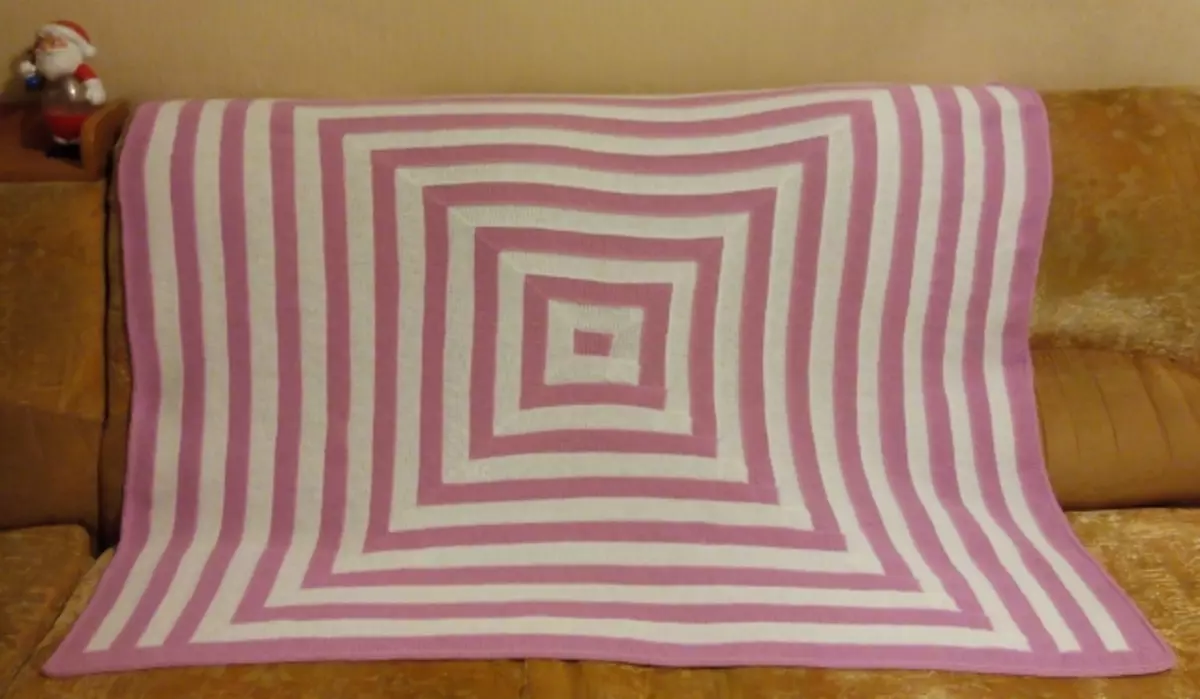
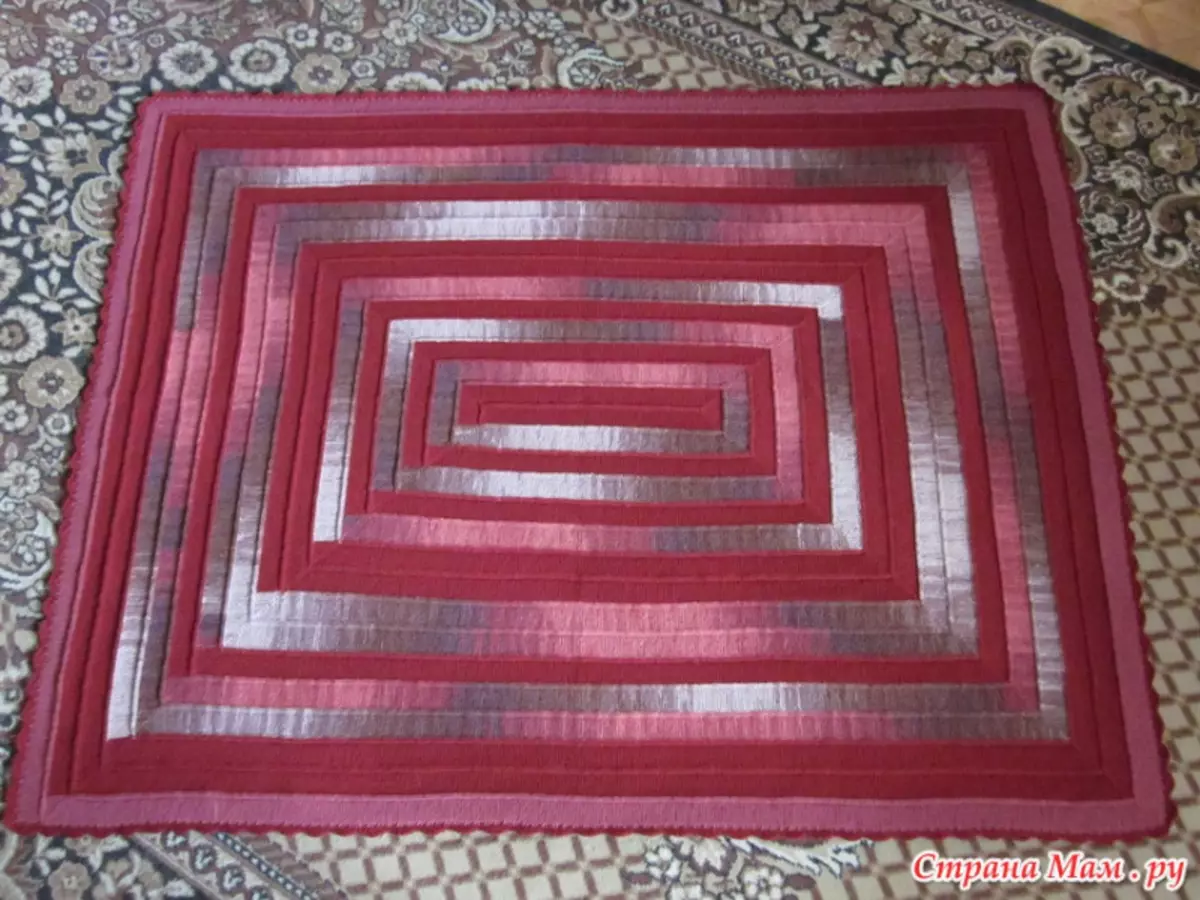
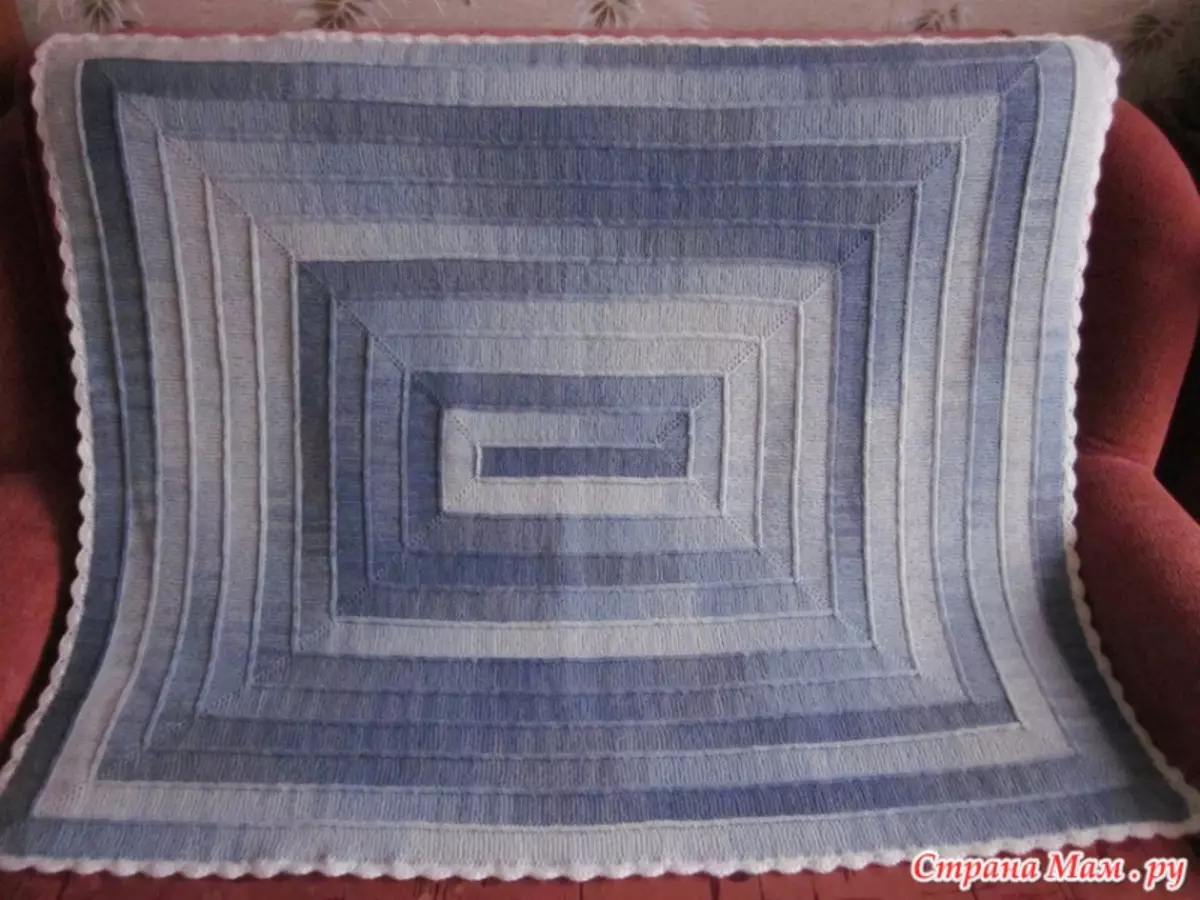
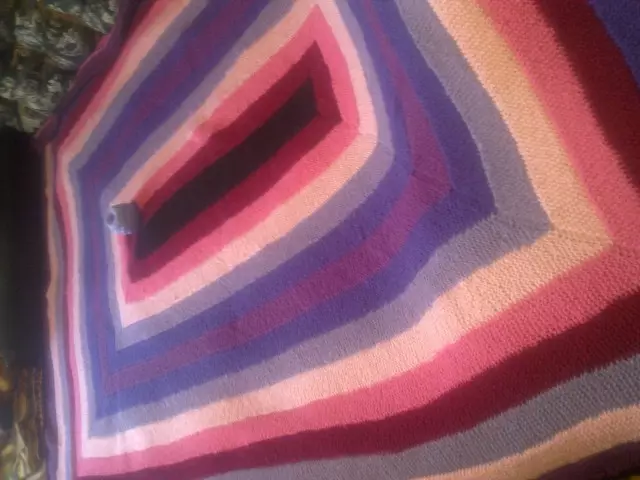
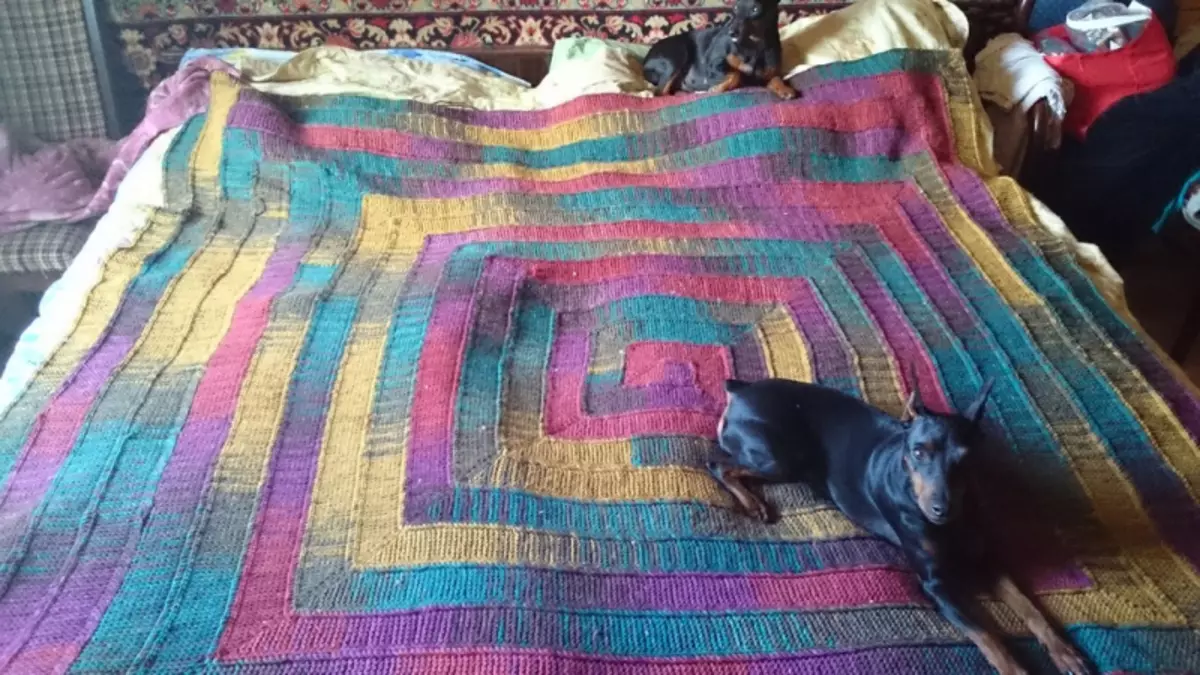
Knitting the 10 loops method is very curious and profitable in that it allows you to create a beautiful and very original plaid from the residues. It takes quite a bit to make the plaid "10 loops": master class, threads and needles. He is completely simple in performance, but at the same time very spectacular.
Possible colors
Such a plaid will be perfectly looked in any colors. But before proceeding to work, you need to decide what product we want to get in the end. Most popular options:
- of two colors;
- from several different balls of threads with overflows;
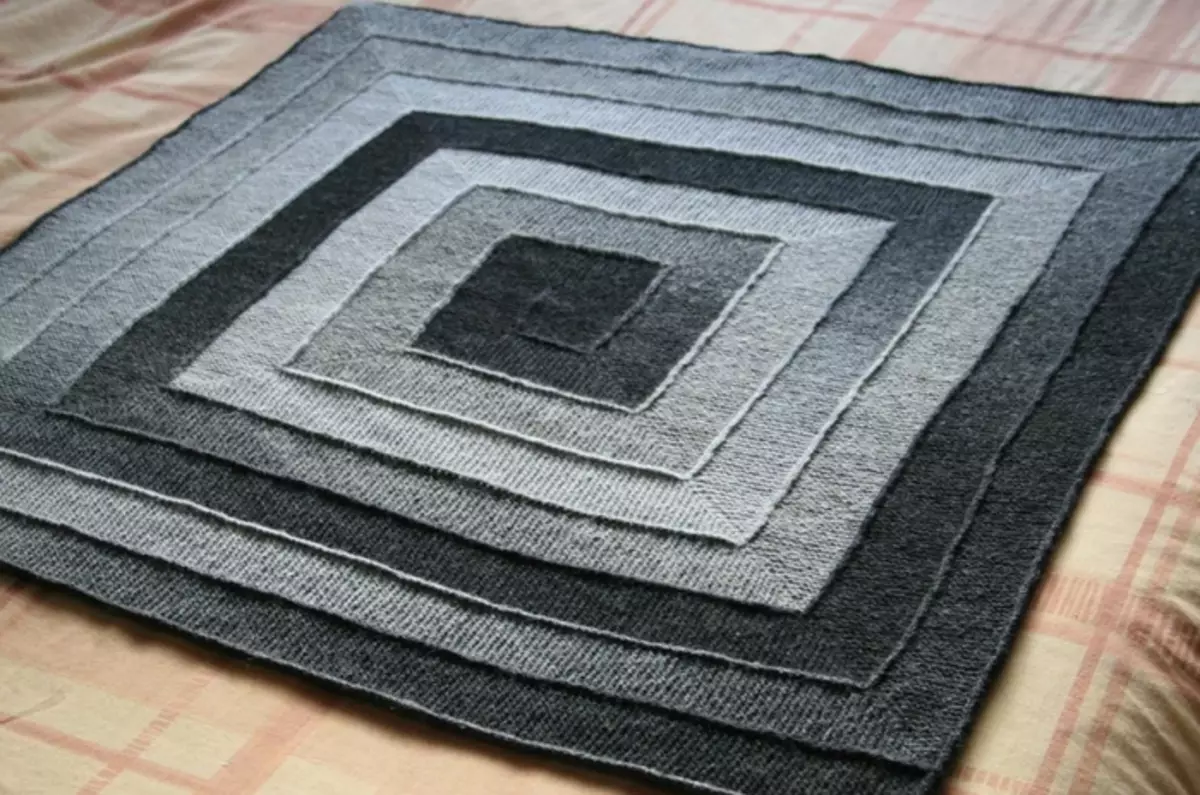
- Of several different balls of threads without overflows.

Use options
If suddenly, several yarn motels left from previous work and do not want them to lay without doing, but doubt whether such a plaid is useful, we offer some of the most frequent use options:
- The plaid of any size can be used according to its real purpose, that is, as a blanket;
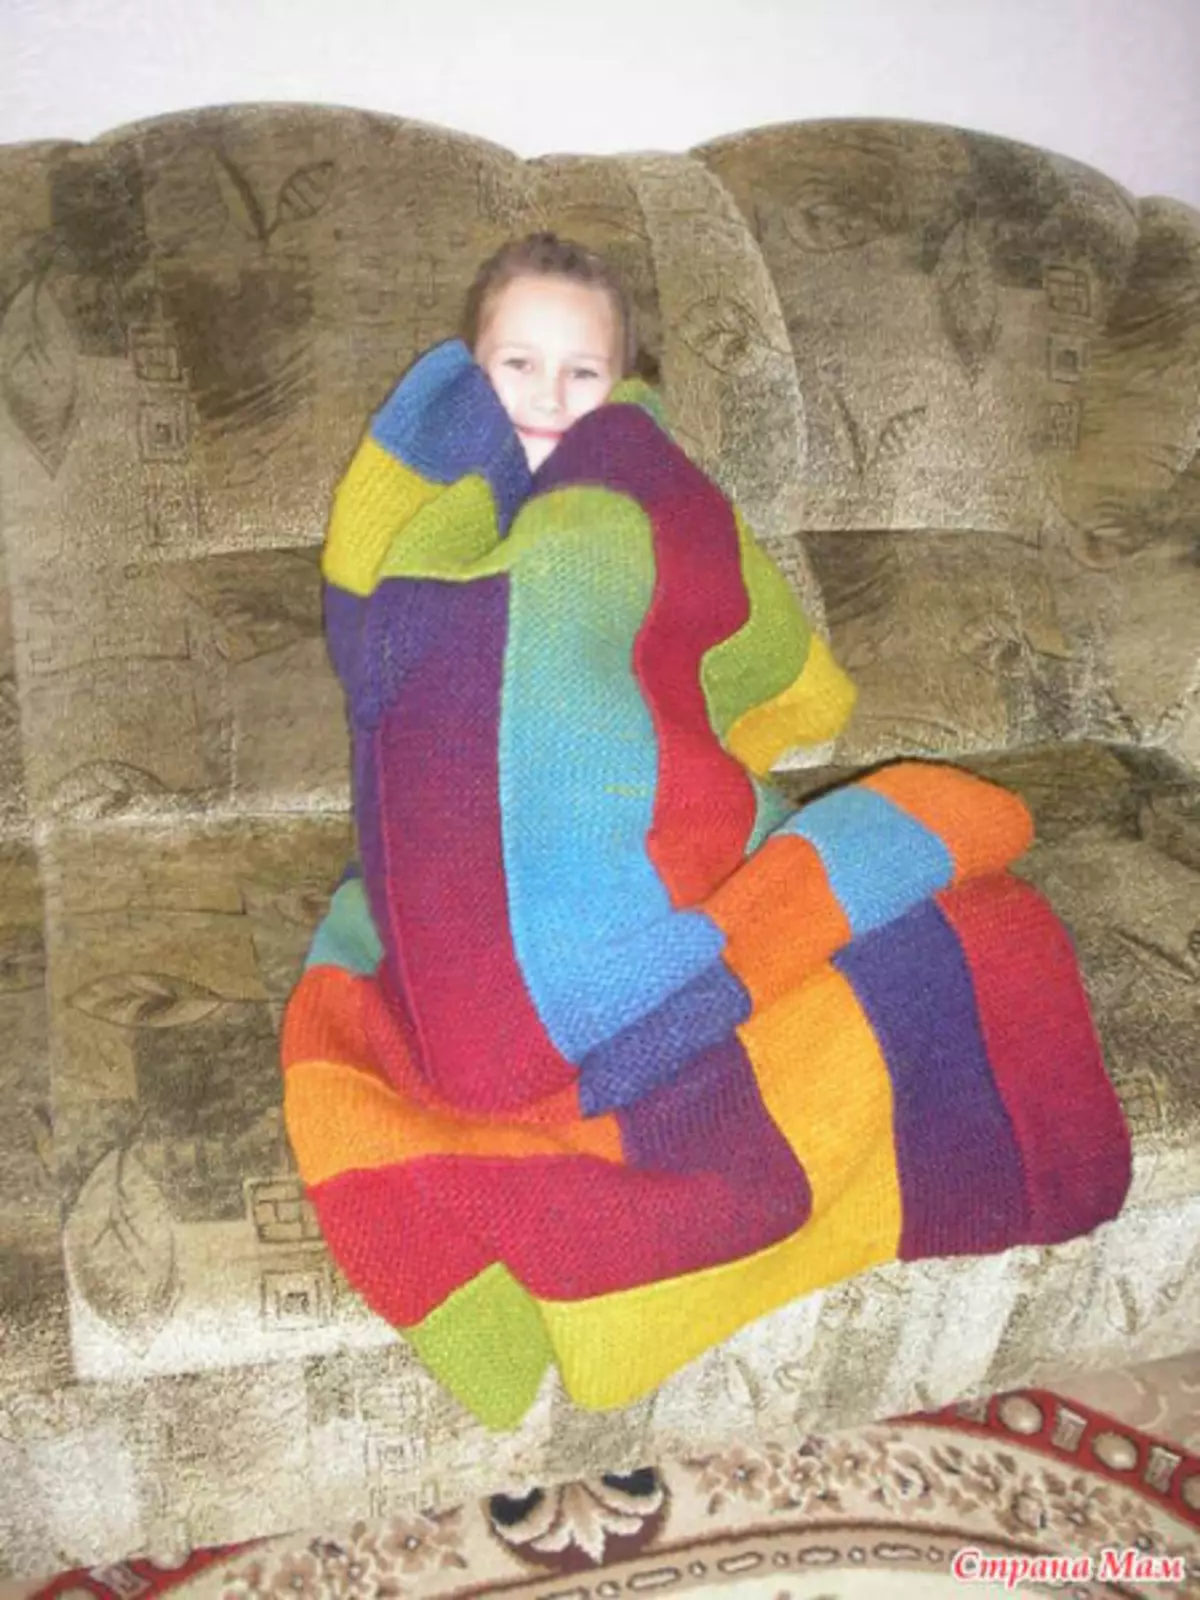
- as bedspread for bed or sofa;
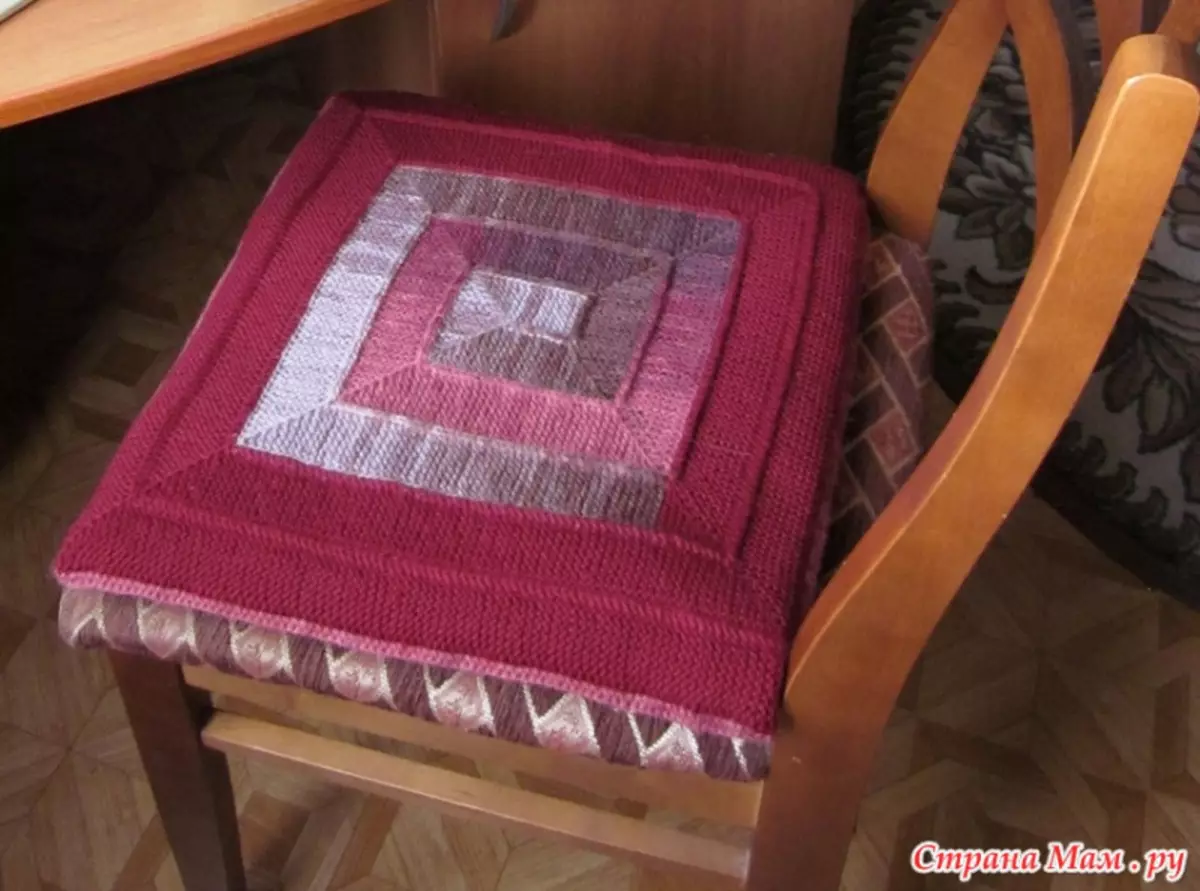
- If the size of the product is small, come in handy as a seat on the chair.
Basics of mate
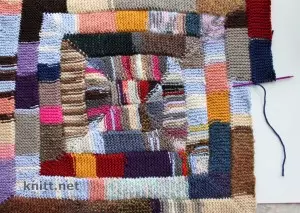
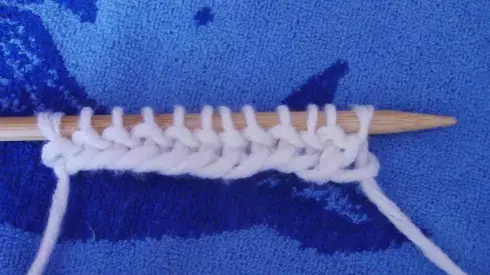
Such a plaid is created using a boilers on 10 loops. The first looper is constantly removing, and the last we make any convenient method. It is better to choose such a way that lateral pigtail formed from the edges. In this case, it will be easier to attach stripes to each other. So, now we recruit 1 loop and knit the starting tape by facial hinges in the face and in withc. In order for the plaid turned out to be in the form of a square, the tape should be long in nine grooves of sweating mating, it will be eighteen rows.
And so that it was rectangular, the tape should be longer. Its size will count on the following formula: the length of the plaid - the width of the plaid = the length of the knitted ribbon.
If you plan to create a plaid with a size of 200 × 150 cm, then it turns out: 200-150 = 50 cm. It turns out that in this case we need to bind the initial tape with a length of 50 centimeters.
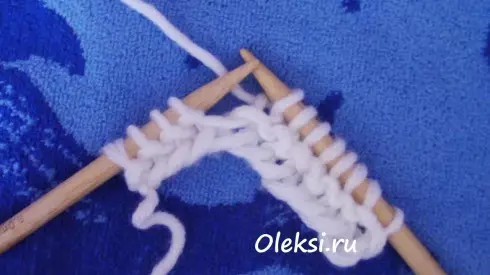
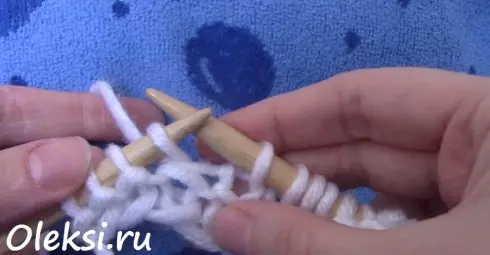
The next step will be knitting the first corner. Corners knit shortened rows with a displacement of 1 loop, whileking the adjacent looping so that there are no holes. When the corner begins, so as not to get confused, can be considered first from 9 to 1, and then, on the contrary, from 1 to 9 in order. If still confused, then this is not a problem. Since it is possible to simply dissolve to a straight part and start, counting again. Do not forget that the first mine is removed.
Article on the topic: How to sew a case for your own hands
The photo below shows an angle died to the first loop. Count account from 9 to 1.
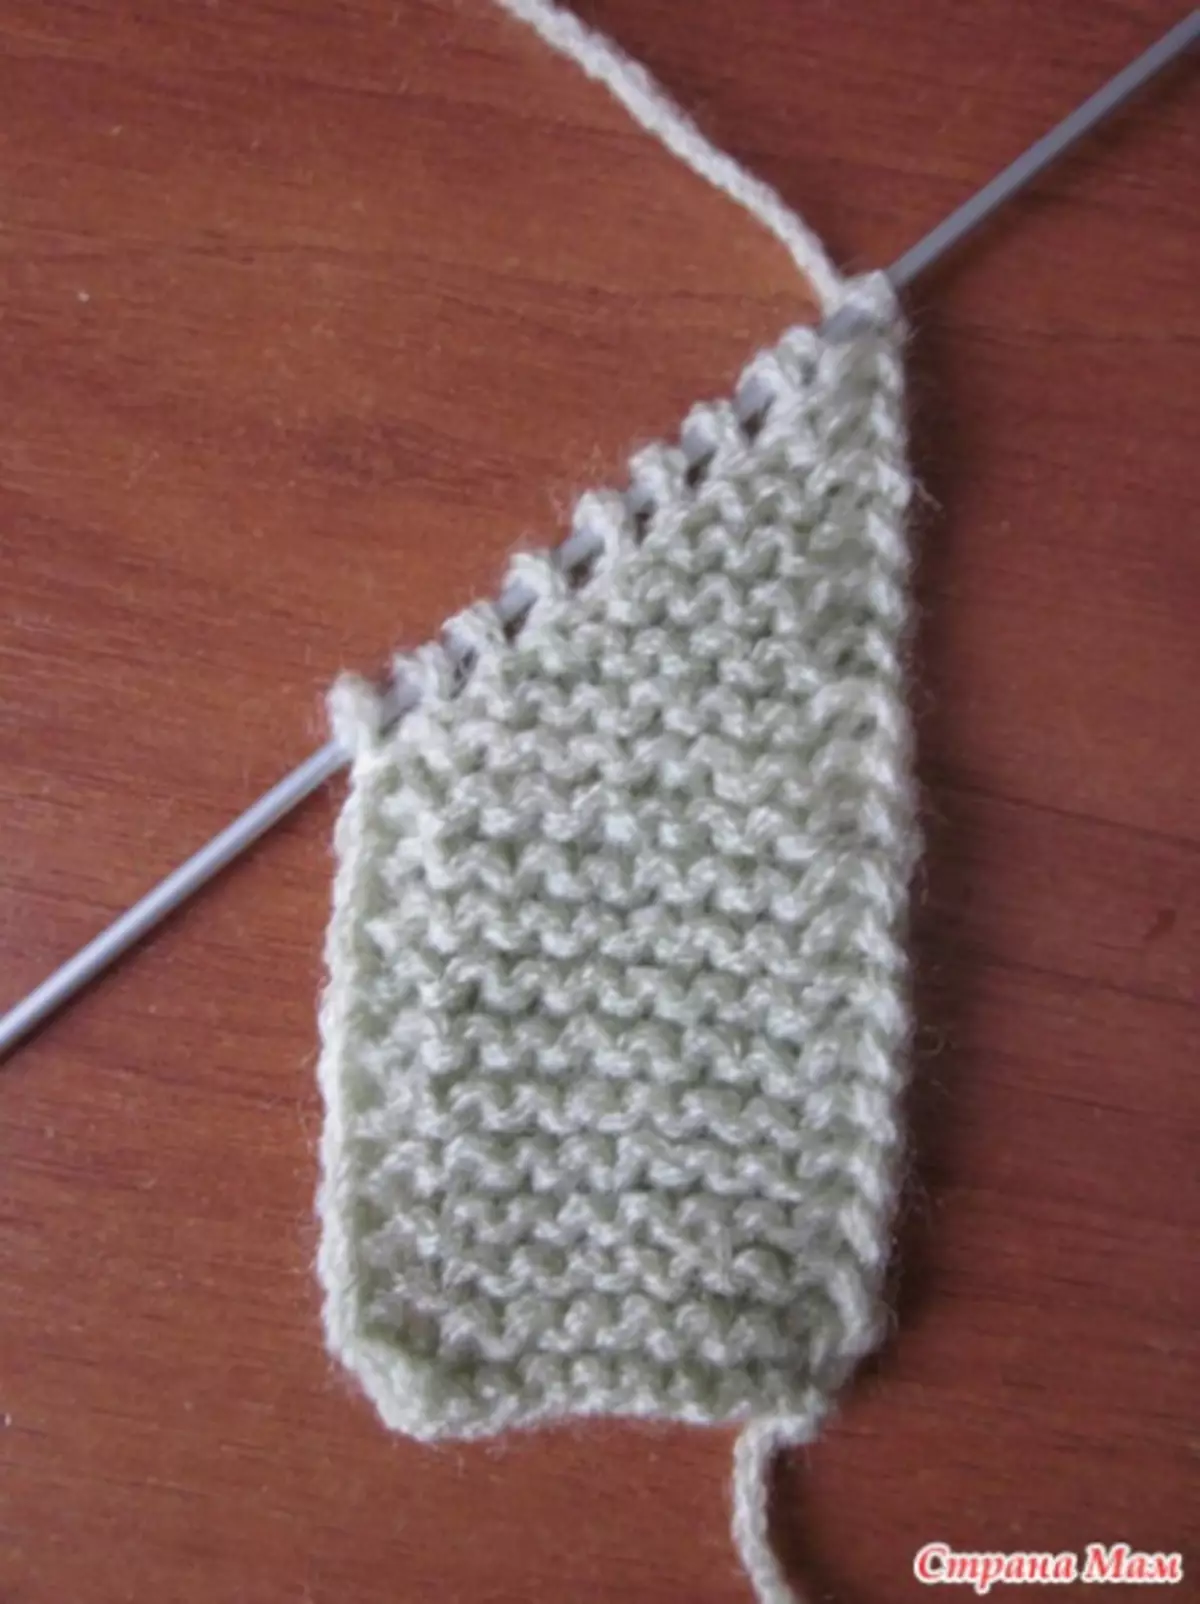
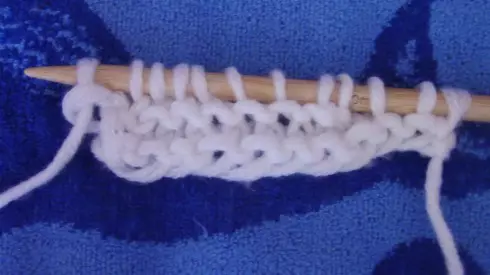
Now the countdown from 1 to 9 triggers the angle to the end. The first corner is finished.

Now we start knitting the second corner. Counting from 9 to 1 again.
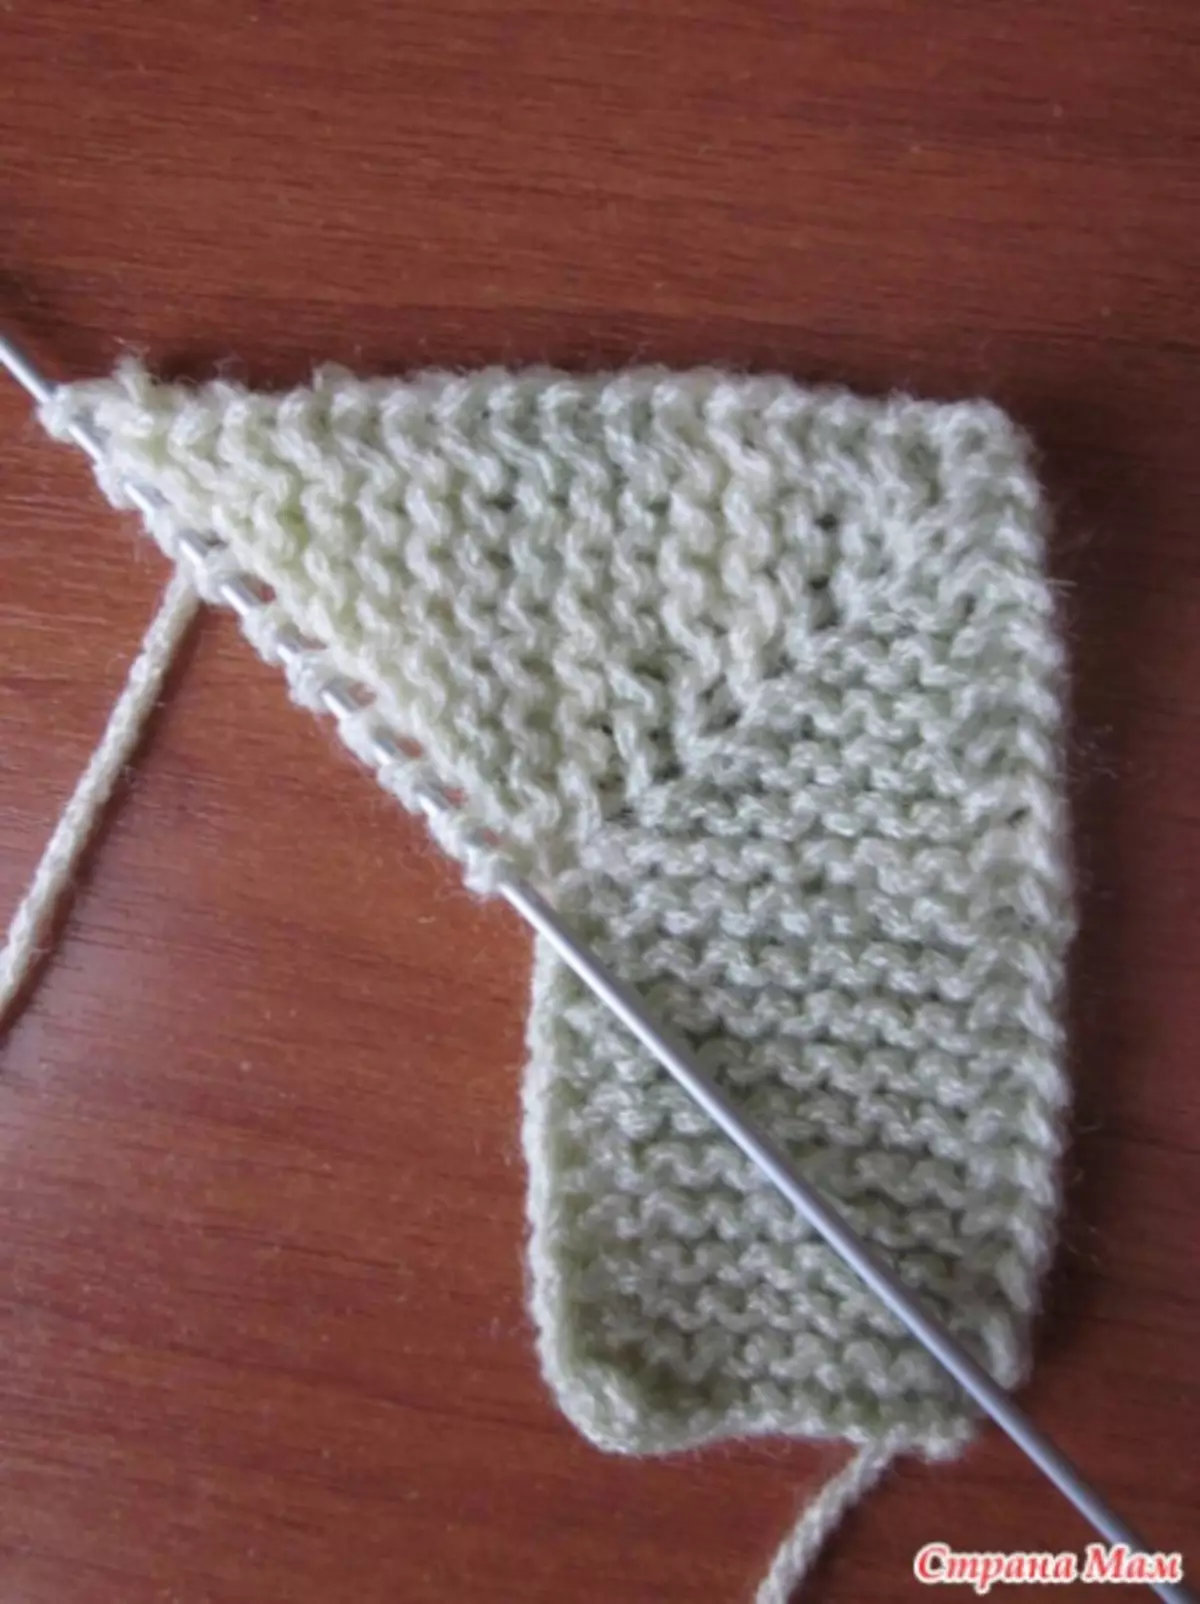
Ending knitting corner, counting from 1 to 9, not forgetting to make absorbs. The 2nd corner is finished.
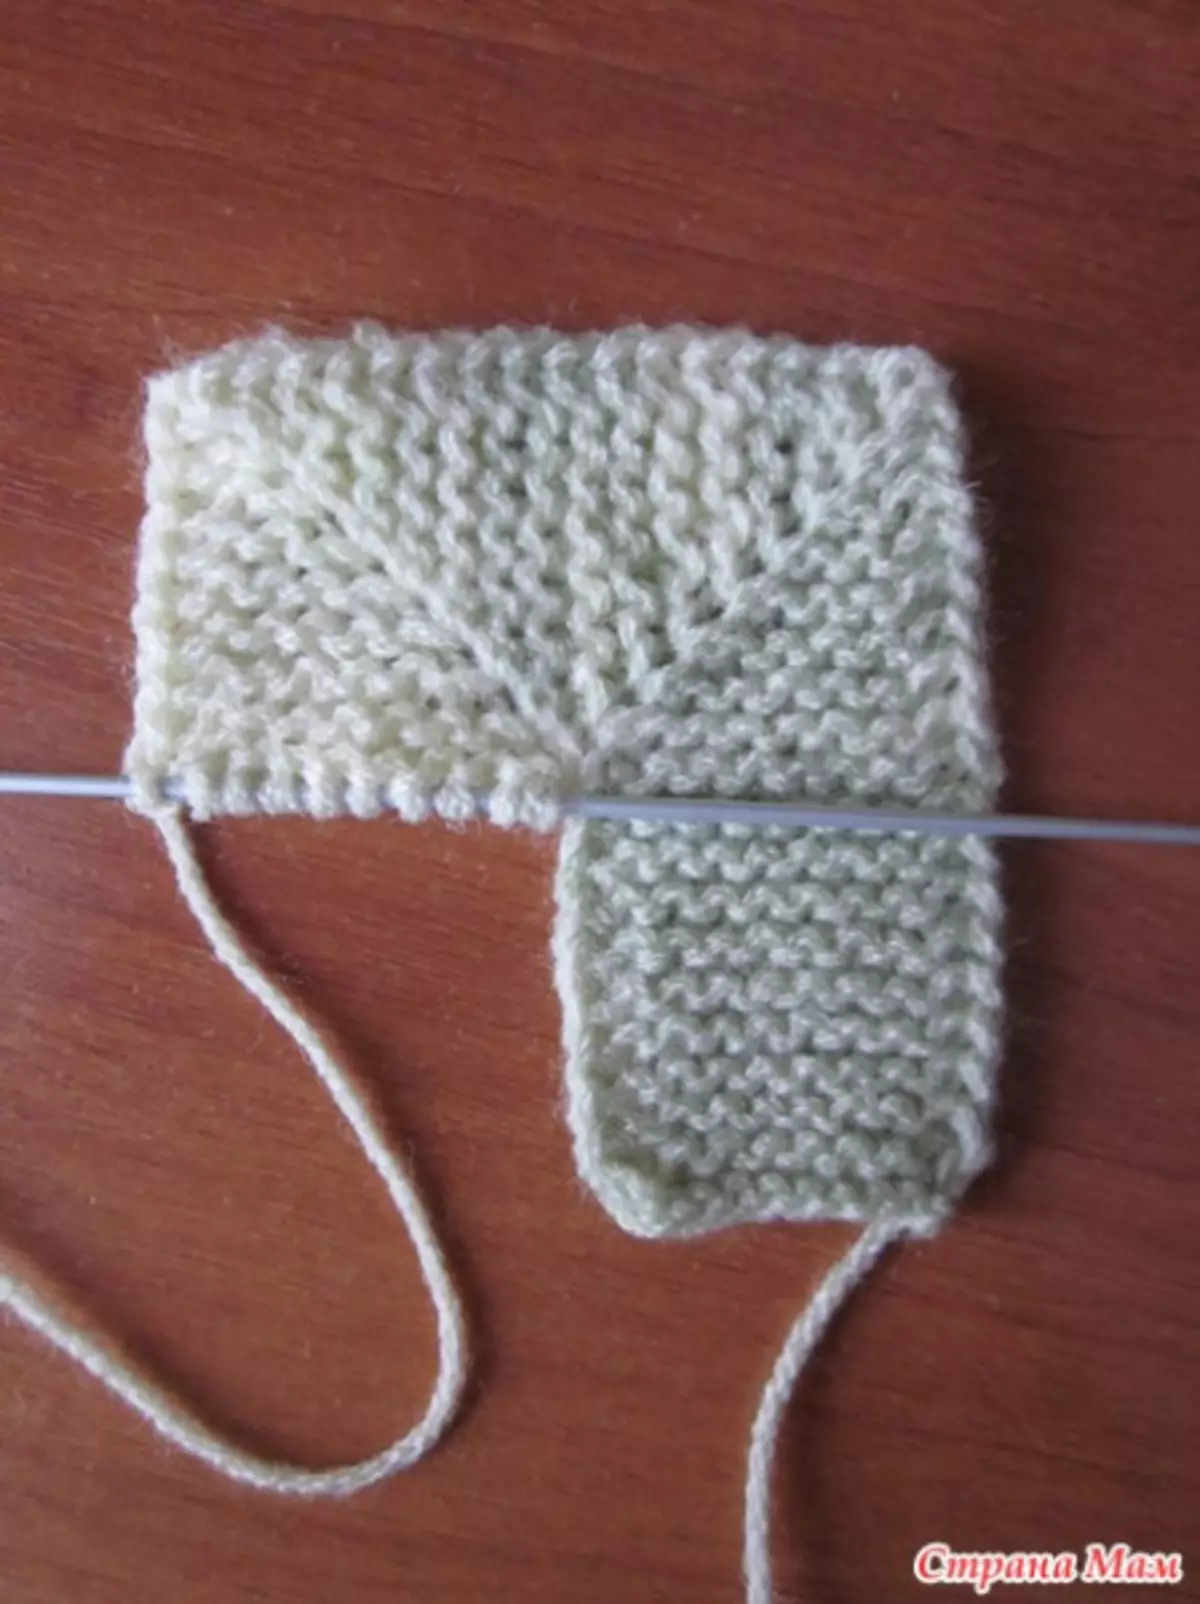
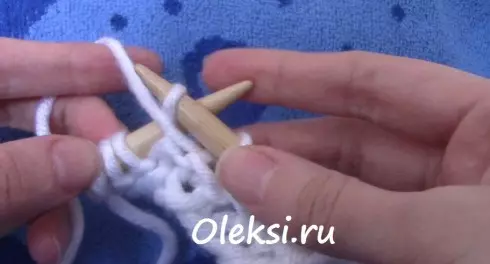
It is time to knit tape, which is at the same time connecting it to the side moster of the associated canvase. To do this, remove the tenth loop (thread behind the needles), from the side moster of the associated canvase, stretch the facial looping and throw a removal loop through it. By offline, remove this loop, the thread goes in front of the needles. The road will come out of facial loops.
There are two ways to eliminate the front loop from the side pigtail. The first way is to knit under both slices of lateral pigtails. In this case, the scar comes out dense and volumetric, consisting of 2 facial loopes. The second way is to knit front loops under the rear slices of side pigtails. In this case, the scar will succeed less, consisting of 1 road front loops.

The photo below shows the facial side when using the first method.
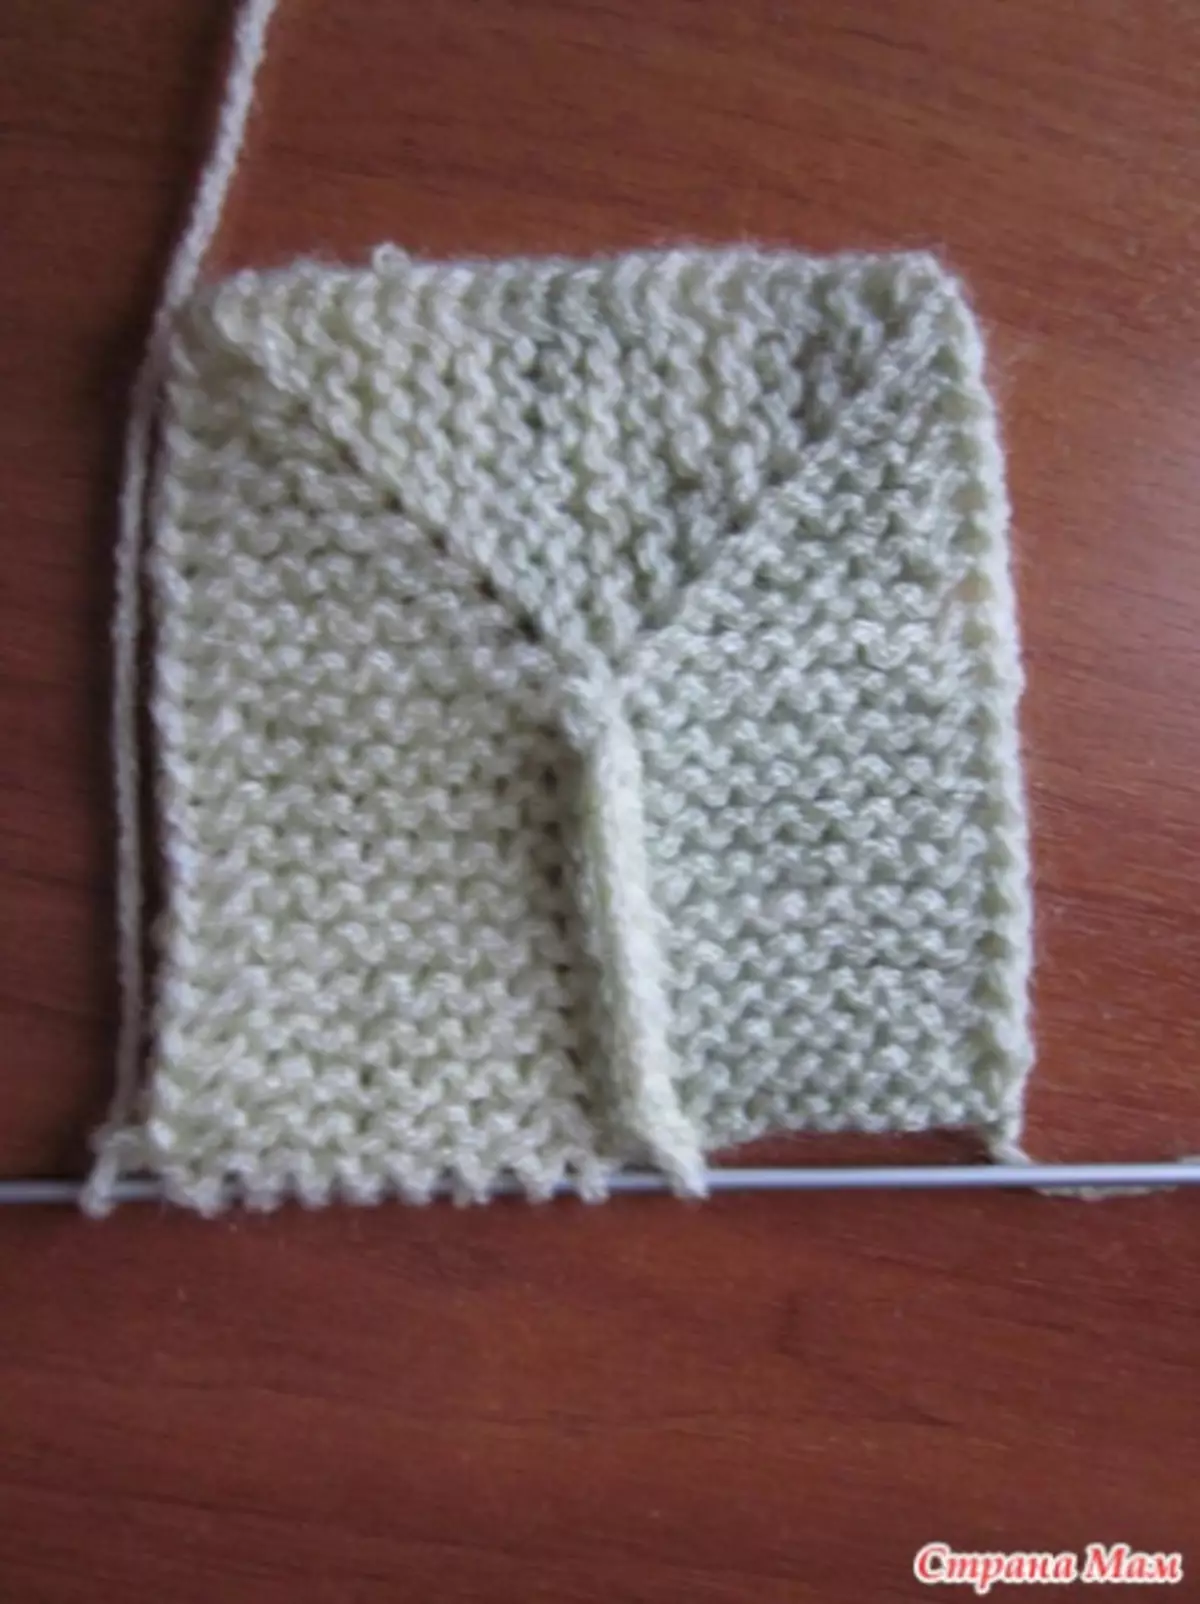
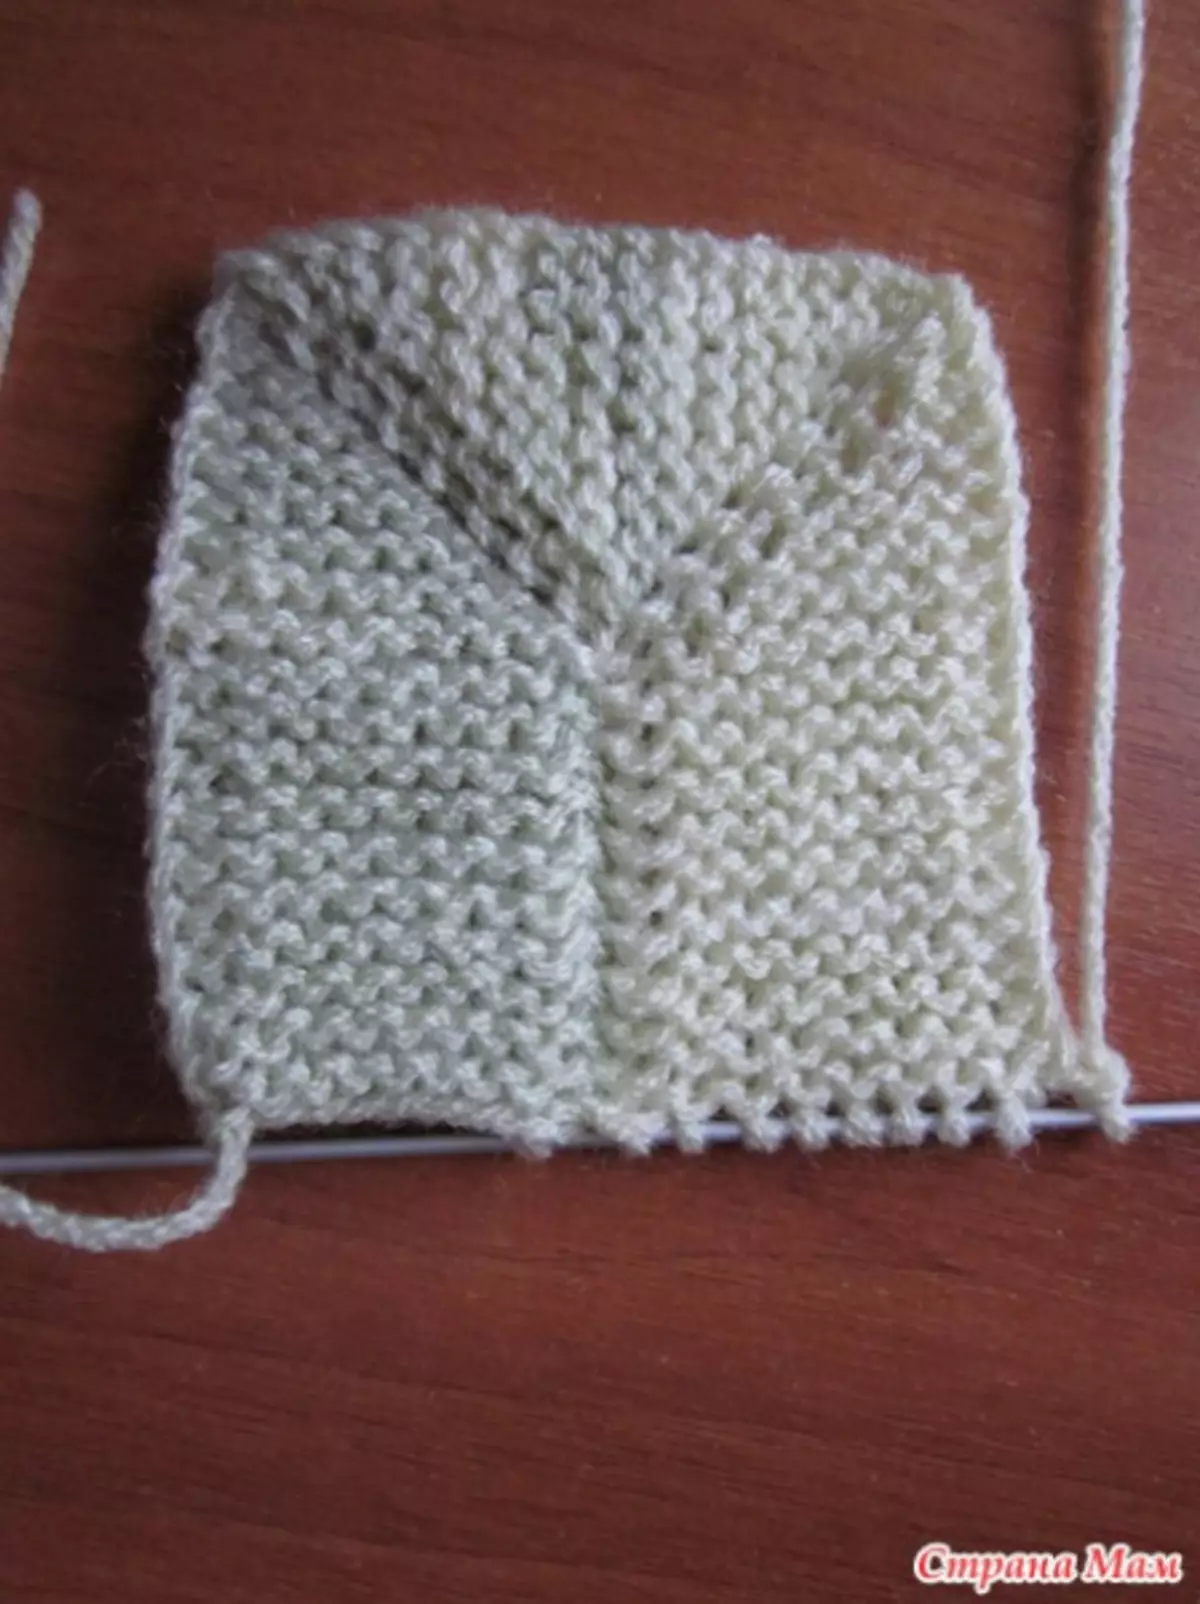
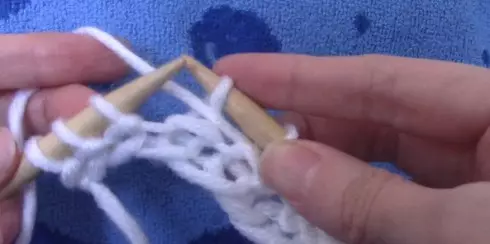
The following photo shows the wrong side. Here you can see that a small groove is formed at the site of the Ruchics.
Now let's knit the corner again. In the picture below it is marked in red. Such a plaid knits on a spiral with the addition of a new part to the edge pigtail of the already related part. In the image it is depicted in yellow. The arrows indicate the direction.

Thus, making angles and connecting knitting in direct areas, it is possible to make a plaid of any desired size, it will always be 10 loops in the work. It knits it is easy, simple and comfortable.
Knit shortened rows
Now we will analyze with a detailed description, how to knit the handlers with shortened rows and how to correct turns. How to make it so that on the product does not have an unnecessary hole?
Article on the topic: Balleritsa Fetra. Templates
First, consider how to properly knit shortened rows. To do this, score 12 kettles on the needle. And knit 2 rows of sweating knitting.
In 3 rows I knack 8 kettles, and others 4 leave on the left needle.
At this point, we turn our product. To do this, throw the working thread on the left needle on top of the last loop and the same loop remove on the right needle as an invalible.
Next, take the working thread for the loop, and I return the loop itself to the left needle.
So the way they walked the extreme loop on the left needle, so that on the turn of the product did not appear. Now turn our work and knit 8 loops on the left needle.
So we had the first shortened row. Next, follow the same technique.
Video on the topic
Plaid "10 loops" is obtained in any coloring is very beautiful and original subject. It will warm the cold evenings or simply to be used as an element of decor, delight the eyes of a cheerful color. And also such a plaid will be an excellent and very pleasant gift for the closest people, because the needlewoman puts his soul into each her product. And in conclusion, several more video lessons on creating such a plaid.