
Carry the beauty in the world is not only honorable, but also pleasant. Pleasant, because we can make any item to help with your own hands, improve the mastered technique and learn new ways to decorate. Decoupage of a bucket or watering cans - a simple, available way to make from a metal packaging a pleasant eye accessory for home. Master class on decorating metal objects will allow you to easily turn the old bucket into the work of applied art.
Decoupage technique and its capabilities
Decoupage - gluing paper drawings on any surface. Metal items are found in the house quite often, if you believed that galvanized buckets, kashpo or watering can not be too attractive for your home, then applying, nipening equipment, correct your attitude, get a few exclusive objects, a master of decorative work will be wounded in you. The class of such items is difficult to overestimate, they are multifunction and serve long.
Decoupage - gluing paper drawings on any surface!
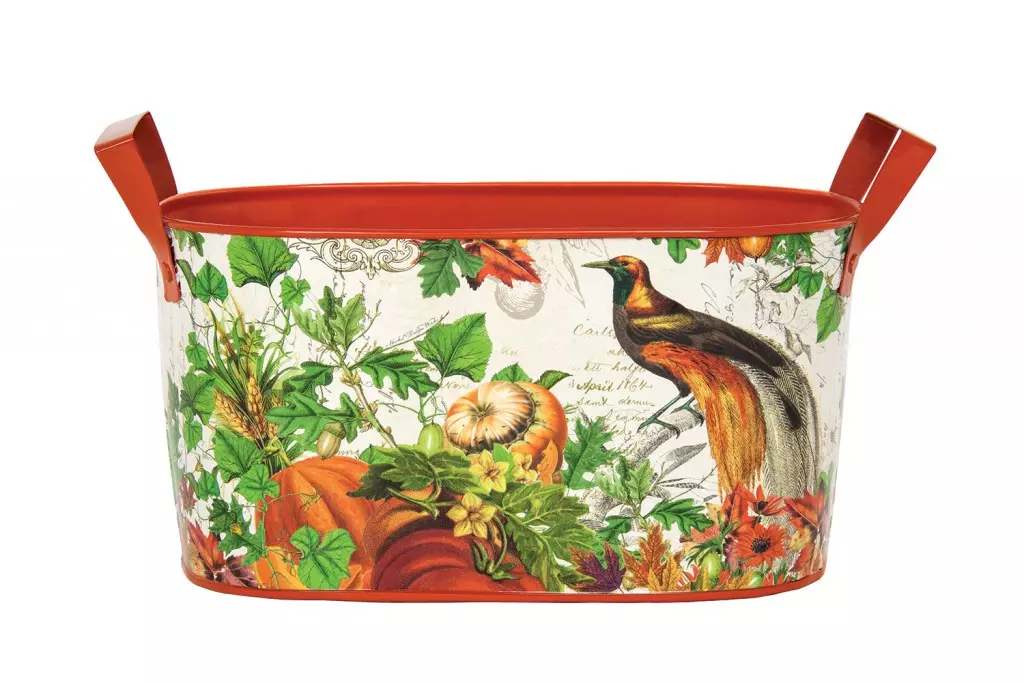
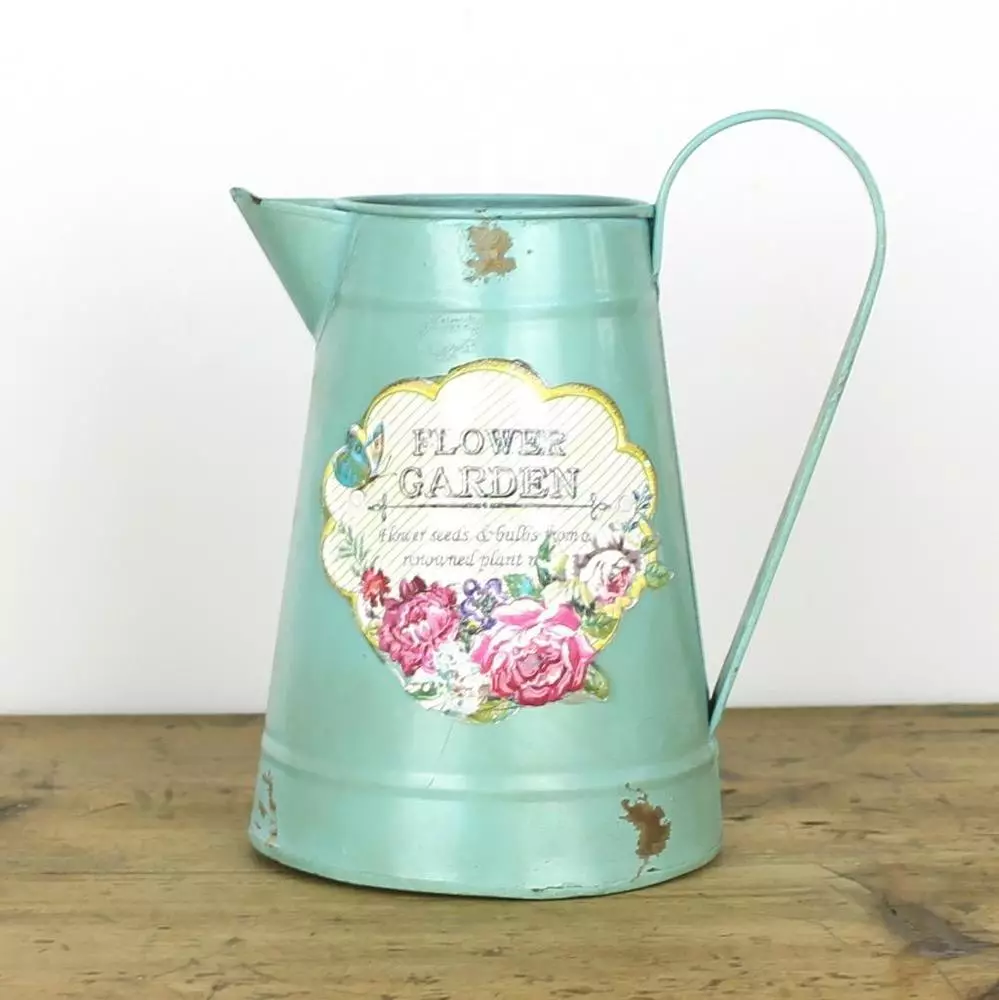
Metal porridge for flowers will decorate the garden, any corner of the house, and if it is decorated and planted and planting the bulbs, the Spring will settle in the house.
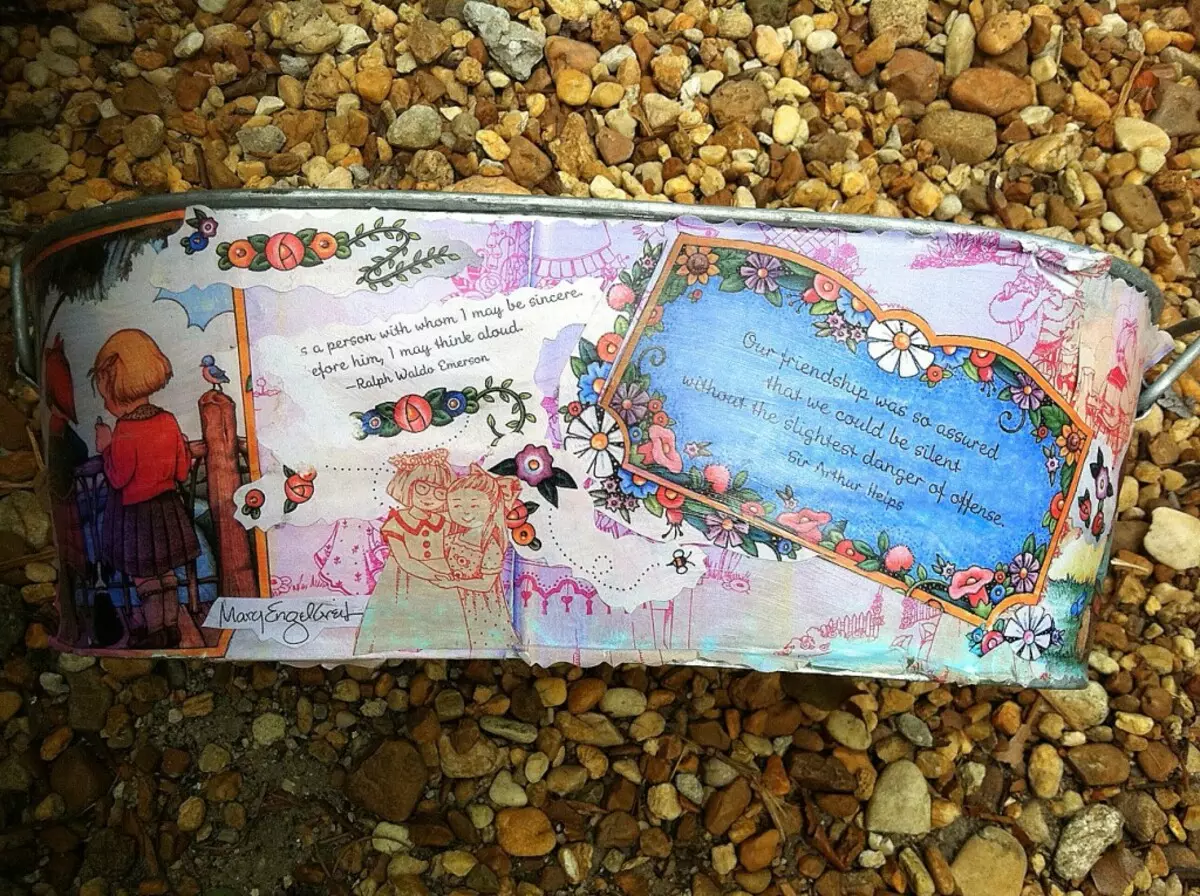
The old galvanized bucket will acquire a second life if you make just a few smears glue in the picture. It will receive a second life as a pot for a large home flower and will be the object in the style of Provence for home interior decoration.

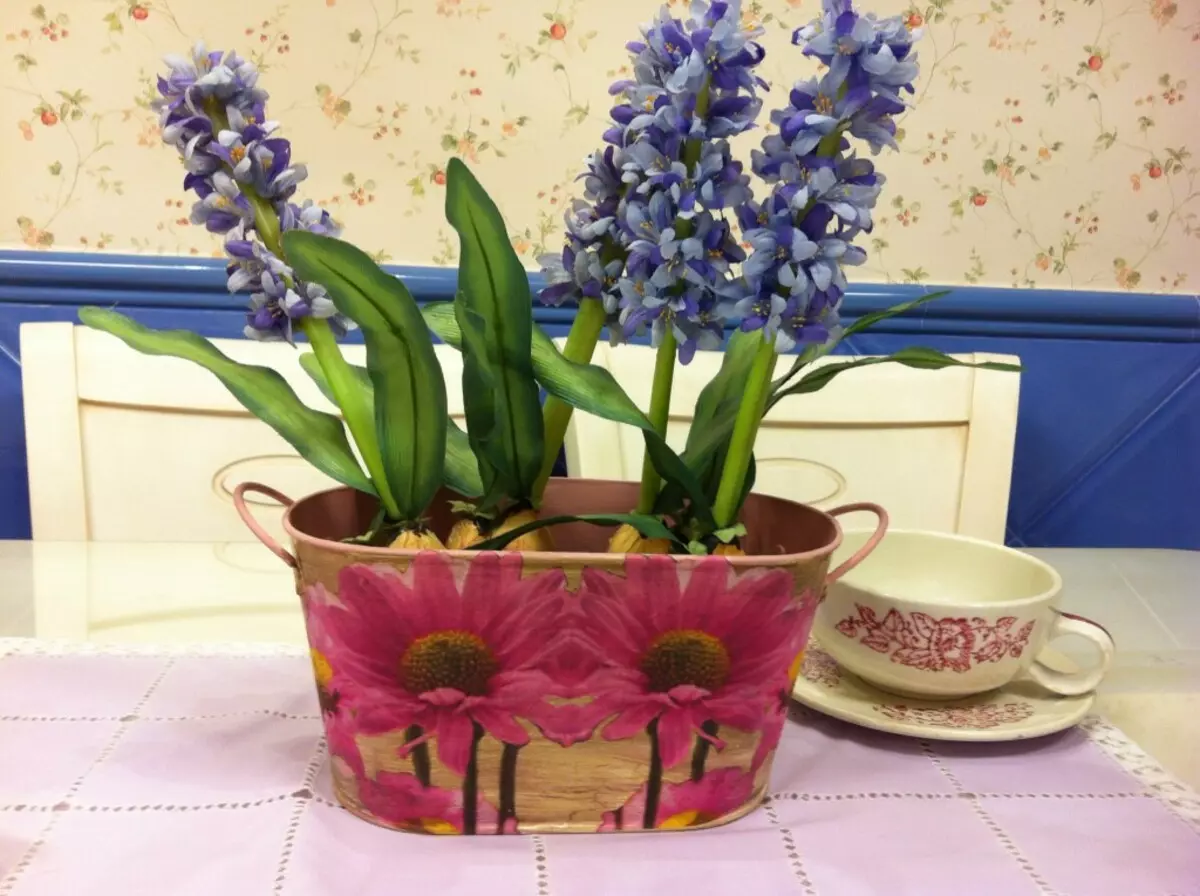
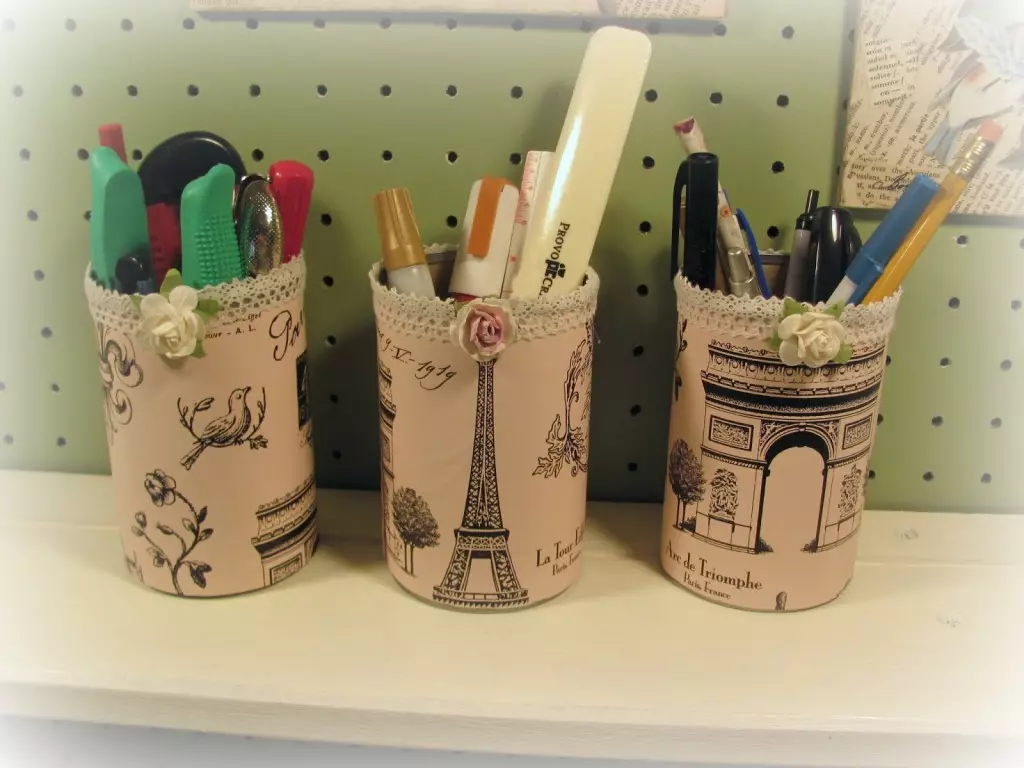
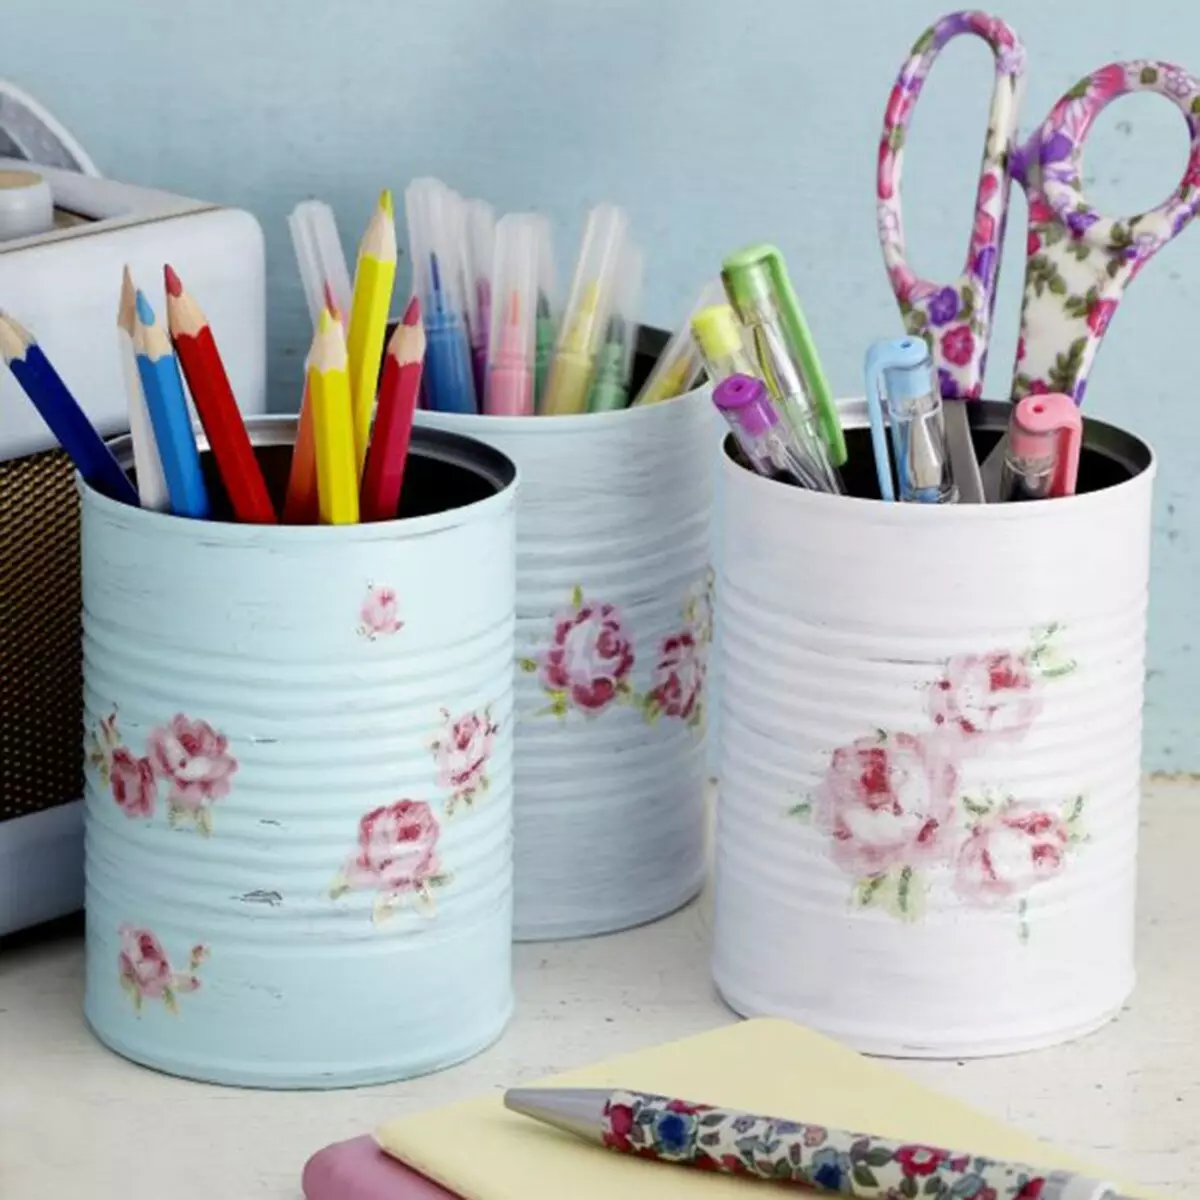
In small buckets you can store writing , Make them part of serving the table to Easter, put flowers in them, use as a chestboard for home plants, they will organically fit into the mini-garden on the balcony as a stand, suspended cheek or decoration.
Wheels from metal are durable, but rarely come, beautiful, fixing the napkins will also help, some time and fantasy. And it is possible to use a watering can also with its intention and as a decor of a garden or kitchen.
Article on the topic: Decorative brick in the home interior (30 photos)
Decoupage technique is easy to perform. To start decorating a bucket or other metal subject matter materials and instruments of creativity. Numerous photos confirm the luxury of needlework results.
Paints, varnishes, tools and consumables (master class)
Consider in detail how to make a decoupage on a metal surface on the example of an iron watering can in a detailed master class. The object is utilitarian, important and small - reagreeing it, the next step you can make a decoupage of the surface of the bucket. From the form of the subject, the essence does not change, catching the essence of decorating metal surfaces, you can cope with the task easily.
Catching the essence of decorating metal surfaces, you will cope with the task easily!
What you want to prepare:
- napkins;
- Acrylic paints: white and multicolored (you can do white acrylic paint and artistic gouache);
- Acrylic primer for metal;
- Acrylic varnish;
- sandpaper (small);
- brushes (wide synthetic + thin for urgent);
- palette for mixing paints (or disposable plastic plate);
- a glass of water rinsing with brushes;
- narrow rairy tape;
- New sponge.
Decor step by step
Step 1: Prepare a metal surface to subsequent decorator work. To do this, thoroughly wash and treat the surface with a degreasing means using a cotton disk or tissue.
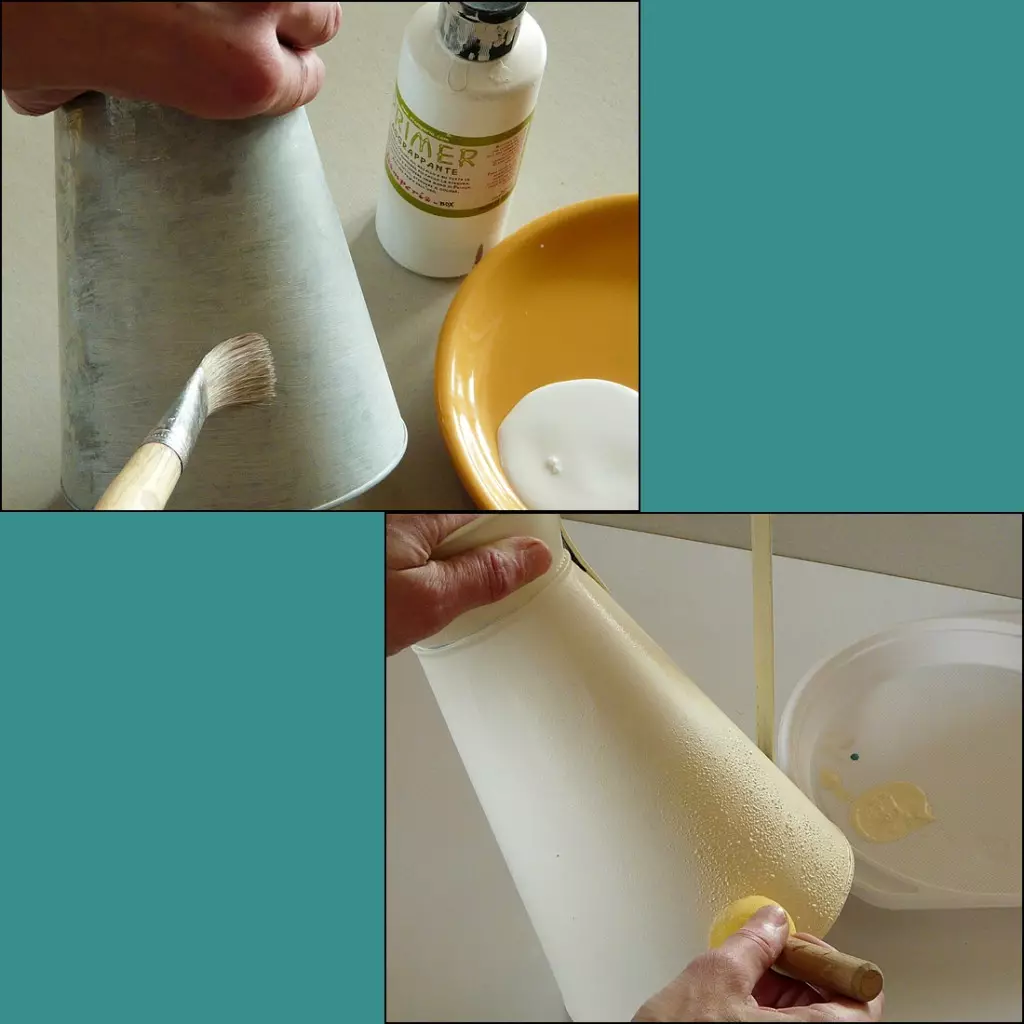
Step 2: The master class is designed for newcomers, so proceed to the following actions boldly! We begin to primer the surface, it is necessary to do it carefully with the help of a brush. White acrylic soil eliminates the need to paint the subject with several paint layers. Also primer provides the adhesion of all subsequent layers with a metal base. Therefore, the stage is very important for the quality of the finished product. . Apply the paint to the dried surface. You can do with white color, but it is not so interesting - creamy color is more noble and suitable for any interior. The class of decorative art is determined by the number of colors of the color scheme.
Article on the topic: 4 ideas for a pond in the country with their own hands
To produce warm shades, mix on the palette of white paint and a few drops of Luggy Umbrie, add a little yellow . Add paints or gouache very small portions, control the process to get the desired color. Apply the finished kel on the watering canter with the help of sponge by tampony movements. Dry.
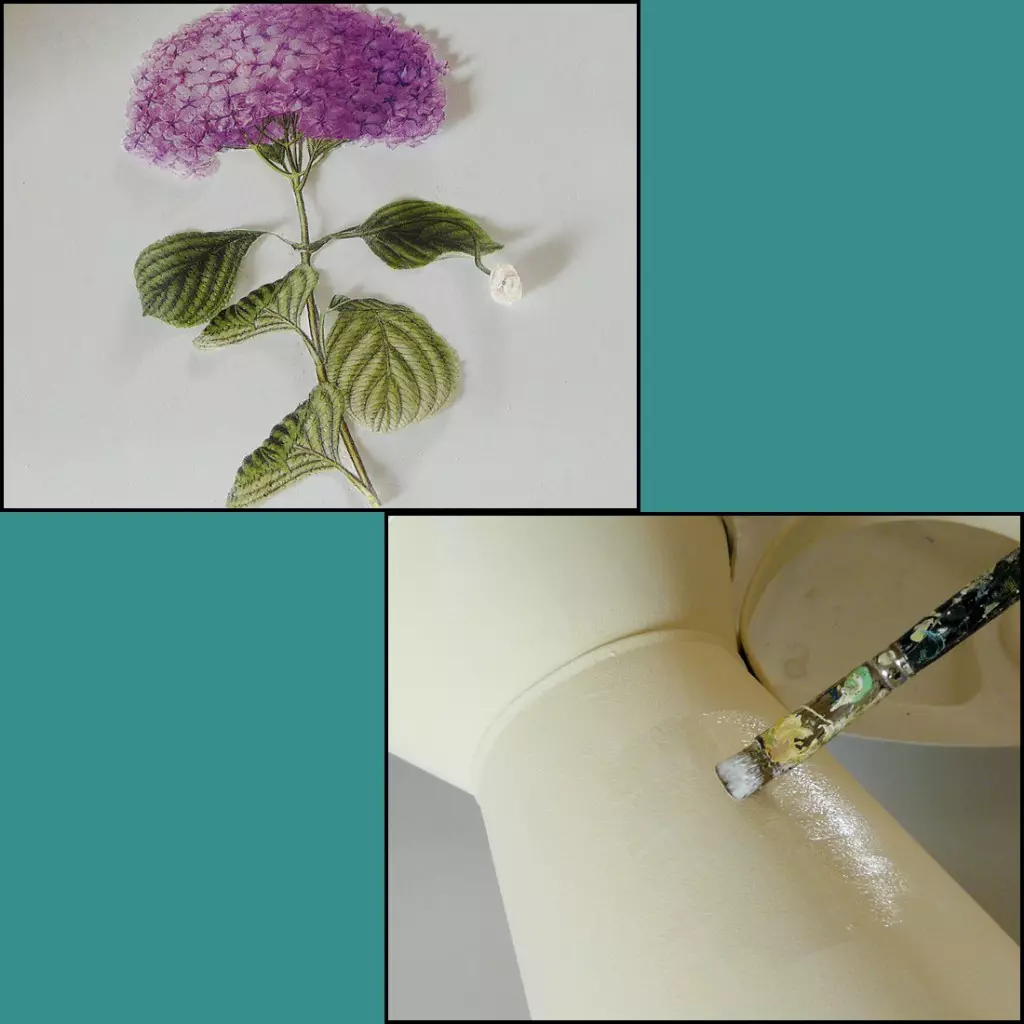
Step 3: Manicure scissors cut the napkin fragment and carefully remove the lower white layers. They are not used in the process. If you forget to remove, then the drawing will be stuffed from several layers. To make a napkin smoothly, without a chance, wake the place where it will be fixed with PVA liner or acrylic varnish. Carefully, starting from the top edge, attach a napkin. Rush with a soft tissue and wake on top of glue (varnish). The drawing can be from different sides, act so as to glue everything, but do not damage previous works. Dry, cover everything made by acrylic varnish and dried again. The high class of the product is characteristic of perfectness.
To make a napkin smoothly, without a chance, wake the place where it will be fixed with PVA liner or acrylic varnish!

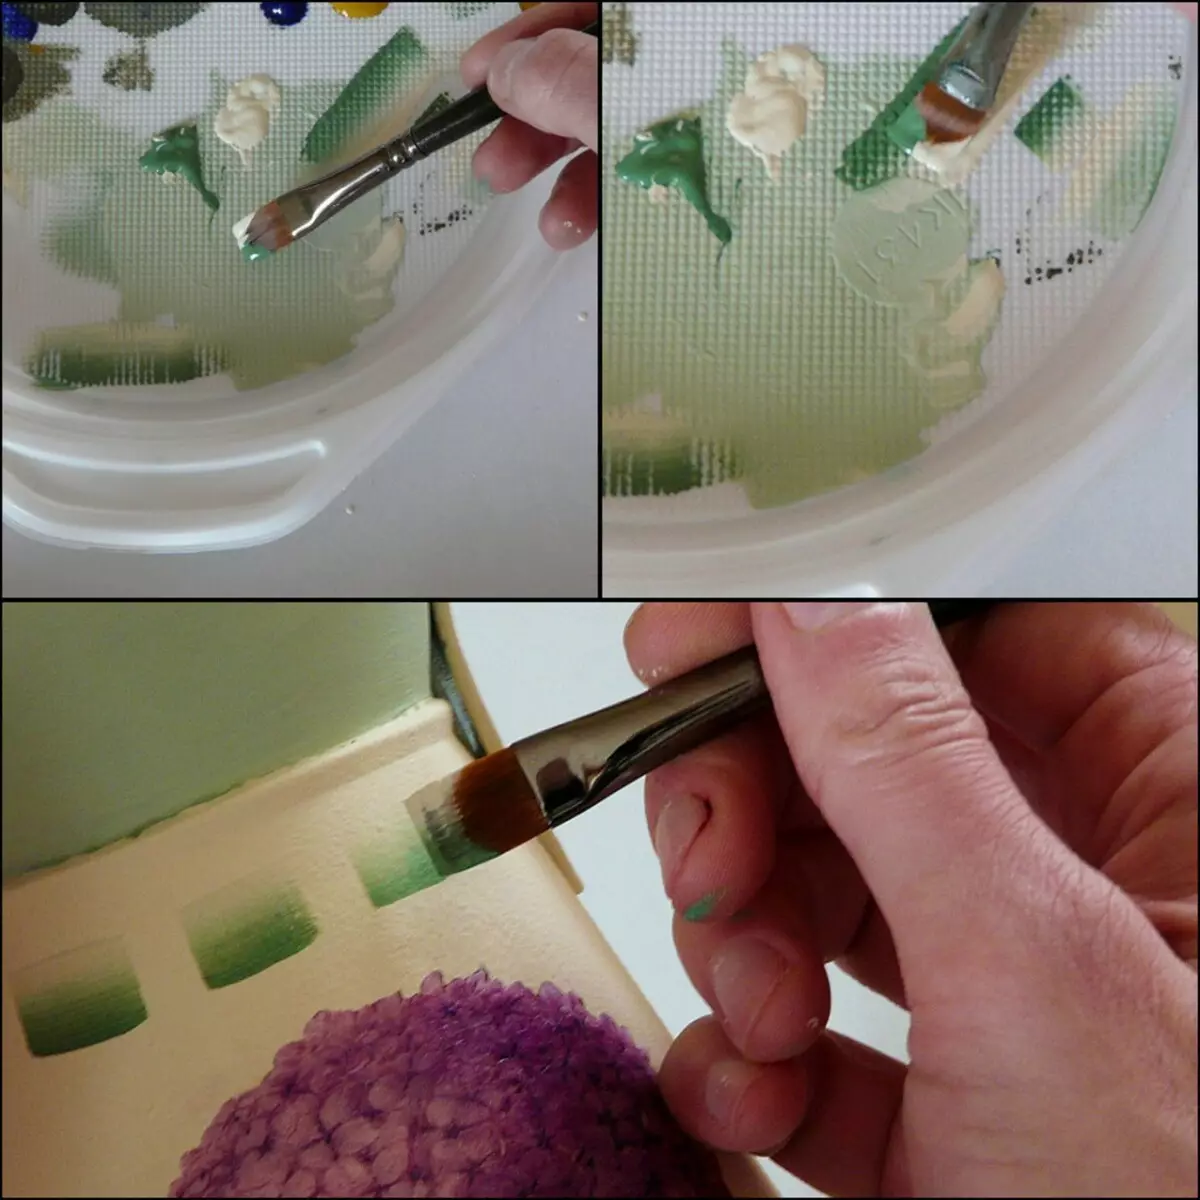
Step 4: This can be finished, but the subject clearly lacks the nature, so Dorisovka is required. To get a flat line when staining a part of the subject in another color use a painting ribbon . Get it in the place where the division will be, follow that the tape fits tightly, otherwise the paint is spread and the clear line will not work. Each decoupage master has its own techniques for a flat line - the greasy tape is the most popular.

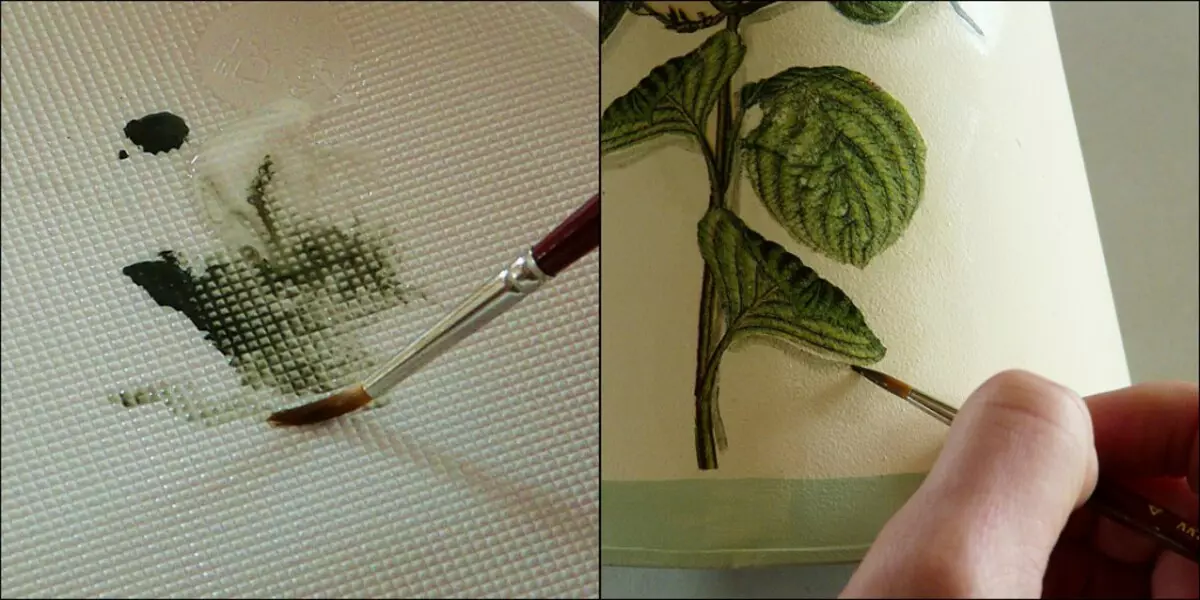
Step 5: With a wide flat brush, draw the simulation of the stitches of the tape, but pre-mark the markup by a simple pencil. To do this, mix acrylic paints in a plate so that one edge of the brush is capturing a light tone, and the other dark tone of the paint. Dry paint and apply varnish top, dry. Now you should give the depth of the drawing - to draw leafs. Sold out is a gray tint with the addition of barely noticeable greenery. Do this stage of artwork with a thin brush.
Article on the topic: Beautiful kitchen decor with their own hands (+50 photos)
To paint well lay down a little dilute it with water (it is important that it does not spread). Put on the contour, or a little capturing the edge of the pattern, do not leave white spots. So that the rest of the field does not seem empty, put a thin brush point - it will be imitation of a small pea. Decoupage is finished.
Step 6: Cover with varnish all the work, take two or three layers. Treat the surface shallow sandpaper, wipe and cover with varnish.
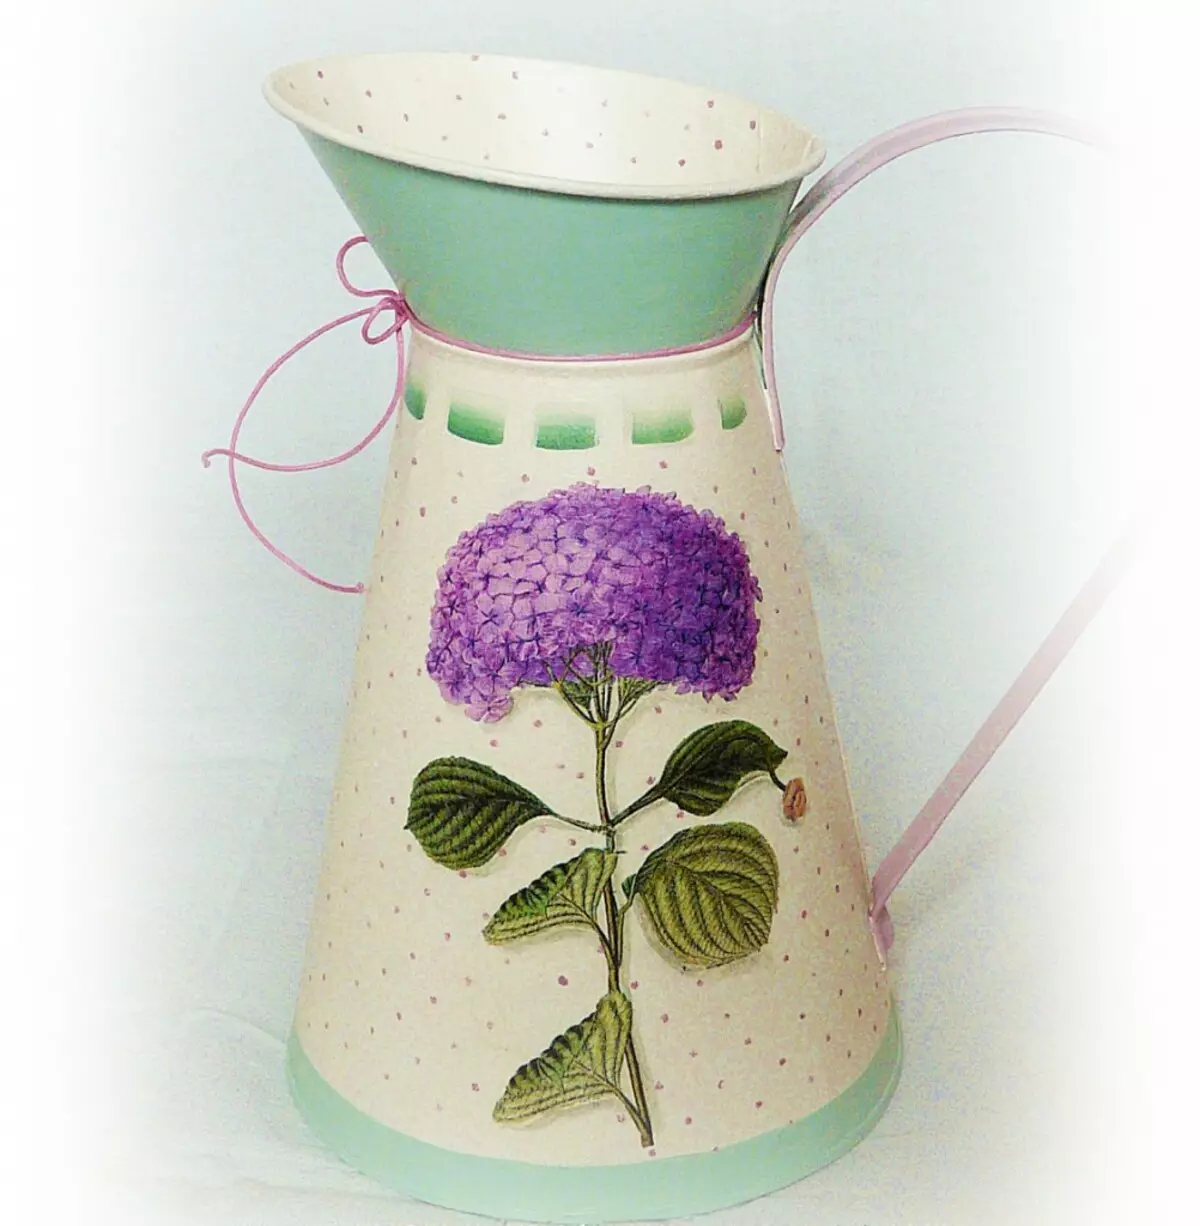
Using step-by-step instructions, the master class will allow you to master the technique and technology. Thanks to her, it is possible to decorate a bucket, a coffee pot, coffe, and any other metal object. Master Decoupage and Old Metallic Iron will give luxury art object. The paper uses not only napkins, but also postcards, magazine illustrations, photos.
Photo Gallery:


