
A table for a laptop to make a bed must be sure to at least for the reason that your laptop "suffers" on a soft blanket due to lack of air. Oxygen, of course, it is absolutely not needed, but do not forget about the cooling of your friend. And just to get ease in circulation and the stable position of the laptop would not hurt. The design options for this simple device set.

A table for a laptop into bed can be made of any materials and in any design, but one thing is invariably - such a table in our time is needed in every home.
Materials can also be used different, however, the product from the tree will have huge benefits: it does not heat, has excellent dielectric qualities and design such a product is simply beautiful. So, for the manufacture of a table for a laptop you will need such tools and materials:
- a piece of the board (preference should be given material from hardwood of trees);
- hacksaw;
- drill;
- screwdriver or screwdriver;
- sandpaper;
- Morilka;
- polyrolol or varnish on a natural basis;
- Screws.
Countertop and sketch of paper with your own hands
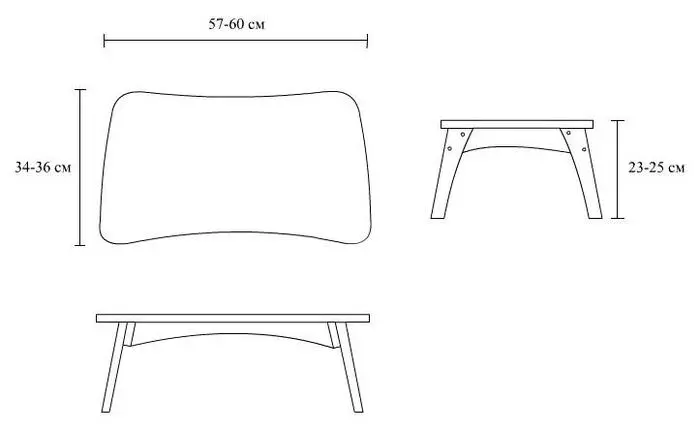
An example of a sketch of a simple table for a laptop.
First, it is necessary to cut a rectangle from the board from the board, which will be 10 cm wider and longer than the size of the computer (the size can be significantly more if you decide to combine the work at the computer with morning coffee). This rectangle will become a kind of tabletop. Next, make sure that the stand for a laptop was convenient for you. For this purpose, we measure the approximate height from the surface of the bed and cut two rectangular trapezoids from paper for these sizes. Previously see convenience and height will not be superfluous: Agree that paper legs for the stand change much easier to redo the existing wooden blanks. On a paper template on a wooden billet, we make the appropriate imprint and with a hacksaw or a jigsaw cut out the details.
Article on the topic: Table Bed transformer do it yourself: instruction
All items will be carefully cleaned by sandpaper. Cleaning machines produce circular movements in two stages: first larger (primary processing), and then smaller emery paper. Special attention is paid to the edges of the details. Bad grinding or remaining jar on the edges of the product will certainly make tightening on bedding, so all the edges are better made oval.
Screws or hairpins for connecting?
Compounding countertops and reference parts can be made different. The easiest way is to use screws. But in this case there are two options for further actions: either the head of the screws will spoil the appearance of the countertops, or they will have to mask using additional finishes. Connections on studs will help to avoid it. For their accurate installation, you can recommend using an ancient way to obtain high-quality markup. On the cover of the stand we carry out the line at a distance of 5 cm from the side cuts. At the same distance from the ends of the segments of the segments, we make two holes at a depth of 2 cm. In these holes insert wooden studs (can be self-made) and the outer cut of the studs are fed into any coloring pigment. Having attached lateral parts into an estimated position, you will get marks where it is worth making holes. Then it will be easy to press the side parts on the studs and the bulk of the work can be considered complete.The importance of ventilation holes
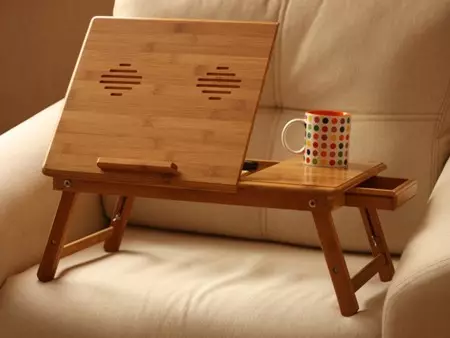
The ventilation holes in the table are necessary for the uninterrupted laptop operation.
The resulting laptop stand cannot be operated, as it is functionally not ready. Namely, it lacks the main part, which is distinguished by a table for a laptop from an ordinary table for the morning breakfast. We remind you that the laptop should have access to fresh air, so the resulting table still has to be modified - to make holes in its upper part. It is stupid to just drill holes. This can be done very aesthetic. The craftsmen with the help of electric jigsaw cut through the worktop such intricate through patterns that the laptop stand becomes a work of art. It is worth striving for this only when you have a large reserve of time, patience and desire. In other cases, we make ordinary geometric marking and drill the necessary holes at certain distances.
Article on the topic: How to glue wallpaper correctly: instruction, tips (video)
You can make a pattern of butterfly or flower dots: it will turn out and functionally, and very beautiful. In addition, with the asymmetric arrangement of points, marking will not be seized. For drilling, you can recommend drills with a diameter of 3 to 7 mm. Each hole is desirable to still be treated with a drill of larger diameter (the chamfer will give additional sophistication).
Stages of finishing surface treatment
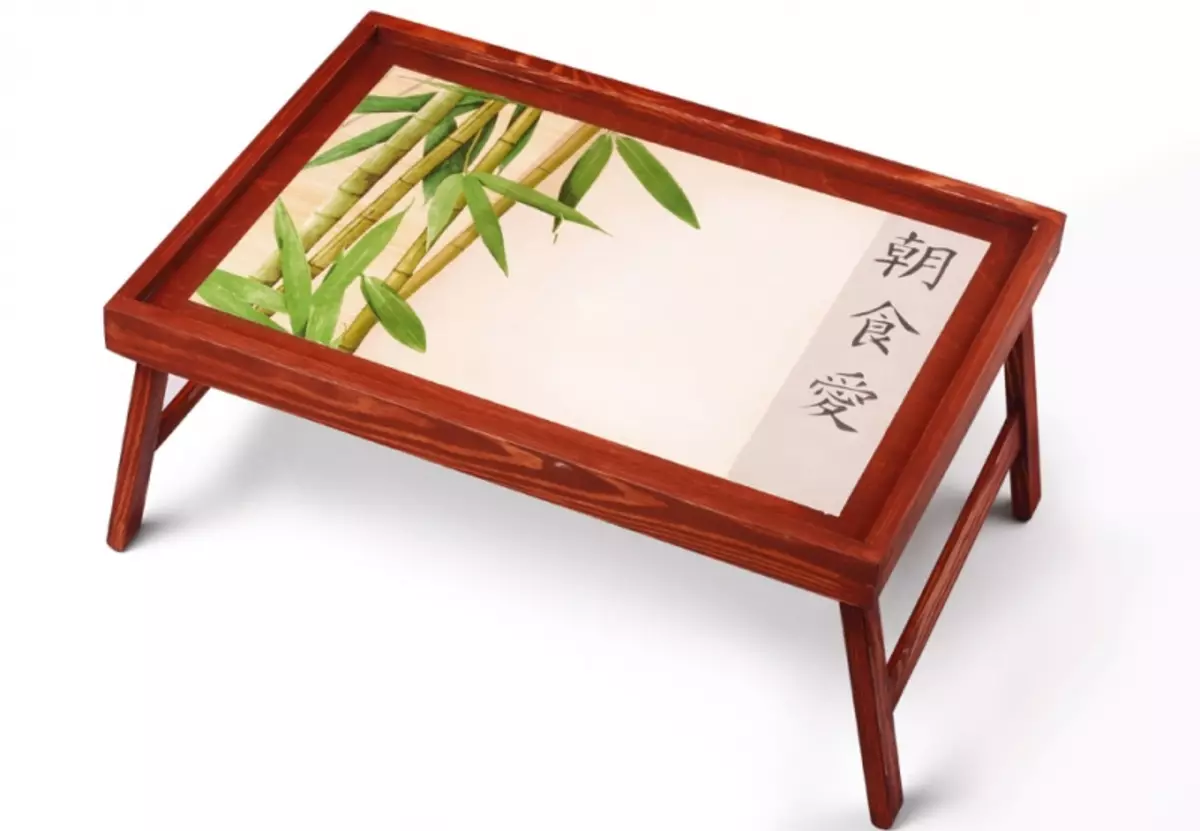
The finishing table is the case of your imagination and taste.
Now the stand can be subjected to finishing work. Wood should be treated by a verse. Color It is advisable to choose in accordance with the main gamut of furniture in the bedroom. Morid dries quickly, so you can almost immediately go to the use of polyrol. The laptop table does not make sense to cover laptop - rubber supports on a laptop will leave on the surface of the matte traces, so the stand will often have to clean and vanish. In addition, under the influence of warm air from the laptop fan, the lacquer can crack or darken. But polishing or varnishes based on cedar (or other) resins are more resistant to these influences. Varnish is applied as usual, the polyrolo should be rubbed into the tree with the help of felt with circular motions. Moreover, this procedure should be repeated at least three times. Stand for a laptop will be ready after the polyarol drying.
Install an additional fan
What else can I offer craftsmen so that the stand for a laptop is really in the spirit of time? Of course, this is an additional fan under the bottom of the table. It will be powered by this fan, in all likelihood, from a USB port, so you can use any cooler from the old laptop. Fasten it under the table top is easy. The main thing is to consider that it should create a stream of air from a laptop, and not to it. When installing such a fan, the additional protective partition is to be fixed between the racks. It and the cooler will protect against mechanical damage and make a table more stable.
Article on the topic: Soft wall panel with your own hands: Testing, filler, technology
Stand for a laptop does not have to be framed by filling wood and polishing. Inlay veneer will make a table for a laptop even more beautiful, but this way can only be issued the side panels. The table top covered with veneer and having holes, it looks rather weak.
And the last moment: the laptop table needs special handling of legs.
After all, they will touch the bed, so it is necessary to exclude the possibility of damage to the fabric. Felt or felt can be glued to the legs. As an alternative, you can offer to finish all the corners and kants to oval form once again.