
Not every person wants to acquire furniture that everyone has, because Separate your place of residence is one of the natural needs. Make a chair a bed with your own hands will be able to anyone, and the drawings can be completely different.
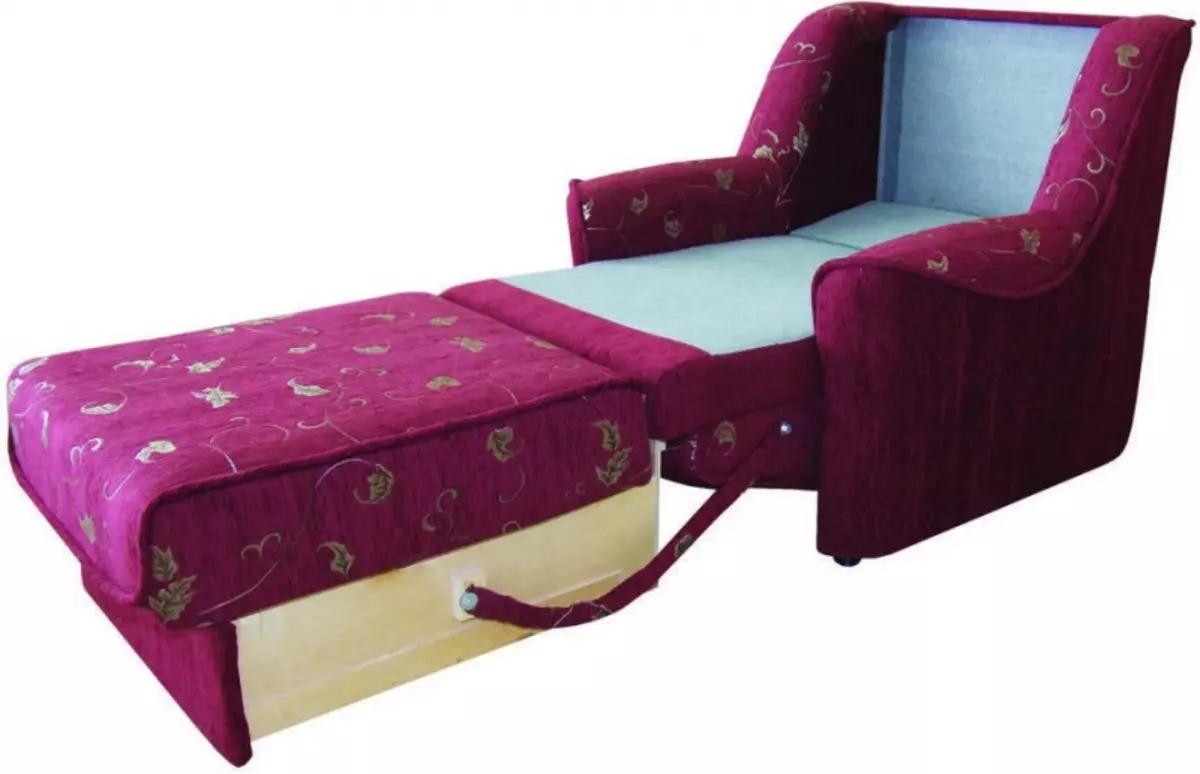
The chair bed is a very convenient device, especially if you often have guests, and the apartment is small.
The development of complex structures is an idea for professionals, and newbies are quite enough to make a good impressive bed.
Tools and materials
For the manufacture of upholstered furniture, 1 set of tools and accessories is almost always used, and the differences are only a formal character:
- Electrolzik.
- Screwdriver (drill).
- Sander.
- Milling machine (extremely rare).
- Roulette.
- Corolnic
- Simple pencil.
- Sewing machine.
- A piece of chalk.
- Scissors.
- Stapler.
A set of materials is modest, but it must be treated more carefully:
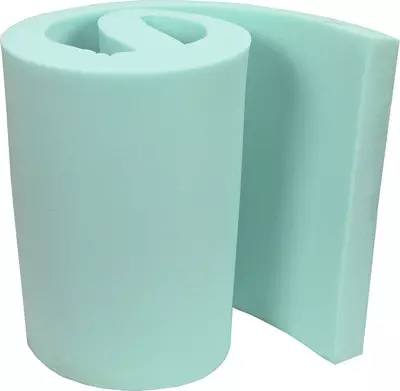
For upholstery will be needed foam rubber.
- The chipboard is used to form longitudinal elements of any width that can only be manufactured. For furniture, the stove of medium thickness is usually used, but the maximum density. If there are open sections, then you need to take a laminated version (LDSP), which also avoids a negative toxic effect. The minuses include fragility, non-evolution and limited design design, while the price puts material in demand for 1st place, so this material will be given.
- The furniture shield is used exactly the same as the chipboard, but has increased strength characteristics, and with this and wonderful appearance. The only minus material is a high price, which is why it is used only in open places.
- The edged board - strength depends directly from the wood used, but it is difficult to work with it because of physical parameters. Processing can be easily, especially in cases with a tangential cut. Usually used as an additional material, although sometimes (at low loads) serves as a replacement of the LDSP and the furniture shield.
- Bar is a support and supporting system. Usually its presence is almost unnoticed, but without it there is little design, will be distinguished by reliability.
- Foam and batting - fillers for upholstery works. For the chair it is more convenient to use batting.
- Spanbond - covers the filler, so that the latter is clearly fixed. Also spanbond is convenient when tightening an external upholstery, because Perfectly provides sliding.
- Upholstery materials can be extremely excellent, but everyone has high strength and wear resistance, even after 10 years to maintain the appearance as close as possible to the primordant.
- Small technical and suture fittings.
Article on the topic: Spring details of the interior: 30 simple ways to decorate the house for the spring
Preparatory work
After the drawings on the folding chair bed are ready, and at the same time the materials are selected, you can start making a wooden system:
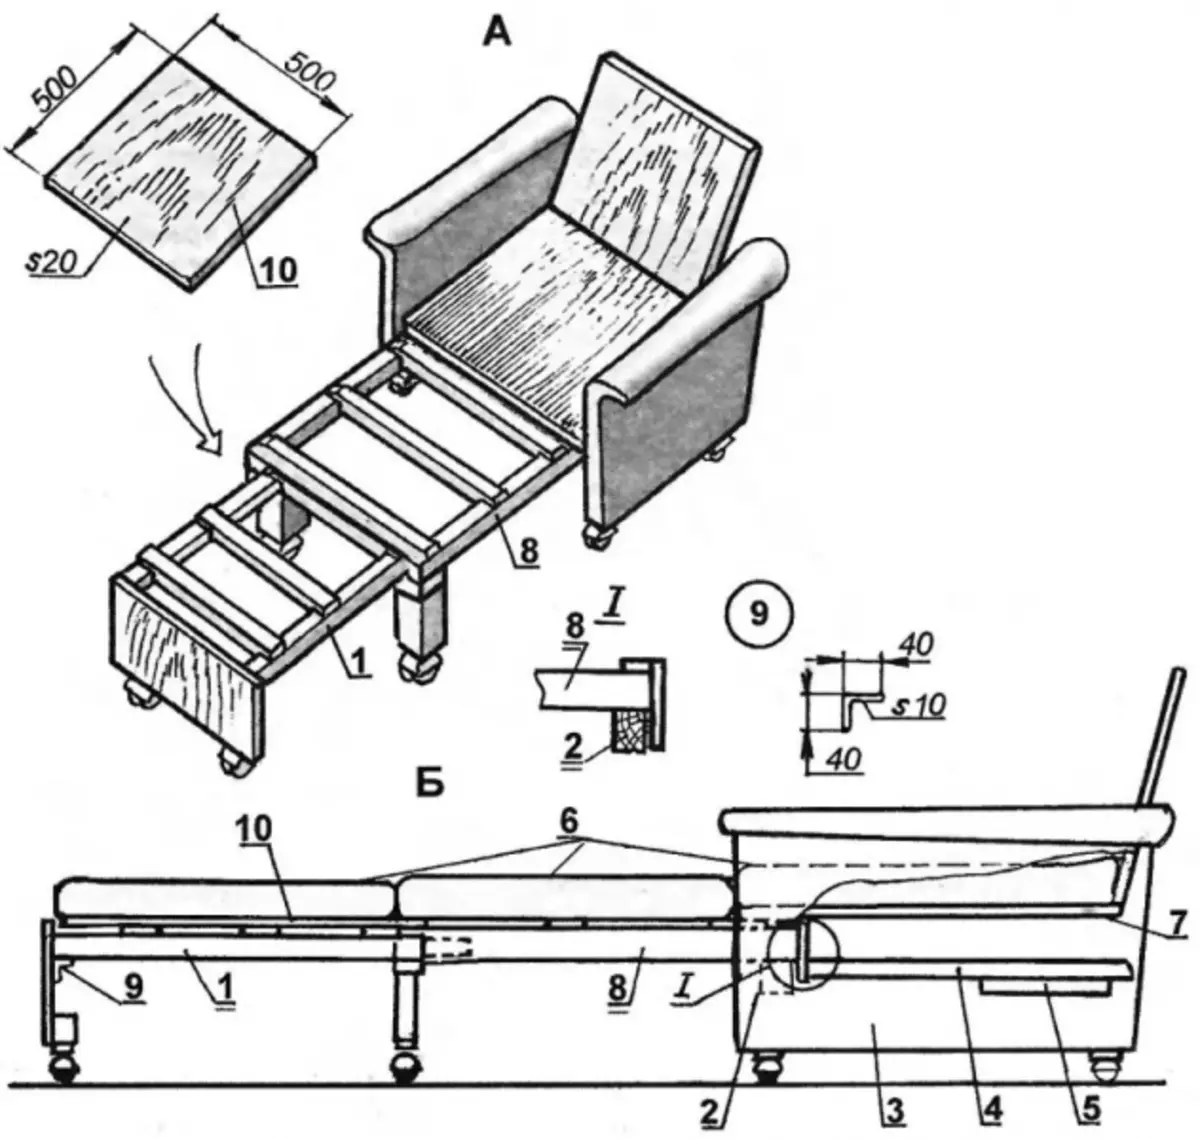
Drawing of bed armchairs (A-without pillows, b - with laid pillows): 1 - first retractable section; 2 - armchair amplification bar; 3 - sidewall seats; 4 - guide bar; M5 - transverse panel; 6 - pillows (on the chair - the usual fluff); 7 - seat seats; 8 - the second retractable section; 9 - furniture corner; 10 - overhead shield.
- At the very beginning, 6 bars are cut 55 cm, in order to designate the bed along the length. They will be located in such a way that the last 5 cm wovel.
- Then another 5 bars are cut from 45 cm and 2 to 40 cm, which are safely fixed in the 3-control points of each pair of longitudinal bars. Fixation occurs in such a way that there is always 1 binder bar, thanks to which the system can fold and decompose back. In order to ensure mobility, you will have to resort to the hinge.
- 4 BROUSE 20 cm, which will serve as legs in retractable structural elements, are attached to furniture loops so that when folding it inwards. The loops themselves are attached not from the bottom to the bars, but from the inside, so that the probability of the slick decreases at times.
- For the main element, armrests are made of chipboard 50 * 50 cm. The mount is made with the insight into the washer so that with small deformations of the design, no element suffered. From the bottom and on top of the side shields are made extensions (strip 50 * 3 cm), which are directed in the outside, in order to then, then such a step did not prevent the rest.
- With the help of the electrolovka, 4 plates of 50 * 50 cm are fixed, 3 of which will be located as a bed, and the latter will become the back. The latter plate, if necessary, should be able to deviate back, so you have to install a movable mechanism with retainers.
Article on the topic: How to make a hand truck for moving goods?
Fixation is carried out with the help of furniture screws. But before screwing them, you need to prepare a narrower hole with a drill.
Completion and summing up

Upholstery chart bed bed.
At the very end, the folding chair bed disassembles the main elements, and the upholstery is formed. Upholstery technology is identical for each item:
- Using batting, a soft part is formed. Do not regret the material, because In the future, he must serve faithfully not one decade. The form can be given any, and the adhesive is used for fixation.
- If you plan to wear sewn covers, you will have to use sponbond. If only the fabric will go over the filler, then this step is skipped.
- Side panel covers are sewn, and the fabric is simply stretched on the bulk of the bed. For final fixation in any case, the stapler is used. The brackets drive it into the focus to ensure maximum fixation.
At the very end, everything is going together again, and you can start exploiting. Anyone will be able to do this job, but for this you need to clearly follow the instructions.
There is no particular difficulty in this process, but there is one point - the ram, if you wish, you can replace the edged board.