Patchwork sewing helps to significantly reduce the amount of tissue waste and, at the same time, contributes to a smaller clogging of the planettration to find the use of each cloth flask appeared in those days when the interior and interior items are sewn independently. Everything in the house was made and decorated with their own hands. Now the technique of patchwork sewing is experiencing a new splash of popularity, but already as an opportunity to make a unique thing for home, expressing the taste and talents of beginners and experienced craftsmen. A bright spot in the interior, a successful gift of newsnels or a young family can be covered, the blanket, the patchwork with their own hands, created without much trouble and expenses.
Sewing technique patchwork blankets
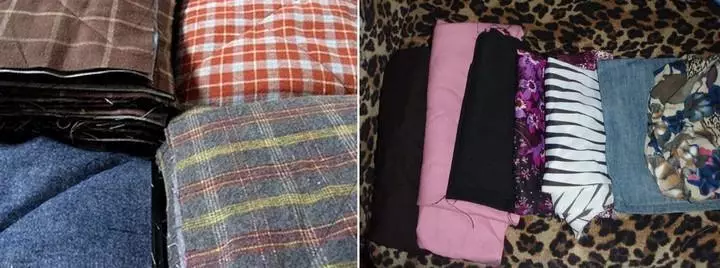
Sewing and assembling a patchwork or bedspread begins with the preparation of the workplace, because a huge number of flap requires a significant space, for example, a large table. When choosing tissues, the material for the front side is first selected. Experienced masters combine silk and sitheria, flax and satin, satin and drape in one product. For beginner needlewomen bedspreads, plaid or patchwork, with their own hands, it is better to sew from sitz, satin, flax, bosi, knitwear.
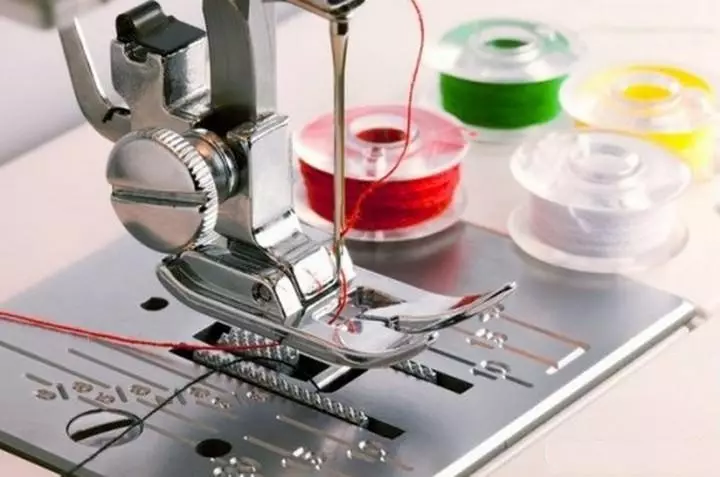
The sewing machine, like the iron, is a satellite sewing satellite in the technique of Patchwork. Without two of these devices, assembly and accurate connections are impossible
You can purchase ready-made sets of fabrics for patchwork sewing, which offers a fair of craftsmen, but for beginners of needlewomen more interesting to conduct a revision of cabinets, swing unnecessary things and tissue residues.
The original blanket can be made of flap cut jeans. Before you start taking fabric, you must prepare - cut the thickening of the seams (on old clothes), dilapidated areas, stretch, tear out, make patterns.
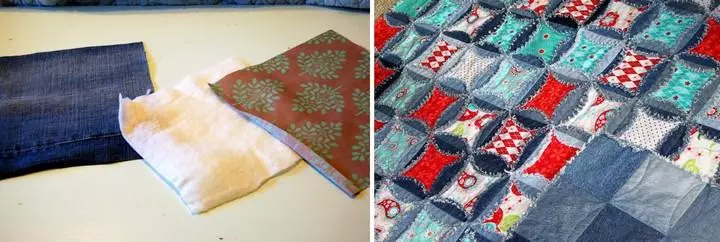
Loskutka denim can be combined with scenic or cotton for a richer and diverse product composition
Even if everything is in the case that under the arms fell, it is necessary to think through the combinations of colors and the overall composition of the blanket. It is advisable to depict your ideas on sketches - sheets in a cage colored with pencils. Such technician is convenient for beginner needlewomen: Take one fragment, assembled from several parts as a basis, and then duplicate it several times. When selecting color combinations, it is important to take into account the color of the curtains, tablecloths so that the new textiles will harmoniously complement the interior. For sewing lining and border, usually take a monochrome durable fabric.
In addition to lining and top, in the structure of the patchwork, there should be a heater - batting, a synthetone, holofiber. The filler may be natural (cotton, wool, semide) or synthetic. The most popular syntheps - light warm and moderately voluminous. For sewing, the blankets are chosen by a linen density of 150-200.
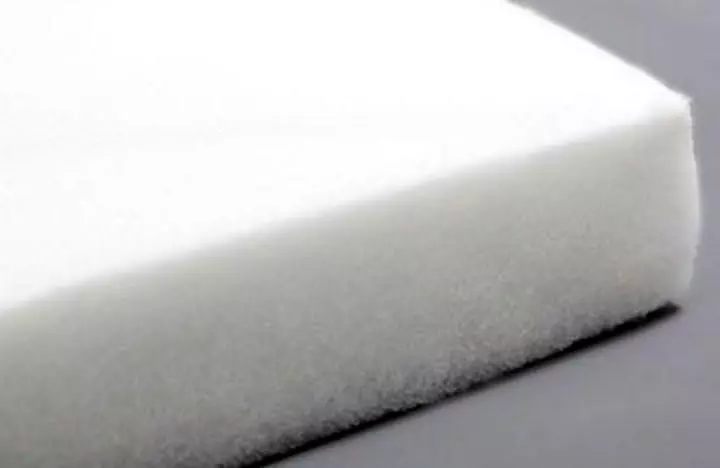
Hollofiber is more complicated, since it is quite voluminous
Article on the topic: how to paint the wooden floor in the country (10 photos)
For beginners, as an economy, the master class can be used as a heater and an old blanket, if it is not too heavy. Otherwise, the assembly and tailoring are similar.
To sew covers, blankets, or patchwork, as in the photo, you need to cook:
- Quality threads No. 45 or No. 50. The color is chosen in tone or contrast. We will also need simple threads for desperating.
- Template Made from dense cardboard or plastic. The form is a round, square, hexagonal, rhombus, striped - choose in accordance with the idea. For beginners - the first blanket is easiest to sew from squares using diagrams. The size of the part depends on the overall product size and is 5 - 10 cm + 1 cm on the seams. For example, for a blanket from squares of 8 x 8 cm, it is necessary to add 1 cm to each side and arrange a frame with a width of 1 cm. The total size of such a template will be 10x10cm.
- Instruments - Besides the iron and sewing machine, needle, pins, chalk or soap, scissors and a tape-centimeter.
Sewing technique "Strip to Strip" (video)
How to fix patchwork blanket
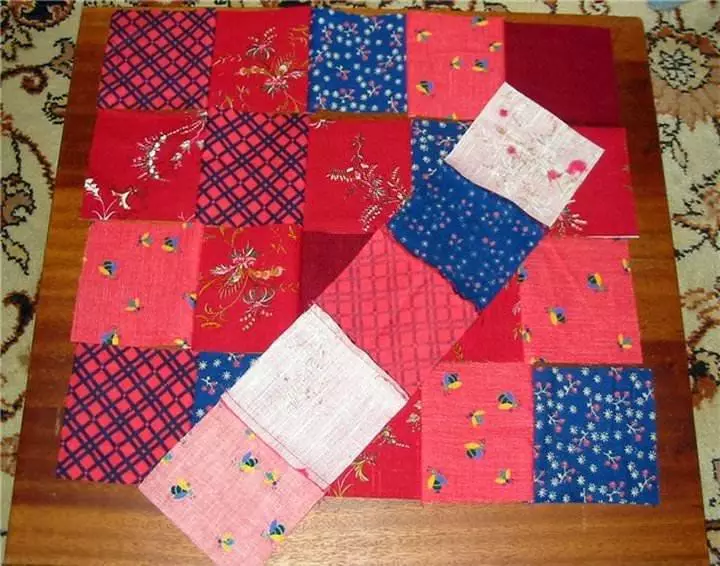
Sorting the flap, you need to make patterns using a template. It turns out a lot of identical squares with a seam line out inside. For example, you can take a baby blanket 110x140cm. Taking into account Kaima, it is necessary to make 192 squares of 8x8 cm.
To build a blanket without errors, the details can be numbered or decomposed on the stacks
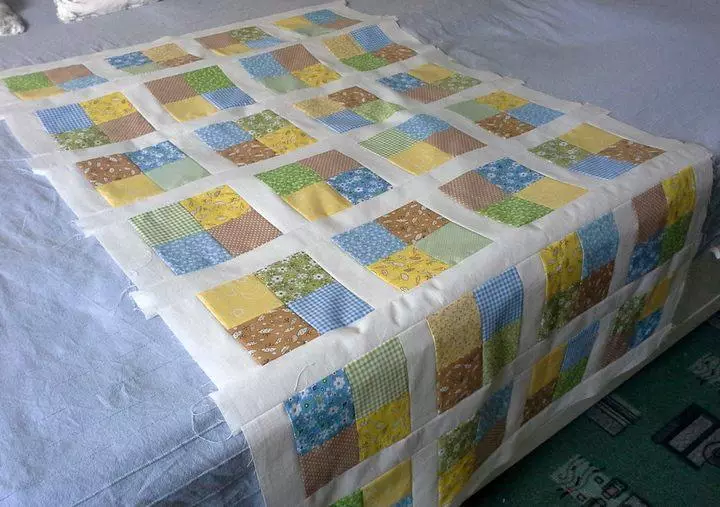
Convenient assembly technique of bedspreads - sewing square blanks first in long stripes, and then connect these rectangles with each other. If the scheme is in the form of triangles, they are cross in pairs in the form of rhines or squares, in the future the assembly is similar to the first option.
So that the seams were accurate, neat, without distortions, before sewing, the flaps should be stored along the contour of the planned seam.
Two squares are inserted to the top, we roll pins and spend. All seams need to stare from the wrong way, having them in different directions so that there is no thickening.
When the assembly of all flaps in the strip is complete, sew blanks, compassionate each other and using schemes
When the most time-consuming part of the work is completed - the top assembly, you can collect blankets, blankets, bedspreads using schemes. On a smooth and hard base lay an outdoor lining with an invalid upstairs. To fix it, it can be fixed on the table (or semi) scotch.
Article on the topic: Glass shell: Advantages and selection criteria
From above, the filler is declined and the filler is calculated so that the lining performed from the layer and the upper part by 5 cm.
And the last layer is patchy top. After thorough alignment, all three pieces of "pie" fasten with pins
Now the blankets, blankets or bedspreads need to be right. Technique machine stitches involves the beginning from the center, flashing squares diagonally to the edge (see the schemes in the photo). To do this, you need to install a special foot for embroidery. In addition to the usual line, you can choose the curly outline - the sun, hearts, etc. The top thread is chosen in the tone of the flap, the lower fill in the tone of the lining. We sew with a weak thread tension. After the end of the work, you need to fill the edge of the blanket. If the stitch is performed manually, then first processed the edge of the blankets.
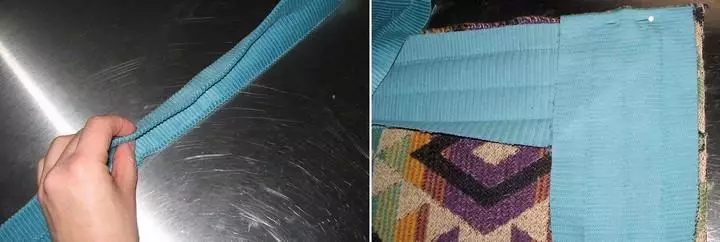
Final stage - processing edge of the blanket. Conduct the lining and all the layers so that on each side the band is 1.5 cm. Prepare 4 pieces of ribbons or fabric strips, fold them along and join
Build technique:
- Load all the layers of blankets and binding from long sides;
- It is also stitching with short sides;
- The secret seam must be done processing and corners of the blanket, hiding extra pieces.
If there was no machine stitches, after edging, perform manual. To do this, it is necessary to take strong threads and set to the perimeter of the parts of the seam of 3-5 mm or in the places of the joints of 4 squares, point.
Patchwork blanket in the "Staircase" technique (video)
Saving a patchwork: master class
Master class "How to sew a patchwork with your own hands", which offers a fair of masters, is suitable for both beginner needlewomen (with a step-by-step description) and experienced craftswomen who will be able to quickly navigate in the instructions and save time. In the finished form, the size of the product is 1.2 x 1.3 m. The technique is used and for sewing covers, only instead of the patchwork set "Charm Pack" you need to take the "Layer Cake", cutting parts with a size of 11.2 x 12.5 cm. Flash Blankets or plaid stitches in about half acantimeter. This master class uses cloth 112 cm wide.
Tools and materials:
- 80 Loskutki 12.5 x 12.5 cm or 2 sets "Charm Packs".
- One-photon fabric of two shades (absolute and dark) - 120 cm.
- Kaima suitable colors - 45 cm.
- Textiles for lining - 1.3 x1.4 m.
- Singry procession - 1.4 x 1.3 m.
- Iron and sewing machine.
- Rug for cutting, circular knife and centimeter tape.
- Sewing accessories.
Article on the topic: Selection of quick-drying varnish for floors
Fabrics Before starting the company, it is necessary to wash, try, get rid of the collapsing sections and cut the blanks according to the scheme
Step-by-step instruction:
- Technique cutting. From light monochrome tissue, it is necessary to cut 9 strips 6.25 cm in width and 80 parts of 6.25 x 11.25 cm. From dark fabric - the same number of the same billets. (Kit "Charm Pack" - 160 pieces of a similar size.) From the fabric prepared for the border, prepare patterns - 5 bands 5.6 cm in width. See the schemes.
- Workbathing details . Fabric flaps with a print and a monophonic fabric fold together and strain along the long side. Similar way to harvest 160 rectangles. Shooting the seams, flexing the allowances towards the fabric with the print.
- Technique assembly top. Eliminate rectangles so that one-photon halves lay down the steps (right on the left, etc. - as schemes in the photo). Assembly: alternating 2 fragments with bright border and 2 - with dark, you need to form a number of 12 blocks.
- In the next row The first block sew, stacking so that a monophonic fabric is perpendicular to (then on the side, then from above). For the next block, Kaima needs to choose a contrasting color.
- Ironing If you decompose all the details, considering the scheme, there are 13 rows of 12 blocks. It is overwhelmed first, and then the rest of the blanket.
- Building equipment blankets. On the floor decompose the lining with an insane up and fasten. From above to sequentially lay the insulation and patchwork top. When the assembly is finished, to be braided all the pins and make a line for 3 layers.
- Stitch. You can connect the blanket with both straight lines and raw zygami, as a scheme in the photo. The technique "Zig-Zag" in the second version it will be softer and acquired a cozy bulge.
- Border. Sew all the details of Kaima in one lane, smooth the seams in different directions. Fold the strip in half along the length of the front side and ingreed into 2 layers. In the middle of any side, it is necessary to fix the strip to the edge, leaving the tail up to 30cm. It is desirable that the stakes of the bands do not fall into the corners of the blanket. Shot a kaima around the perimeter (stitch width - half astimeter). The edges of the interlayer can be treated with overlock, wrap the kaym and set the other edge.
Master class for beginner needlewomen with detailed tips for designing a patchwork blanket and the assembly scheme can be seen at the next video.
Patchwork with your own hands (video)
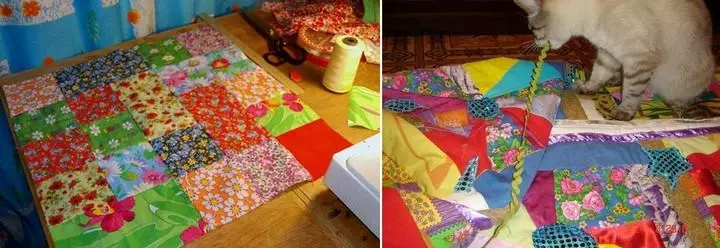
We hope the master classes that the Masters Fair offers photos and the video inspired you to create their own masterpieces of patchwork sewing.Good product!
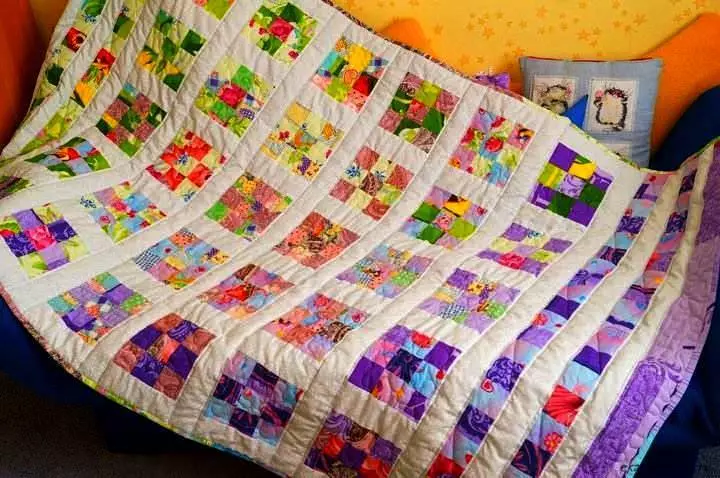
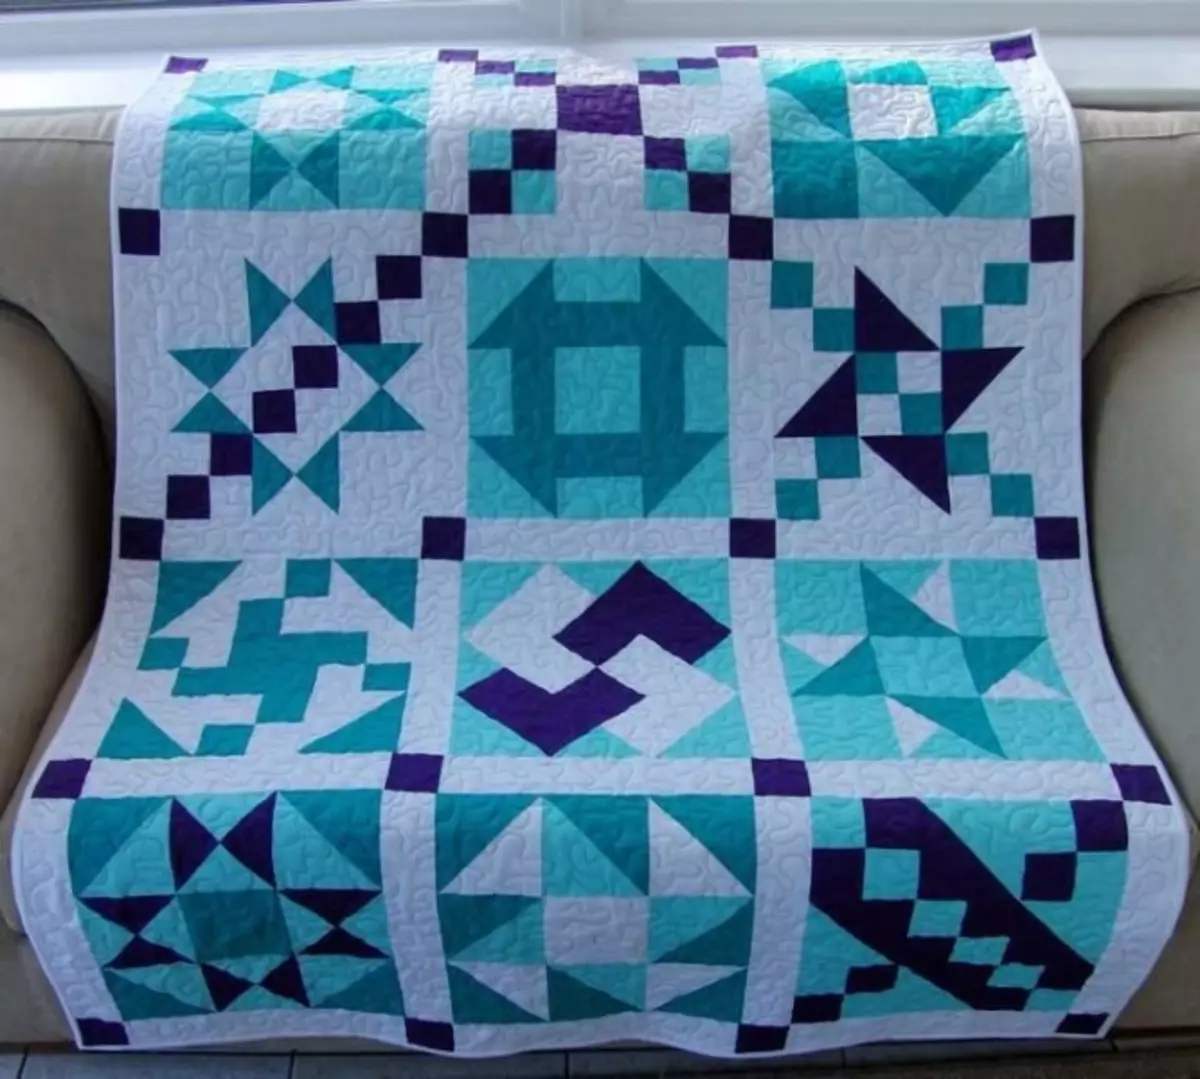
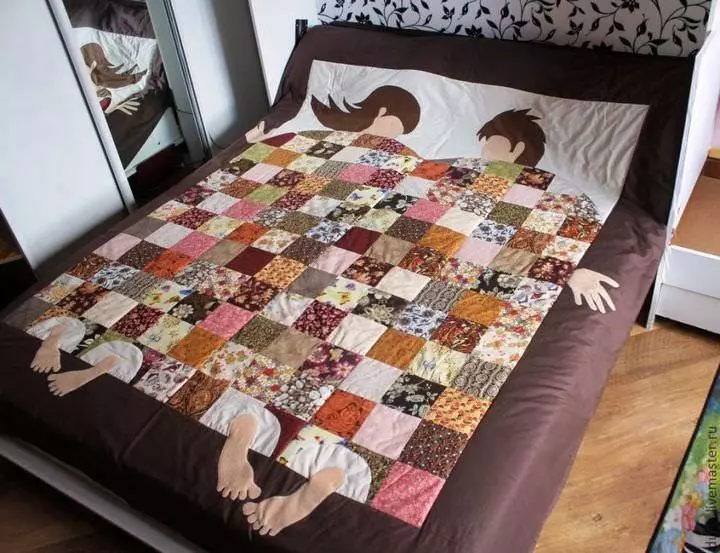
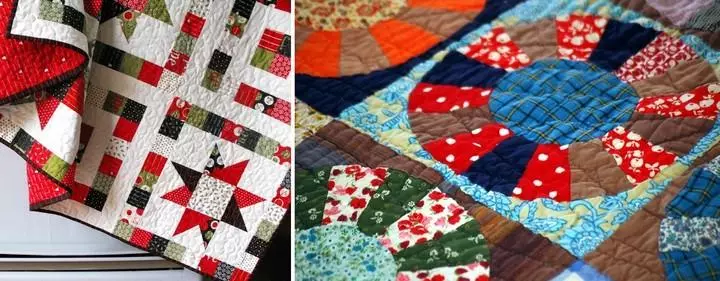
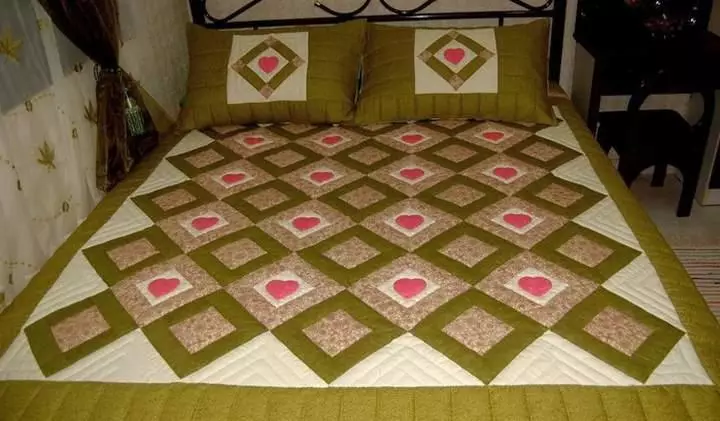
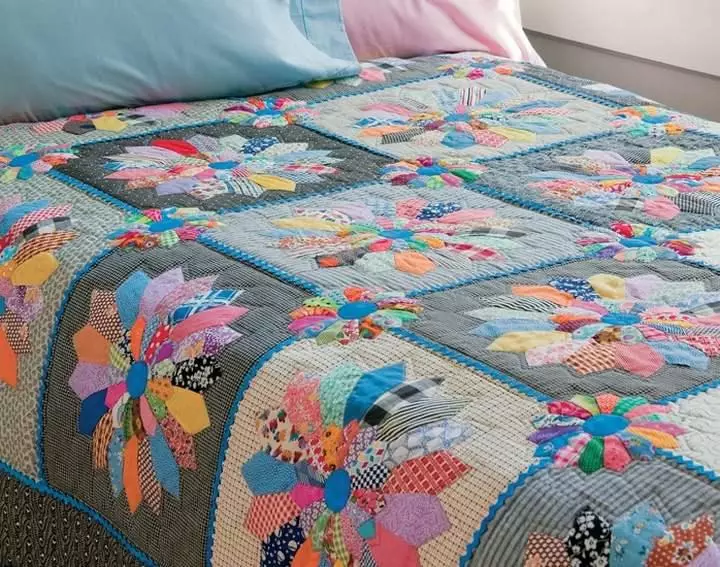
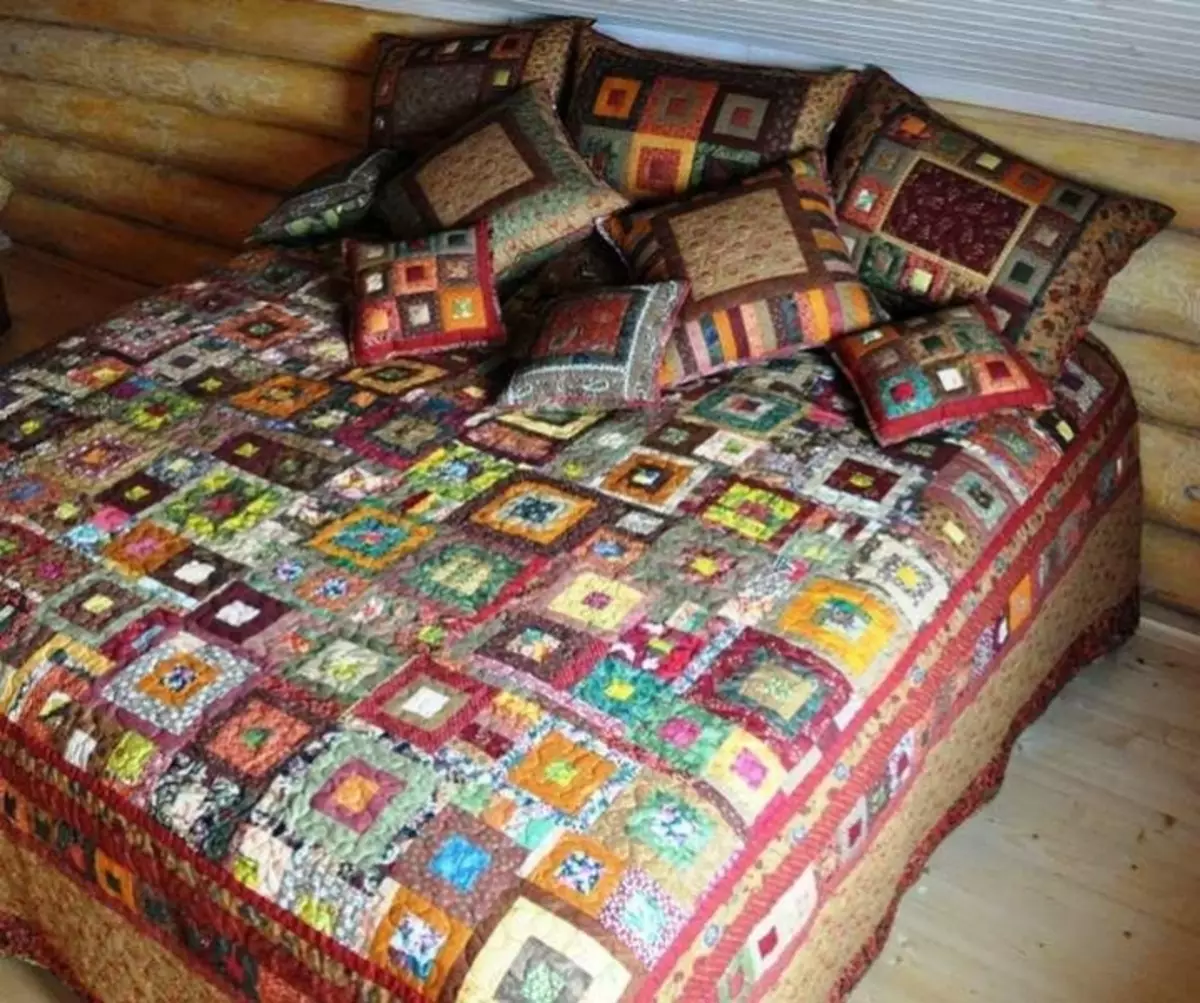
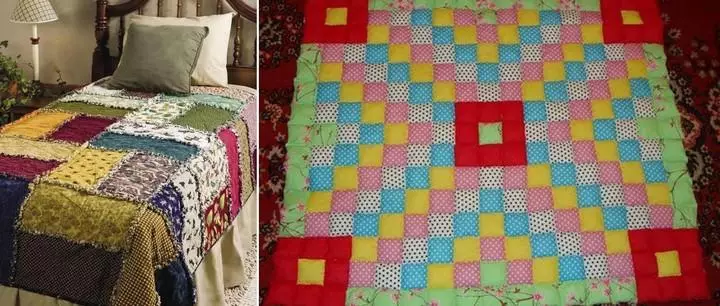
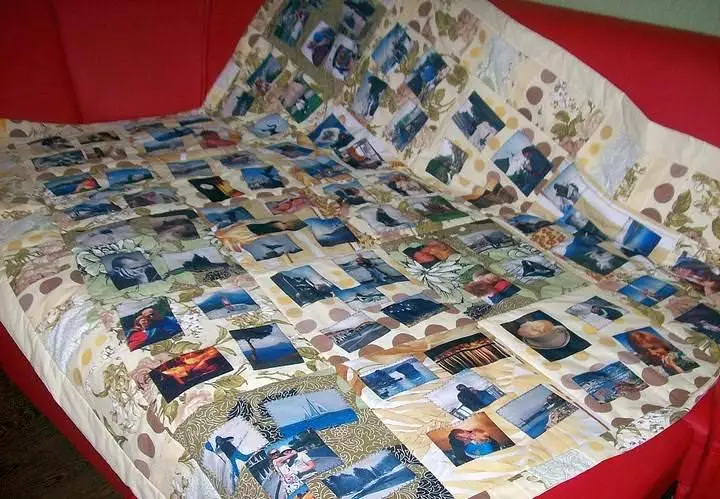
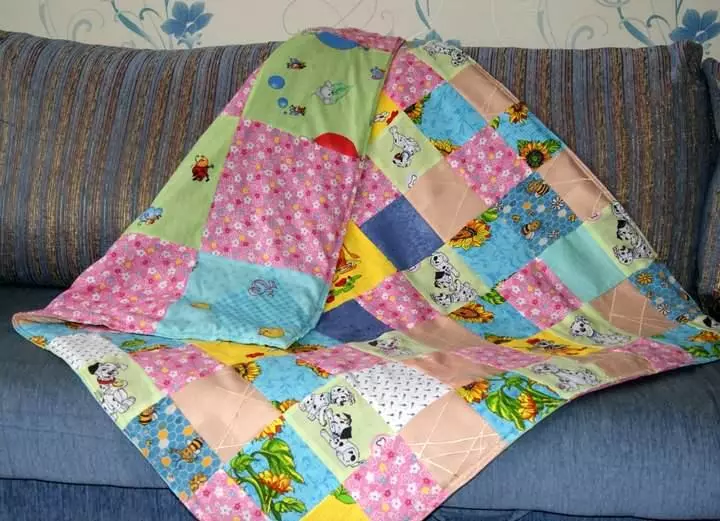
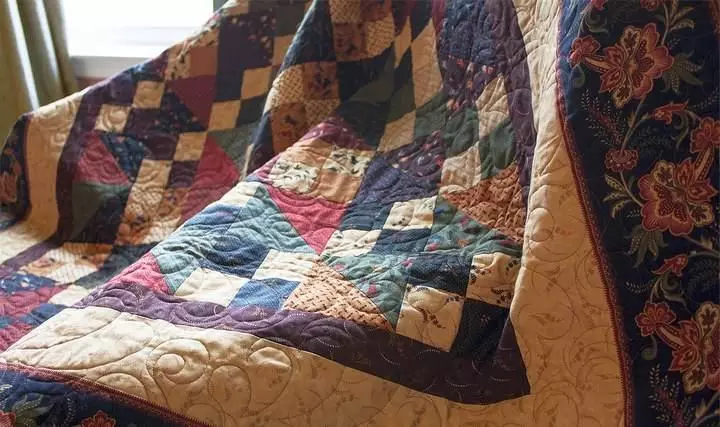
Patchwork with your own hands (photo)