
An alternative to purchased shower pallets are pallets made by their own hands, since even a non-professional fully appropriate to make their efforts and make a pallet on their own. This will save funds, and at the same time show your fantasy and creative abilities.
Selection of height, shape and sizes
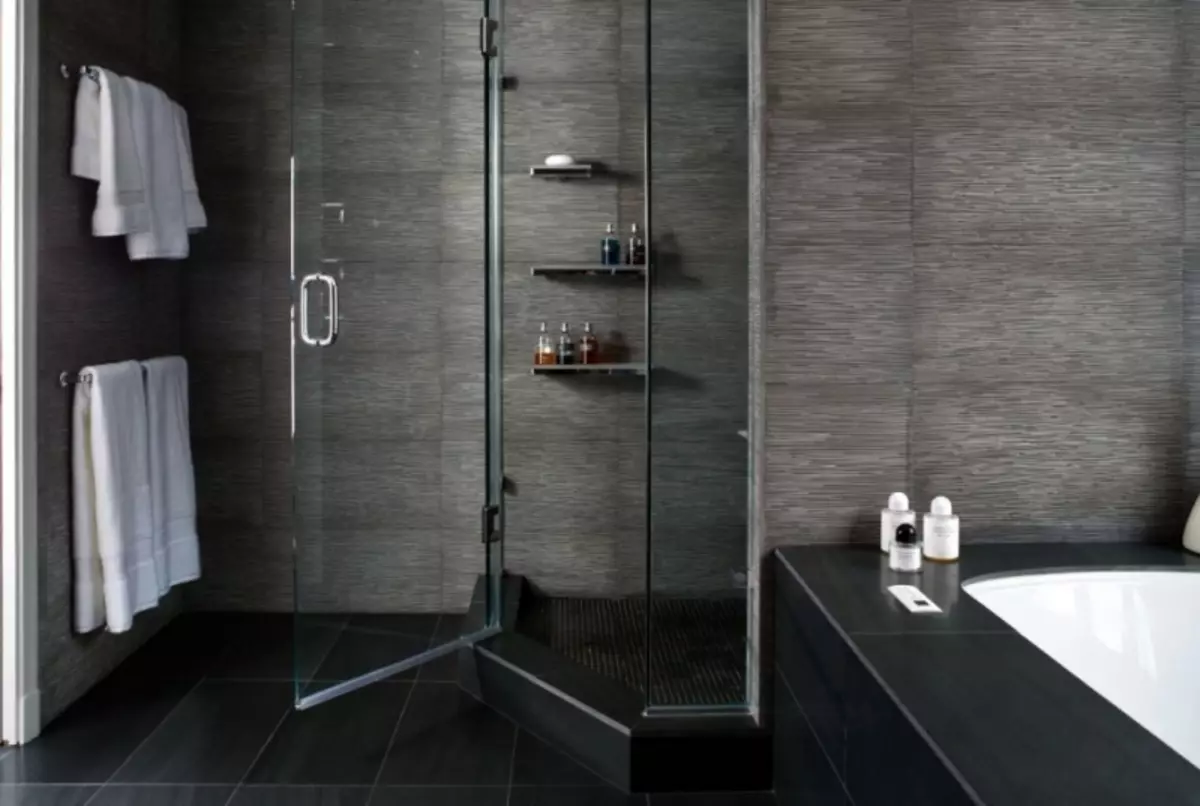
At the repair planning stage in the bathroom, did you decide to install a shower tray or a shower cabin? You have several ways to implement this idea. Buy the finished shower cabin, buy a finished pallet for the shower or make a shower cabin with your own hands.
The advantages of self-making include the following arguments:
- significant savings;
- the ability to make a pallet of any shape and size;
- Select a decorative coating, in accordance with the design of the entire room;
- set exactly the shower equipment that you need you;
- Choose or order an individual fence.
As a result, you will have an exclusive shower, in the quality you will be absolutely sure. In this article, we will tell how to competently build a soul tray, what materials and tools you will need, and we will help to avoid mistakes during construction and finishing.
We choose a place to build a shower pallet. It is advisable to place it near the Communications, but this question is not fundamental, with competent layout of communications, you can make a pallet anywhere in the bathroom. Special attention is paid to the screed and waterproofing of the floor indoors:
- For an urban apartment, a lightweight screed is best suitable, and a light design of the pallet.
- In a private house or in the country, the weight of the structure matters only when organizing the bathroom on the upper floors of the house. In this case, it is necessary to calculate the permissible load on the overlap.
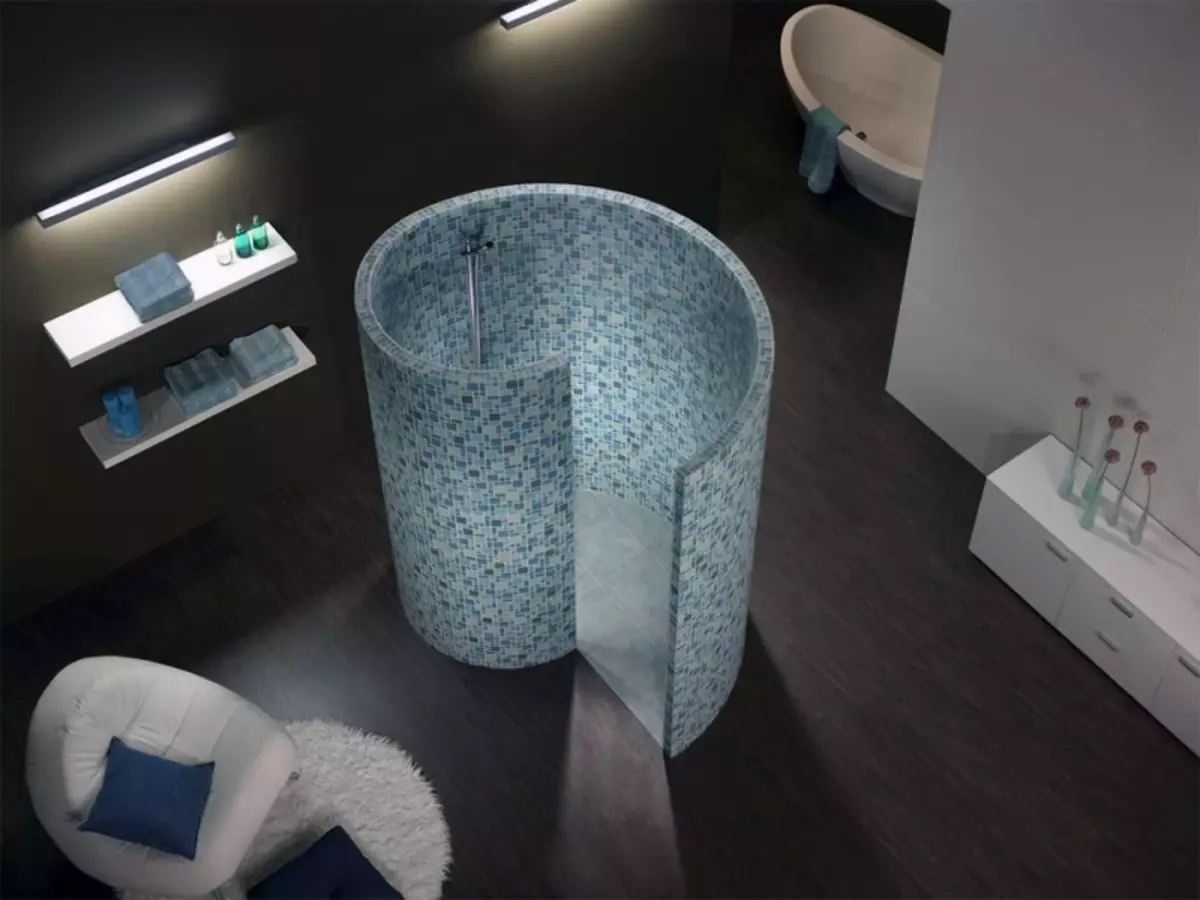
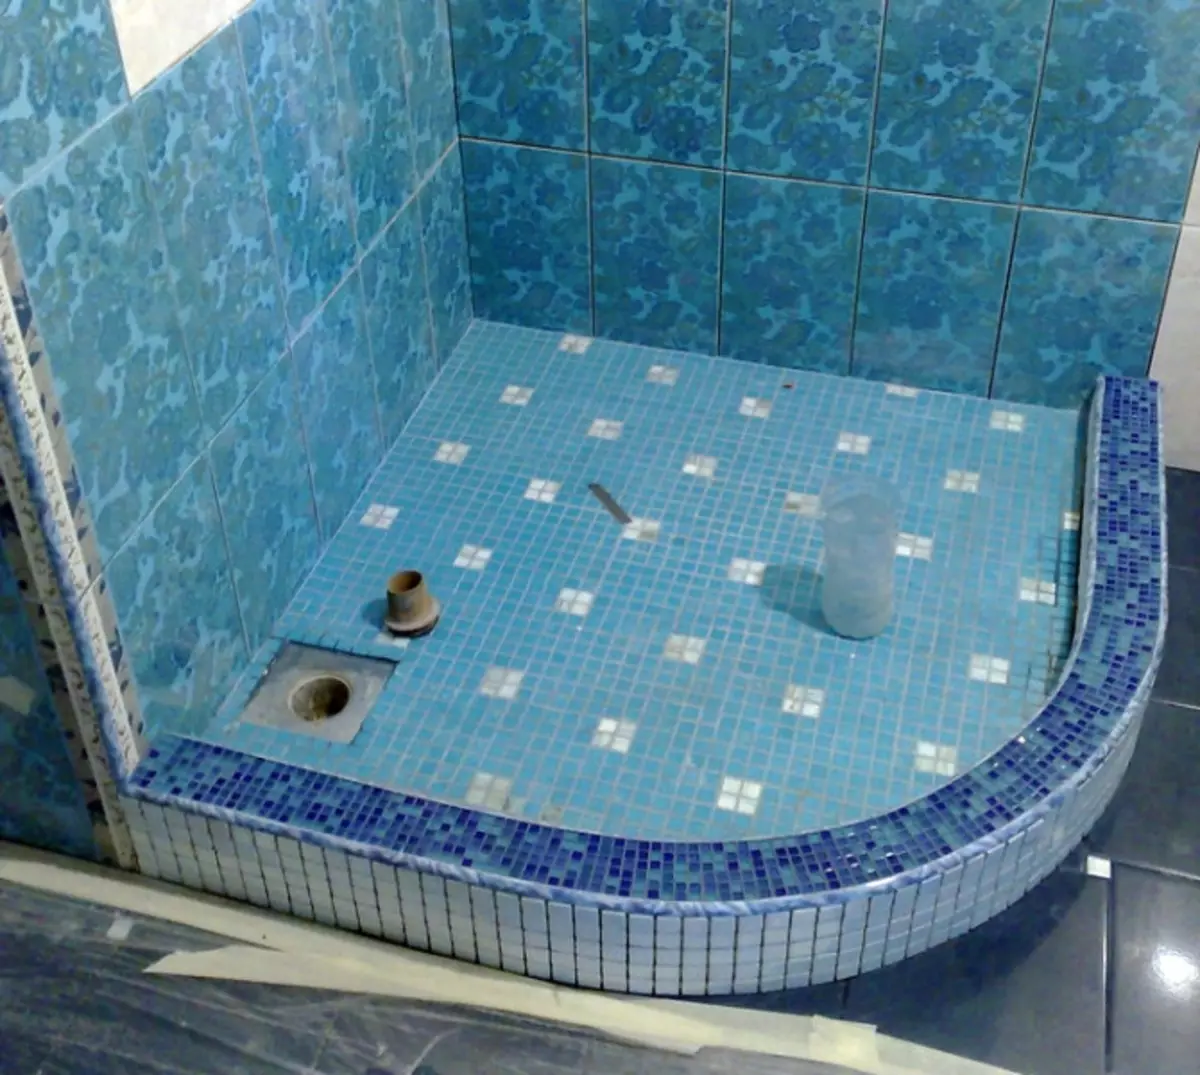
We choose the shape of the pallet. It all depends on your imagination, experience in the construction and size of the room. Important values has the convenience of the future pallet for all family members. For example, if you have complete or older people, the size of the pallet should be large and desirable to have a streamlined shape. The absence of sharp corners will be a security guarantee.
We choose the height of the pallet side. The choice of pallet height options is huge, you can do without a side without a side, acquiring a special ladder or to build a mini-pool. However, these options are available mainly only to the owners of private houses, since the installation of a shower ladder "to the floor" requires raising a common floor level and a larger layer of the screed. The mini pool is a very heavy design, and it can be fully filled with water can lead to the collapse of the bearing structures or overlaps.
Article on the topic: Decor of the coffee table do it yourself: style and creativity
The standard height of the shower pallet can be considered the height of one brick from the inner surface of the pallet.
Preparatory work
When the plan is ready for a future design and all calculations have been carried out, it is worth purchasing all the necessary materials, it can be:
- ladder;
- bricks;
- cement mortar and sand;
- waterproof mastic or other materials, similar purpose;
- waterproof film or rubberoid;
- Finishing materials and glue or solution for laying decorative coating.
You also need the following tools and fasteners:
- roller or brush;
- marker;
- Perforator;
- dumping;
- Master OK;
- construction level, beacons;
- Samores, dowels, plugs and gaskets.
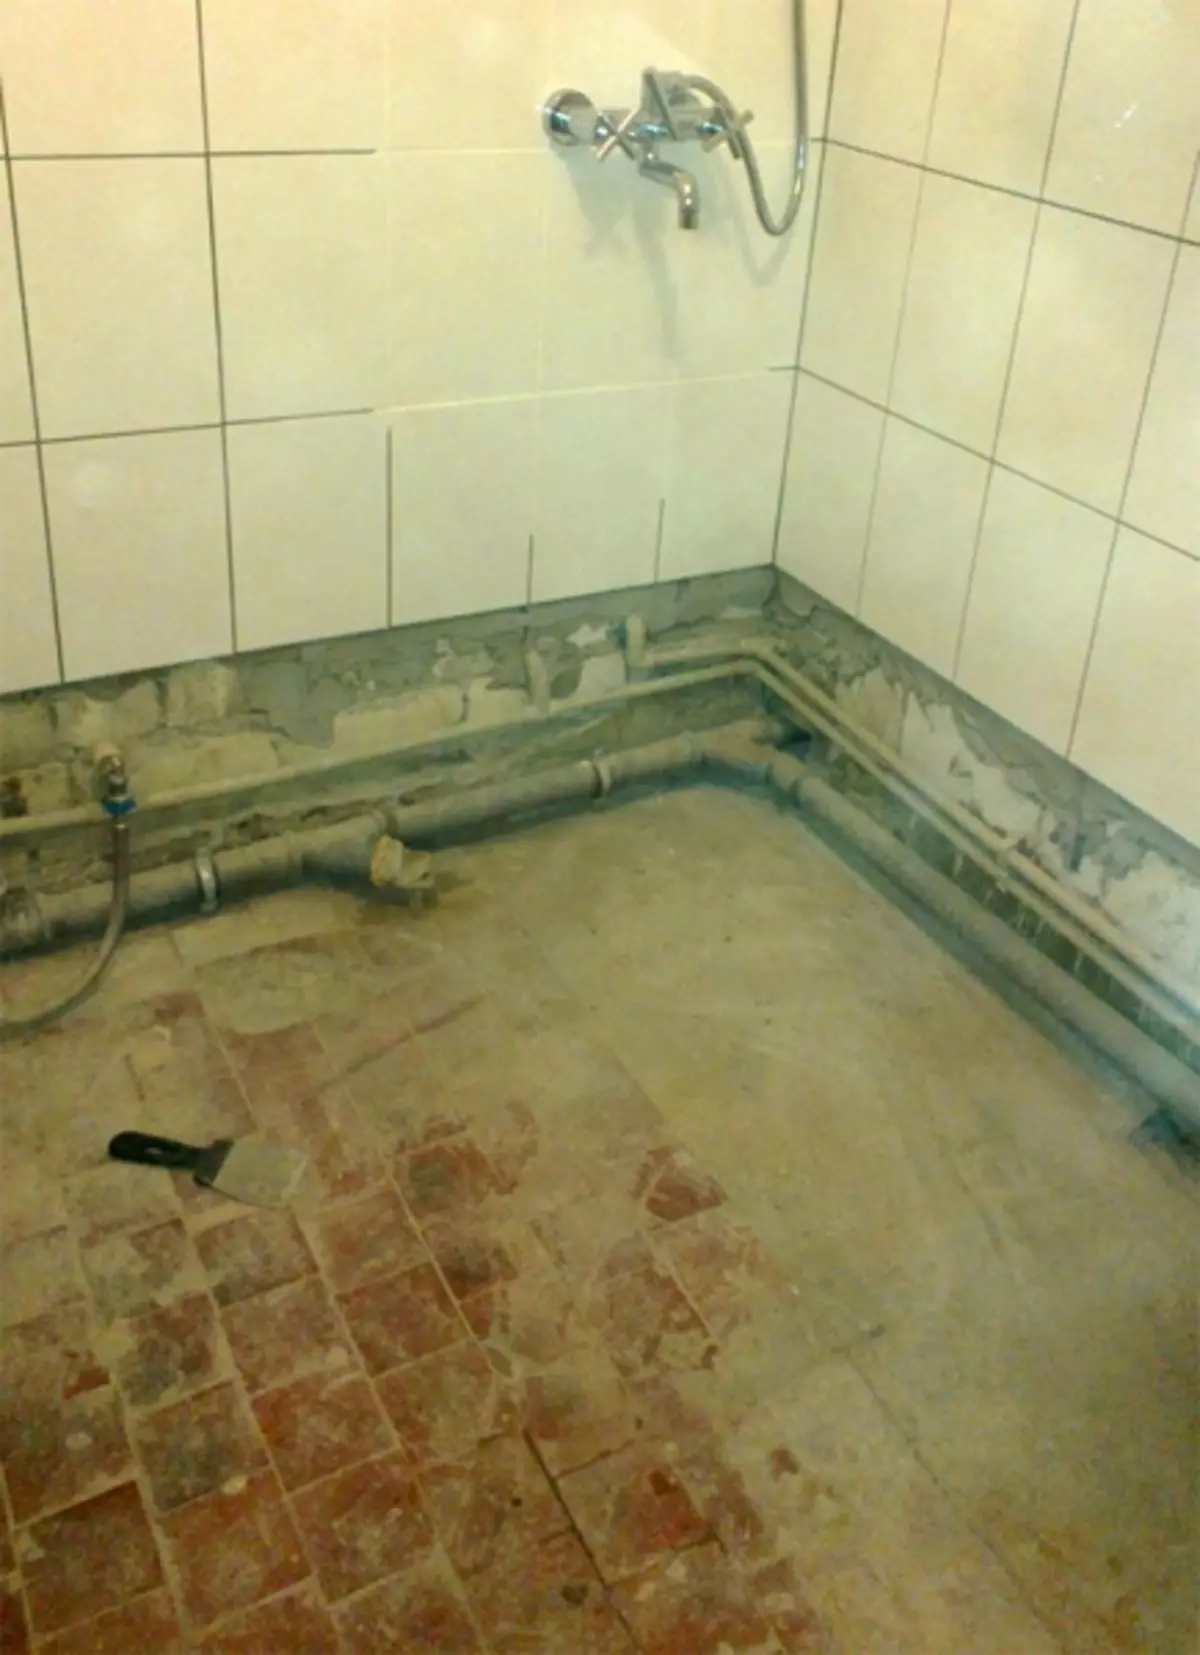
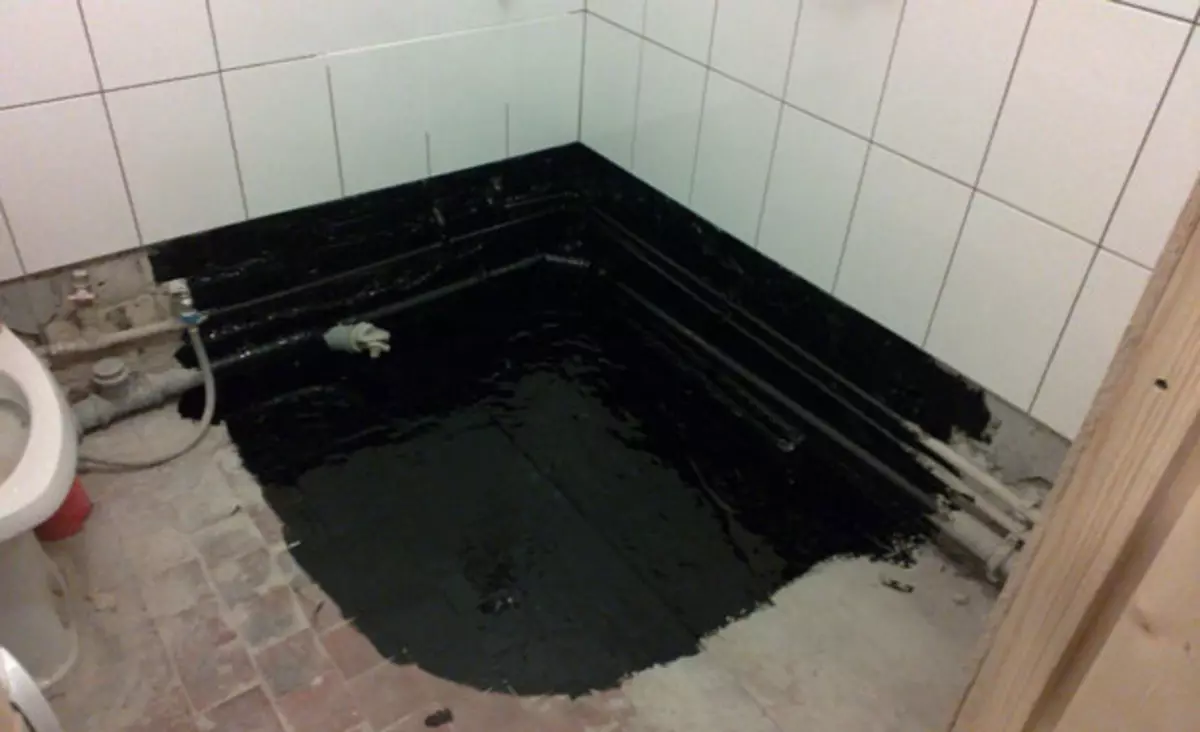
First stage - This is the preparation of the foundation for which the pallet will be constructed. We clean the surface of the floor and adjacent walls. If the floor does not have an initial concrete screed, then we make it. Bashed the base. This is done necessarily and in order to water the future structure and in order to prevent the formation of fungus and bacteria during operation. If there is a desire to make the pallet even more comfortable, then under the draft floor you can pave a "warm floor" system.


Second phase : Support pipes under the tilt of the ladder with sewage, hard lock it. The angle of inclination of the drainage must be at least three degrees.
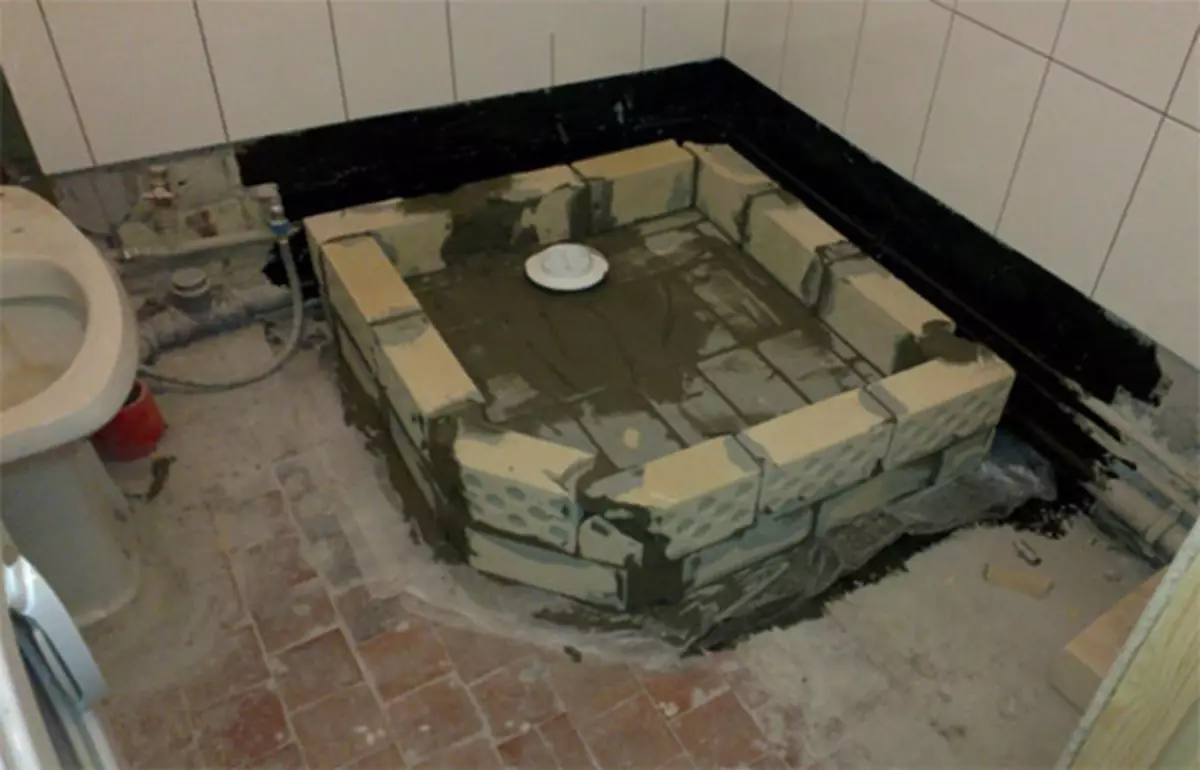
Third stage - Fill the cement-sandy mixture or lay out the base and sides of the bricks, given the height of the ladder and the slope to it. Next, very carefully seal the entire design. The pallet is ready for finishing finish.
Manufacture
The pallet can be made from cement or use ready-made concrete blocks or bricks. Bricks are better to buy not silicate, but ceramic, since this type of brick is resistant to water.
For the wooden floor, it will be right to make a concrete tie and put the ladder on it, and then raise the pallet to the level of the ladder. In this case, it will be necessary to make a formwork and wait a few weeks until the concrete is completely free. In no case cannot be used cement-lime formulations for leveling surfaces. It is necessary to take only pure cement and sand.

FEATURES OF MARRTAGE PRAAPA
Sewer ladder is a drainage system from the pallet. Typically, plastic models are chosen for bathrooms. They are light, simply mounted, they are easy to clean, are also resistant to the effects of aggressive household chemicals.
Article on the topic: How to choose the right metal ceiling cornice in the living room
Modern models are equipped with a siphon, which prevents the penetration of unpleasant odors from the sewage to the room.
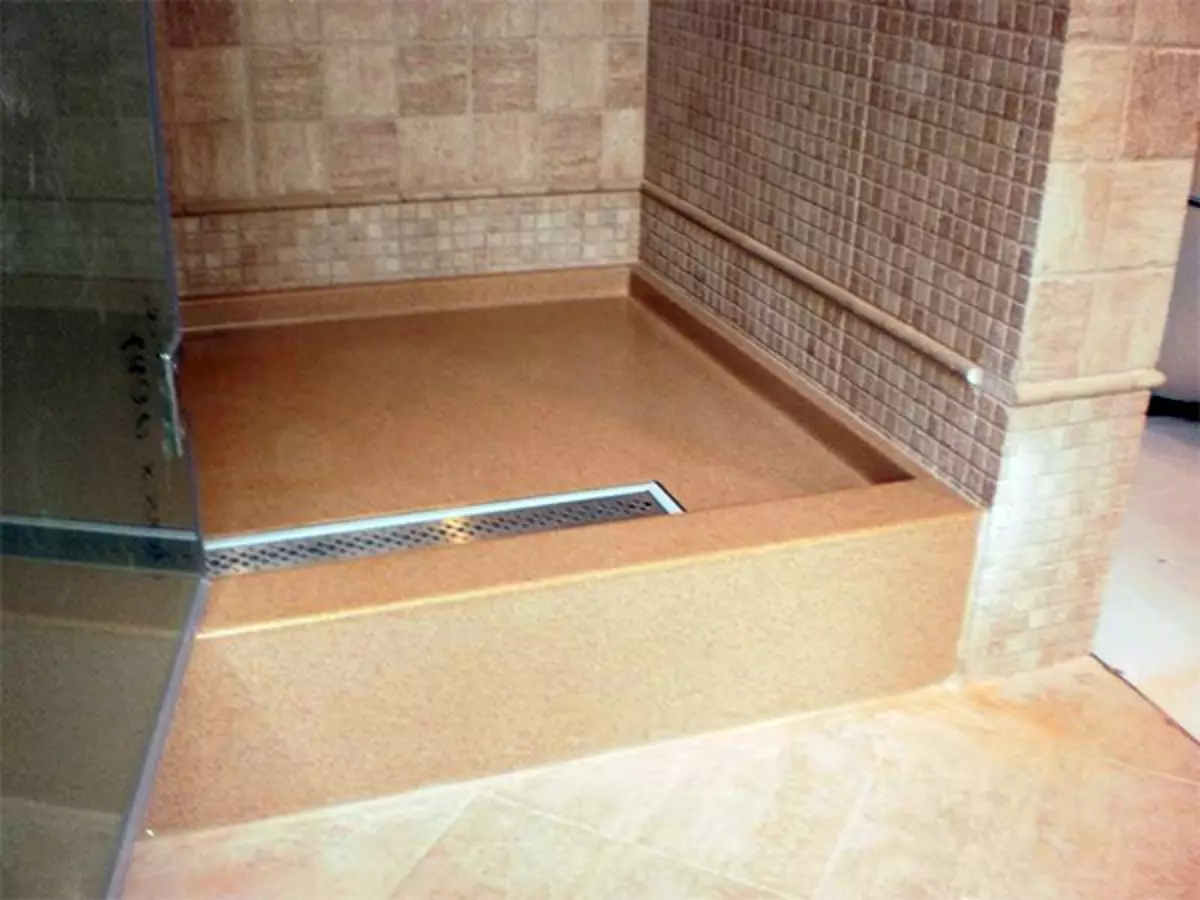
The drain hole of the ladder can be located in the corner of the pallet, and maybe in the middle of the design. Note that it is much easier to make the right slope in the corner.
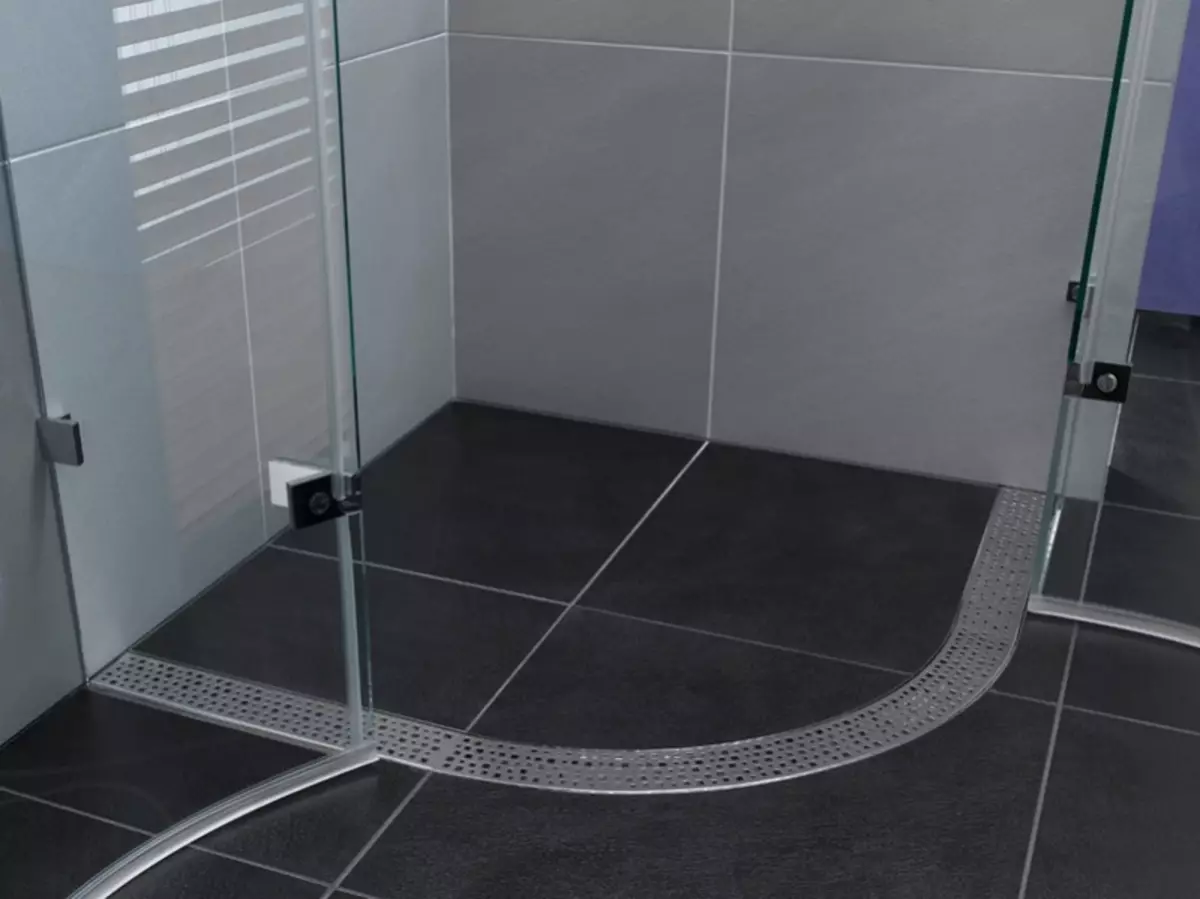
If all the same, you decided to set the drain in the center of the pallet, correct the water drain level to it correctly. There are solutions that allow you to embed a ladder in the floor, and in the wall, which is the last fashion trend, but requires great effort and knowledge of the installation technology.


The shape of the lady can be different: square or curly, round or oval, and also triangular. They can be equipped with various lattices, sealing gaskets, with different diameters of the siphon and discharge pipes. There are whole shower trays that are superbly disguised under the tile and the drain will not be noticeable completely.
The main thing about to remember should always be remembered, while dealing with water is high-quality waterproofing. Any joints and places of assembly are mounted only using gaskets and seals. If they do not even be provided in the battal, it is better to purchase gaskets separately and additionally process all the joints with a special silicone sealant.

Mounting the ladder usually begins with the establishment of pipes that should be hard to fasten in the pallet so that no impacts can move it and thereby disrupt the tightness and reliability of the system. Remember about the tilt of the drainage. If your pallet is lower than the sewage drain, then the inclination will not be achieved at least 3 degrees, in this case, raise the pallet level and ensure the necessary slope of the drainage. When the entire drain system is mounted, set the beacons of the level of the height of the inner space of the pallet. Beacons help to make the right slope of the future pallet. Next, proceed to the formation of a rough base.

Step-by-step instruction
Considering that every specific case should be considered separately, and that all the options for the features of your method of arranging the shower tray, take a typical example: the pallet is made from concrete.- The floor and part of the wall that will be tortured to your soul, it is necessary to clean carefully, wrap in a waterproofing composition, for example, bitumen mastics with a high adhesion indicator.
- Then the ladder is installed and poured with a concrete tie. The floor level should be such that later the laid tile would be closer with a ladder. That is, the thickness of the tile plus the thickness of the glue for the tile. Watch the floor slope to be directed directly to the hole of the drainage system.
- After complete drying, install the wooden formwork, the boards width should be at least 4 cm, and fill the sides. The masters are advised with a thick layer of bold concrete to wait for a complete drying of at least two weeks.
Article on the topic: Baths for two - unity of feelings
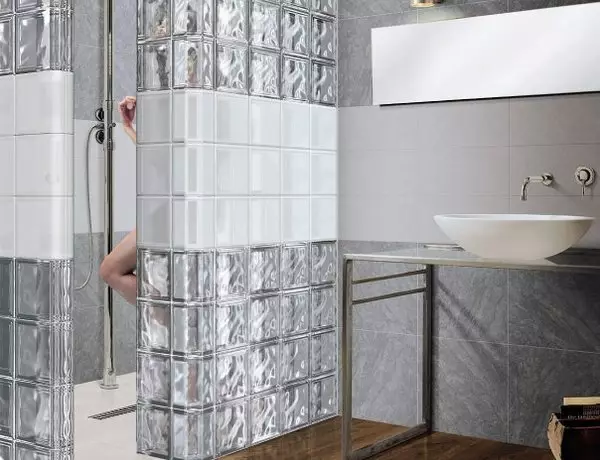
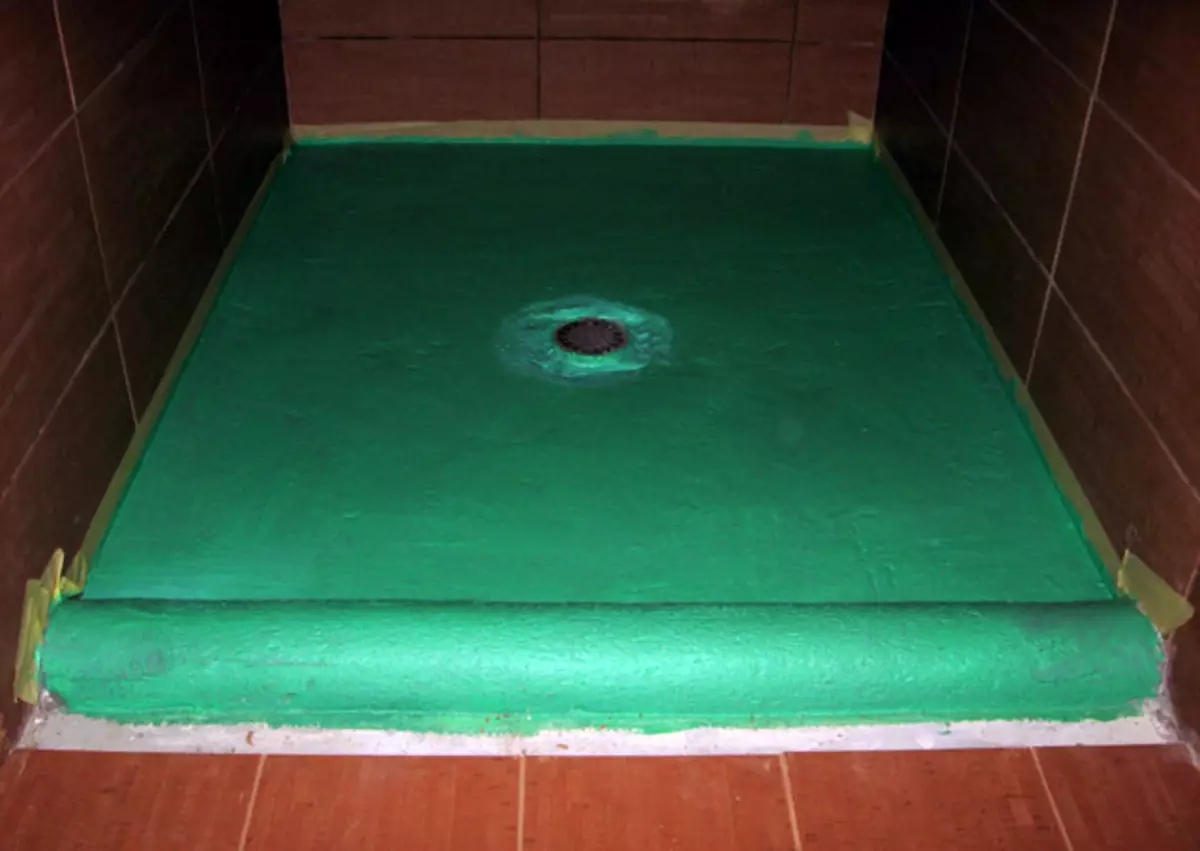
Sealing seams with wall and finishing waterproofing
As already mentioned, waterproofing is the most important stage in the construction of a shower pallet. The first sealing of the seams between the floor and the walls should occur during the preparatory stage, when or film, and better several layers of runneroid will be laid on the floor so as to completely close any slots in the places of wall and floor docking. After that, the floor and adjacent walls are carefully treated with a waterproofing composition - it is applied as a primer mixture with a flat layer. The required layer thickness is determined by the instructions on the package. At the joints of the walls and the floor, it would be perfect to pave a special waterproofing tape.
The next waterproofing layer is done after drying the base of the pallet, before the start of facing works. Once again, try the same mixture, lay a special tape at the joints. After the finishing works, all the joints of the shower tray with walls or fence are treated with a sealant.
Finishing materials and their laying
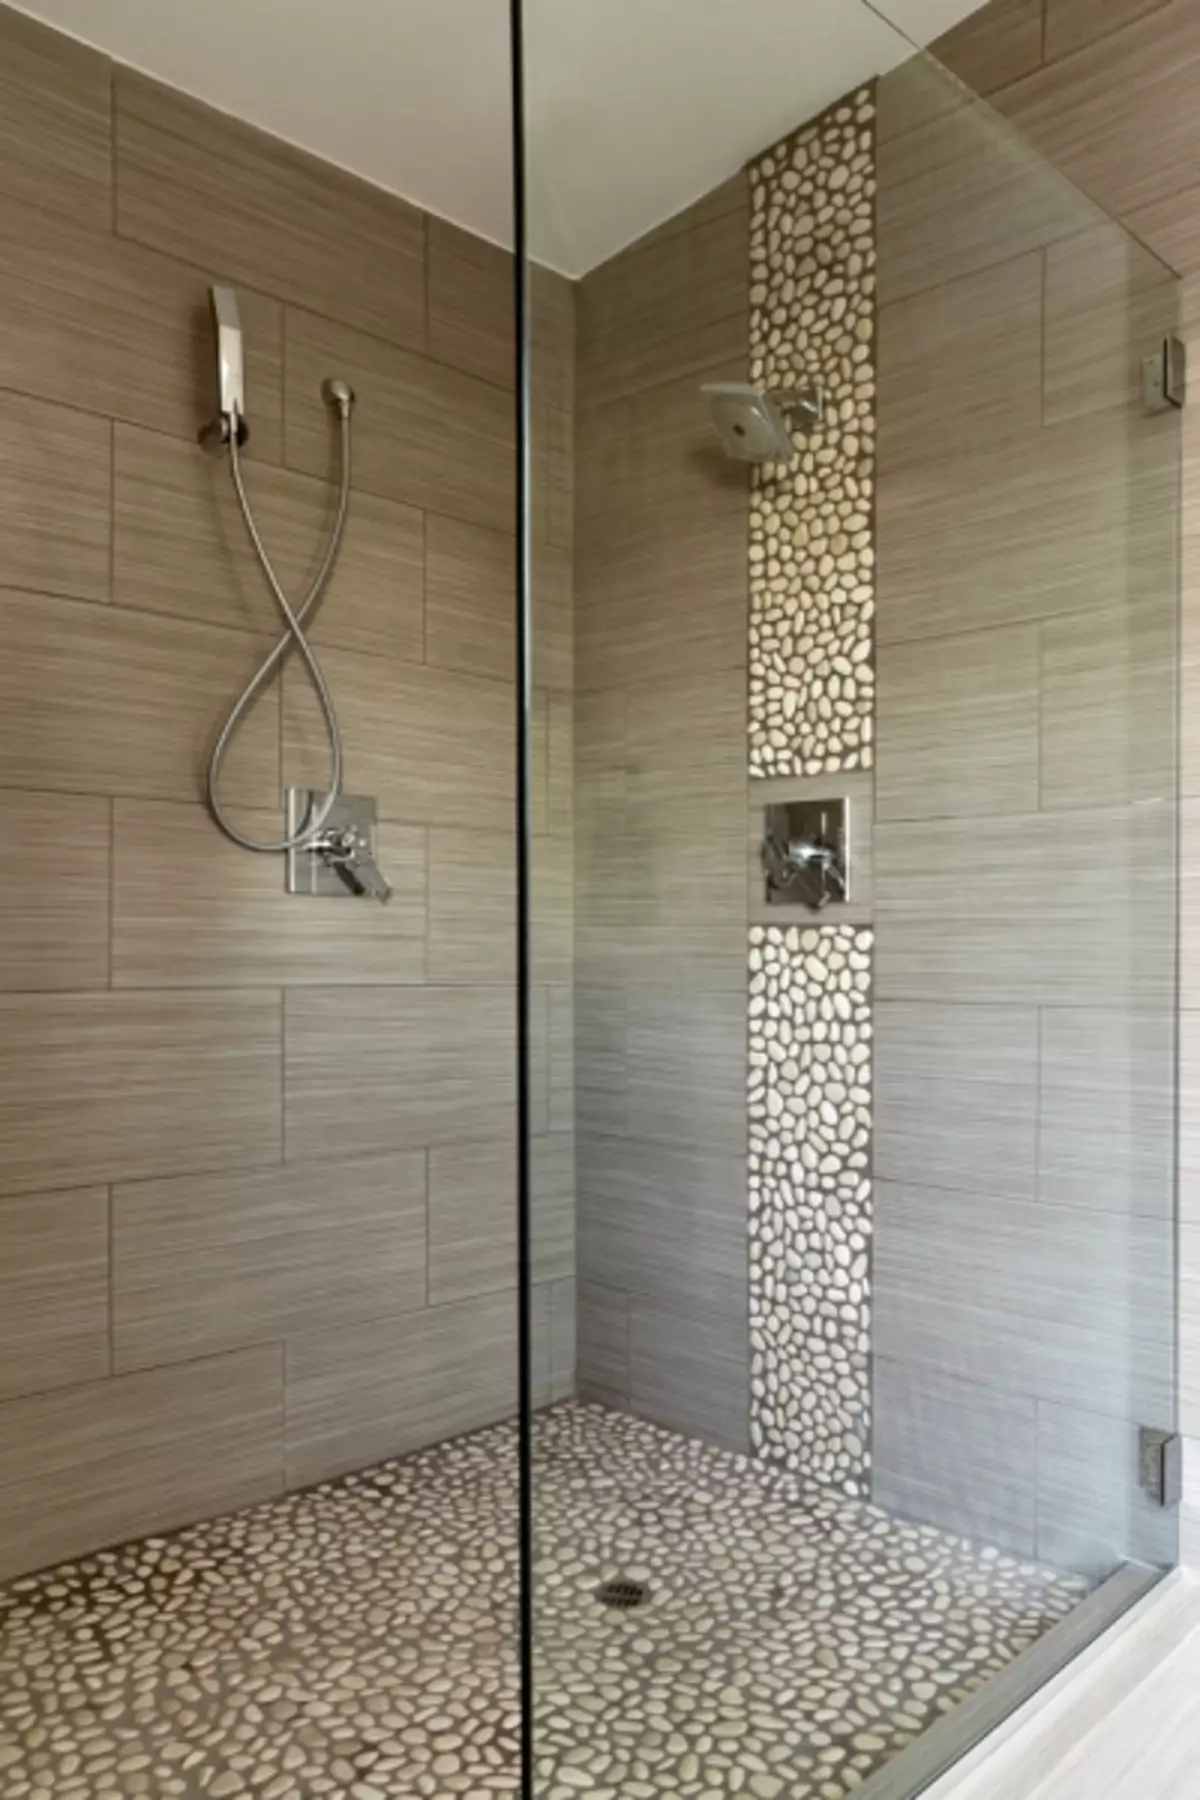
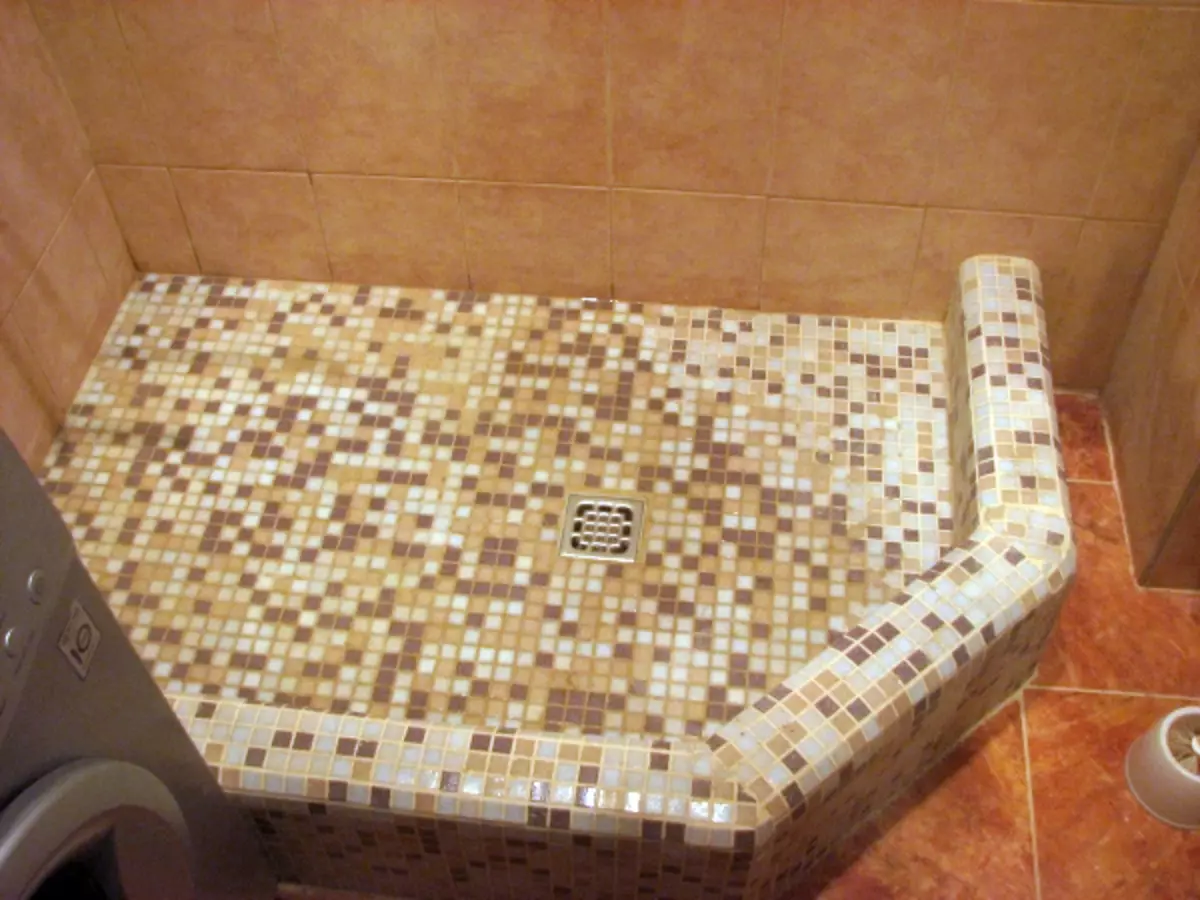
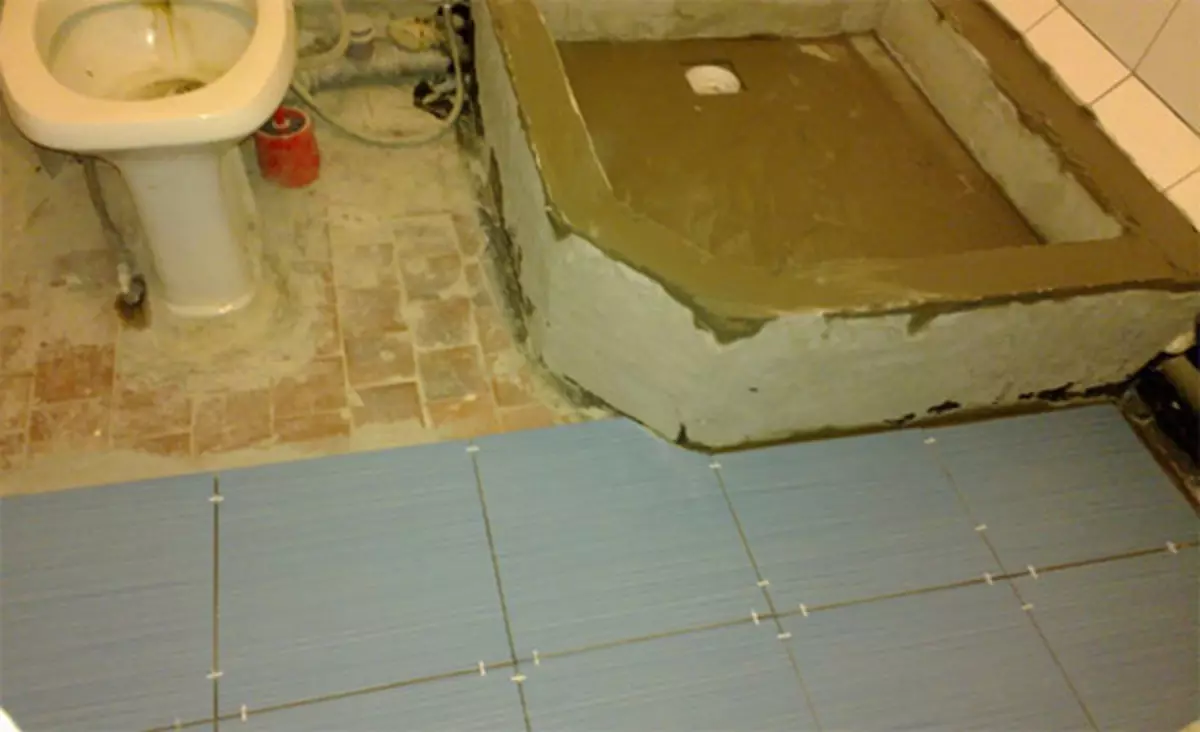
An independently erected design can be separated from its taste, the only requirement for decorative coating is the moisture resistance and properties of anti-skid. Information about these indicators can be found on tile packs or other finishing materials. Laying the tile on the floor and the walls of the scenery pallet is no different from the installation of ordinary tiles on the floor. The toothed spatula is taken, glue for the tile is applied, then the tile is well and uniformly pressed. It is desirable that the joints between the tiles are minimal.
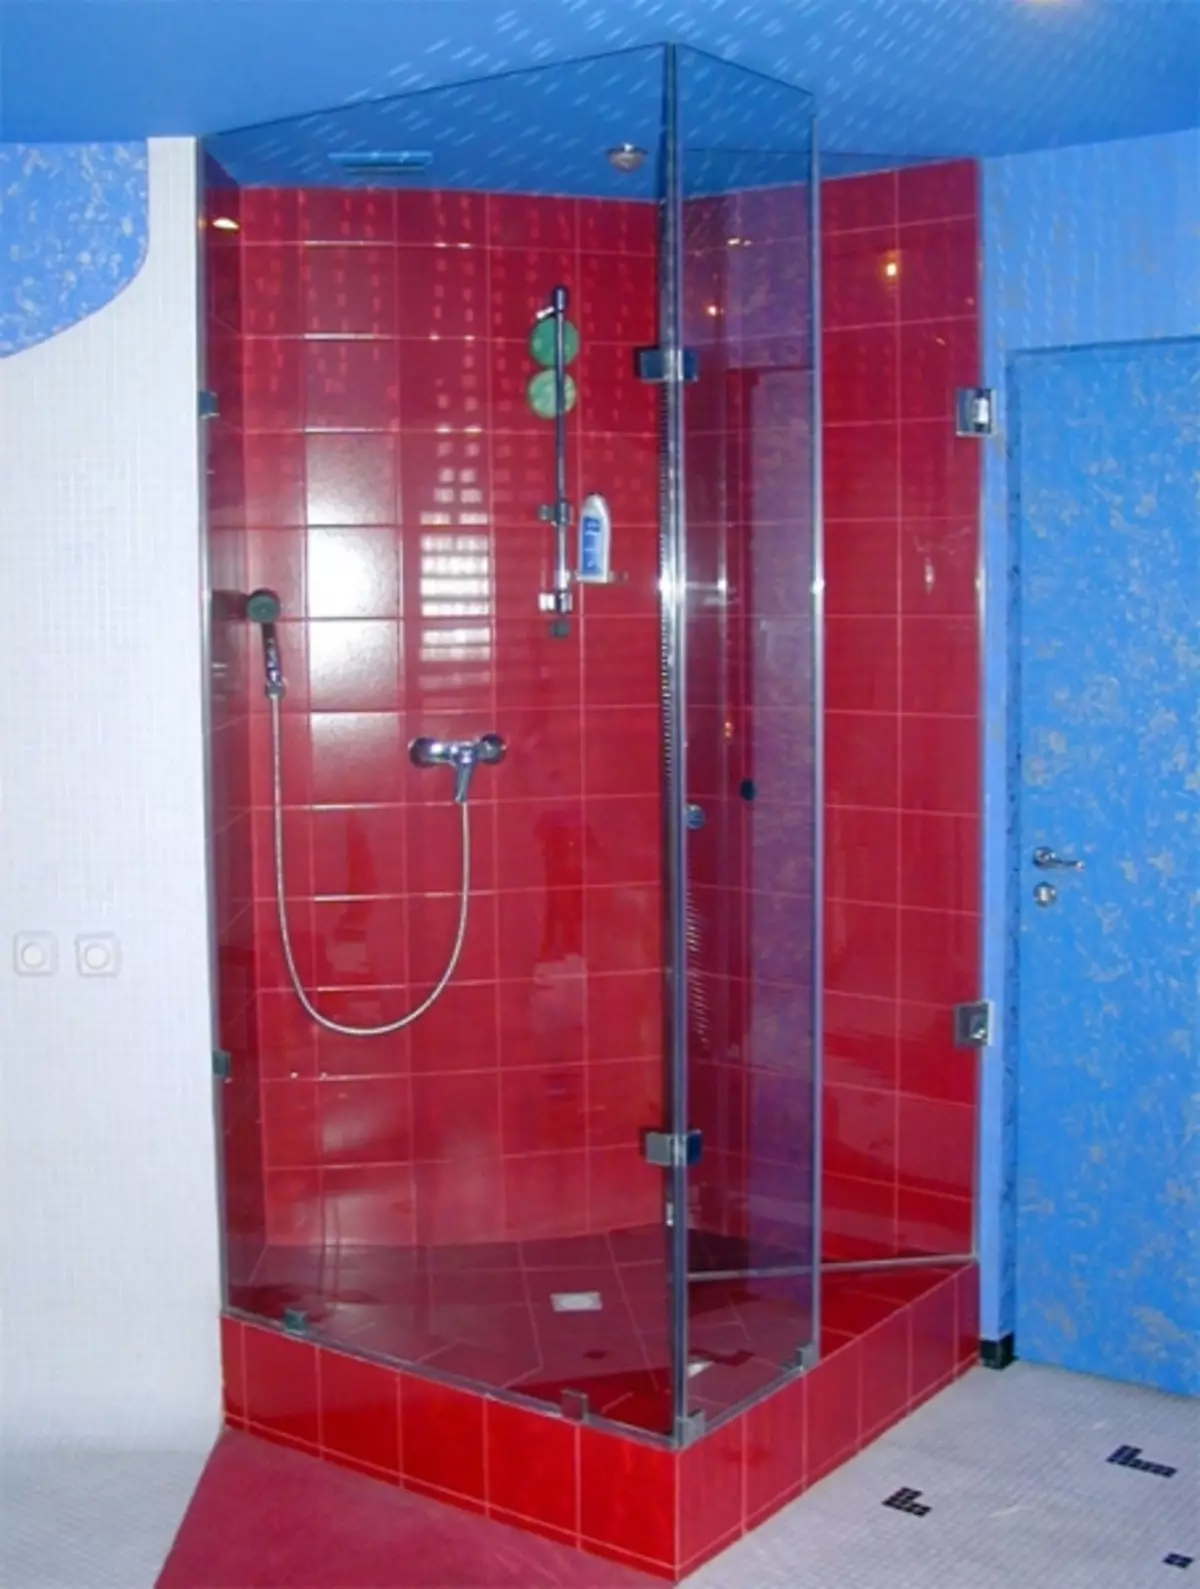
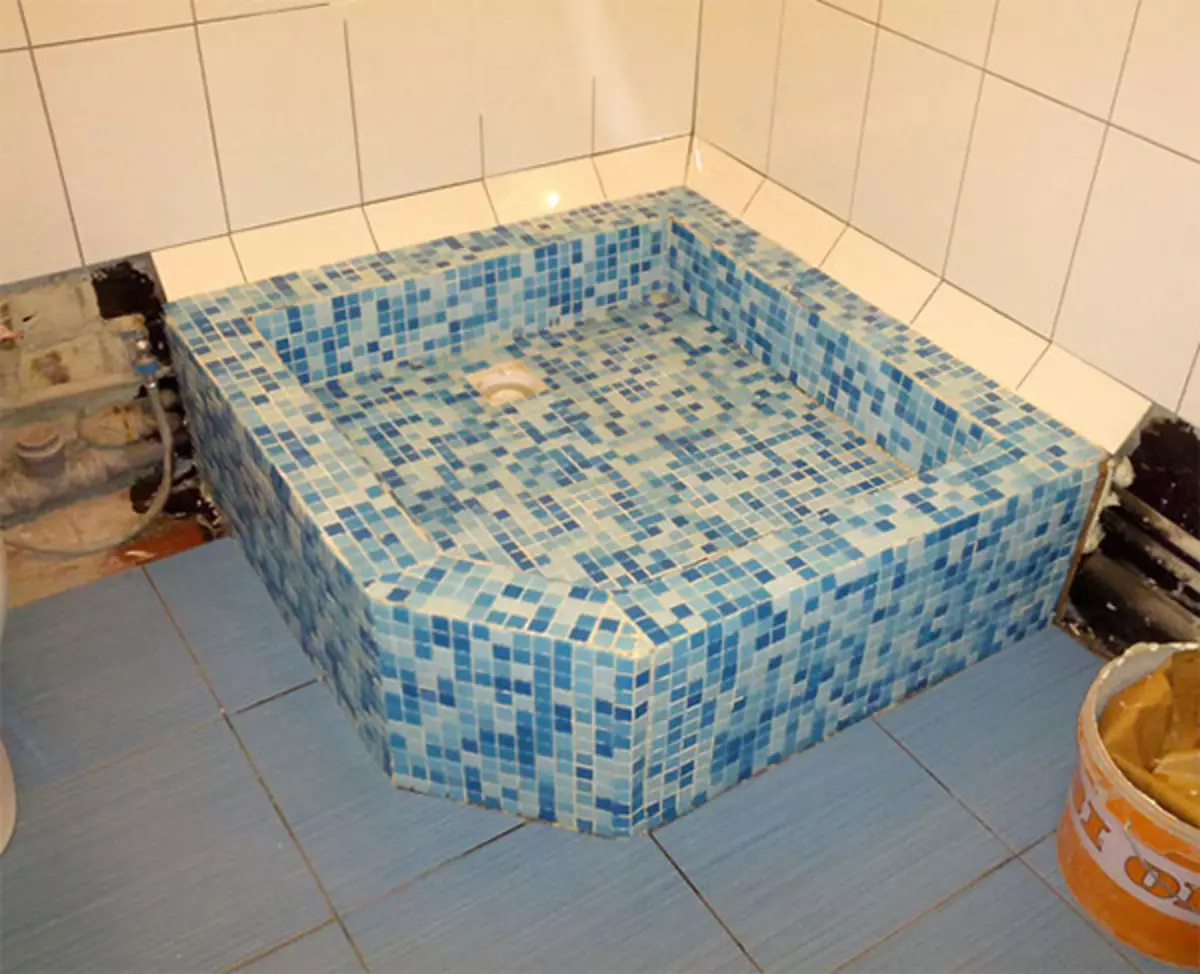
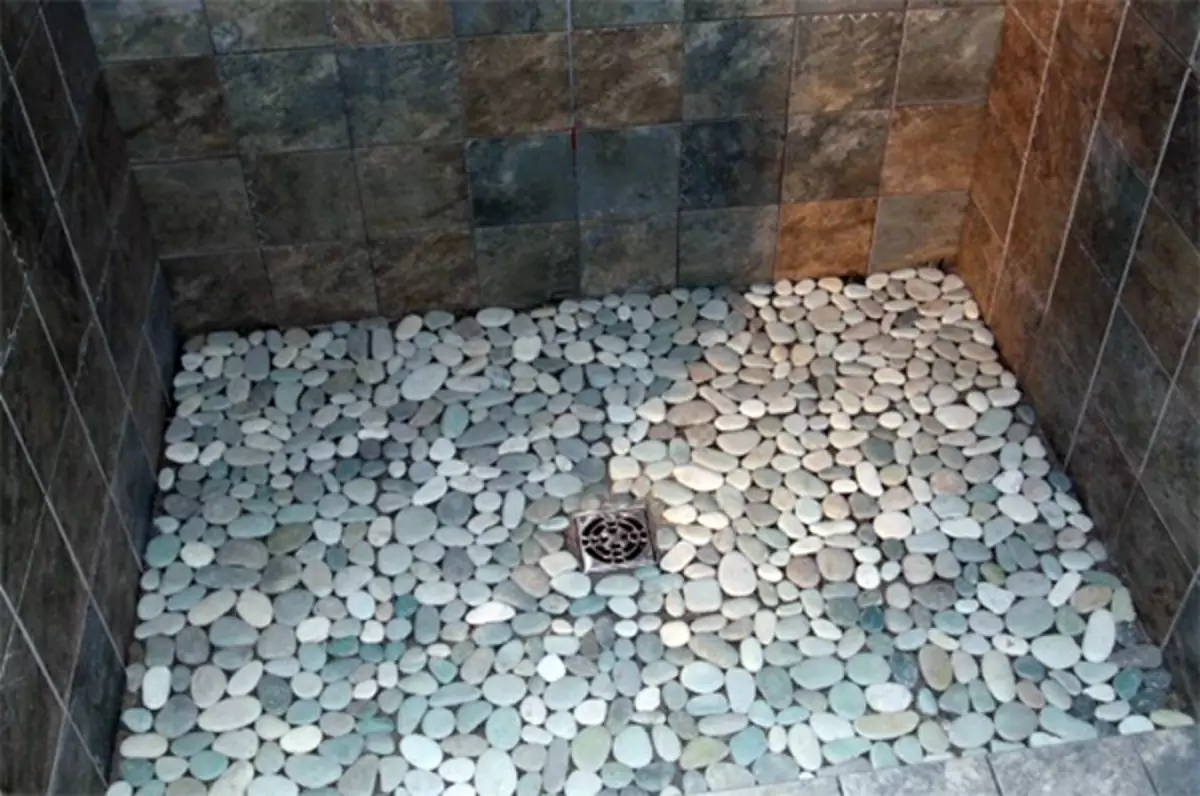
It is best for the pallets to use a mosaic tile. It is easier mounted, practically does not slide and makes it possible to realize creative abilities. If the shower tray is adjacent to walls or partitions, you can completely separate the adjacent space with a mosaic or lay out the mosaic panels with a mosaic panel with the base.
After complete drying, it is necessary to lure the seams between the tiles or mosaic moisture-resistant grout.
The corners of the side in order to avoid injuries can be separated by special corners. Do not forget to choose a shower.
If you have all the straight corners withstand, and the surface is well aligned, the mosaic will fall smoothly, beautiful and will delight the eye, and the pallet for the soul will serve for a long time and trouble-free.