
Overhaul in the bathroom involves a big front of work. As a rule, a bath is needed. A characteristic feature of such plumbing is large sizes and a decent weight, especially if the bath is cast iron. Therefore, it is very important to securely consolidate it so that it does not move under the action of the mass of water and man. To do this, keep some rules.
Types of fixing
If the place under the bath is prepared, all fasteners are purchased, you can proceed to the process itself. Today the following types of bath mounting are available:
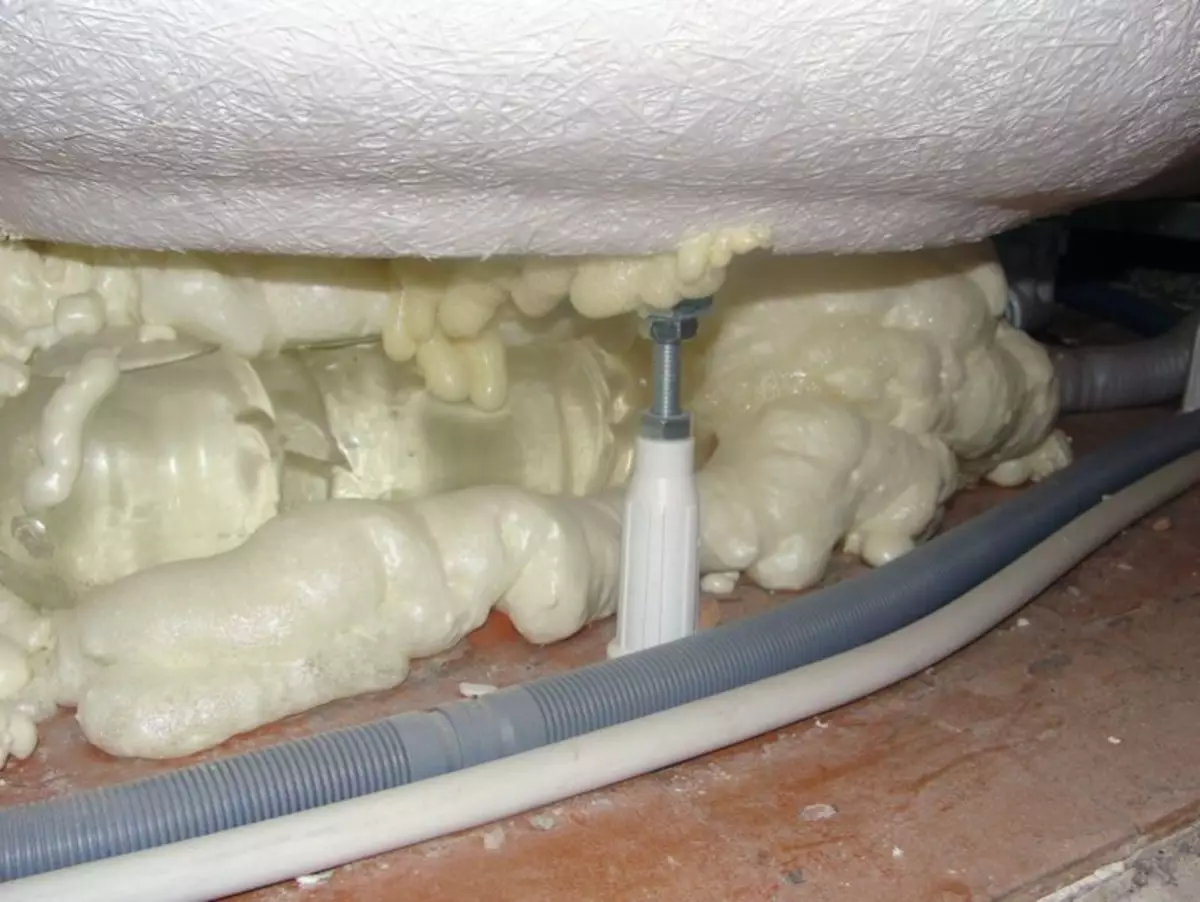
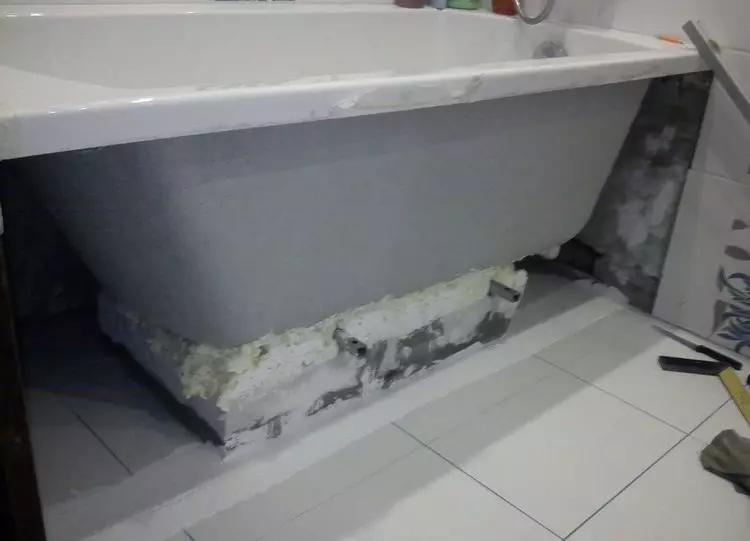
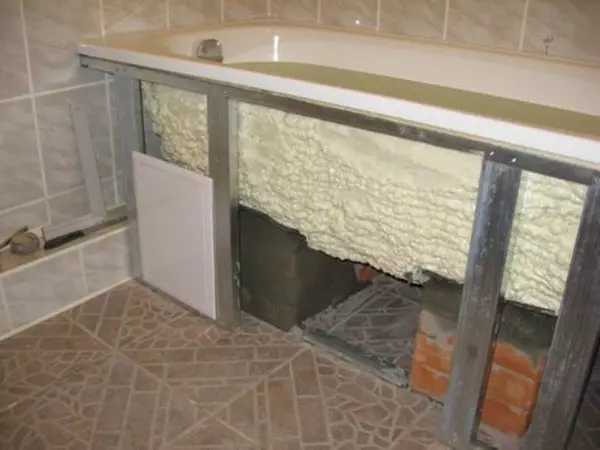
Mounting foam. With it, it is possible to securely and quickly fasten the bath to the floor and the wall. First levels the level and the necessary height of the device, it is connected to the water supply and sewage. It is then installed so that the gap of approximately 1 cm is preserved near the wall. Water is gained in the bath for greater stability, and the intervals between the product and legs, walls, floors are filled with the mounting foam. It should be borne in mind that foam expands somewhat, it is necessary to use it within reasonable limits. And although it completely dries only during the day, it is possible to separate the bath after 6 hours.
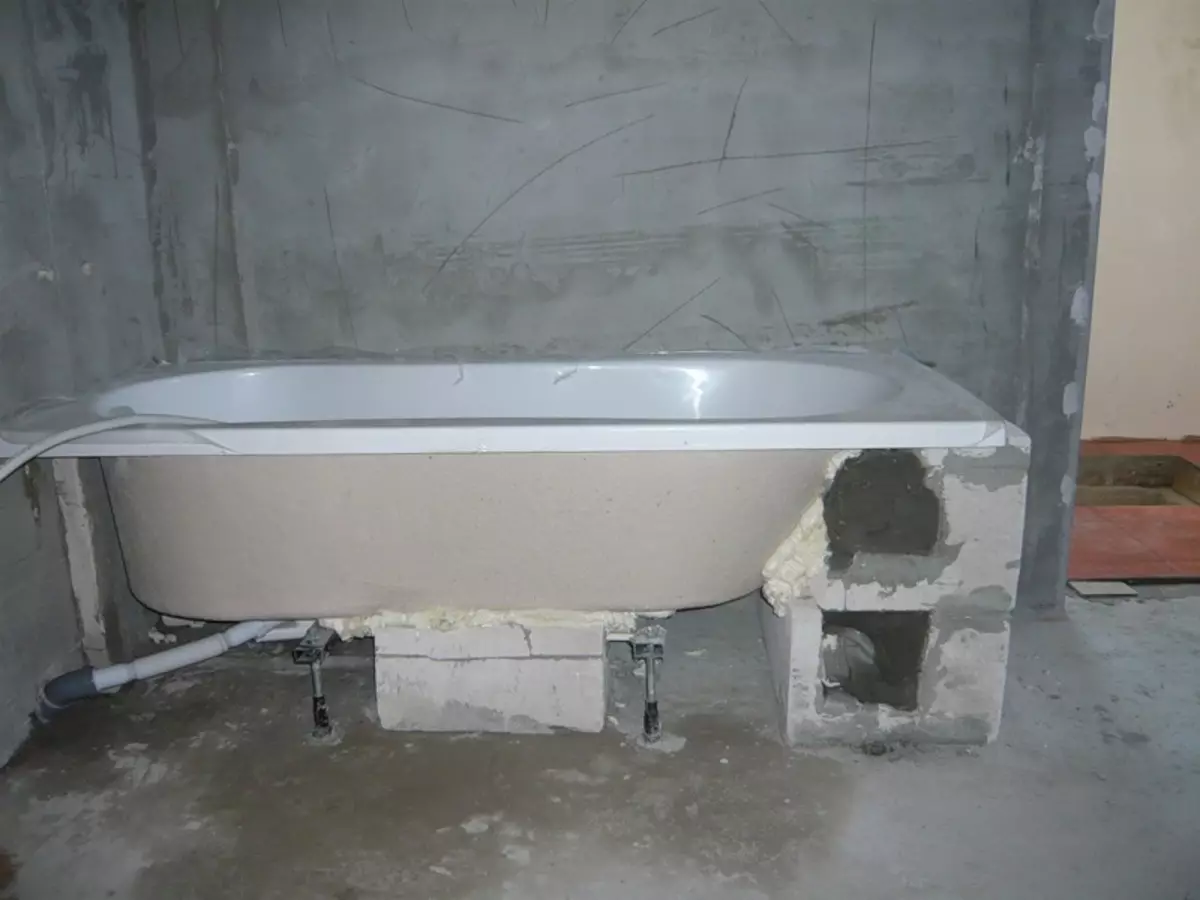
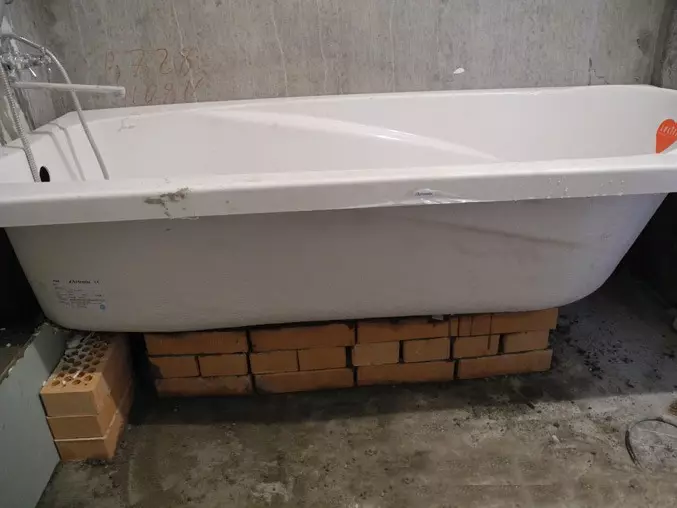
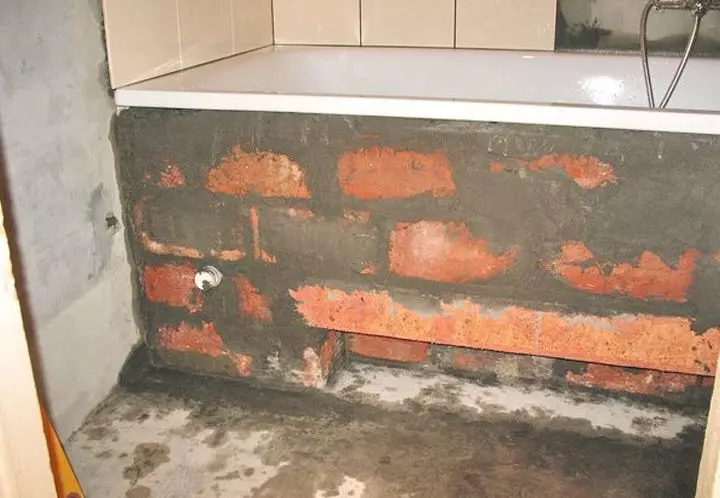
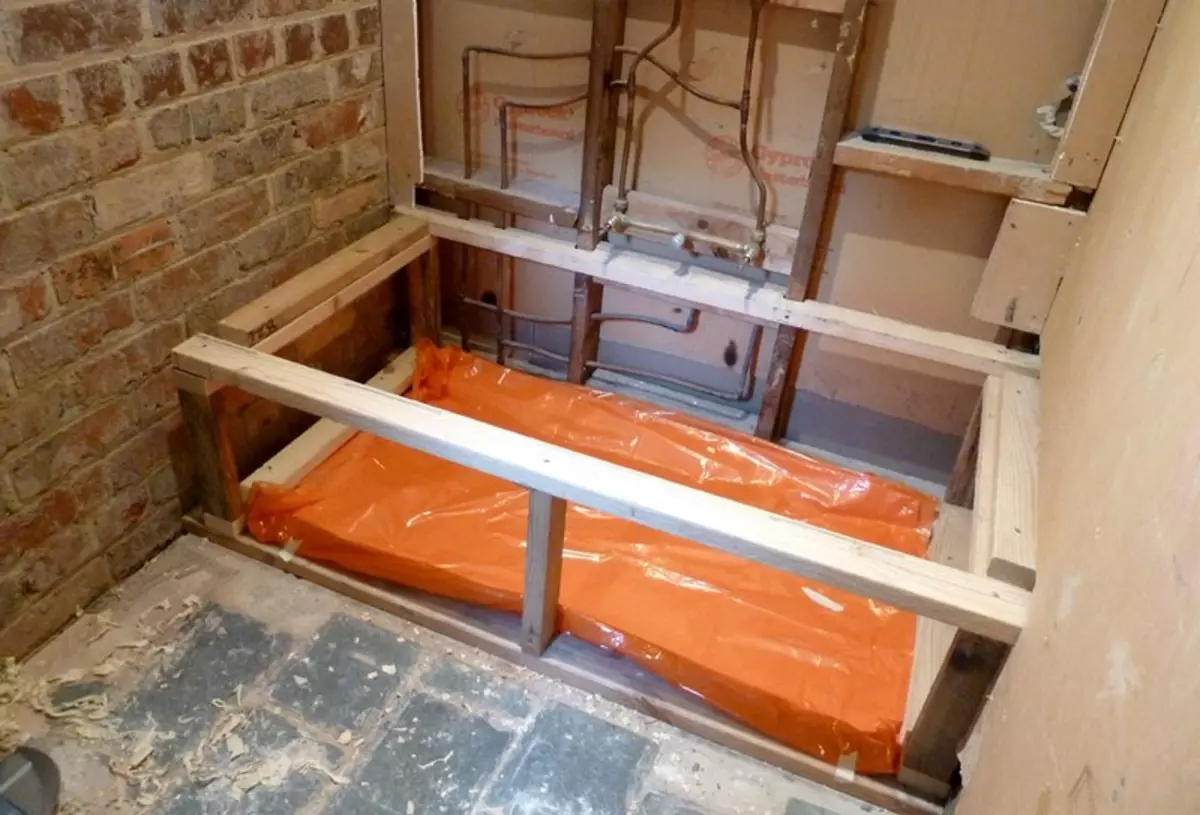
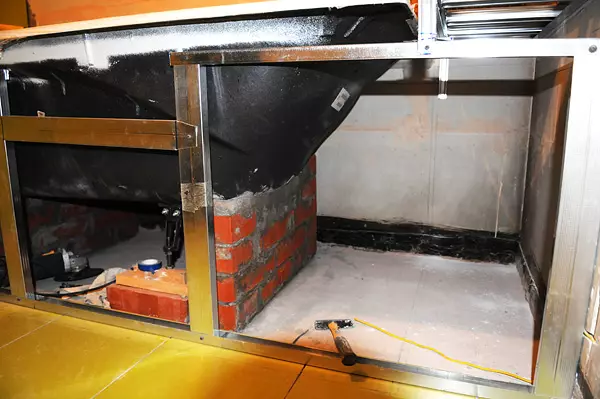
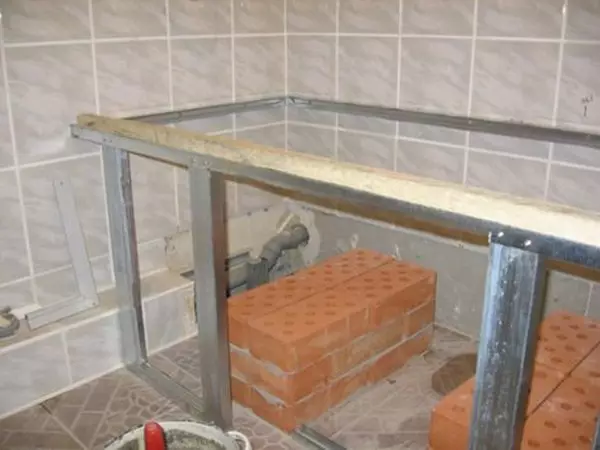
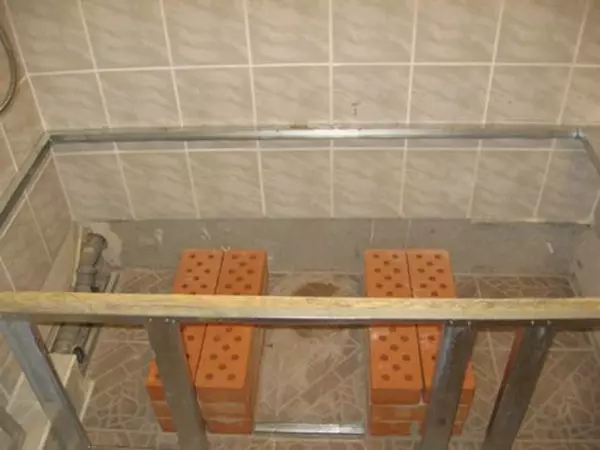
Brick frame. As a rule, the bath is installed on the brick frame when there are no legs in the kit. But sometimes such a frame and legs can be combined to increase the stability of the product. The brick frame may fit across or along the bath. The laying across the installation directly on bricks. The walls are pinned on the wall with steel dowels, for which the bath is also placed. They play the role of an additional product support. When laying along the bath, also put on the side of the brick. But instead of corners, it can be consolidated by mounting foam.
You can put the bath from all sides to put the brickwork, which is then bold with tiles. At the same time, it is necessary to correctly calculate the laying height that there was no need to additionally cut the tile. The upper bricks will have to be cut in half, as they simply do not fit the entire bath tub. When laying it is better to leave a small hole through which you can see and adjust the siphon if necessary. For him, you can fix a small plastic door.
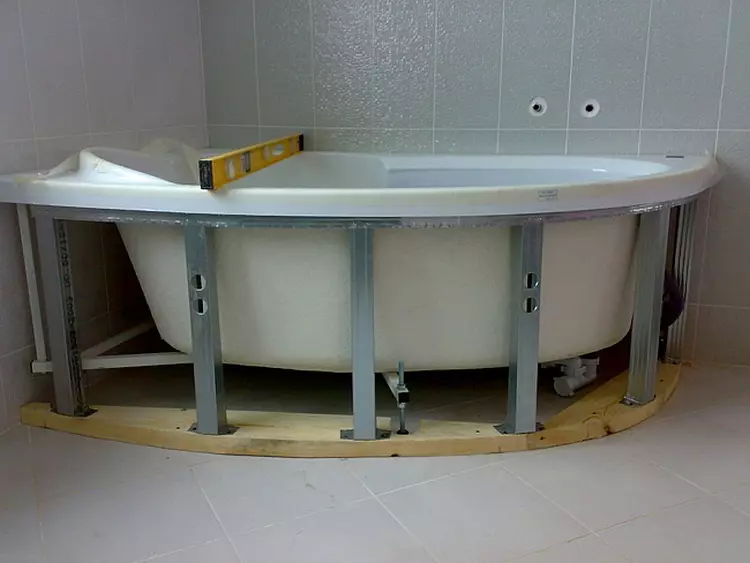
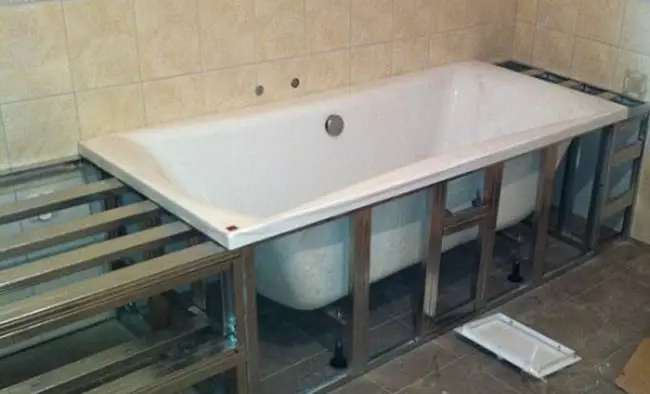
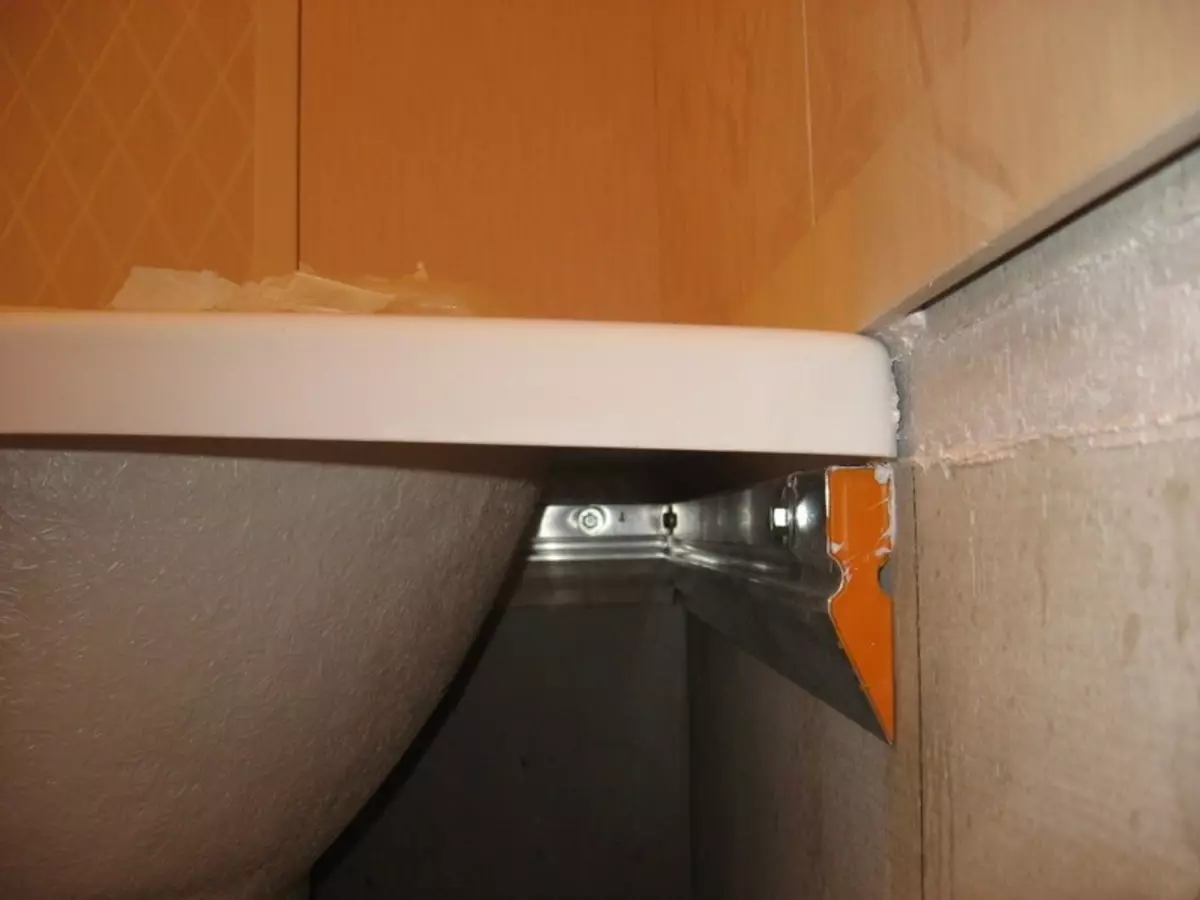
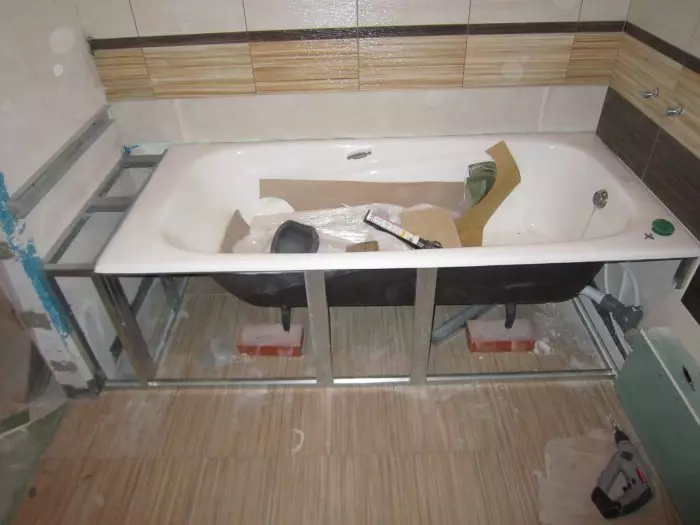
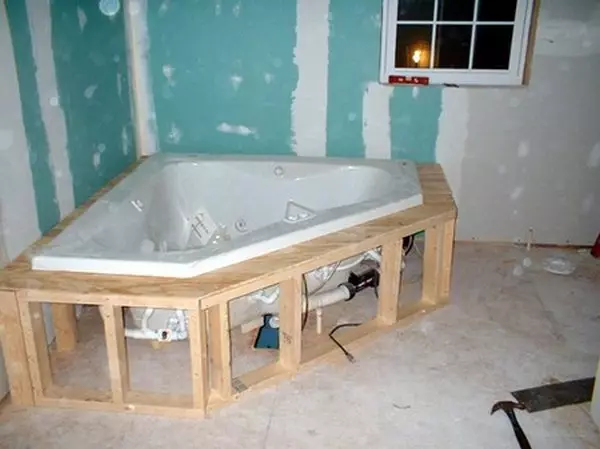
Metal frame. If the weight of the bath is small, it can be installed on a special metal frame. It can go complete with the main product, or buy separately. Frames attached to the bathroom by self-drawing on the places provided for this, the legs are mounted. Additional stability of the bathroom is attached to fasteners along the wall. When they are installed, you need to leave the gap of about 2-4 mm, because the bathroom with water is somewhat settled.
Article on the topic: The second life of old tires, decorate the cottage plot
Insert in niche. If the bathroom is too small and you need to save free space, then an excellent option for installing a bath is a row in a niche. Although such a type of installation and the most complicated, but it provides the most reliable and rigid fixation of the plumbing. To do this, it is necessary in the wall or walls to make the groove perforator. They are inserted on board the bathroom and, if necessary, are strengthened by mounting foam.
Fastening principles
To ensure that the bath remains reliably fixed for many years, it is necessary to adhere to the following principles:
- Although the cast-iron bath is quite strong and durable, it has the greatest mass, which determines the complexity of its installation. Therefore, it is necessary to fix it on a solid surface.
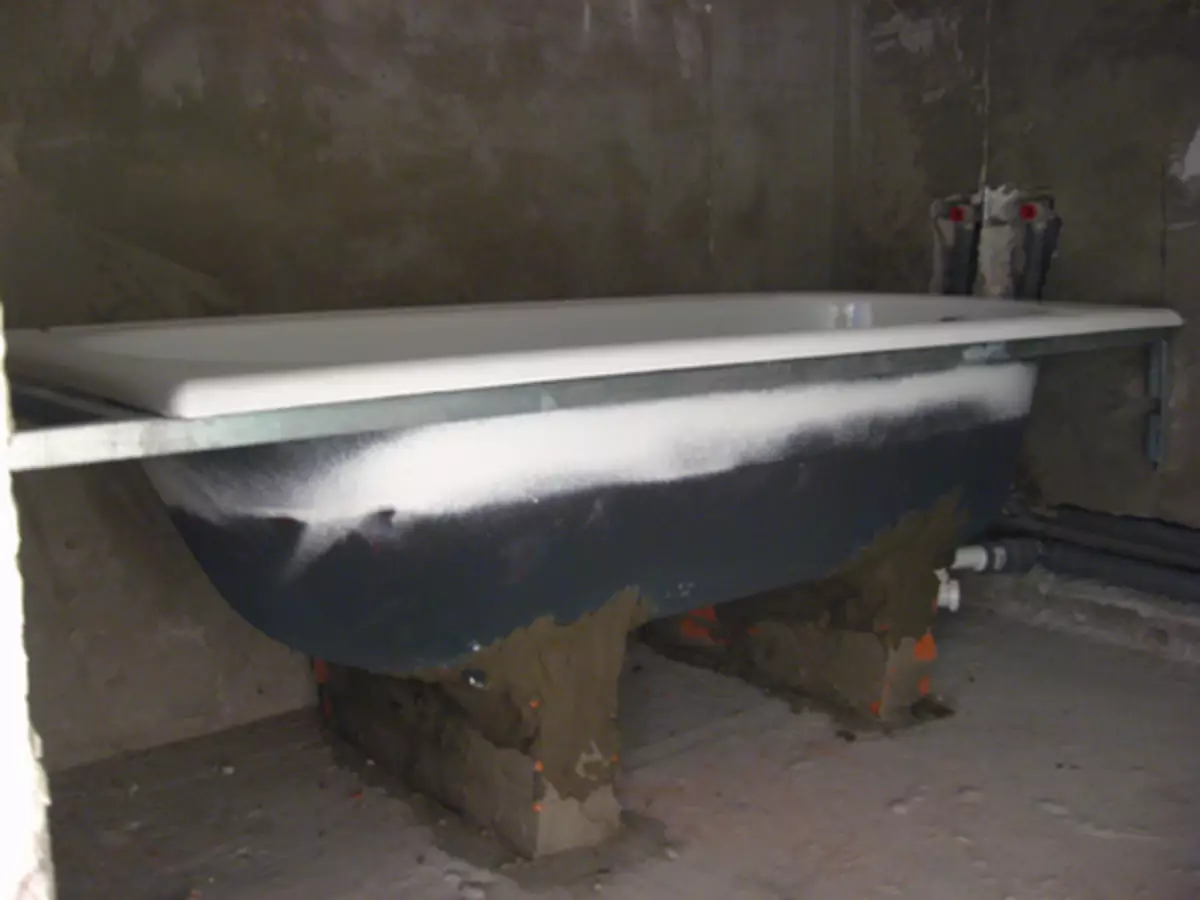
- The steel bath is often installed on the brick frame, which ensures the rigidity of its fastening. In order for water when filleding, it has made strong noise, the reverse surface of the bath can be treated with putty. As an alternative to the frame - metal legs, but over time they can lose their stability.
- Acrylic baths are inexpensive and have an excellent appearance, but they are not the most durable. The reliable installation of such products is possible for a steady metal frame.
Preparation depending on the type of bath
Very important is the preparation of surfaces and the entire room for installing the bath:Cast iron
The most important thing when fixing any type of bath is measuring the size of a bath freely. There are in mind the length, latitude and height of the bath, its sides and bases. Clean all the old plumbing, clean the sewer. Since the weight of such a bath reaches 100 kg and more, a robust surface must be prepared for it. The perfect option is a concrete screed covered with thick tiles. But if the screed is not the richest, then under the legs you can put the steel plates with a width of about 5 cm and thickness - 0.5 cm. If this is a bathroom in the apartment, then a reliable waterproofing of the floor is ensured.
Wall cladding is possible in two versions. They can be fully bred, and then install the bath, or fade only the top of the walls, to the surface of the product. The latter option makes it possible to almost completely achieve the lack of gap between the product and the wall. In this case, the tile is laid after fixing the bath.
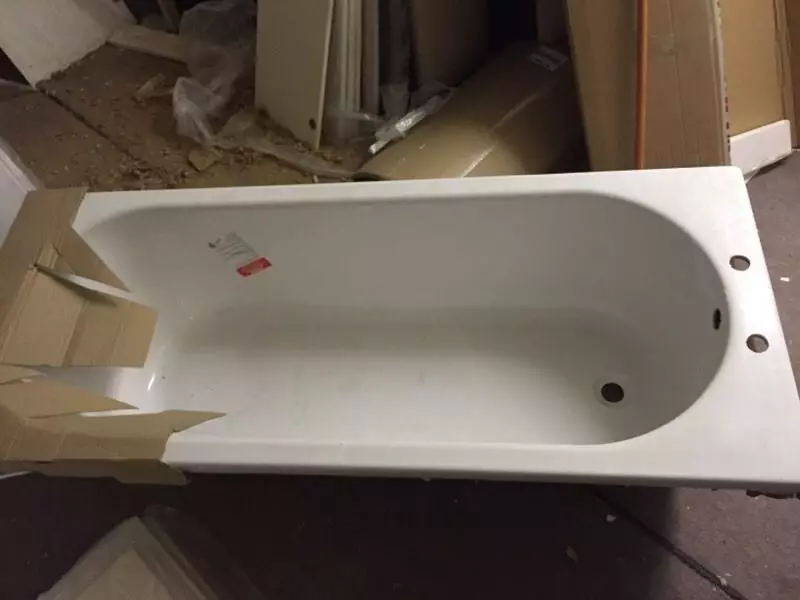
Acrylic
Such baths can not be called the most durable products. Their surface can be fed under sudden effort. Therefore, experts are recommended to provide a sufficient amount of supports. The most suitable installation method is a metal frame with legs. Since the weight of the bath is relatively small, it does not need a thick layer of a concrete screed. Facing tile can be made before and after installing the product.
Article on the topic: Floor screed with clay: Alignment technology, which faction is better in the apartment, ceramzite concrete with your own hands

Steel
Before installing the steel bath, you should carefully close all the walls in the floor, because water can accumulate in them. The surface is treated with special waterproofing mixtures. It is better to use ceramic tiles as a finish, as it is durable and no moisture is afraid.
Stages of work
The process of fastening the bath depends on what material it is made, where accommodation is planned: along the wall or in the middle of the room. The standard fastening process of this plumbing to the wall looks like this:
- The first thing is connected to the overflow tube, siphon. For this bath turns over the side to ease the work.
- The legs are fixed with bolts or screws, the bath installs on the floor so that the drain pipe can be connected.
- The product is moving close to the wall or walls.
- Under the legs put small metal plates so that the products be a little tilted toward the drain.
- Finally adjusting the height and position of the bath, the slots between the wall are close to the mounting foam or cement mortar.
- Close space under the bath can be brickwork, which increases the rigidity of its fastening, or special plastic screens.
Advice
If you do not want to hire a specialist for installing a bath, you should pay attention to the following tips:
- To install a hot tub requires a socket. It must be with a grounding and a cover for protection against water.
- To ensure quality drainage of water from the product bowl, it is advised to use a corrugated hose. It can easily bend or stretched, it is rather durable and inexpensive.
- Select the bath should not only depend on the material, but also the interior of the entire room. To do this, you can use thematic ceramic tiles or plastic panels.
Thus, the fastening of the bath depends on many criteria, including from the type of installation and material. But in any case, it is possible to securely secure it on both the minimum skills of working with tools.
Article on the topic: How to beat the wallpaper of two types in the hall: 35 photos