
Today, more and more companies offer us their products for the repair and decorative decoration of the apartment. In addition to very traditional and all familiar, new, and still quite unusual. These include the photo wallpaper on the ceiling, stuck that, you can significantly decorate the interior of the room.
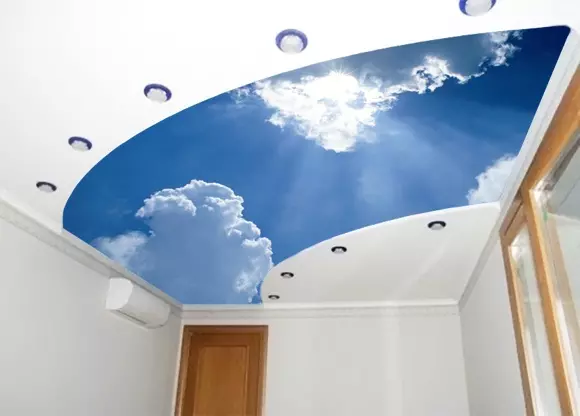
Sky in the room ...
In addition to a fairly low price, and therefore, accessibility, especially compared to expensive stretch ceilings, they have a number of other, no less significant advantages.
Varieties of photo wallpaper
Among the whole variety can be distinguished by several basic varieties of photo wallpaper for ceilings. Let's dwell in more detail on each of the types of this ceiling covering:
Wall mural based on fabric or paper with a decorative layer of textiles.
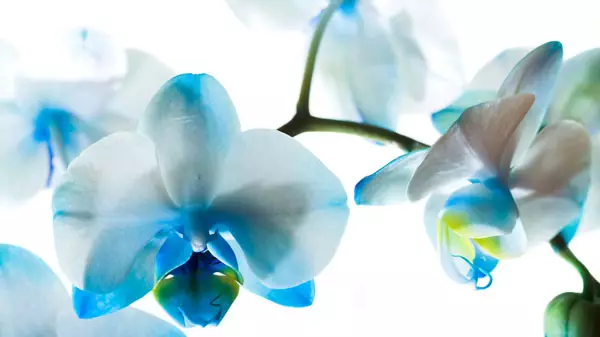
... or flowering garden
Textile photo wallpaper is made by applying various fibers on unique technologies. As a rule, it is flax threads, polypropylene fibers with imitation of natural fabric, as well as silk.
The subspecies of textiles are velor photo wallpaper. Accordingly, a special pile is applied to the tissue or paper base, which externally resembles the soft surface of the velor. And often - and real velor fibers. This type of coatings is well known due to a wide variety of colors. Textile ceiling photographes are ideal for interior bedroom, living room or kitchen.

Wallpaper starry sky
Paper wallpapers are very common. You can glue them in various rooms, ranging from a nursery and ending with the hall, kitchen or bedroom. They have either matte or glossy decorative layer. In addition, this layer is also protective because it is laminated using a special film. The use of such technology increases the moisture resistance of photo wallpapers.
For the ceiling can be used voluminous 3D photo wallpaper. The effect of volume is achieved by using special technologies. This novelty is becoming increasingly popular, and not only in pleasure places, but also in the interior of ordinary apartments, as well as country cottages. However, in addition to recognized advantages, 3D photographic photographs have one significant disadvantage: high price.
Article on the topic: how to glue wallpaper in the corners of the room correctly: instruction
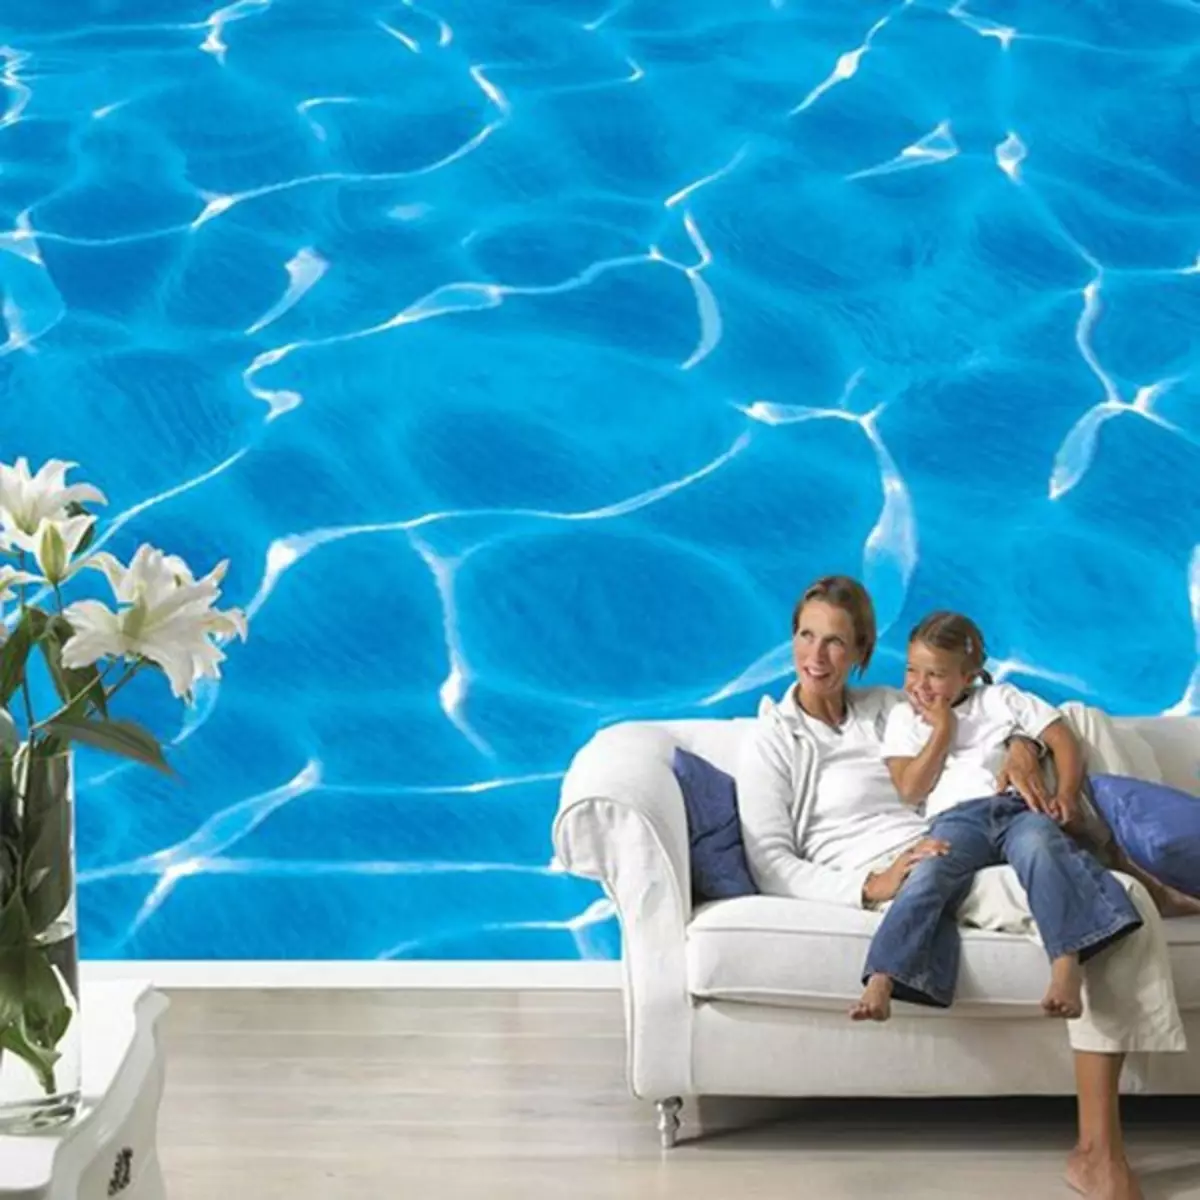
The use of such photocoposes for the ceiling, having a 3D effect, among other things, is allowed to visually increase the space, which is especially relevant for small rooms. That is why designers often seek to create a special atmosphere, offering plots with starry sky, beautiful clouds or natural landscapes. As for the decoration of bathrooms, that in such cases the maritime plots are most often used.
It is worth knowing! Recently, the bulk photographic walls of 3d begin to conquer special popularity. The difference with more traditional solutions is that they use a special polymer layer, which closes the decorative surface, thus increasing the protective properties from the effects of moisture and mechanical damage.
Vinyl photo wallpaper
Vinyl photo wallpaper (based on PVC, on top of which decorative drawing or photography is being made). Different with improved resilience to moisture. That is why this type of ceiling photo wallpaper is desirable to use in the appropriate rooms. For example - in the bathroom or in the kitchen. Among other things, the surface of these photo wallpaper can imitate various decorative surfaces. For example, natural stone or tiles.
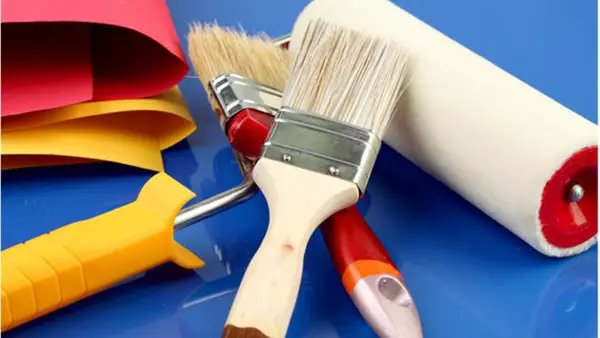
How to glue photo wallpapers on the ceiling
As for the technology of installation of photo wallpaper on the ceiling, then, in general, it does not differ from the process of sticking standard rolled wallpaper. In the course of preparatory work, as well as directly sticking, you will use glue, as well as a number of devices. Among them:
- Capacity for the preparation of adhesive composition.
- Tassel to fracture glue.
- Roller for pressing and alignment.
- Special scallop to get rid of irregularities and bubbles.
Tools for shook wallpaper
Perform all work is quite possible with your own hands, provided that you carefully examine the instructions, and you will follow the advice of experienced professionals. So, considering that in general, there are two main stages in the work on the sticker of ceiling photo ware, let's stop in more detail on each of them.
Article on the topic: how to make a plasterboard angle
Preparation
Starting preparatory work follows that the work surface is cleaned from old wallpaper (if any) or from other coating. In cases where there are certain damage on the ceiling, it must be thoroughly aligned, and also close all the visible chips and cracks with a putty.Tip from masters! In cases where the surface of the ceiling has significant damage or is too uneven, it is desirable to use GLC plasterboard sheets. The use of plasterboard will significantly simplify and speed up the decision of the main task.
After alignment of the surface of the ceiling, you must apply a layer of primer. In order to rejuvenate the working surface, you can use both a special composition and a large-concentrated wallpaper glue.
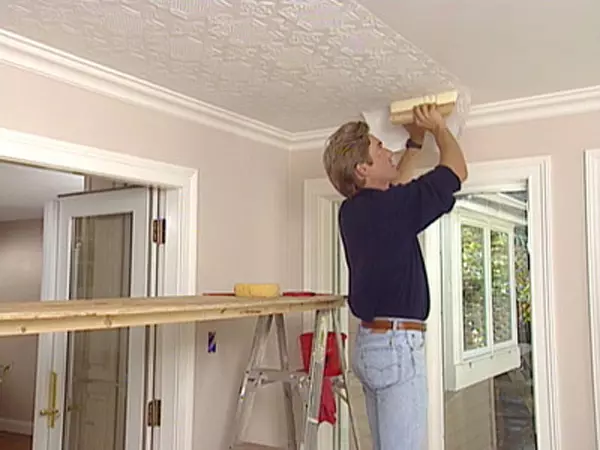
Stowing
To kill the wallpaper correctly on the ceiling, you need to strictly follow a certain sequence of actions, which includes several main steps.
The main thing is to observe the blending process
Here they are:
- Preparation of adhesive solution. In order to prepare the glue composition, it is necessary to clearly examine the instructions attached by the manufacturer. As for the choice of glue, it needs to be done in accordance with the type of photographic plates. For stickers of heavier types of canvas, such as PVC, the use of "liquid nails" glue is allowed, which can reliably glue even materials with a large mass.
- The next stage is the markup and cutting of the web, in cases where its area exceeds the size of the surface of the surface. Condition does not have to be very accurate. It is necessary to cut the wallpaper with a sharp knife or scissors.
- With the help of a large tassel, it is applied to the prepared in advance of the adhesive solution, we apply the cloth to the surface of the ceiling (it is desirable to produce together) and straighten with a special plastic scallop.
Remember that if the photo wallpaper is composite, then their individual parts need to be glued, not a mustache. At the same time, carefully ensure that the docking is extremely accurate and neat.
So, we hope that you have answers to the question of which photo wallpaper is better to choose for the ceiling, as well as how to glue the photo wallpaper on the ceiling.
Article on the topic: Calculation of floor tiles on the balcony and loggia
For greater clarity of the flow technologies, the ceiling cavetons are recommended to familiarize yourself with the attached video instruction: