
Sometimes it happens that after buying the door without ordering installation, there are serious problems with the inserting loops. It turns out that this is not as simple as it seems at first glance. Usually in the door store are sold without loops, because choosing doors, you need to know which loops will fit to these doors.
Door hinges can be left, right and universal.
To correctly determine which loops are suitable for purchased doors, you need to get up near the doorway from the other side where the door to open to you. Be sure to be the door to open on yourself, and not from myself - it is wrong.
If the door opens on the left side, then you need left loops, and if the right is right. The main thing is not to confuse where the left side, but where is the right.
For the pockets of the loops you will need such basic tools: a screwdriver, hammer, chisel. It will greatly facilitate the work of the presence of a drill, thin drills, screwdriver, sewn and cutter.
How to cut a loop on the door yourself?
If there are no bitch in the door or box, then there is no difference where to immediately make the loops in the door or in the box. If the door of the array, in which there are swirls, then the cutting should be started with the door.
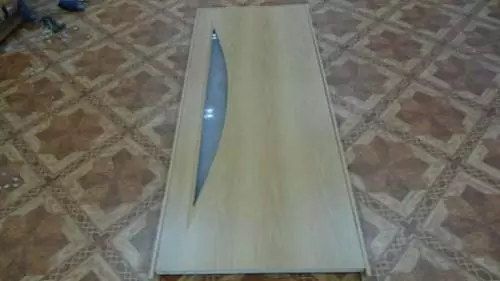
First of all, it is necessary to determine the location of the loops. By choosing the optimal area on the doors, we determine the location of the loops on the box.
The perfect distance from the edge of the door for the junction of the loop is 15-25 cm. If on the doors in this place the bitch, the loop must be shifted, it is not scary. It is also necessary to take into account the location of the loops on other doors located near, for harmony.
Article on the topic: Rhododendron - Photo of shrub varieties, landing, cultivation and care
First you need to extort the distance from the upper and lower edge of the door and make a pencil mark. It is important to determine where the top will be, and where the bottom near the door, pay attention to the location of the glasses, if there are so that the drawing on the glass or the pattern on the doors is not upwards.
By making markup, the loops must be applied in such a way that the hinges look at the front side of the doors. The front side will be where doors open.
Markup can be done in two ways. With the first way, you need to smoothly attach a loop to the desired location and carefully circle a pencil. The edge of the loop must correspond to the edge of the doors. The second method is that the loop is screwed into two screws and the contour is watched with a pencil or cut the cutter. Two screws are enough to screw, but the danger arises that the loop will go away.
Screw must be accurately fastened to the center, and for this you should make the markup of the pencil and mark the place of seaw. In this case, the screw is not driving the loop when tightening. By contours of markup with the help of a cutter, the contour of the depth of the corresponding loop thickness is cut and the smooth area is chosen.
How to make a sample under the loop?
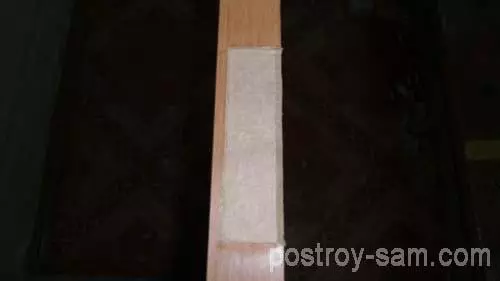
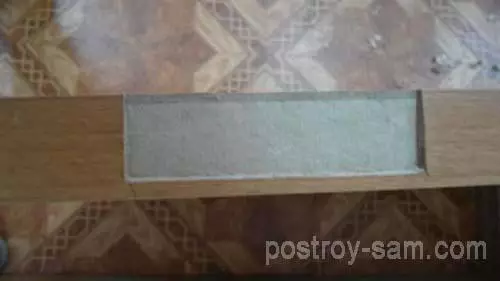
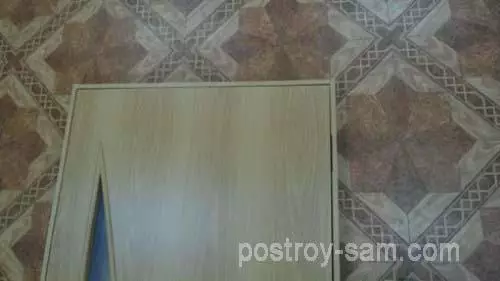
The contour can be pierced with a chisel, putting a chisel to the edge of the contour and easily hitting it with a hammer or a refinery, choose the contour. You need to carefully approach such an unpleasant fact that in the purchased doors with paper rolling, if the chisel to put it wrong, the contour is filled out. It is clearly visible in the photo.
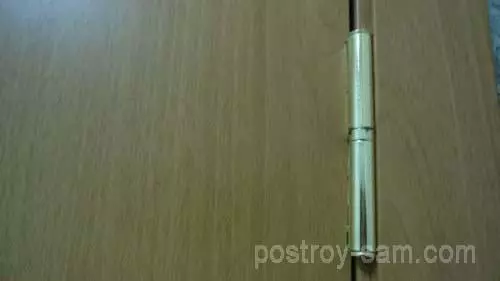
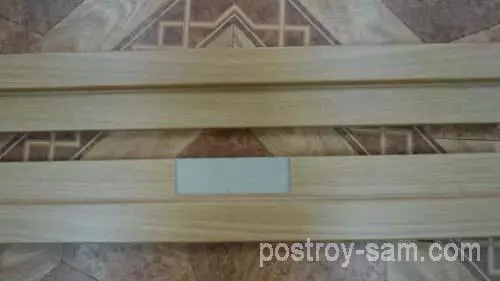
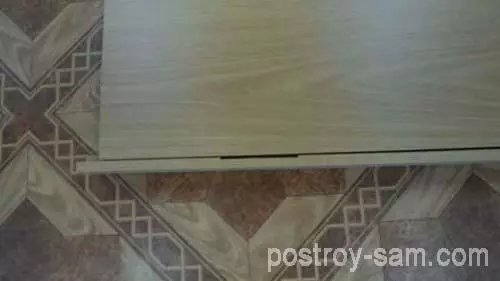
The chisel needs to be put so that the contour is mounted inside, then the edge will not be frightened, and the embedded loop will look beautiful and neatly. The next picture shows how the correct slice should look like.
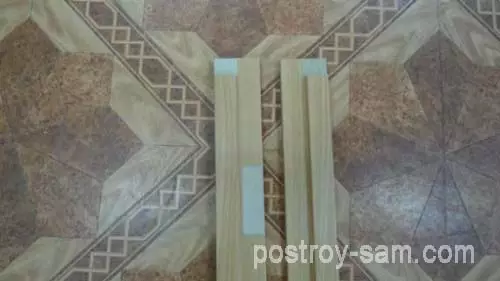
If you did the right cut, then the loop will be on the same level with the surface. If you see that it opens, do not be lazy and make the right deepening of the landing site, but in no case do not overdo it!
Article on the topic: How to make a refrigerator on the balcony
Correction of incorrect landing
To check the correctness of the landing of the loop, you need to take a ruler and attach it by pressing the loop. If the loop is embarrassed incorrectly and actually acts, then there will be a large slot between it and the doors, and on the opposite side there is insufficient opening so that the door can close. This position can be corrected by reloading the loops and putting them deeper.
In another case, if the door loop is too deeply planted, the door will press the box and pull the loops. The exit from this situation will be what you need from a dense cardboard to cut the gasket with the necessary thickness and put it under the loop so that it becomes in place.
There is a very simple way to mark the location of the loop on the box. To do this, you need to assemble the box and put the door in it. At the top left the gap of 2-3 mm, after which the place of marking on the box opposite the embedded area on the doors. If you immediately made a knock on the box, then make a mark for the cutting on the doors.
Cutting loops in the door leaf
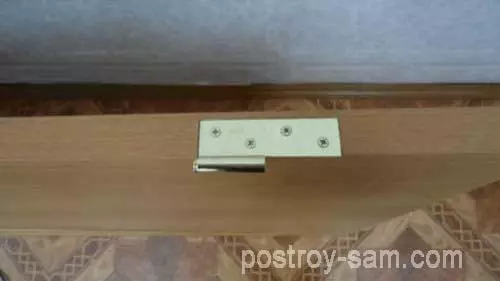
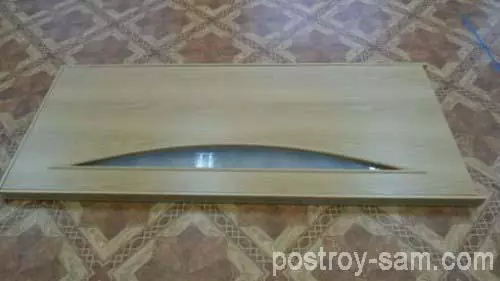
Cutting the loops in the door canvas is carried out in the same method as inserting the loop in the box. After cutting out the contour, it is necessary to attach a loop, outline the spike of drilling site and a thin drill to make holes for screws. After that insert screws and tighten them with a screwdriver. If you doubt the correctness of the work done, do not twist all the screws, but only two. Check the door closing quality, landing it, and if everything is fine, tighten all the screws.
So you learned how to cut the loops in the door with your own hands. The next stage of improvement workshops will be a door handle. How to do this right in the next article.