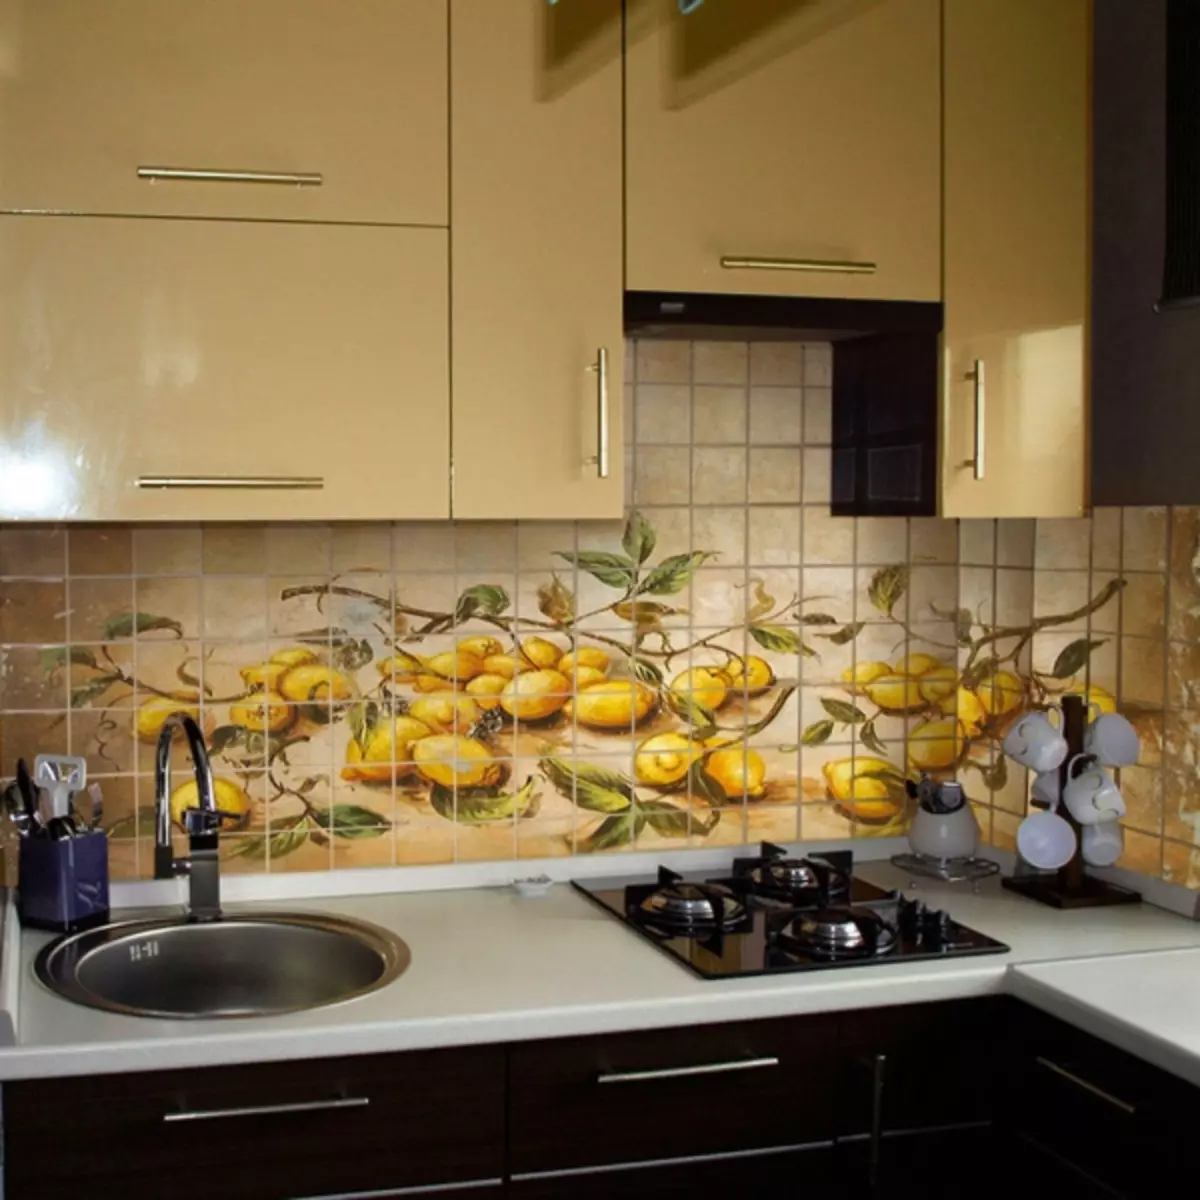
A beautiful apron in the kitchen can be made with his own hand decided to put a new tile on the kitchen, but not even imagine this process to start and how to do it? Below you get all the necessary information that will help you with your own hands to put tiles in the kitchen, observing all the technologies.
The main types of tile
Today, the tiles on the construction market is represented In a huge variety of styles:
- classic;
- Country;
- Minimalism and many others.
It is important to choose not only aesthetic material, but also to choose such that would have excellent specifications.
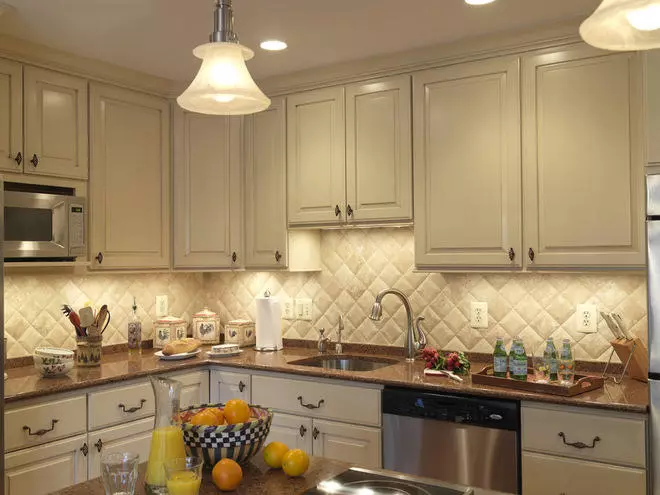
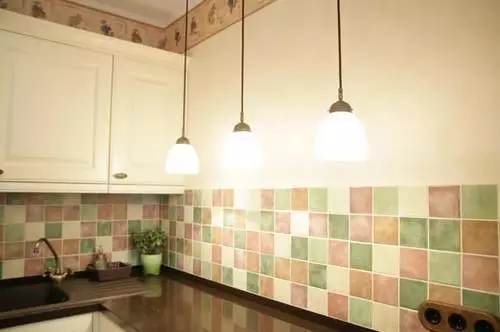
The classic type of tiles is harmoniously combined with any interior design.
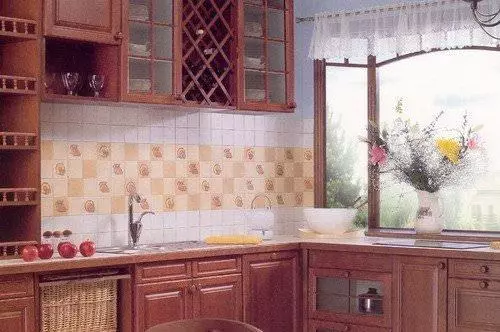
Tile in Country-style is selected not only for kitchens of country houses
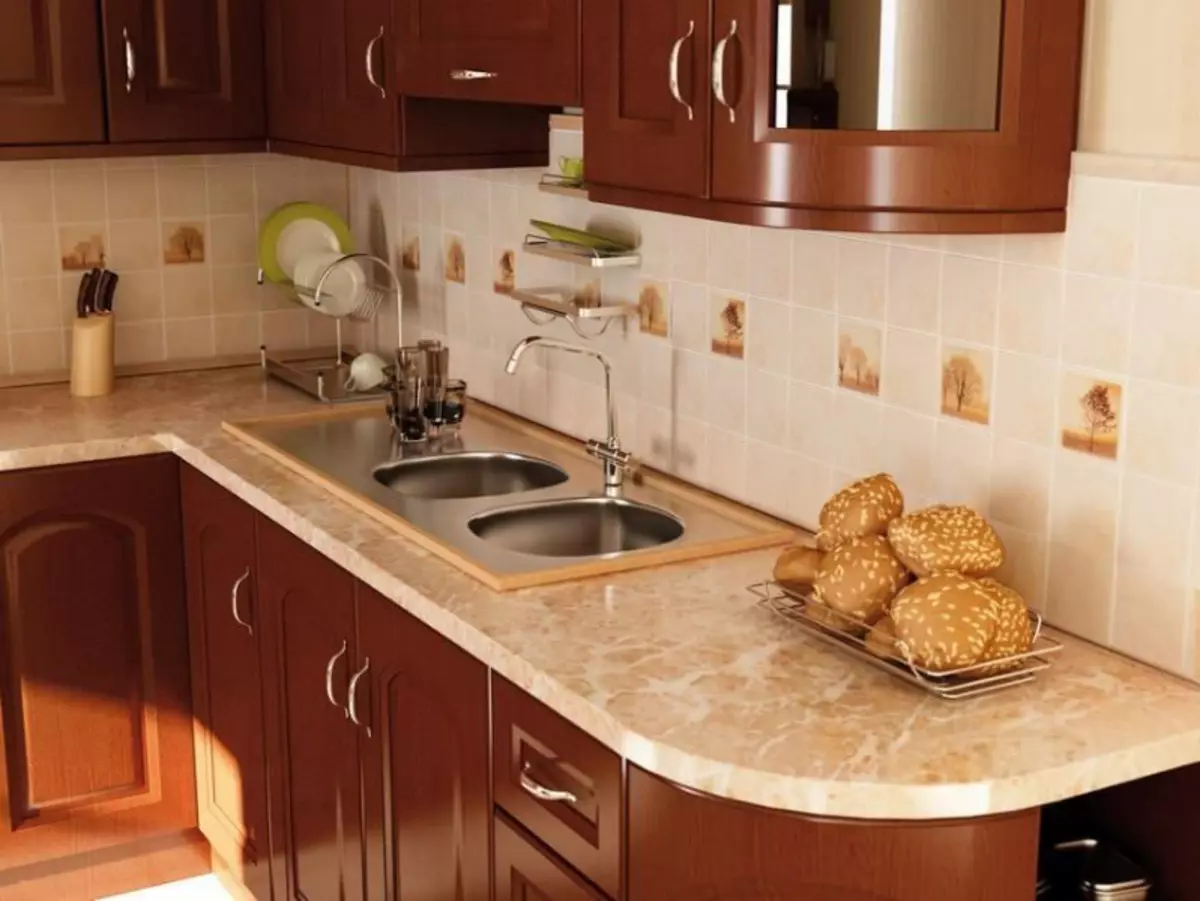
The height of the kitchen apron must comply with certain standards.
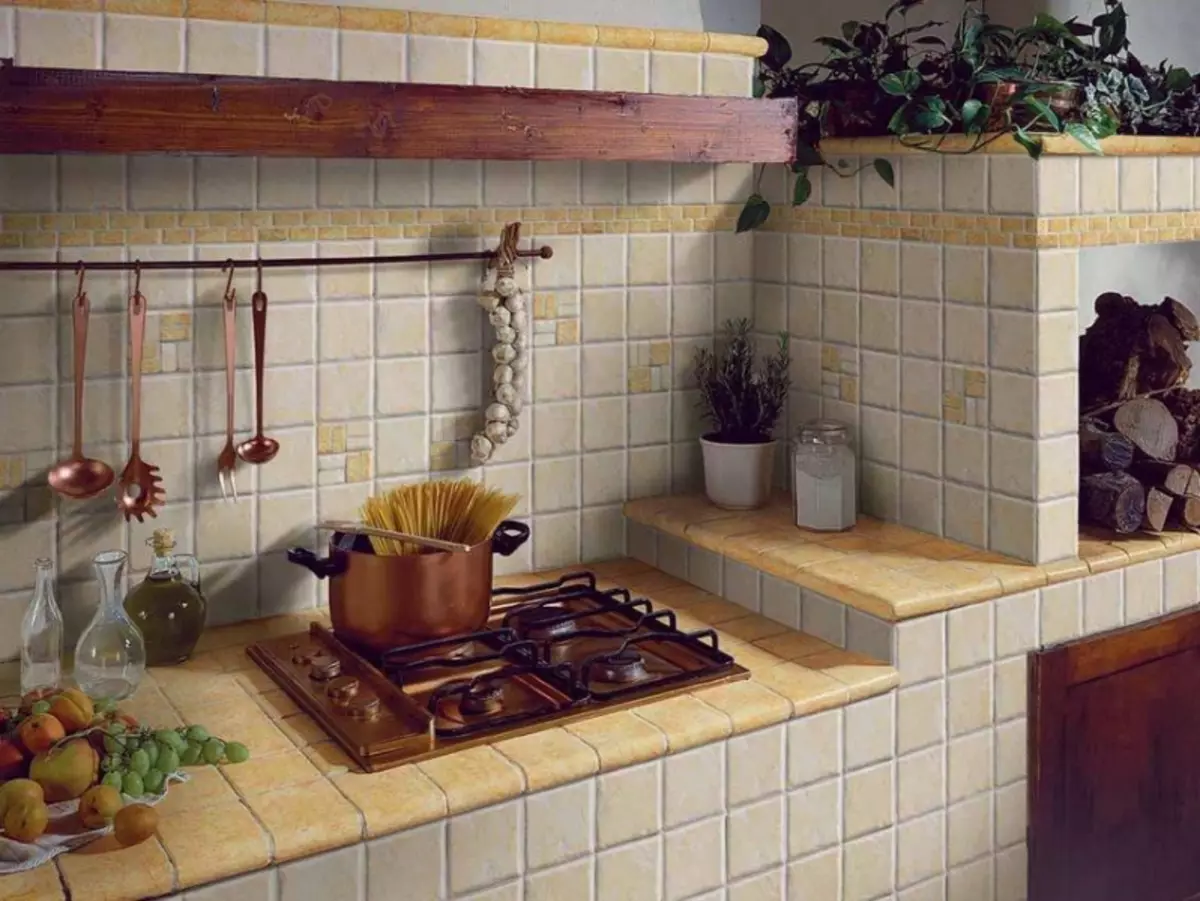
The tile is characterized in that it has a porous structure. Its top is covered with icing. For the floor, it will not work, but you can stick on the walls.
Ceramic tile is also covered with icing. The main minus is low resistance to mechanical damage.
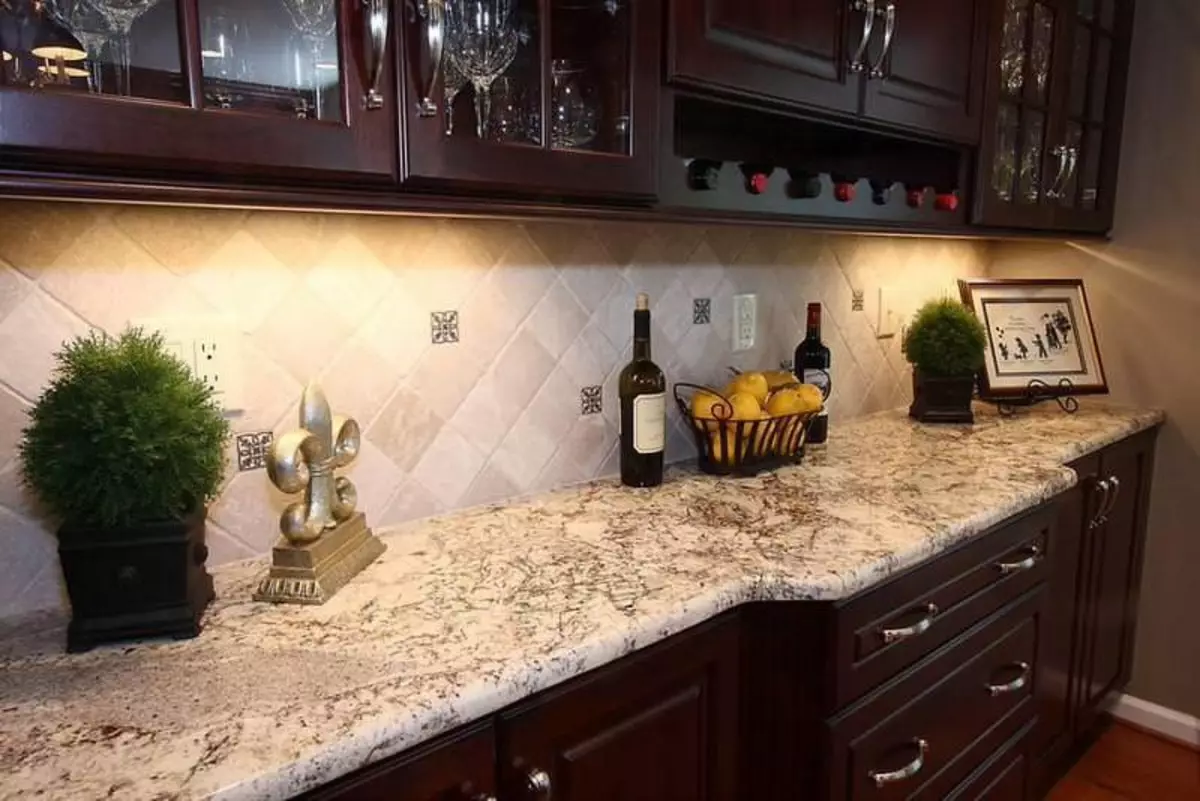
The most durable is a tile of porcelain stoneware. Porcelain stoneware on the kitchen floor will suit the most, since this material has high wear resistance. The main minus - the color shades is very small.
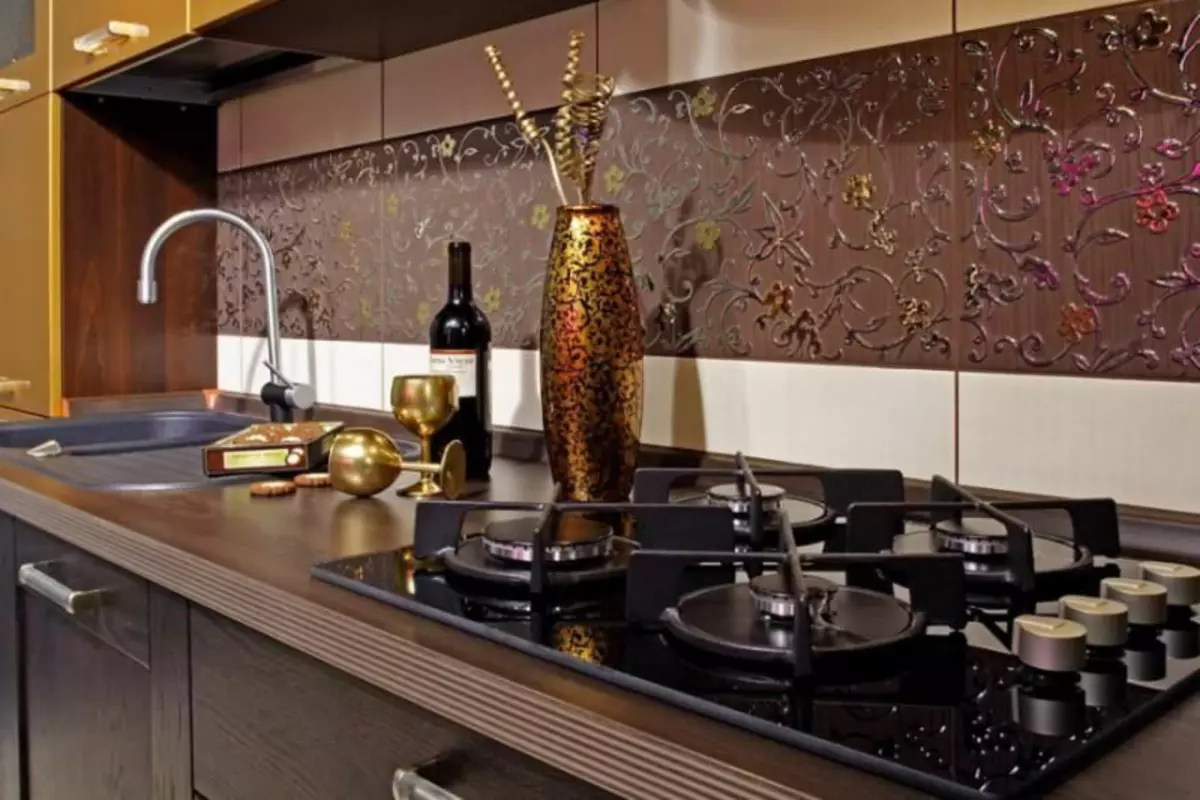
Porcelain stoneware tile The highest quality, practical and durable option for kitchen apron
Preparation of the surface to laying, tools and materials
In order to put a tile with your own hands on the kitchen for all the rules, You will need:
- tile;
- plaster;
- nails;
- Rubber spatula;
- construction level;
- Metal spatulas;
- primer with deep filling;
- crosses and plastic corners;
- Powder for a tile;
- Special machine for cutting the tile;
- roulette;
- aluminum rules;
- Bulgarian;
- profile from plasterboard;
- Metal ruler;
- Special glue.

When choosing crosses for seams, it is necessary to navigate the structure of the tile
Article on the topic: Repair of locks in metal doors in detail
We will proceed to choose a variety of materials. There are many types of primer, but each of them is practically no different from each other. It is necessary to remember that it is impossible to dump the primer back to the canister if you were cast from there. In addition to its unsuitability, it will have a disgusting smell.
The glue on the market is also presented in huge varieties. Some recommend using only foreign compositions, others - domestic. Experts adhere to most of the opinion that domestic is not worse than foreign. The main advantage is the lower price, as it does not arise overwhelming money for the brand.
Preparation of materials and laying Tiles (video)
Leveling kitchen walls do it yourself
This work is made in several stages. In addition, There are several options for it:
- If the walls of the kitchen in cracks or irregularities, then they are covered with plasterboard and are facing with ceramic tiles;
- When the walls are covered with paint, it will be necessary to remove it and twist the walls;
- If the walls are smooth, then it is originally with your own hands you need to twist a little.
Work begins with the fact that all irregularities and cracks are filled with splitule. All protruding parts are also removed. Deep cracks and potholes need to be melted with cement mortar. After that, apply plaster and wait for it completely dry.
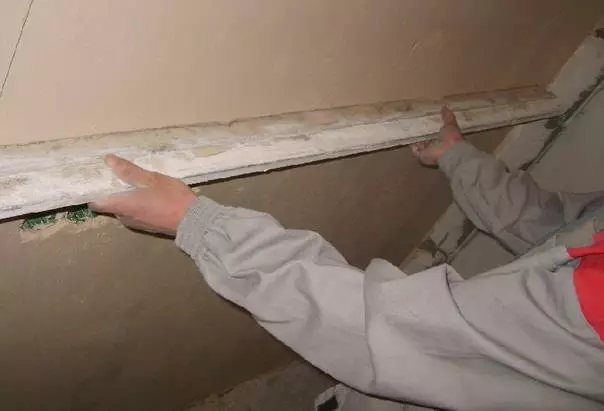
For alignment of walls having large irregularities or offset, a rule is used
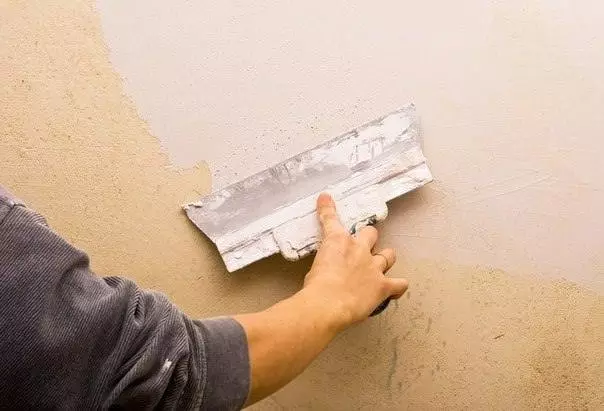
Wide spatula needed for applying finishing layers of putty on the walls
Now you need to put primer with deep penetration. It will also be necessary to wait for its complete drying. After that, you can start laying tiles.
How to put tiles: secrets
Each wizard boasts his own way, as best to lay out tiles. For example, if the wall is covered with paint, then you can finally and not count it, but only make notches on it.Some experts recommend to twist the tile in the water for several hours, but scientists say that there is no need for this, since all modern solutions and without soaking well grasp.
Secrets of laying tiles (video)
Basic work on laying tile
Initially, a ceramic tile is bought in the construction market. What to find out how much it will take it, you need to measure the area of walls of the kitchen and add about 20%, which will go on trimming ceramics. Behind the cabinets you can put these remnants of the materials, there they will be simply invisible.
Article on the topic: Mold in the bathroom - solve the problem drastically
There are three ways how do it yourself Lay the tile correctly:
- Put the tile diagonally. Cut the tile will have a lot, therefore it will be necessary for the material as much.
- Install tiles on the seam. This method is the most common and simple.
- Delivery. The upper rows are shifted relative to the lower on half the tile size.
After the method is found, you can start laying the tile. Along the walls of the kitchen, one row of tiles will be best put in order not to make a mistake with sizes. Previously need to put ceramics next to the windows and doors.

In order for the apron to be smooth, a metal profile is used, attached to the wall in accordance with the horizontal level
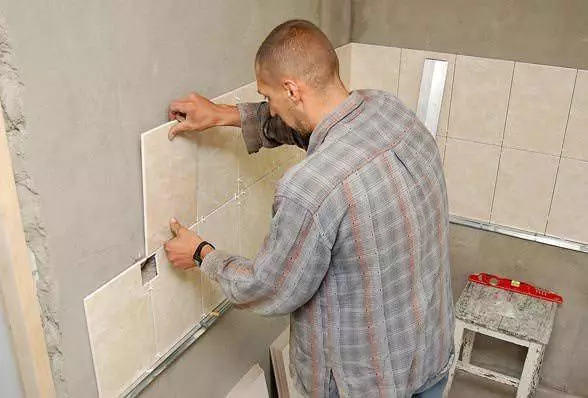
Laying the tile on the walls of the kitchen is not such a time-consuming process if everything was prepared correctly and in advance
Next, the work will be follow as follows:
- At the height of the kitchen table, the horizontal line draws;
- Metal milling from drywall is fixed with nails on the wall at the level on which the line was drawn. About 4 centimeters will need to leave about 4 centimeters and check the level that laying is done correctly.
- Similarly, the vertical line is also carried out. The tile must be attached to the top edge of the wall, put a plumb to it and mark the places where full-fledged material plates will be installed. Also measure, in what places the tile will have to trim.
- With the help of such a tool as the tile tiles are cut much easier. If it is not available, you can use the glass cutter. After that, you can break the ceramics on the corner of the stool or table. Since about sharp corners there is a chance to cut down, it is necessary to do it extremely gently.
- It is important to choose the spatula correctly. Its width directly depends on what is the dimensions of the tiles. So that the glue does not remain on the soldier, this tool is required to constantly ignore in a bucket with water.
- On one of the corners of the tile, you can find an image of a special arrow. Therefore, the tile must be postponed so that this arrow is located on one side for each tile. After that, a mark is made from the end pencil. This method marks the top and bottom of the tile.
- Now it will be necessary to knead the adhesive mass. This can be done by following instructions on the package. The mixture should be plastic and soft. To carry out this operation, you may need an electric mixer or drill with a screw nozzle. After that, the glue can be applied with your own hands on the wall with a spatula. You can use aluminum rules to make sure the layer evenness.
- Now we take a flat spatula and apply glue on the reverse side of the tile. The spatula in his hands holds only perpendicularly.
- The tile is applied to the wall and pressed uniformly. With the help of the construction level, it will be necessary to check if everything is done.
- Next to the first ceramic tiles fit the second. Aluminum rule is checked by the laying plane. In the same way, the remaining tiles can be put in the same way.
- The glue is seized for 10 minutes. This time should be enough to ensure that the tile is adjusted in the case.
- With the help of plastic coolers, slopes and angles of walls are drawn up.
- After the entire tile is posted, the glue must completely dry.
Article on the topic: Overseas Adhesive ASM, General Overview
Detailed process of laying tiles (video)
Useful tips from designer
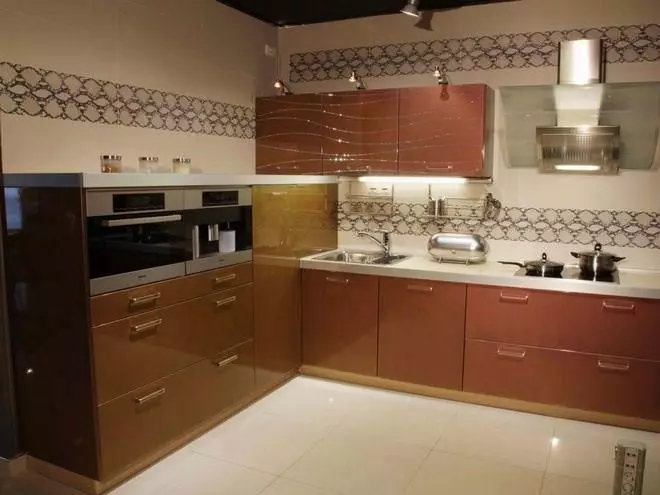
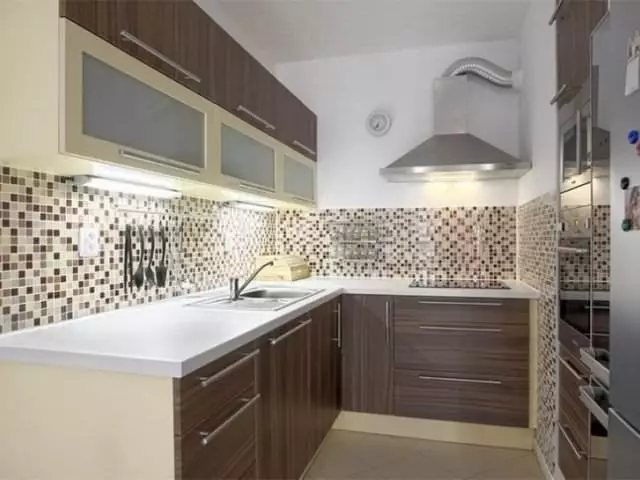
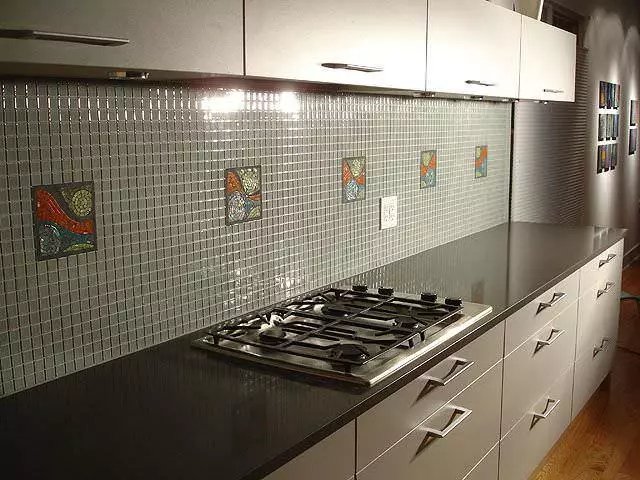
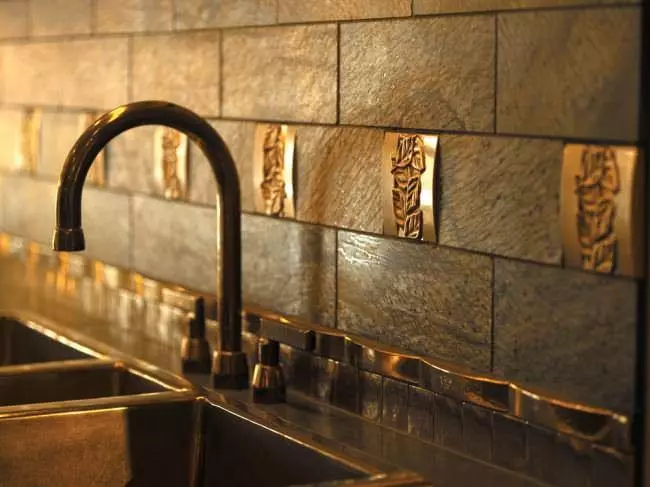
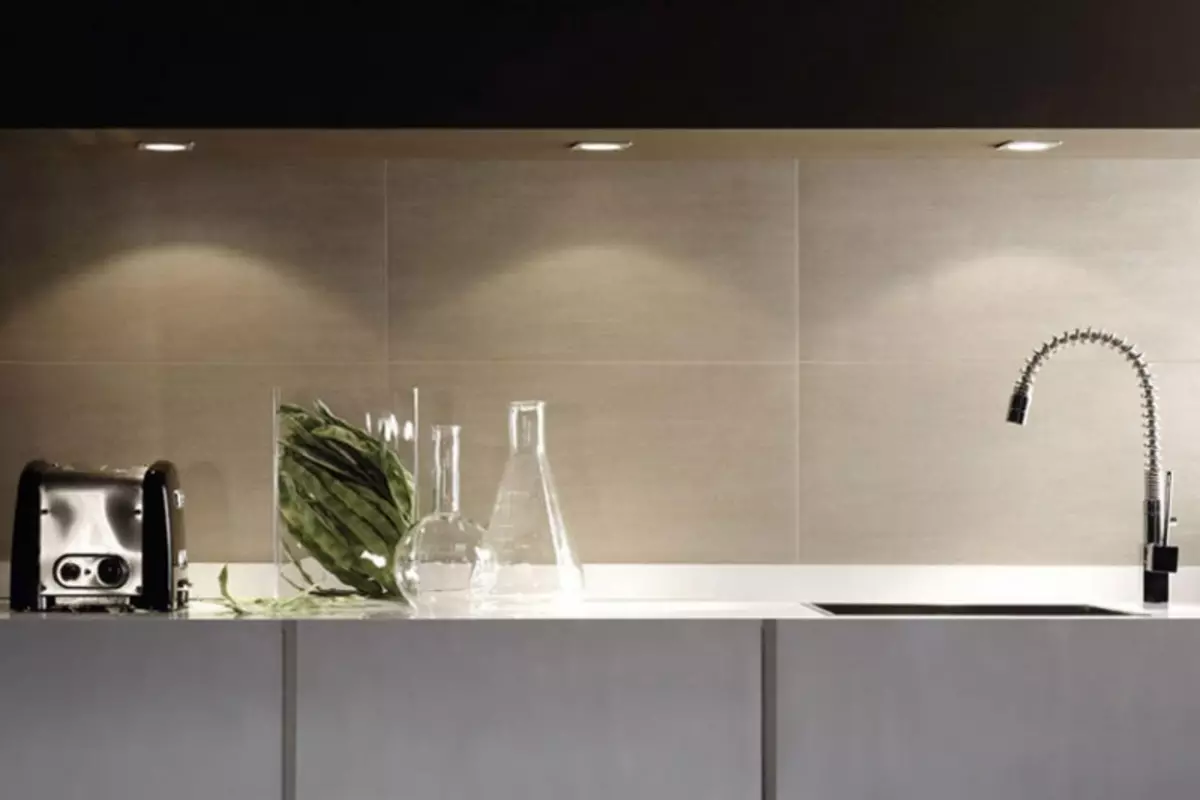
Ceramic tile is, first of all, aesthetic design of the kitchen. It must be chosen in such a way that it organically complemented the kitchen.The monophonic tile will be more suitable if an exquisite kitchen set is supplied in the room. With ordinary furniture, it is best to do on the contrary, that is, lay out tiles in a variety of colors.
Kitchen apron finishing options (video)
Conclusion
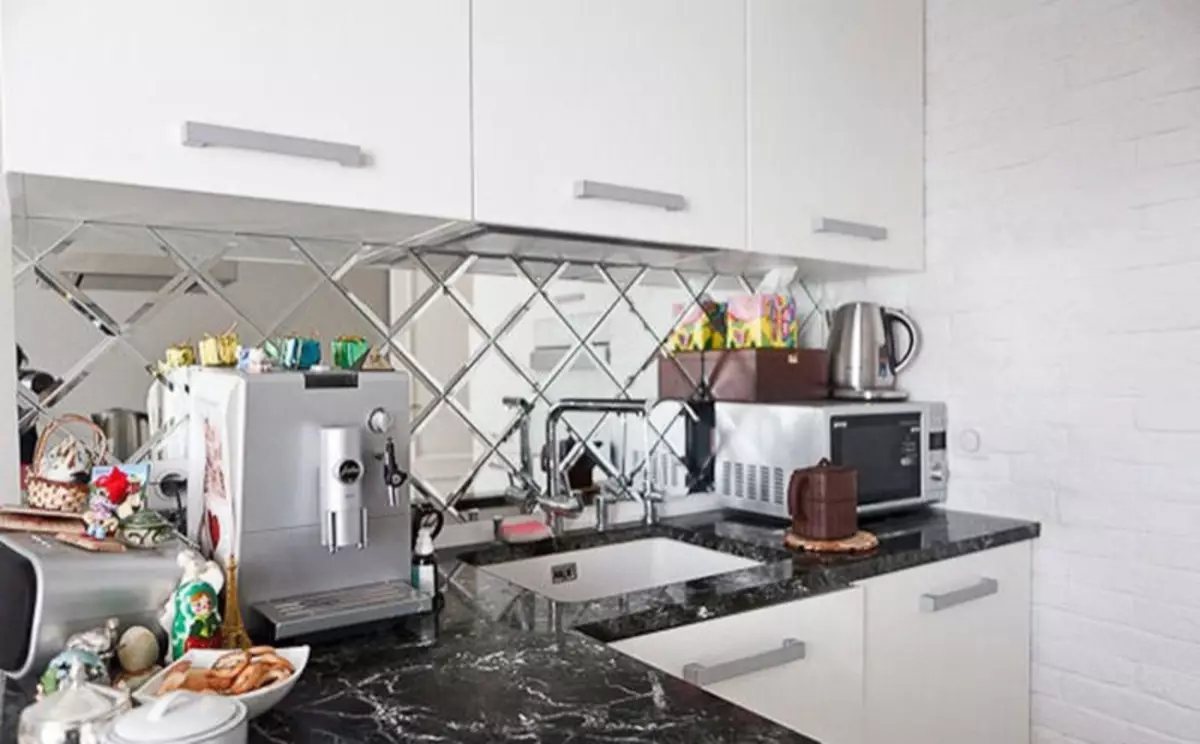
The tile gives the kitchen brightness, harmony and organically complements its interior. From what kind of kitchen sizes and types of furniture depend on the ways of laying tiles. It is necessary to think over all the little things in order to subsequently enjoy the coolest in this room. And how to put a tile with your own hands, you have already learned from this article.Examples of the design of apron in the kitchen (photo)