
Repair of a bath, combined with a toilet, often causes difficulties. Many are trying to break this bathroom into two zones, but it is rare. Most often, even the combined bathroom has very small sizes, and it does not make sense to break it into two rooms. An exception can be done in the case of a large family, when often a free toilet or bathroom is required separately.
Since the combined bathroom is usually small, its space is recommended to save various ways. For example, instead of large cabinets, it is better to use several wall or built-in lockers, and the toilet tank is hidden. Saves the space and the presence of a shower cabin, which occupies a place slightly less than the bathroom, and at times functional. It is not recommended to separate the walls with plasterboard, as it can reduce the space that in such a small room is very highly valued. Ready repair of a combined bathroom, a small photo can be viewed in the gallery of our site, in the case of interior design, will help you decide on the choice.
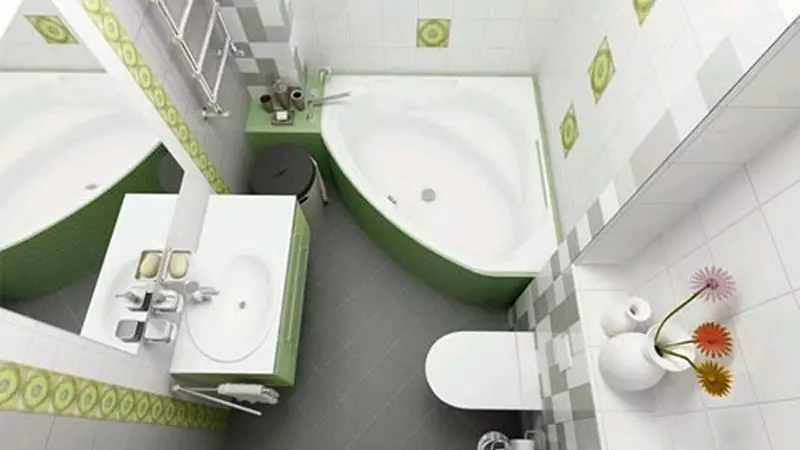
Planning Tips
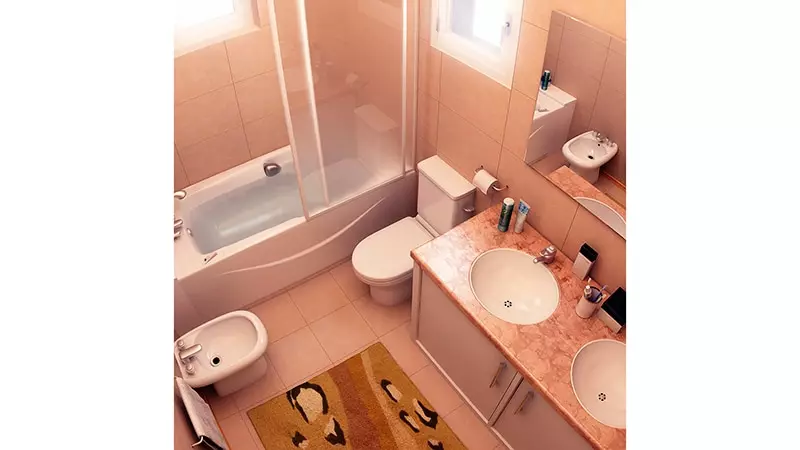
Interior design bathroom with small toilet
To save space somewhat and make it as comfortable and functional as possible, you can listen to a few tips of the masters of their case:
- The bathroom must be from 70 centimeters to one free distance meter;
- Before the toilet - up to 60 centimeters, on both sides of it should be 40 centimeters of free space;
- Before a washbasin - up to 70 centimeters of free space;
- The heated towel rail must be at a distance of the half meter from the bath;
- The most comfortable height and width of the sink is 80-86 and 50-60 centimeters, respectively;
- The sink must be at least 25 centimeters from the toilet;
- The distance between the side wall and the sink should be from 20 centimeters for the convenience of use;
- The distance between the two sinks also should not be less than 20-25 centimeters.

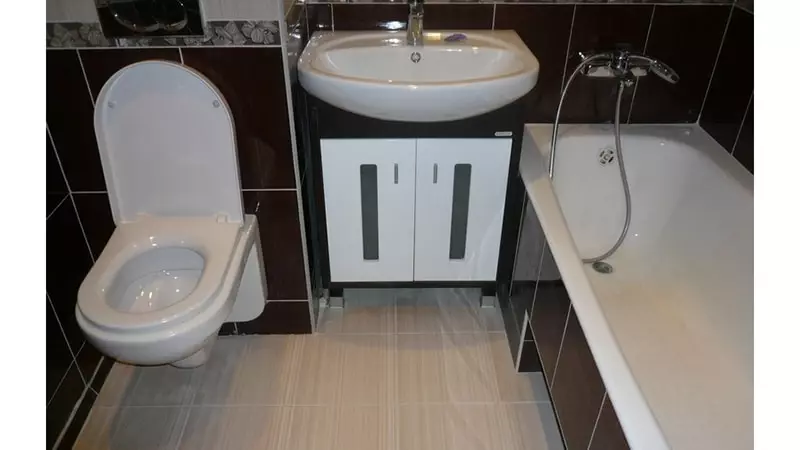
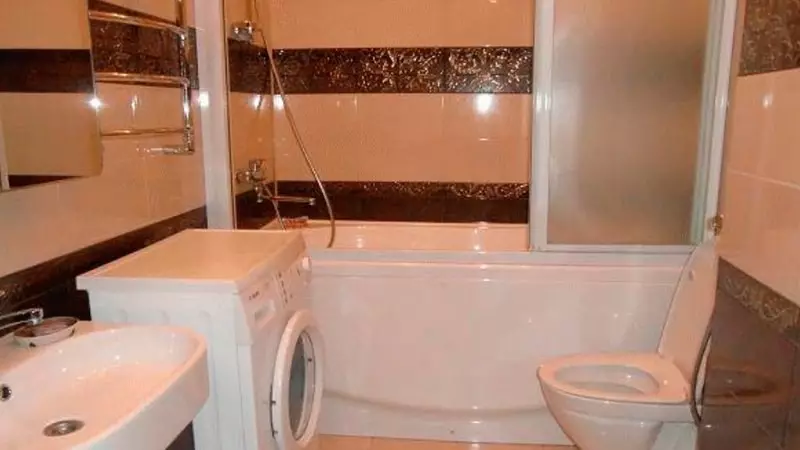
Repair in bathroom with toilet
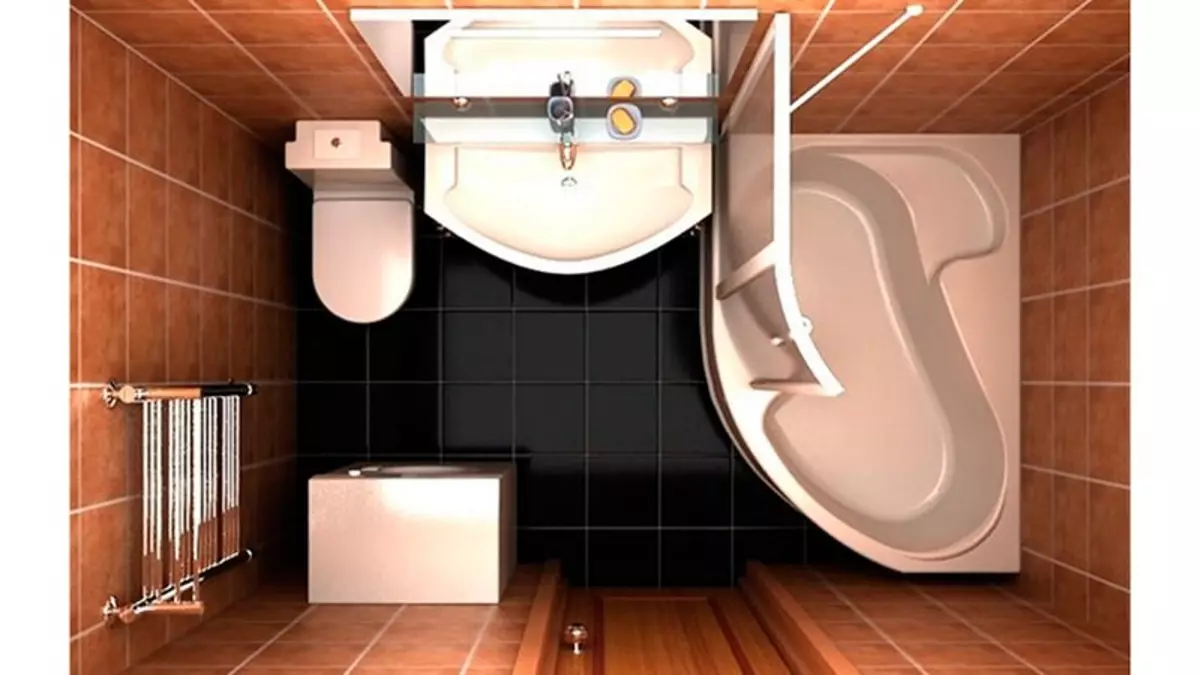
The convenience of the location of all the necessary elements of the bathroom depends on the form of the room itself. Four common variants of form and ways of location:
- In the rectangular bathroom, the bath is better to position the door, and the toilet and sink opposite each other;
- In a square to increase the space, all elements are located along the walls. You can also make the separation of space using the screen;
- The elongated form of the room allows you to arrange everything on one wall. Often, such bathrooms are very small, so it will be reasonable to put a shower cabin instead of the bathroom.
Article on the topic: Schesting schemes Patchwork sewage: Patchwork What is it, video, style story, techniques, stitch, types of patchwork
Follow these rules is optional, but still it is worth listening to them. They are better to take into account when planning repair, and not with its immediate conduct. But if you observe all these simple tips, the bathroom will be much more convenient. To see how such a repair of a combined bathroom and toilet looks like, the photo can be viewed in this article or in the gallery of our site.
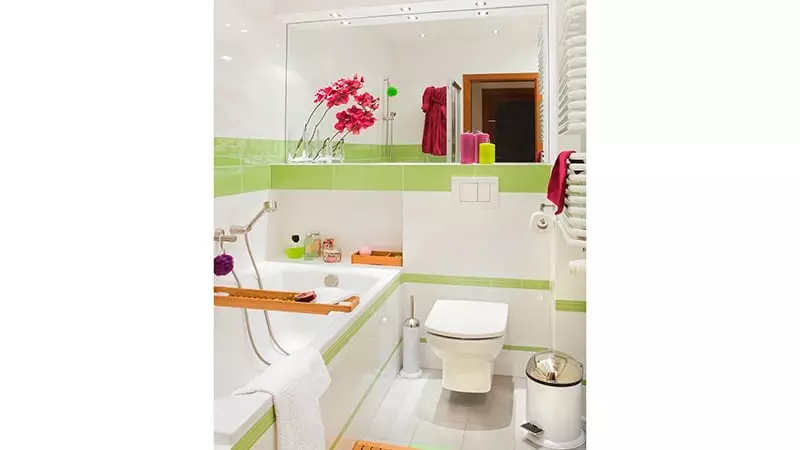
Increase space

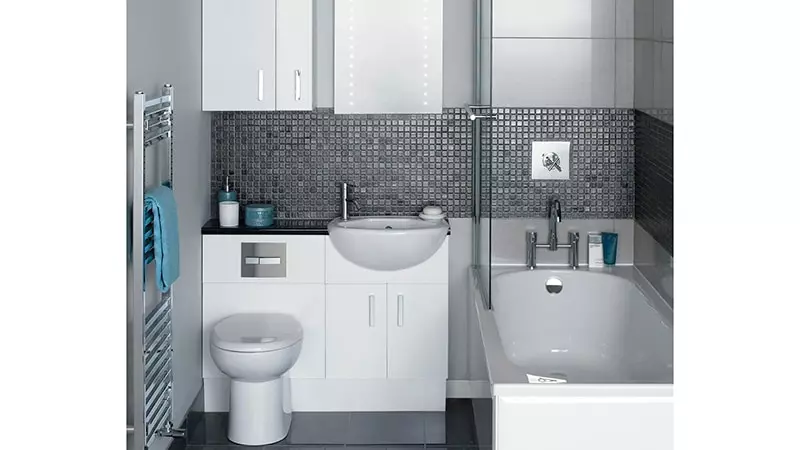
Making a small bathroom with toilet
An options to increase the space of the bathroom mass, and it is impossible to use everything at once. Approximate completed repairs in the bathroom combined with a toilet, a photo can be viewed in this article, you can immediately see options for a convenient layout. With the project of a future type of room, as well as when selecting used plumbing, furniture and building materials, you can use some tricks that allow you to increase the space:
- Special compact washing machines of small height perfectly fit under the sink;
- The door can be installed in such a way that it was possible to open it in any direction;
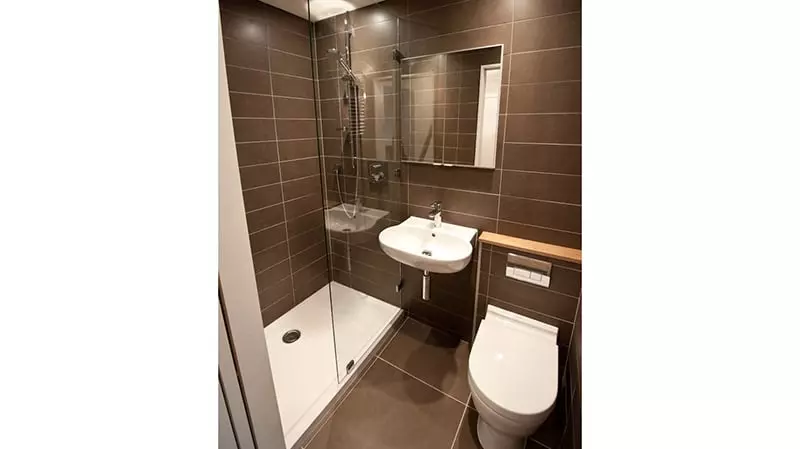
- The use of shower cabins sometimes significantly increases the area of free space, besides, for bath lovers, you can choose a shower cabin with a built-in bathtub;
- Special compact model of toilet bowls are also able to increase the space;
- Plumbing from glass or with glass inserts visually increase the room;
- Instead of a separate bidet, you can buy a toilet with such a function;
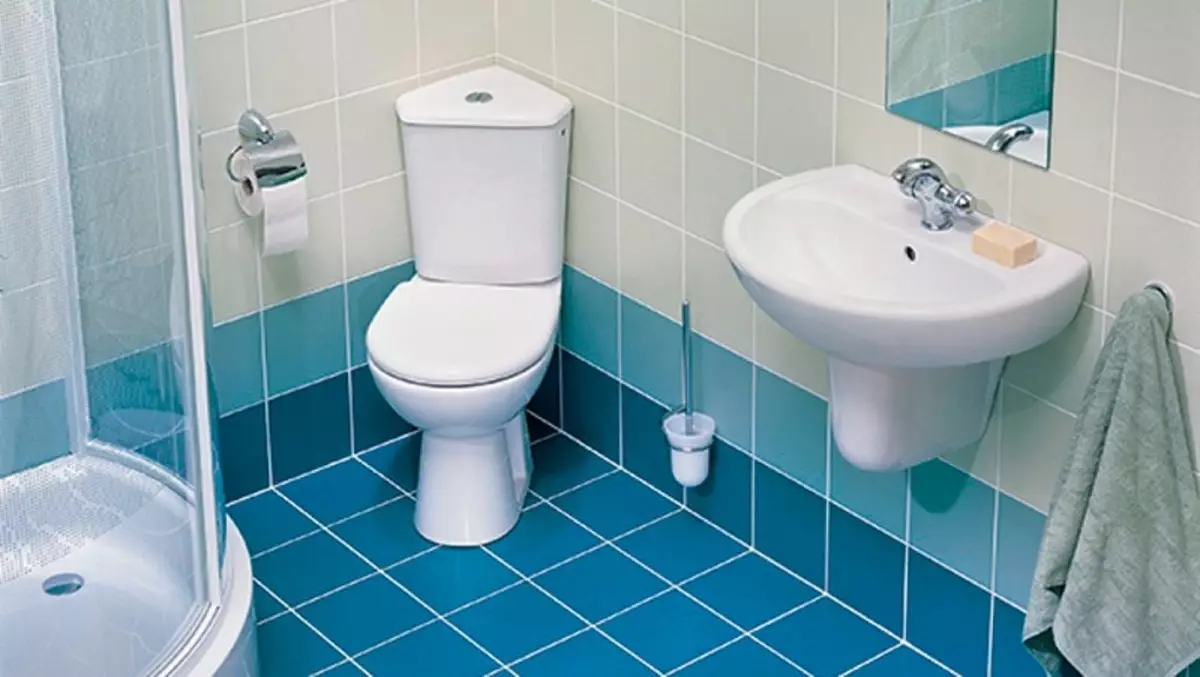
- If you place a plumber in the corners of the room, you will get more free space in the center;
- Mirror inserts from tile or completely mirror tiles will create a large-room effect;
- Properly installed lighting also affects the visual perception of the room;
- For registration it is better to use small drawings or other similar items;
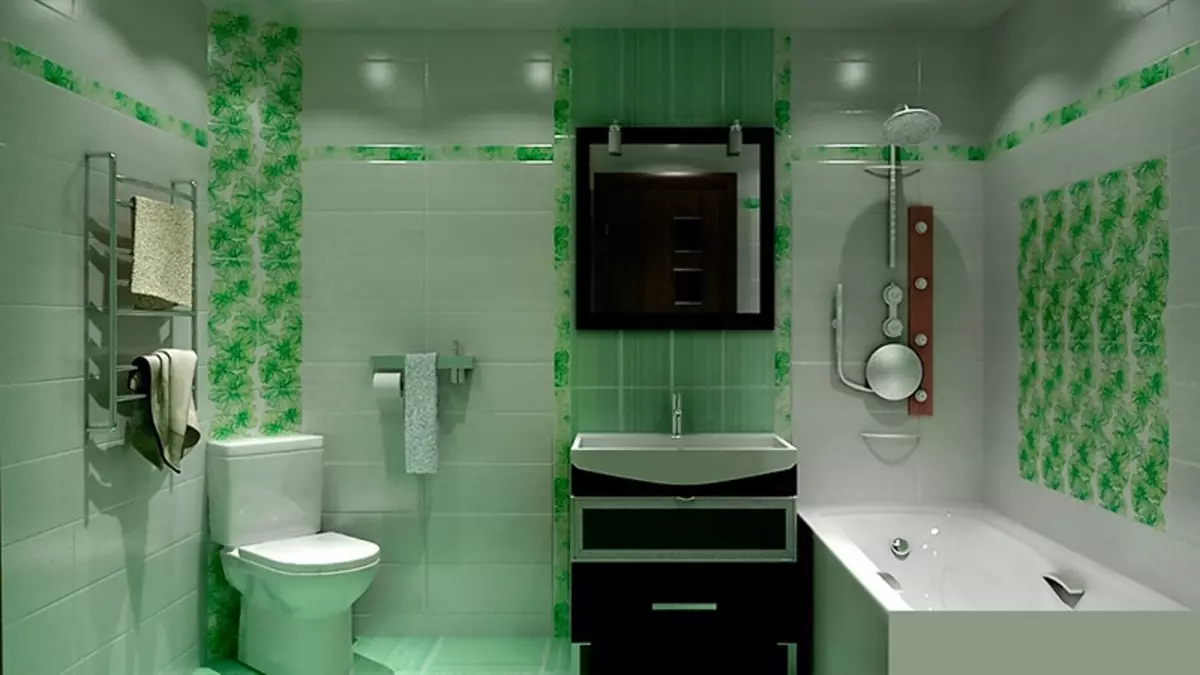
- In a small bathroom, it is best to use a light flower gamut.
The bathroom combined with the toilet will be able to become less if you use these small tricks. You can come up with your own original idea of the design of the bathroom, the space of which will be the most ergonomic.
Little bathroom design
Ceiling. The most economical and widespread ceiling is whitewashed. The ceiling trim ceiling tiles is just enough. For a small bathroom, it should also be a small size - a larger tile fits respectively for more spacious premises. With its help on the ceiling, you can lay out the drawing, and you can make a mirror ceiling, which visually expand the room space. The stretch ceiling is rather durable and convenient for washing, although it will slightly reduce the height of the bathroom, it will make it visually slightly more due to the glossy coating. If there was a desire to shove on the Ceiling Wallpaper, then you need to know that they must be moisture-resistant, otherwise they will have to change very soon. This also applies to other finishing materials that will be used to finish the bathroom.
Article: Playground: Ideas and projects

Interior design bathroom with small toilet
Walls. The most common decoration of the walls of the cafeter. With it, you can get almost any kind of design at the expense of the variety of its shapes and sizes. For a small bathroom, a small size of the light shades with a glossy surface is best suited. Drawings laid out of tiles should not be large: it is better to make accents on smaller items. Also, with the help of a tile, you can visually expand the premises with a few tricks: vertically laid out rectangular tiles will increase the height of the room, and horizontally expand it somewhat. Laying diagonally as a little visually increase the size of the bathroom. The same applies to the floor tile.
The wall decoration can be carried out and using plastic panels, but then they must have moisture resistance. Thanks to them, you can get a huge number of design options. You can even order panels with an individual pattern. Also allowed a combined design of the bathroom: for example, the lower part can be finished with panels, and the upper one is laid out with a tile. It looks beautifully a mosaic: she will make a highlight to the interior, it may look classically strictly, and maybe bright and fun. Bath, combined with toilet, photo options for designing both walls and ceiling, are presented in this article.
Making a small bathroom with toilet
Repair sequence
- The plan-project is initially drawn up, in which everything will be described in detail. It includes the location of the entire plumbing, heated towel rails, furniture and other elements. It is also desirable to know the number of necessary material and its price: this is necessary when distributing funds for the purchase. The correct calculation will show which materials can be purchased from a higher price category, and in which you can save.
- The whole old plumbing and furniture is made out. All old materials are removed: tiles or plastic panels, pipes. If there is a replacement of the door, then it should be removed. Old plaster, if possible, also need to be kept.
- Wiring is carried out, the creation of points for the socket and the lighting, the pipes are installed. Pipes are best choosing from stitched polyethylene: they are most easily installed and do not require experience for this, they are also reliable and protected from leaks. The guaranteed service life is from 50 years. Do not require installation experience and metal-plastic pipes, but they are less reliable. Polypropylene pipes are somewhat better than previous ones, but it is difficult to establish without experience, for their installation requires a welding machine. Sewer pipes from cast iron just as best change to new ones. At the same stage of operation, an extract is installed.
- If it is necessary to align the walls, then it is carried out by plaster. Before this walls are ground. The floor is better to align with the help of sandbetone, but before this it is also necessary to be projected. In order for water in the bathroom during leakage, it is necessary to leave a small threshold with a height of 5-7 centimeters.
- The sanitary box is the most reasonable to do from moisture-resistant drywall. The tree box is not recommended, as it can be contrary to moisture.
- The tile is stacked using a level. In the process of laying, you need to follow the seams: they must be smooth, to go in parallel, as well as coincide in the right places. Then everything rubs. The places of contact of the tile and the bathroom, as well as the corners between the cafeter itself are closed with a sealant. Its color can be chosen to the grout.
- Stretch or rack ceiling is installed after the main finish. If it is another type, then its installation is made immediately after plaster.
- After completing the finishing work, plumbing is installed and the necessary furniture is made.
- The door is installed after all the work with a special foam. You can grow too much opening with plasterboard, and with a large wall thickness sometimes you need to use a good.
Article on the topic: Brick poles for the fence with your own hands

Interior design bathroom with toilet
This is how the joint bath and toilet is repaired, the photos of which are presented in this article. An example of a phased repair, as well as his video can be viewed in the gallery of our site. Looking at the work of professionals, repair the repair will be much easier.
Repair in the bathroom combined with toilet
Interior design bathroom with toilet

Making a small bathroom with toilet
Bathroom option with toilet
Making a small bathroom with toilet
Repair in bathroom with toilet
Bathroom design combined with toilet

Bathroom decoration with small toilet

Interior design bathroom with small toilet
Bathroom design combined with toilet
Stylish bathroom design combined with toilet