
Plastic panels come to change the time consuming in the installation of ceramic tiles. And it's not only in the tremendous economy of finance, the time spent on the decoration and the number of unpleasant errors is reduced. The result is achieved quickly, but it pleases no less than after complex repair. If you do everything right, you can enjoy a beautiful and neat toilet for a long time.
Required tool
To correctly mount finishing materials, you need to prepare the following tools:- PVC panels;
- Wooden planks needed accessories;
- knife, hacksaw and hammer;
- drill;
- Screwdriver and screwdriver;
- antiseptic;
- Screws and nails;
- level and plumb;
- Ruler and pencil.
Why it is worth choosing a plastic finish
If the repair does not plan to spend a lot of money, a great option is toilet trim with plastic panels, photos, design and examples of which can be found in the gallery. At PVC cladding there are a number of indisputable advantages:
- With installation, you can cope with yourself, it is simple and convenient;
- colossal savings on materials and tools (compared with the tile, the price difference can be very large);
- You can quickly update the interior without resorting to accurate alignment of old walls, it also saves strength and money;
- Moisture resistance of materials is high, no need to be afraid to spoil the surface with water. When using waterproofing, you can not worry about dampness;
- Wash the walls are very simple and fast - enough wet sponge;
- The service life is quite large, exploitation is simple, the products have resistance to various chemical compositions that are used in everyday life.

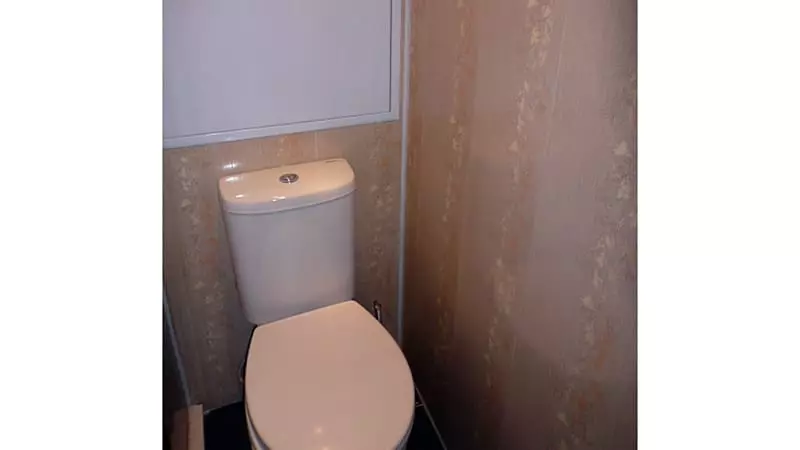
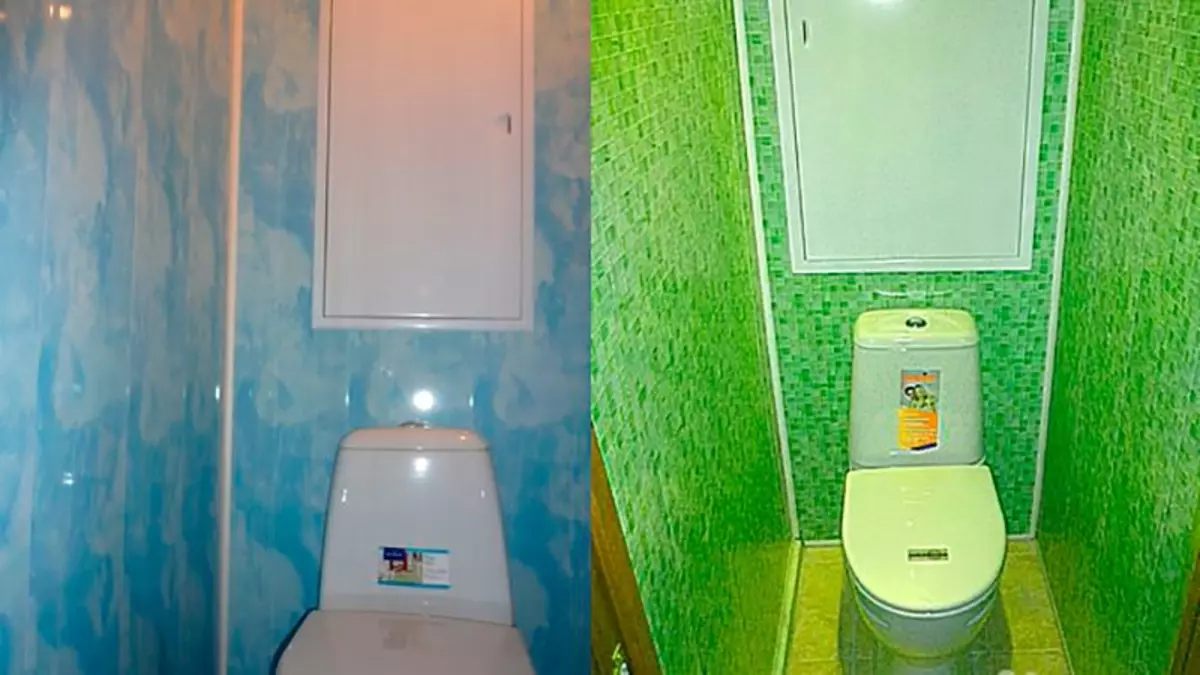
Repair of the toilet in the facing panels PVC
With all the number of positive qualities of such a cladding, it also has cons. They prevent the ubiquitous use of PVC panels when repairing bathrooms. Main disadvantages:
- Plastic combustible, nothing can be done about it. Production is improved, self-fighting models are being developed, but this does not eliminate the decline in the event of a fire. The most unpleasant feature is the release of harmful substances during burning;
- Some skills will still be needed, you need to choose the right model, gently apply it;
- When installing, the area of the room is changing, of course, in a smaller side. From each wall, the new will defend several centimeters. The distance increases with the growth of the curvature of the source walls. If the alignment is not assumed, then there is a possibility to get in the end smaller in size. In this regard, there may be problems with installing equipment, with door hanging.
It is most convenient to use this type of finish on the ceiling, however, the popularity of walls are gaining and lining with plastic.
What to choose for work
Repair of the bath and toilet PVC panels begins with the choice of quality materials. A good owner will never choose on the basis of the design (whatever cute seemed to color). In the bathroom, the walls will be exposed to several types of adverse effects, so it is important to prevent their distortion and damage. The most important thing is what you need to pay attention is the strength characteristics. They are responsible for the reliability of hanged shelves and hooks. The tougher the selected panels will be, the stronger and better coating will be better. In this case, the framework is optional to perform such frequent, as in the case of a thin plastic. Remove this cladding will be easier.
Article on the topic: Analog mode in the household incubator

PVC panels for finishing toilet
After the density you need to choose a suitable width. All elements are the same - all of them are performed by three-meter, but width ranges from 12 to 25 centimeters. Do not think that the wider, the better. This option is bad for beginners or people with small experience. They are better to stay on the products width of 15 centimeters.
Accessories only at first glance seems a secondary detail. It is best to buy it immediately, at the time of the choice of polyvinyl chloride. It is the little things that the appearance will be provided with a renovated room. You need to buy auxiliary details with a margin, because after it will be harder to acquire the missing. Corners and ending should be high quality.
The polyvinyl chloride is attached to the frame, which also needs to be made. It takes a set of rails (30x30 mm). When choosing, you need to monitor the flattening of products, good usually come across among folded stacks. From curves of parts will never work high-quality and even framework. To attach racks to the wall, you need to purchase a self-tapping screw. Also need nails with a low hat.
The last touch is the choice of antiseptics. Wooden rails are subject to dampness, so they need to be protected.
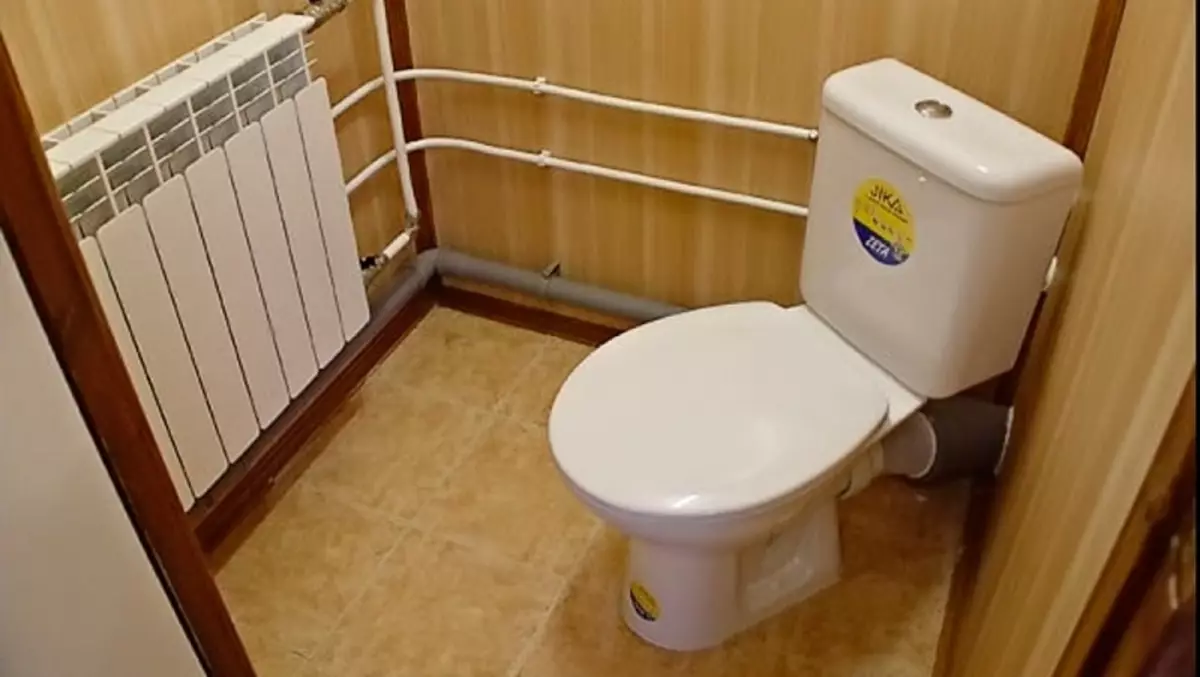
Repair of bath and toilet panels PVC do it yourself
How to mount the frame
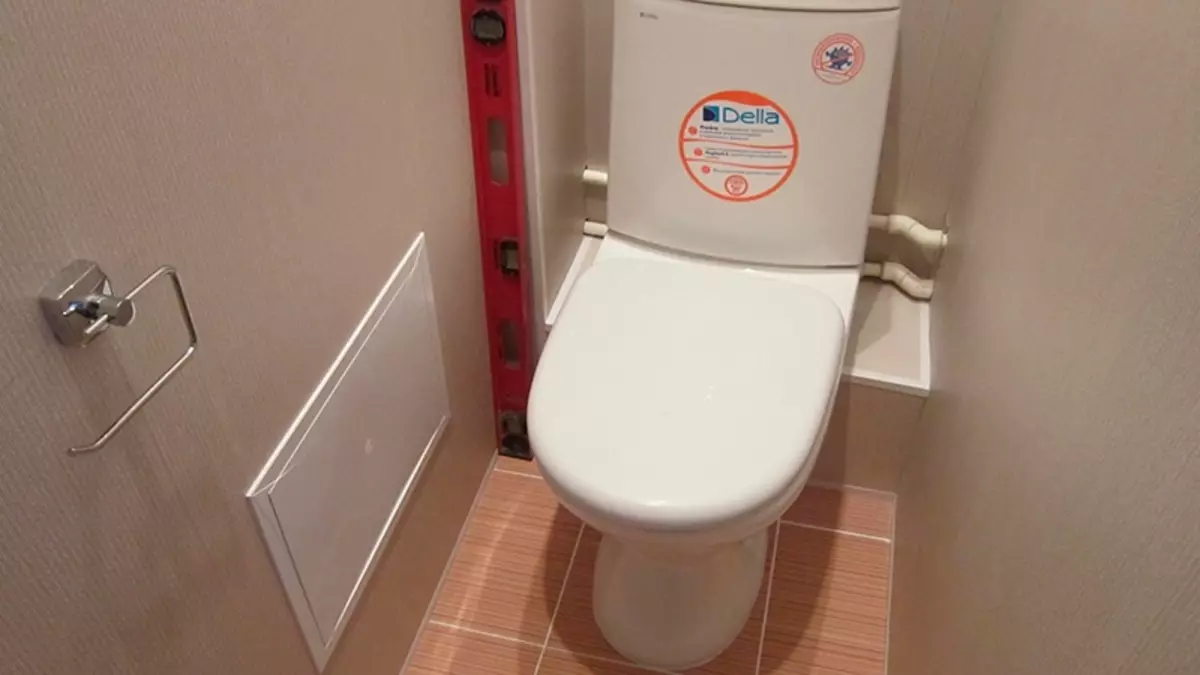
Toilet repair with plastic panels with their own hands (photo in gallery) you need to start with flooring. Floors should be smooth and strong. After installing the toilet, you can start working with wooden slats.
- Antiseptic processing . This step is required for those who are ready to do high-quality coverage that will serve for years. The tree needs to be protected from rotting and influence the fungus, so the planks will serve much longer. The antiseptic compositions are harmful, so the processing is carried out in an open ventilated space. All sides of the rails are processed, only the ends remain "clean". Perform this procedure better a few days before the start of installation.
- Installation of lateral racks . From the qualitative execution of this stage, the correctness of the assembly of the entire framework will depend on. Four wooden rails are attached to the corners of the room in such a way that they do not touch the floor or ceiling. In practice, at first, a piece of plastic is installed under the bar, which is then cleaned. Fasten rails with self-draws, under which the holes are harvested in the wall. Plastic plugs insert plastic plugs in them.
- Performing Corner Plank Fittings . The next stage is the fastening around the perimeter of the placing the rails for the corners. In order for the connection to be strong and reliable, the bolts are attached at an angle of 45 degrees. The remaining rails are attached to the walls using self-tapping screws. After performing work around the perimeter, the intermediate planks are fastened. They are located horizontally or vertically, withstanding the maximum distance of half the meter. The increase in the runway can lead to the loss of stability of the structure.
- The final stage . When the frame is ready, you need to attach accessories. Her angles are cut off at an angle of 45 degrees. In this case, all accessories will need. If the adjacent to the wall is incomplete, the slits are filled with plastic tabs, and after nails are nailed. The distance between the attachments is about 30 cm. Coast and racks should be seamless to the wall. Nails need to be chosen with wide hats, but if they are missing in the store you can use any. To save on tabs, you can cut pieces of the required size from bottles. So that there are no ugly traces on the coating, when driving, use a special nozzle.
Article on the topic: Wallpaper with flowers: photo in the interior, flowers on the wall, large poppies, roses, small bouquets, white peonies, 3d red and pink, watercolor, video
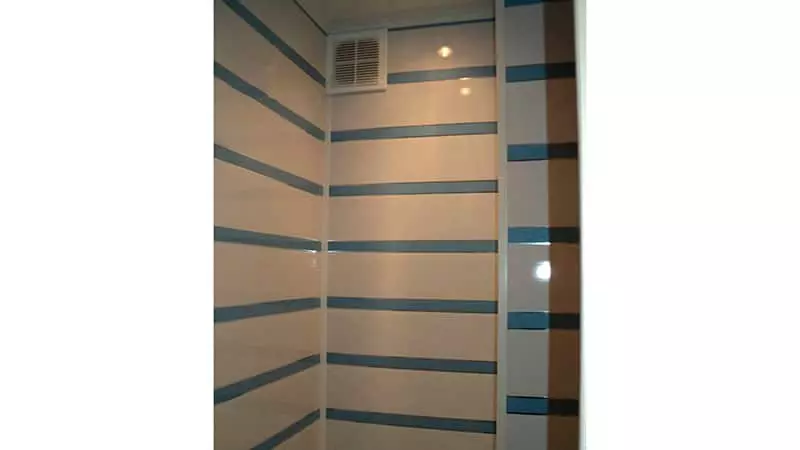
Toilet cover and bath plastic panels do it yourself
Using plastic panels in the toilet
Polyvinyl chloride panels allow you to make repair toilet quickly and simple. When the mounting of the frame is over, the simpler stage remains - attaching the lining. Details are fixed with nails, using nails to clog the nails with plastic lining. They retain the product in perfect form, preventing its deformation. Using a hacksaw, the mounted area is shortened by one centimeter, then the panel is inserted into its groove. After that, it is necessary to nail it to the reikas of the base with the help of nails.

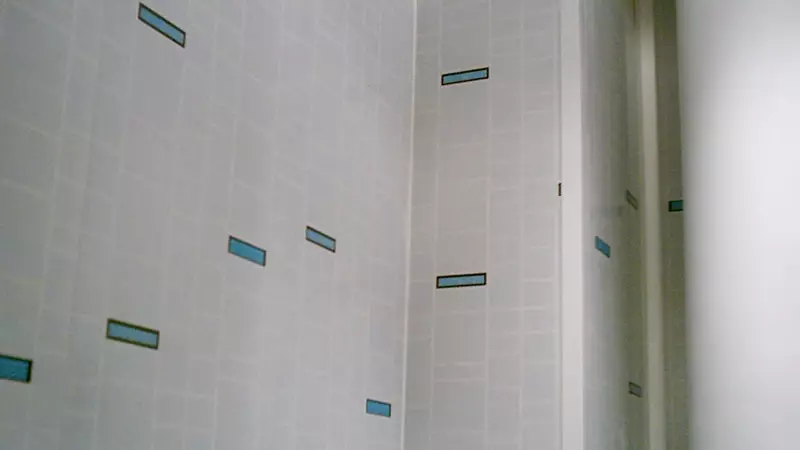
Plastic panels finishing
At the end of the mounted section, the last canvas will need to be cut off. Circumcision in length is a complex and long process. It is necessary to approach him responsibly and neatly. After the unnecessary part is removed, you can attach a plot to the corner. It is moving to the wall, and after using a screwdriver, the castle of the neighboring part is carefully fixed. Locks are always less than the landing places in the accessories. This is remembered by manufacturers of finishing materials from polyvinyl chloride. Nails are not fixed with nails, so it is installed in the most inaccessible place to avoid unnecessary contacts and loads.

Toilet repair with plastic panels do it yourself
Before declare the project completed, you need to think about the subsequent hook hanging and the shelves. After completion of the cladding, it can be difficult to accurately recall and find those places where wooden planks are located. To simplify the task, these places can be carefully and unnoticed even when installing. After installing the auxiliary elements of the interior, the repair is completed.
Toilet decoration by plastic panels do it yourself

PVC panels for finishing toilet
Plastic panels finishing

Toilet cover and bath plastic panels do it yourself
Article on the topic: What wallpaper glued in the bedroom: how to make the best choice

Repair of bath and toilet panels PVC do it yourself
Facing the walls of the toilet plastic
Toilet cover PVC panels do it yourself
Repair of the toilet in the facing panels PVC
Toilet repair with plastic panels do it yourself