
Bathroom is a room with a complex microclimate, demanding to repair the finishing materials used in the repair. Increased humidity, insufficient ventilability and temperature differences lead to an accelerated wear of the finish.

Therefore, in the process of work, it is important to isolate all the gaps and joints from the penetration of moisture. The most vulnerable place, which often becomes the cause of dampness, unpleasant odor or mold formation, is the gap between the washing container and the wall. To solve this problem, experienced masters recommend using special corners for the bathroom, which are securely protected from leaks.
Views of corners
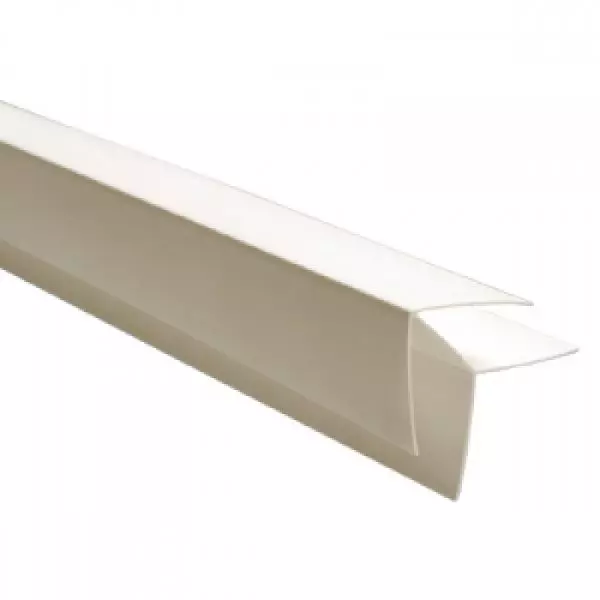
Plastic corners for the bathroom, which are also called borders - a practical and inexpensive means to eliminate gaps between the container for washing and the wall arising due to the irregularities of the walls, inconsistencies in size or disruption of the installation technology of sanitary equipment.

Corner in the bathroom
The plastic side is made of polyvinyl chloride, it represents a strip in the form of an angle of 3-6 cm wide and a length of 1.8-3 m. The borders of plastic are easily fixed with their own hands using silicone sealant or liquid nails. Distinguish the following types of borders:
- Interior corners on the bath. They are plastic borders in the form of a corner, which are fixed during the walls of the walls with tiles, and then the installation of baths is installed on them. This design allows you to securely isolate the joint between the bowl and the wall from the fall of water.

Interior corner
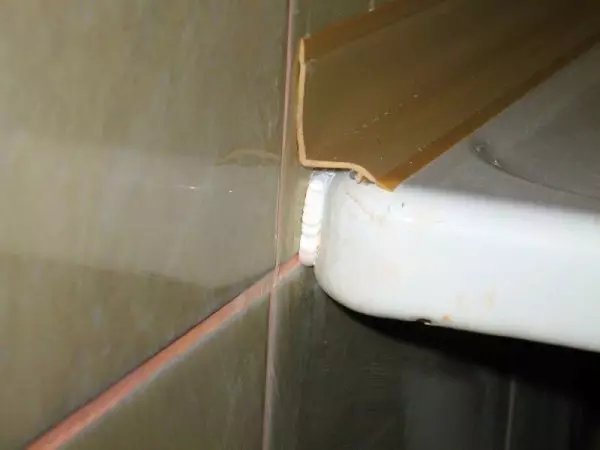
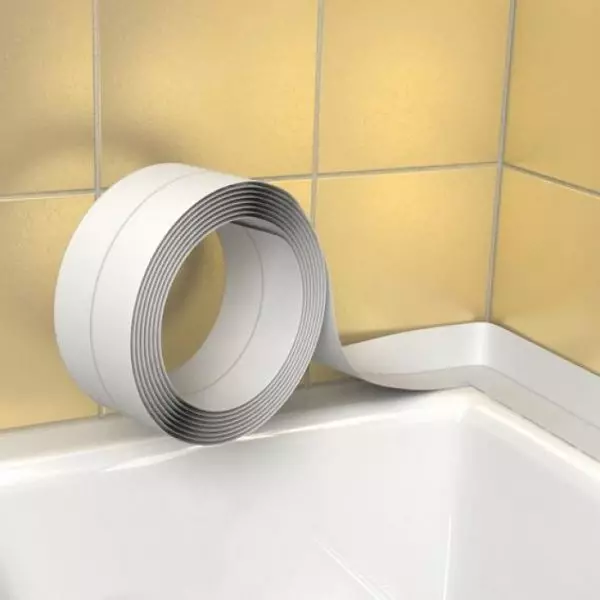
- Exterior corners for the bathroom. Plastic borders that are fixed on board the bowls are called external. They represent a bar in the form of an angle of 45 degrees. Self-adhesive outer side does not give water to penetrate the gap between the bathroom and the wall, directing the liquid inside the container and not allowing it to be stamped.
Outdoor corner
- Collapsible corners on the bath. The collapsible model includes two components: an inner corner and an external decorative side. Install plastic borders with such a design is more complicated, but they effectively protect against the penetration of moisture and the formation of mold.
Note! Choose which kind of plastic border is suitable for waterproofing the joint, it is necessary, based on the characteristics of the situation. If you need to take a junction between the wall and the old bathroom, it is better to install a self-adhesive side, and more durable composite models are perfectly suitable for the new plumbing equipment.
The advantages of the corners
Before the appearance of specialized means for seelings, the joints between the bowl and the wizard wall was used by handicrafts, trying to isolate them with moisture-resistant cement or thickened oil paint. But the effect of such measures was temporary, the gap had to be squeezed regularly. Plastic bathroom corners have become an effective solution to the problem of water that flies into the formed clearance. They possess the following advantages:
- Easy installation. You can fix the plastic corners on the bath with your own hands on any phase of the installation of sanitary equipment, as they are attached using liquid nails or sealant without manufacture in the walls of the holes.
Plastic corner in the bathroom
- Bathroom microclimate resistance. Plastic is a practical material that is not afraid of dampness, contact with water and detergent and mold. Therefore, plastic borders will serve long enough.
- Easy care. Plastic products are undemanding in care, therefore corners for the bathroom of polyvinyl chloride is enough to wash with a soap solution and a simple sponge.
- Reliability. Plastic corner prevents moisture in the gap between the bathroom and the wall. Thanks to the design with a smooth angle, which make up 45 degrees, the water is not stored in it, but flows inside the bowl.
Important! To high qualityly close the gap between the wall and the washing capacity, you need to properly pick up the bathroom corners. To ensure that it is guaranteed to protect a knock from water or spray when using the soul, the side width should be 2-4 cm exceeding the width of the gap.
Installing a corner on a new bath
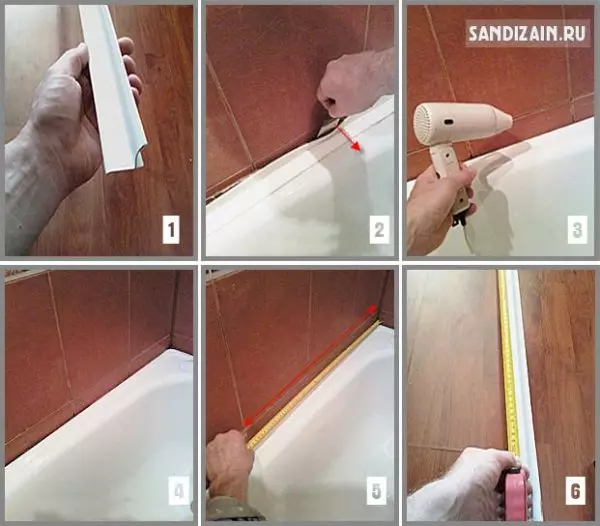
After installing the new bath, it is better not to start using it until the jack between the bowl and the wall is embossed. To prevent watering water to this slit, you can use plastic corners on a bath or self-adhesive waterproofing tape. For this, plastic borders will be required according to the pioneering of sanitary equipment, sealant, antiseptic, molar tape, wort and jigsaw or handwheel for sawing. Installation is performed in this order:
- Bore baths adjacent to the wall are cleaned of contamination and dust with a soap solution and a sponge.
- From the side of the bath, the distance equal to the height of the border is measured, and then the molar tape is glued on this damage to protect the walls of the walls from pollution.
Corn Seaner
- Bath board and adjacent wall surfaces are treated with antiseptic, and then degreased to alleviate gluing.
- After the above operations, the slot between the bathroom and the wall is filled with silicone sealant, and then give it drying within 24-48 hours.
Installation of the corner, on a sealant filled, gap
- Plastic sides are cut into the size at an angle of 45 degrees with the help of wort, and then apply sealant or liquid nails on them, pressing to the surface.
- On the edges of the side put on special plugs, give sealants to dry during 1-2 days.
Note that plastic borders in the form of an angle of 90 degrees serve not more than 1-2 years, since due to such a structure, liquid accumulates in them, provoking the spread of mold. Over time, the corner acquires a dark raid, it becomes the cause of antisanitarian, an unpleasant odor. From mold, you can get rid of antiseptic drugs for a while, but as a result, the border will have to be replaced.
Installation Borge on an old bath
In the process of long-term, intensive operation of the bath, the waterproofing of the junction between the wall and the device is gradually wear out. Plastic corners for the bath are perfectly suitable for re-sealing the slit, as they do not require dismantling the walls of the walls, and their installation does not spoil the decorative coating. In this case, the installation of the side is performed in this order:
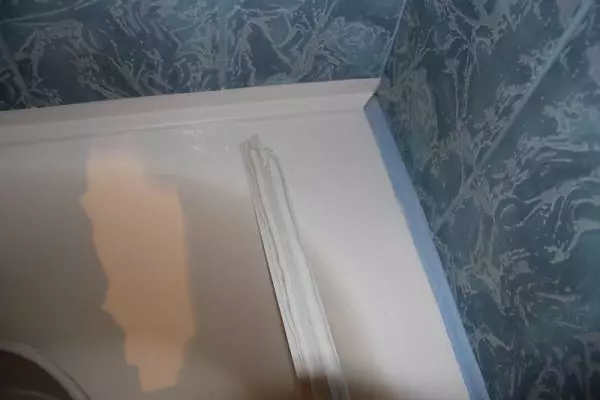
- First, old borders are dismantled. To remove them, use a spatula or knife.
Dismantling of the old corner and measuring the length required for the new side
- An old sealant is removed from the junction between the bathroom and the wall. If it is impossible to remove the composition with the mechanical method, it can be dissolved by a special chemical composition.
- From the side of the side, the walls are removed mold by an antiseptic preparation. For the prevention of formation, the fungus use the composition of "antiplest".
- The processed region is cleared of contamination or dust using detergent, and then degreases with acetone, alcohol or acid-containing detergent.
- The clearance is filled with a new layer of sealant on silicone basis.
Installing a new babes on the bath
- The decoration of the walls and the edge of the bath is protected from the sealant ingress with molar scotch.
- Corners on the bath are cut with a jigsaw, knife or hacksaws. So that the joints were smooth, they are cut at the angle of 45 degrees using the wort.
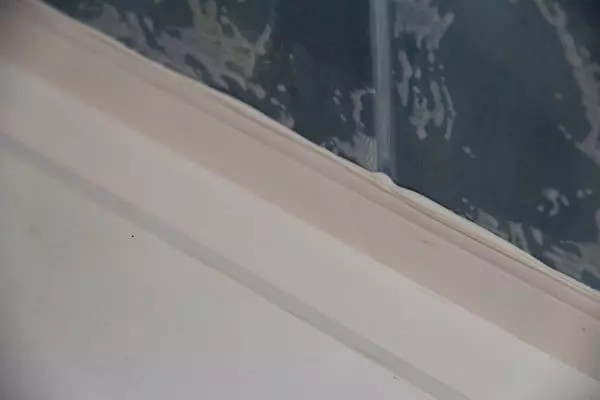
- Silicone sealant is applied to the sides, after which they are pressed against the wall and edges of the bath.
- Surplus sealant are removed, special plugs are put on the edges of the side.
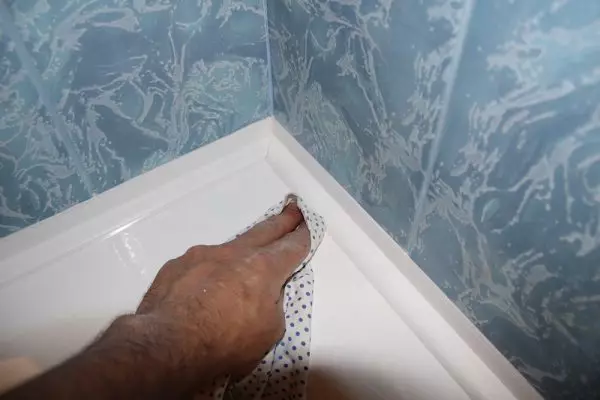
Removal of excess sealant
Experienced masters argue that plastic bathrooms are suitable for acrylic baths, and if the walls are separated by panels from the same material. Fixing their PVC on the ceramic tiles is a temporary solution that will serve no more than 2-3 years.
Video instruction
Article on the topic: Decorate the cottage: Autumn crafts for the garden