
For many it is no secret that when working with GLC designs, one of the key staps is sealing joints. From how qualitatively this work will be performed, the integrity and attractiveness of the design depends in many respects - incorrectly sealed seams can already give cracks in a few weeks of operation.
In order to understand how to close the joints, to begin with, they will answer the question - how to dock plasterboard?
Beautiful seam - imperceptible seam
Clearance and types of edges between sheets of GCL
Serpian on the junction
Let's start with the fact that we consider the types of longitudinal edges. The transverse edges in all types of drywall (be it simple, fire-resistant or waterproof) are always straight and not closed with a layer of cardboard.
Now as for the longitudinal parties - consider all the well-known options:
- Straight (marked with a PC abbreviation). These joints are considered black, and they are not closed. Such an edge is much more common on gypsum fiber sheets, and not to GKL;
- Drowning on the front side, semicircular (designated as Pluk). Closeing this type of seams, you will need a putty or sulfur, the price of which is sufficiently low. It is this type of edge that most often occurs on plasterboard sheets;
- Smeal (designation - CC). Sealing this type of seams is real torment for beginners. Putclone for drywall is applied in three layers with the mandatory use of the serpanka. This type of edge is also found often, as well as the above Pluk;
- Rounded (ZK). When embedding and processing such a type of adjoints, a special tape is not used;
- Semicircular edge type (PLC). The processing of this type of compounds is performed in two stages, without a carp;
Attention!
When entering the seams of PLCs, it is recommended to use high-quality putty having excellent strength indicators.
- Fold edge (FC). It is about the same as the pc edge, but most often it is done on moisture-proof GOC, which in turn are intended for the draft finish.
Article on the topic: Review about interroom doors on rails and rollers
So, of all of the above, you probably have already become clear what to close the junctions of drywall. As for the edges, we reviewed only the most famous options. There are several more species, but you do not need to know about them, since on the shelves of domestic stores simply not to find them.
Among all the above options, the most in demand are the Criminal Code and Pluk, since these types after installation GCC do not require additional processing and can be immediately attached to the putty.
Recommendations
In the event that it is not about the factory, but about the independently made edge (it remains after cutting plasterboard sheets under the desired size), then it is required to be sophisticated. To do this, a planer or a simple knife is used - there is no fundamental difference, but the planer will make it much easier (I try, you will understand that it is not so difficult to do smooth edges). When processing edges, it is necessary to cut them at an angle of 45 °.Attention!
When installing the GLC between sheets, leave a gap of at least 3 mm and not more than 7 mm.
This step will allow the design when changing the level of humidity and temperature calmly shrink and expand without disturbing the integrity of the structure.
With the same goal, the gap is 1 cm between the floor and GCL, and 0.5 cm between the GKL and the ceiling. The remaining seams in the end are sweeping, and the floor clearance is closed by a plinth.
I joking GLCs correct
To answer the question - how to close the jokes of plasterboard, you need to get acquainted with them closer. In general, as in any other work, in the Docking of Glk, there are nuances and tricks.
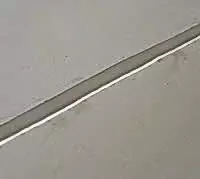
Specially left gap
Let's start with the fact that the gaps between the sheets must be made on profiles, and in no case hang out in the air. What is noteworthy - this applies not only to vertical joints, but also horizontal. Also, if the height of the plasterboard is less than the height of the wall, then the whole and cut sheets are made in a checker order. If you explain it easier, it will look like this is something like this - the whole sheet is placed on the bottom, the top is cut from above, and then it is cut off, and from above the whole.
Article on the topic: Parquet board technology on bulk floor
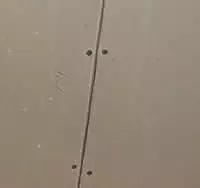
Smooth junction made by all installation rules
If you are creating a hlock on the wall in two rows, then the upper sheet is relative to the bottom, it should be shifted by 60 cm.
In the event that plasterboard sheets are connected in the corners, the dock itself is produced alternately: first it is required to fix the first sheet to the angular profile, and then the second to another angular profile.
Attention!
The gap between the angular sheets of drywall should not exceed 1 cm.
With further processing of external corners, a perforated corner will be attached to them, and the internal will be embedded using the same sperphenka and putty.
Close up of joints
Now answer the main question - how to close the joints on the plasterboard. For this work, you will need a putty on a plaster basis, which is divorced in the required proportion. Remember that it is not worth saving on building materials, since the poor-quality mixture during drying may simply crack and largely worsen the appearance of your design.
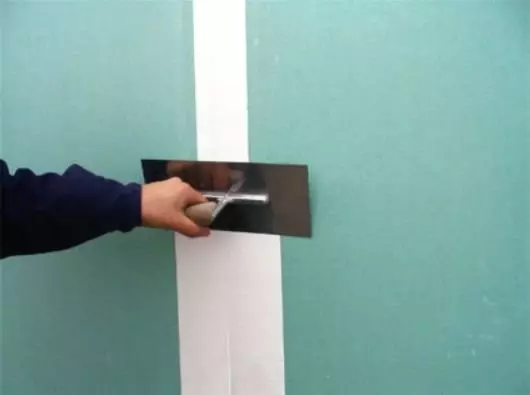
Finish layer of putty over sickle
Do not forget to purchase a spatula, 15 cm wide. It is necessary for a set of diluted mixture and for further applying it to the joints of GLC. When applying putty, the spatula should be pressed a little - this is necessary so that the gypsum mixture completely filled the joint.
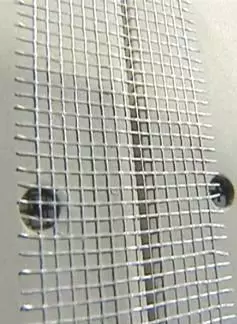
Further, on the seam it is necessary to glue a paper reinforcing tape or sickle. Then, one more layer of putty is applied on top, in order to completely hide the reinforcement.
Attention!
Sticking the sickle must ensure that the middle of the tape is strictly located in the center of the seam.
Cuts ribbons are jammed.
Pay attention to such facts should be flush with the design surface. This can be easily verified using a level. It is necessary to monitor this constantly and everywhere, since the gypsum composition is practically not a grinding.
Article on the topic: Wallpapers in the corridor in the apartment Photo: Stone decoration, for a small narrow corridor, what to choose, liquid in Khrushchev, for hallways, video
Articles on the topic:
Sealing seams of drywall
After the processing of the joints of the drywall is complete, it can be safely started to shtten the entire working plasterboard surface.
Output
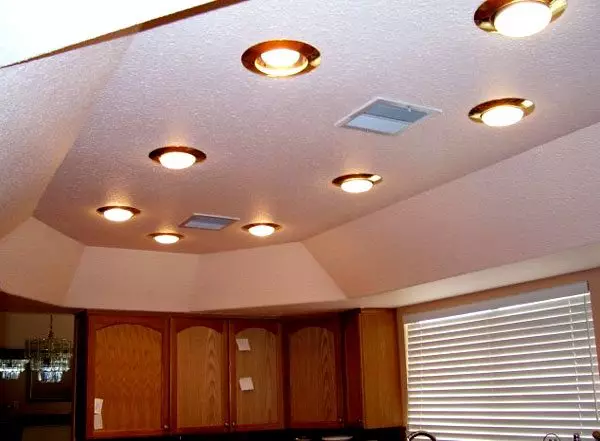
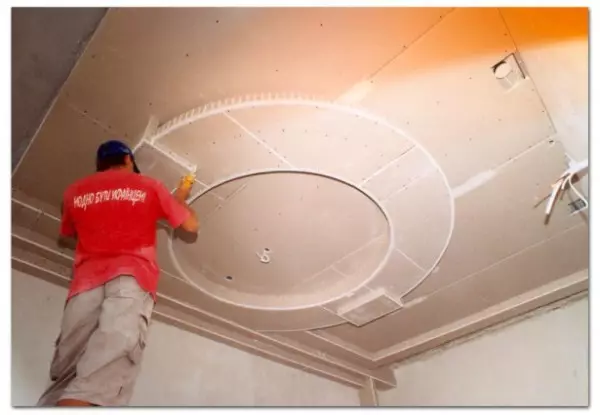
Cute design on the ceiling with perfectly smooth seams
In general, this instruction is designed for those who have started a serious repair or creates a unique structure (partitions, fireplace, shelves, etc.) at home. The sealing of the gaps is a very important stage. After all, exceptionally even and smooth connections always make an eye (see photo) and make the whole design more elegant and impressive.
In the video presented in this article, you will find additional information on this topic.