
The space under the bathroom, especially if it is installed on the frame, has a far from the most attractive appearance. In order not to spoil the expensive repair, it is often a decision to close this place with a decorative screen. In most cases, there is no exit, except to bind the bath with tiles.
The advantages of such a solution:
- The tile perfectly fit into the interior and will not stand out against the background of other cladding;
- It is just to care for him;
- One hundred percent environmental friendliness;
- hygienicity;
- Decorativeness and practicality.
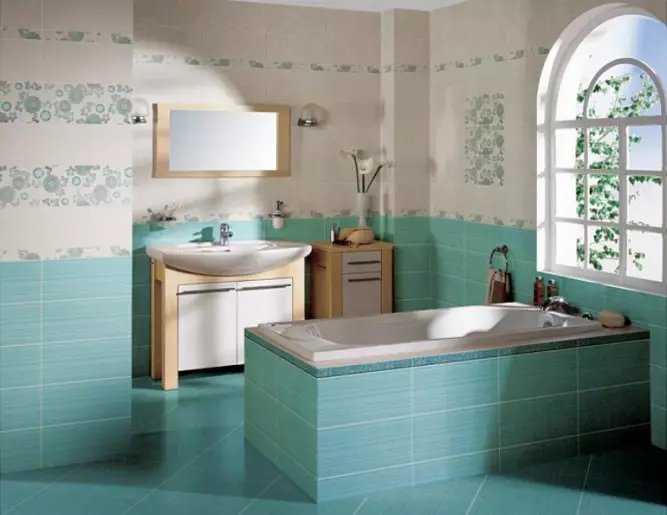
Ceramic tile is perfect for finishing
Bath facing nuances:
- The tile is attached to the basis of brick, drywall, moisture-resistant plywood or foam blocks;
- The design provides an audit hatch and ventilation;
- It is better to make a screen from the same material as the walls.
Brick basis
The advantages of this base are the ability to retain heat, structural strength, reliability and durability.
Bricks are used in the arrangement of direct screens.
The laying is made around the perimeter of the open sides of the bath. The base should be recessed at least 2 cm from the board. It is necessary for plastering the plane and mounting the tile, because it must go to the side with sides. The top row of bricks gluits not only among themselves, but also directly with the edge of the bath.

Brick base for facing a cafeter
After drying the masonry, treat it with an antifungal agent and thoroughly loaded. Next, plastering the foundation in order to give it smoothness. Small defects and drops are permissible, as they are leveled during the installation process of ceramic tiles.
Plasterboard
Alternative to brickwork serves GLC. Plus this basis is a small cost, simplicity of work, smaller weight of materials and the ability to create any forms. The latter factor is especially relevant in cases where the tiled figure acrylic bath is placed.
Plasterboard is used exclusively moisture-proof type. Sheets are attached by screwing to a metal frame from profiles installed around the perimeter of the screen. Since the weight of the tile is considerable, the design is strengthened with additional transverse regions.
The distance on which the profiles are set to the coincide with the level of the bath wall, that is, the upper bar comes close to the bowl under the sides.
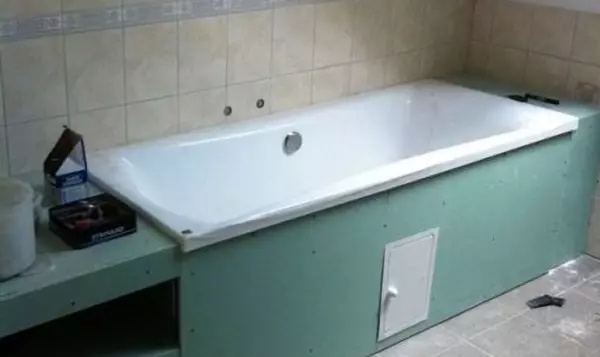
Tile is laid only on moisture-proof GLC
Article on the topic: How to independently sew a beautiful tulle on the windows
After mounting the frame, plasterboard sheets are screwed. It is also recommended to handle them with an antiseptic and primed. Additionally attach the sickle grid.
Terms of laying
How to put the bath with tiles with your own hands:
- Treat the base surface with an antiseptic against fungus and mold.
- Thoroughly drive a rough screen.
- Make marking according to the laying scheme.
- Soak the tile in the water and dig a small amount of glue.
- Apply the solution on the screen area for mounting 3-4 tiles, that is, an area of not more than 1 m2. Cross it with a toothed spatula.
- Stacking start from the most prominent place with a whole tile. Please note that the seams on the facing of the bath and the wall must be perfectly coincided, so start working from the second row below.
- Cut the missing fragments and install them. Such a tile is better to put in the least noticeable places.
Throughout the process, do not forget to draw tiles, check the laying level and set the same seams.
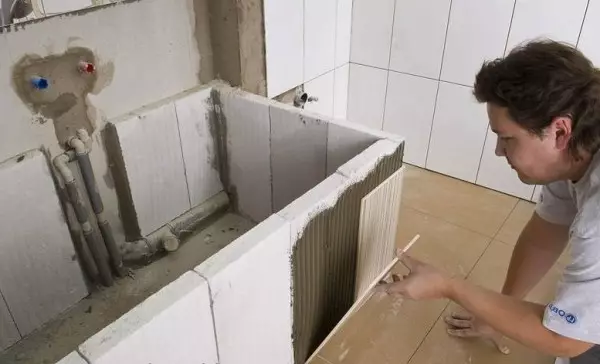
Facing a frame of baths produce and before installing plumbing
Finishing stage
From the jacks between the tiles remove crossbars. Prepare a grinding mixture of the same color as for walls. Using a rubber spatula, apply a small amount of smelting on each seam and wrap it so as to steer the joint level with tiles. Surplus remove. Wash the tile with a wet sponge after grazing the grout.
At the corners, in the fields of the screen adjacent to the bathroom, the floor and walls, as well as near ventilation and hatch, perform additional treatment with silicone sealant, it will protect the joints from entering them moisture and microbes.
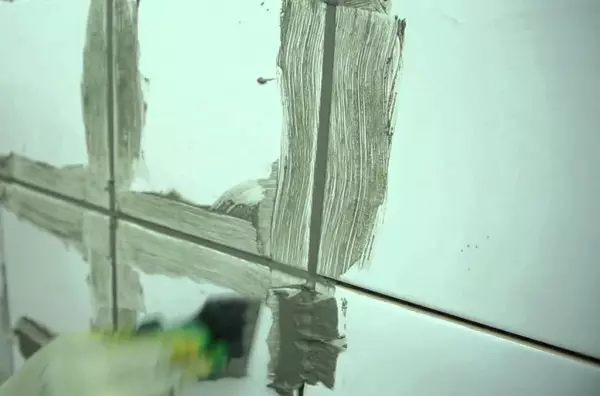
Final stage - rubbing seams
The screen under the bath from the tile is ready. Make it with your own hands is not so difficult. But on this it is impossible to forget about it, since any surface requires preventive measures.
Tips for care
During operation, the screen on the bathroom will constantly be exposed to moisture, temperature drops, vibration and shocks. All this will affect the condition of the coating. First, pay attention to the seams and joints. Even with high-quality finishing, a mushroom is formed sooner or later. In order to prevent its distribution, spend from time to time prophylactic cleaning and renew the antiseptic impregnation layer. Apply a new one to the scene or cleaned grout.Article on the topic: A variety of and persistent aluminum panels will create a new stylish image of a building for several decades
To save the shine and protection from a lime-like, regularly remove the water drop from the screen and rub it to the care facility or glass. When implementing these recommendations, labor will not be in vain. The screen made by your own hands will decorate the bathroom.